Family Business **CCWs... on A volvo?? REVISED STANCE AND NEW PICS page 5

No power adders if that's what you mean, only some minor esthetics, new wheels and a few accessories like the one posted above. Check this thread once in a while for more updates!

And no, I will not mary you, my gf is already pist of the time I spend with my car, if there is someone else in my life, she will assasinate me. hahahaha
cheers, :tu:

Ahhhhhhhhhhhhhhhh :( Not fair! :(

Just kidding! I really dig that project! keep it up!
 
I'm storing the car this Saturday, I painted my hub caps black and slaped them on the storing steelies for a few pics, the car is dark as farck :D
PICT0020-1.jpg


PICT0027.jpg


PICT0033.jpg


Then I droped by Harpers' house to discuss issues regarding street racing, he was really responsive and said he would get back to me... Great Lad.
PICT0045.jpg
 
A bit of progess over the weekend, PS tank completly installed, well almost, just need to remove about another half inch of length from the pump hose and get 2 other clamps and I'm good to go.

I actually made 2 brackets, first one out of a flat sheet of 1/16th thick aluminium, but the bending did not go to well because with the surface of metal I had, it wasent a big enough piece for me to bend it in the same direction of the metals grain, so it made for a great template, but I had to redo it out of a pre bent piece of galvanized steel, would of loved some pre bent Aluminium but I could not find any, and with the size of the bracket, weight was not really an issue... lol

PICT0055.jpg


PICT0051.jpg


PICT0056.jpg


Than I made a reducer for the pump hose because the Morosso tank has a 3/4 inch stub while the stock tank had a (aprox, real dimension is metric) 5/8th stub

PICT0057.jpg


final piece

PICT0136.jpg


ready for some rivets

PICT0135.jpg


In the car.

PICT0139.jpg


plenty of clearence

PICT0141.jpg


All I need now is a new ECU box :)

PICT0139.jpg


Now for the next project

I bought this awesome Stealth Oil Catch Can from 42 Draft Designs, SS piece and sleak as hell.

PICT0053.jpg


reason for this sexy piece of metal is obvious, see next pic, considerable oil accumulation from the PCV system. Thanks to this can there will be less junk going through my turbo and that will result in more consistant combustion and A/F ratios.

PICT0131.jpg


PICT0132.jpg


PICT0133.jpg


First step was to remove the foam covering the area where I will splice the PCV hard line to reroute to the can.

PICT0134.jpg


More on the installation in a few days. :D
 
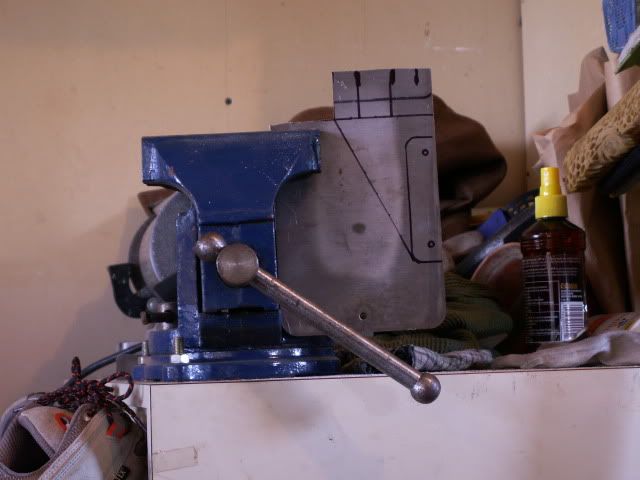
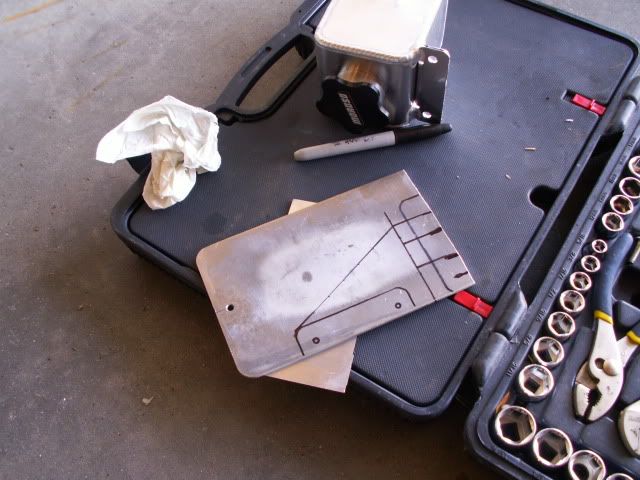
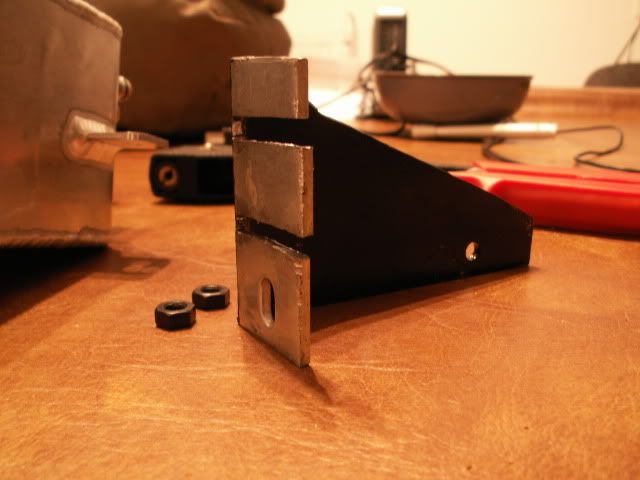
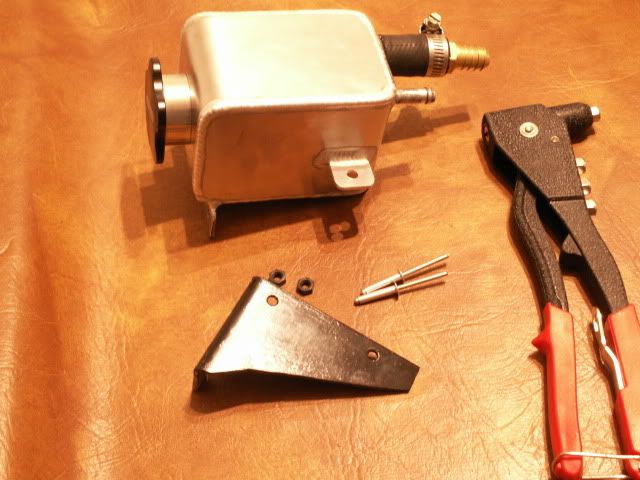
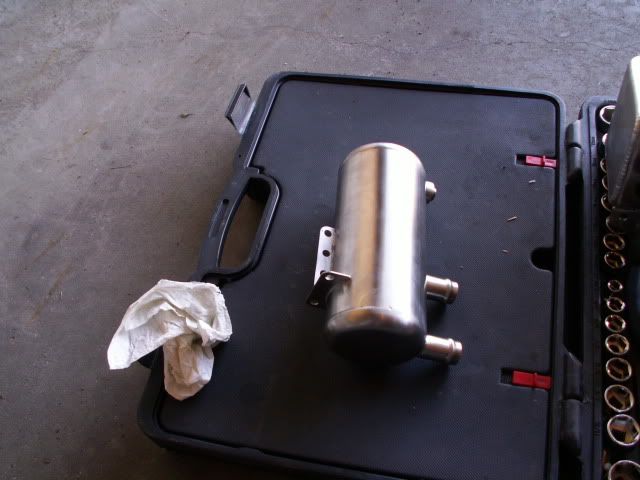
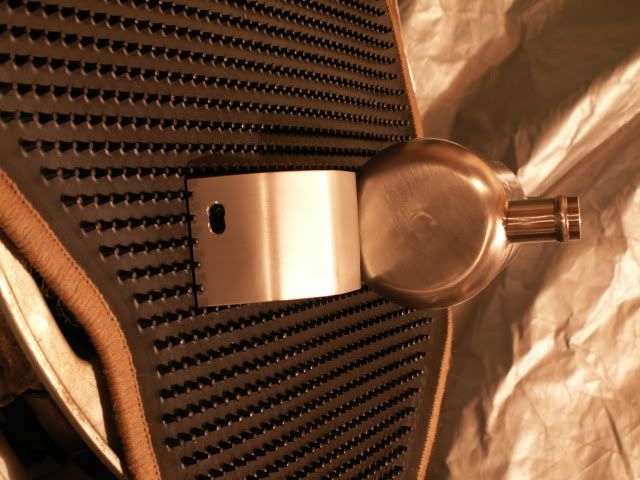
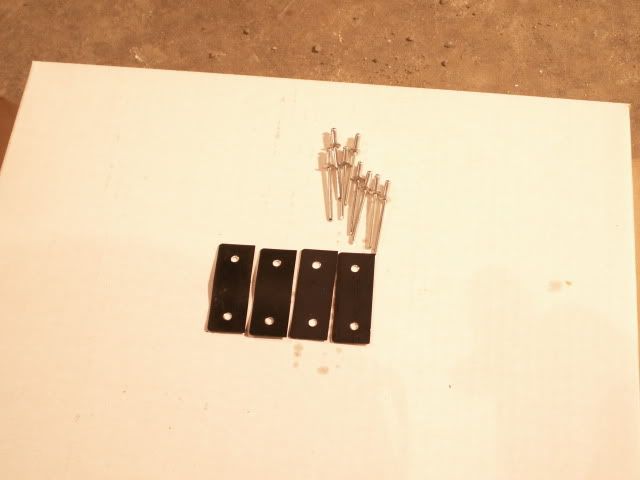
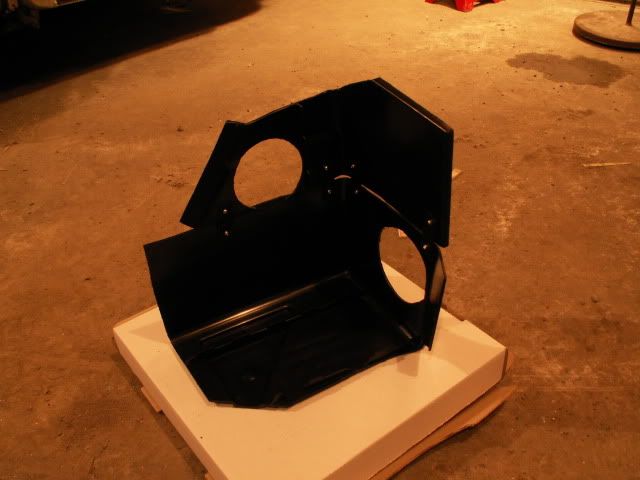
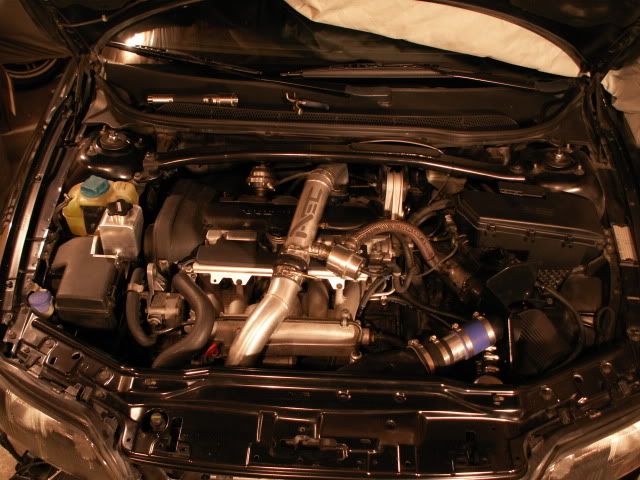
A bit of progress again this weekend, made the bracket for the catch can after I decided the final mounting spot. Bracket uses the same bolt as the rad bracket. I had to bend the rad bracket a bit to make the can bracket squeeze in.

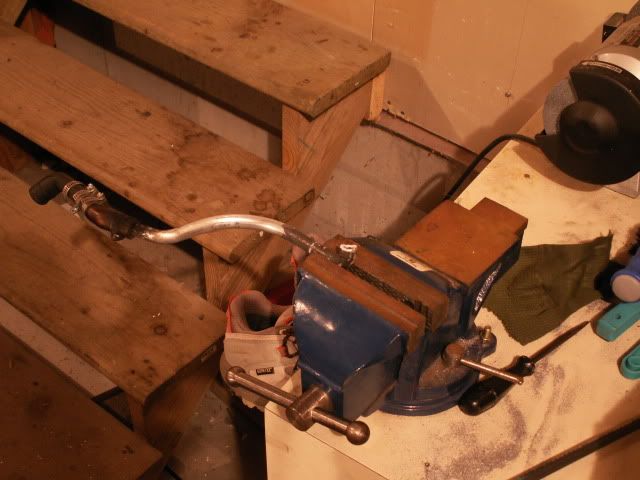
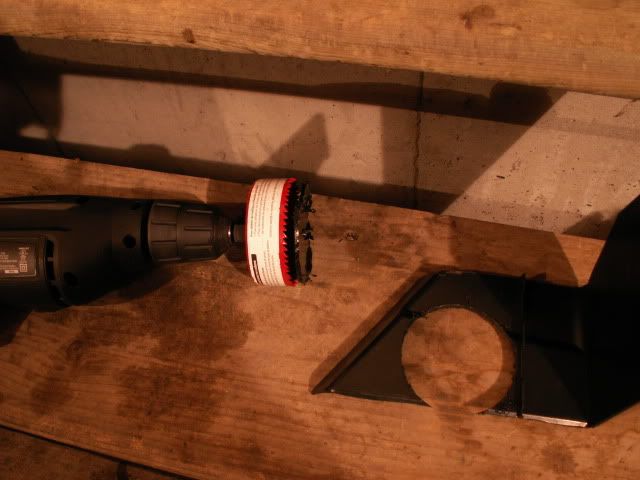
Used this piece of left over hardwood for the dining room as a jig for piercing the hole to bolt the bracket up to the can, since I bent the metal before making the holes, thats because the bracket is not really precise so if I made the holes before bending it, it might not align exactly like I wanted.

PICT0168.jpg


PICT0170.jpg


PICT0171.jpg


PICT0172.jpg


PICT0173.jpg


PICT0174.jpg


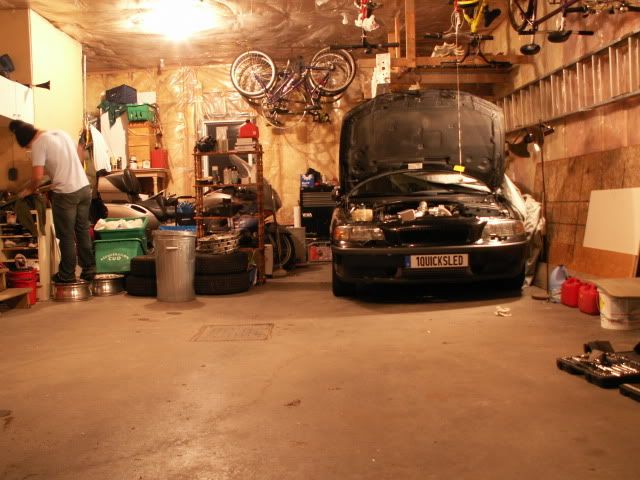
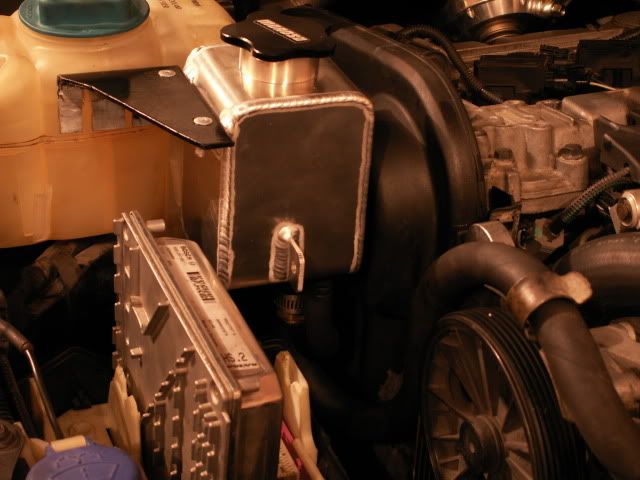
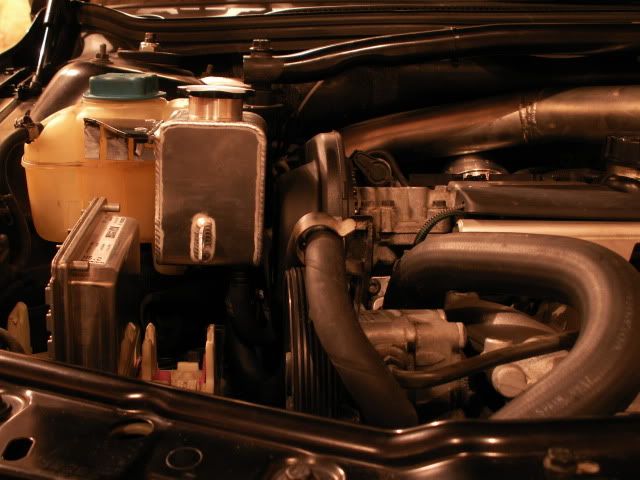
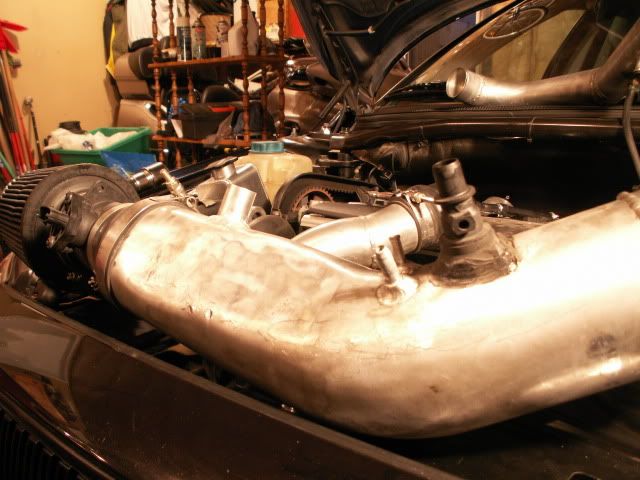
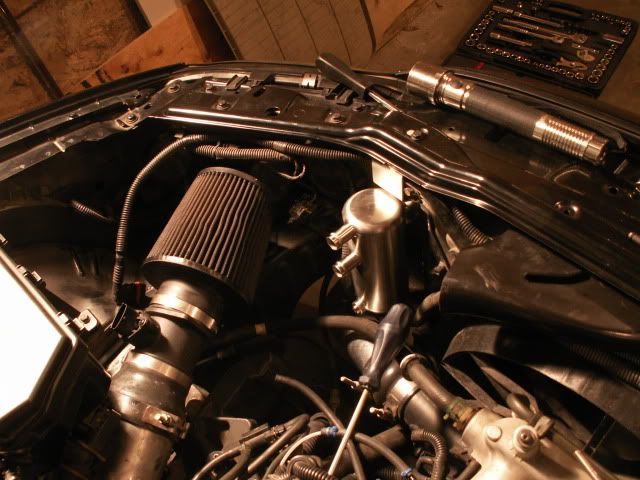
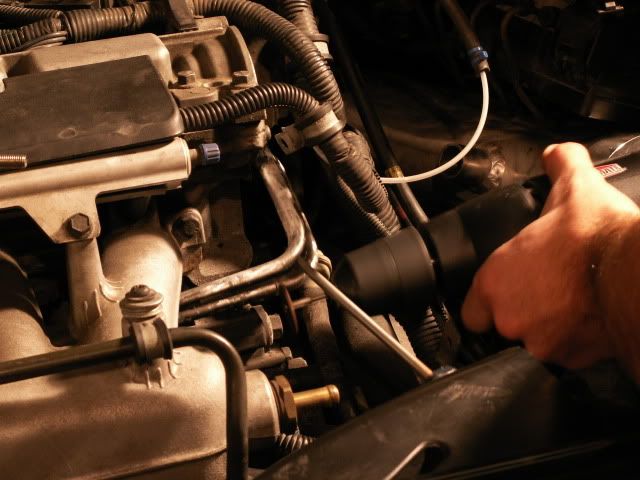
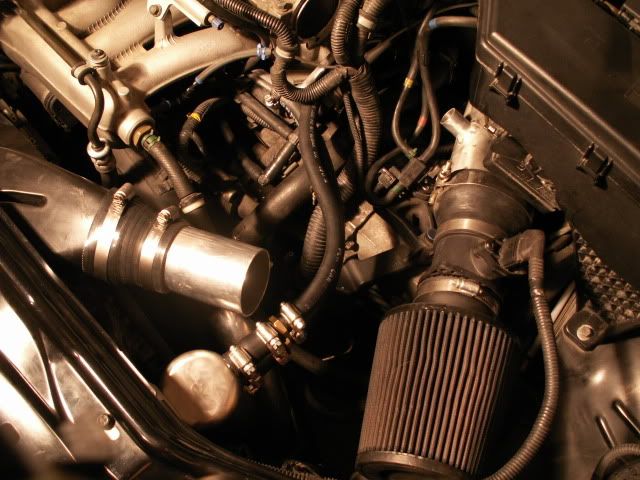
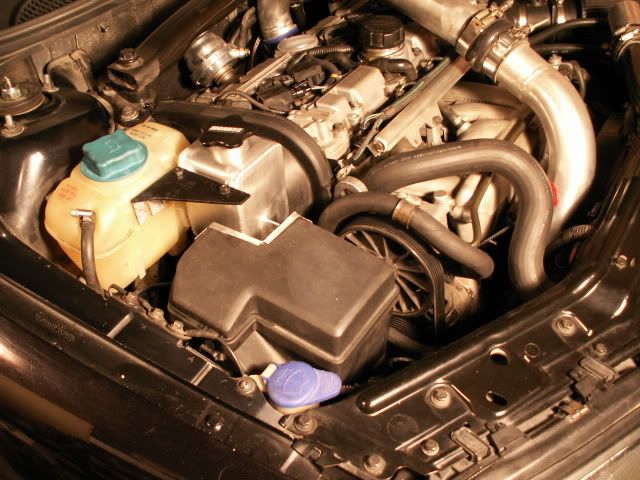
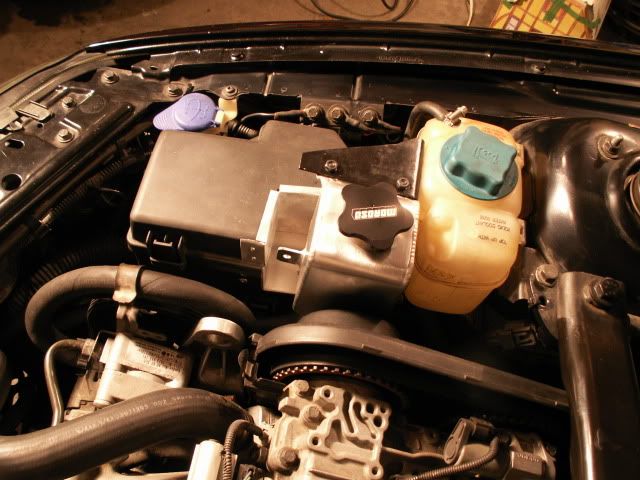
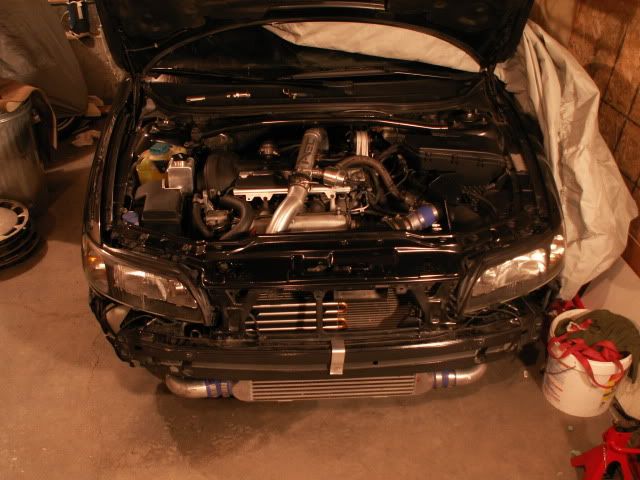
Installed in the car, I think it looks pretty cool, If I want to hide it later for fear of getting reprimanded buy emissions police, I can easily put a clean up plate over it or something...

PICT0175.jpg


PICT0176.jpg


PICT0177.jpg


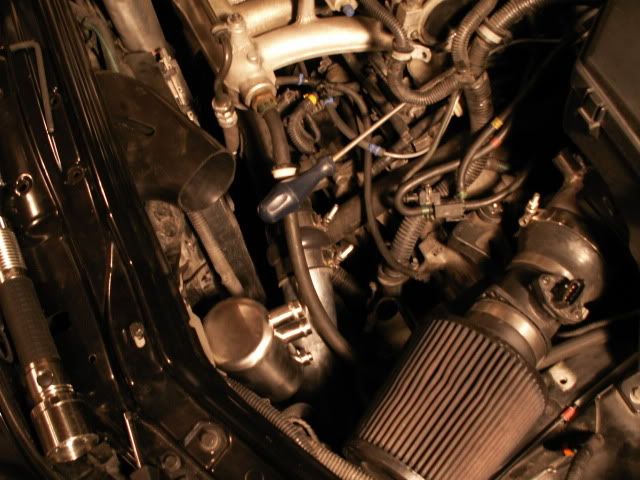
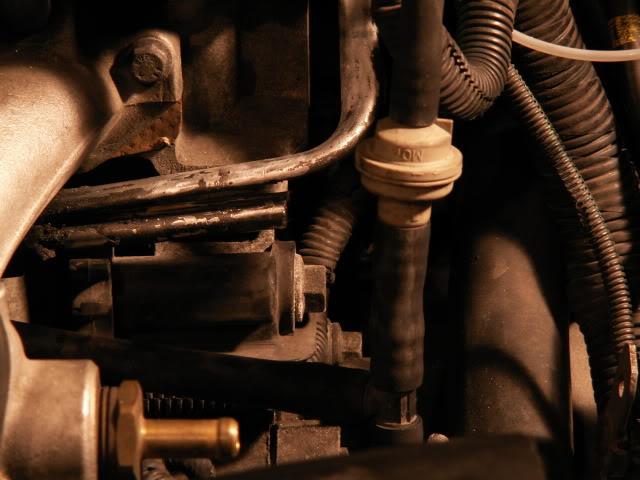
Then came the time to splice the PCV hard line.

PICT0178.jpg


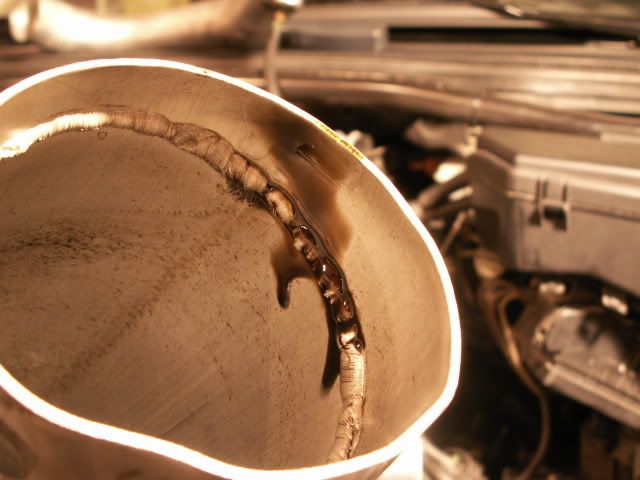
Once I started cutting, it was difficult to get through the entire thing, my tool was jerking... eventually a went throug 3/4 of the line on 1 side, I then bent the thing until it split and removed the section I wanted out of there on the bench.

PICT0180.jpg


I grinded the part that was still attached to the block so it was a clean cut, and removed all the chrapnell from the line after that with a q-tip.

PICT0181.jpg


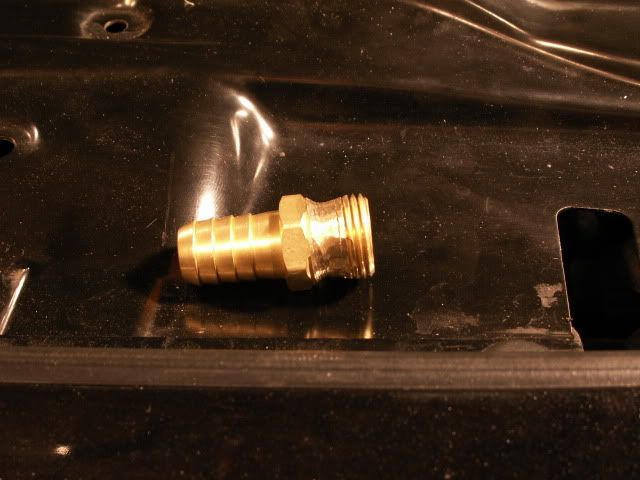
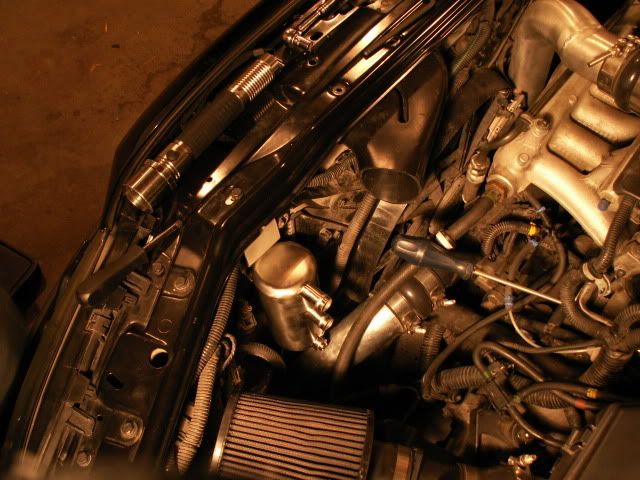
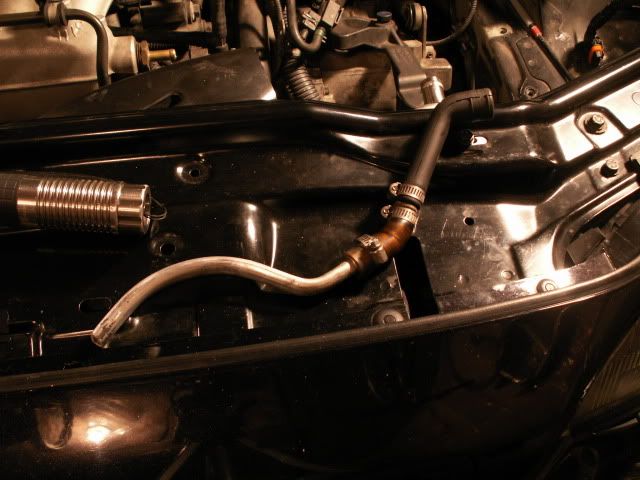
Next step is to source 2 reducers for the can, since the tips of the can are 3/4 inch and the hard line, while not being perfectly round, should form a tight inner seal with some 1/2 inch rubber hydraulic line, more on that later.

PICT0182.jpg


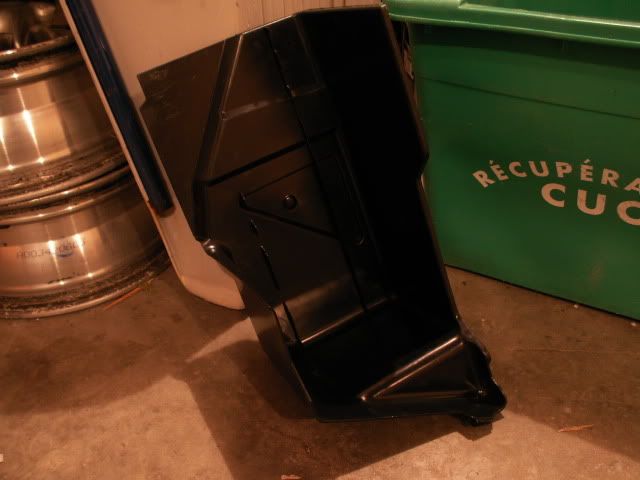
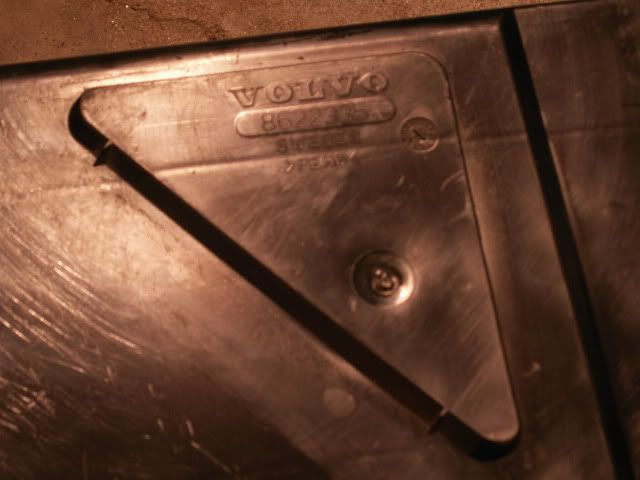
Next step will be to finish up with the lines from the hard line to the can, and to chop the ECU box to fit around the PS tank... stay tuned!
 
A few updates for today, I finally decided to add a PS cooler after discussion with a few fellas on volvospeed.

PICT0183.jpg


PICT0184.jpg


PICT0185.jpg


I also plumbed the catch can with some adapters and some hydraulic hose

PICT0225.jpg


The flow for the ram air is kind of interupted by the position of the can wich is probably insignificant, but not very engineeringly esthetic o to speak. So I'm going to route the flow with some 2.5inch IC piping more directly to the intake and I'm also going to make a heat shield/air box for the intake so the cold air from the ram will be more directly sucked up instead of going everywhere in the engine bay...

I also closed up the ECU box with some sheet metal and a few pop rivets.

PICT0220-1.jpg


PICT0221-1.jpg


more to come! :D
 
Got some stuff done today, finished the ram air/heat shield today... I didn`t really make it to actually reflect heat but more to contain the cold air from the ram air around the filter instead of having it blow everywhere around the engine bay...

I actually got inspiration from this DIY air box for a Ford Lightning, the guy made it with a 10$ rubbermaid garbage can :lol:

http://www.f150online.com/forums/lightning/105800-3-95-diy-heat-shield-cold-air-intake.html

only diffrence is I used an OEM volvo part as a startig point instead of a garbage can... it's the trunk battery cover found on P2 V70s... So my shield has a volvo part number :p

PICT0227.jpg


PICT0226.jpg


after some choping and a few holes

PICT0249.jpg


a few anodised brakets and some pop rivets

PICT0257.jpg


voila

PICT0258.jpg


made this more as a template to make a nicer one with aluminium sheet metal eventually...

PICT0264.jpg


PICT0265.jpg


PICT0266.jpg


Bolted every thing nice and tight, put the diverter back on and a few odds and ends

PICT0262.jpg


PICT0263.jpg


next step is to instal the new XC90 Spring seats and I'm all set for the summer

oh ya I also shaved the slash mounting points from the grill, sanded down the hole thing and re-painted

PICT0254.jpg


PICT0255.jpg


That's it for now folks...

Next week I will be ordering my new wheels, I'm pretty sure they will be one of if not the first set made for a Volvo, pretty excited about them... will post pics when I get them... keeping the make and model under raps until I get them :D
 
Whats up fellaz, didn't update this for a while but this is one HELL of an update.

I present you the first set of CCWs EVER made for a Volvo period...(according to Brad and John @ CCW ) Classics, in 18x8.5 with a polished lip and center cap and a brushed anodized center piece in street trim with stainless steal inserts... I have so much to say about them ,I'll just show you some pics for now...

I'm getting the tires mounted tomorow after work (225/45/R18 Nitto NT555)... will have installed pics comming shortly, hopefully during the weekend.

Yes they are expensif, yes they are made to spec for a Volvo, why buy expensive rims like this for a Volvo? Because I can, so why not. *byewhore*

PICT0280.jpg


PICT0281.jpg


PICT0279.jpg


I installed them on the car real quick to check for clearance and fitment, don't panic, they look hellaflusher than they are, the suspension gains camber while compresing and although I tried compressing the suspension with the ''chandel'' as you can see, I didn't have the balls to compress it at all after the car started being unstable so there is as much wheel gap as when a car is on a lift LOLLLL Will have to wait till tomorow to see the sexyness. :run:

PICT0286.jpg


PICT0285.jpg


PICT0283.jpg


PICT0284.jpg


PICT0287.jpg


A few extra pics whith diffrent lighting

PICT0288.jpg


Last edited:
just ..... FUCKING WOW !!!

if i may ask ... how much you paid .....


u can answer me by pm .... im thinking of getting these for my new car ...
 
The prices at CCW are very transparant.

This particular model runs 2200$ U.S. for a race set and 2400$U.S. for a street set (added costs gives you ARP hardwear instead of standart stuff and centercaps)
 
FUCKIN BALLER MAN! Can't wait to see these installed. Gotta get my Works on so we can rep the wagons with epic wheels :)
 
Back
Top