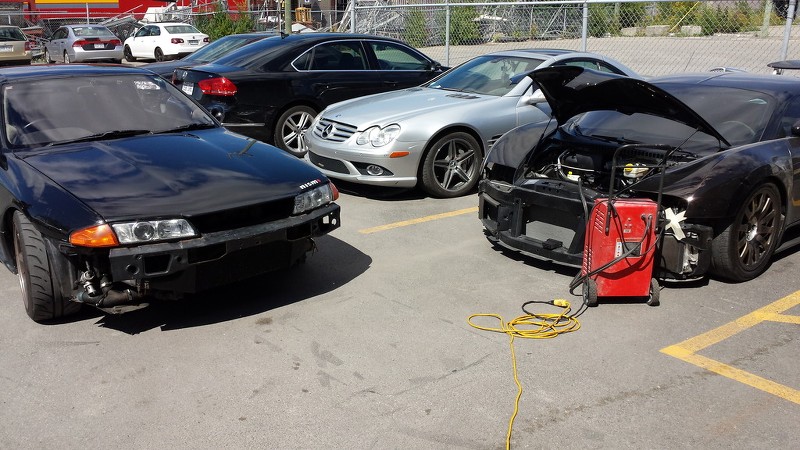
Part 2 :
Shoot out to The painter, Alex, at Promec in Laval ((450) 629-7077), for taking care of the car like it was meant to be! He sent me some picture of the progress so let's take a look at them.
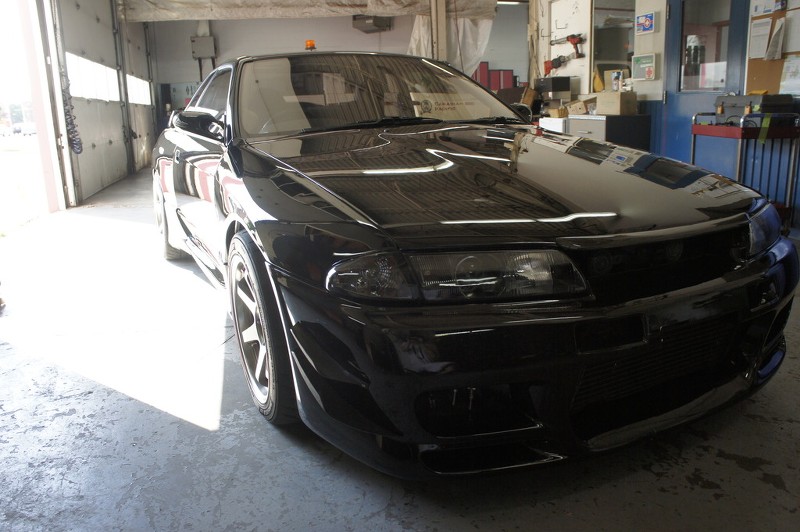
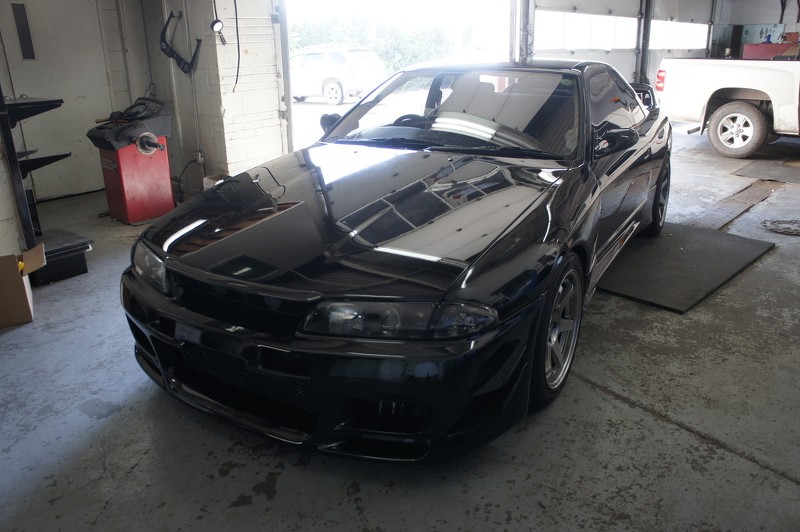
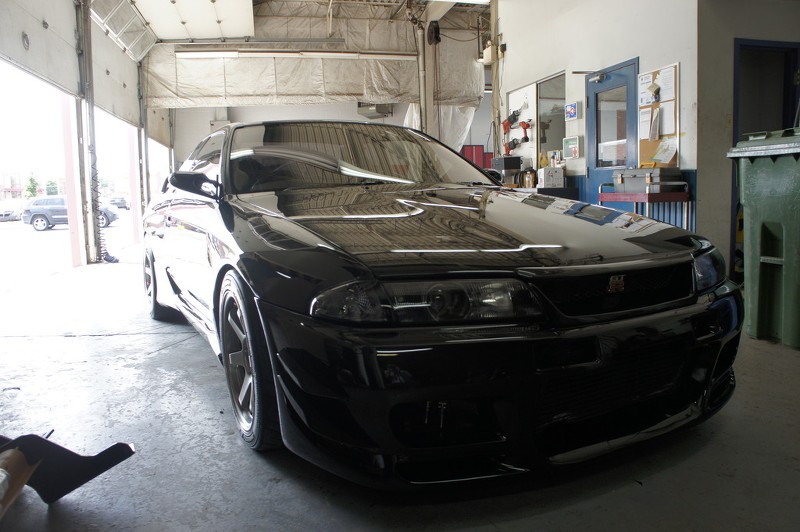
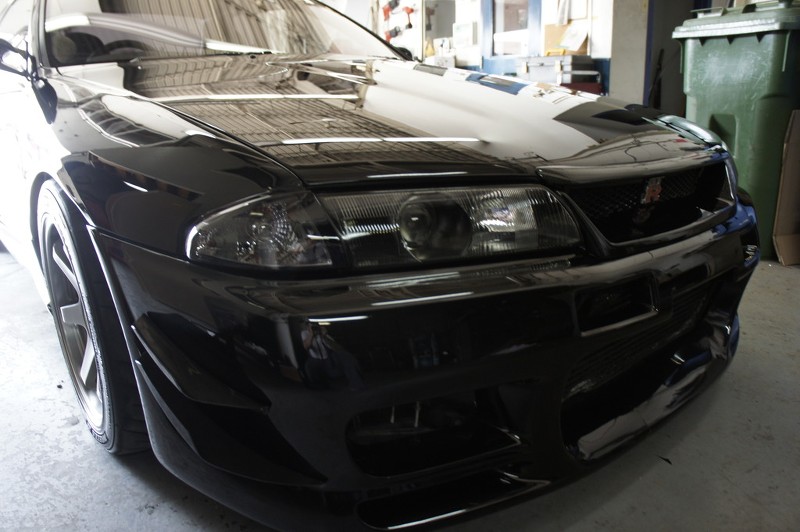
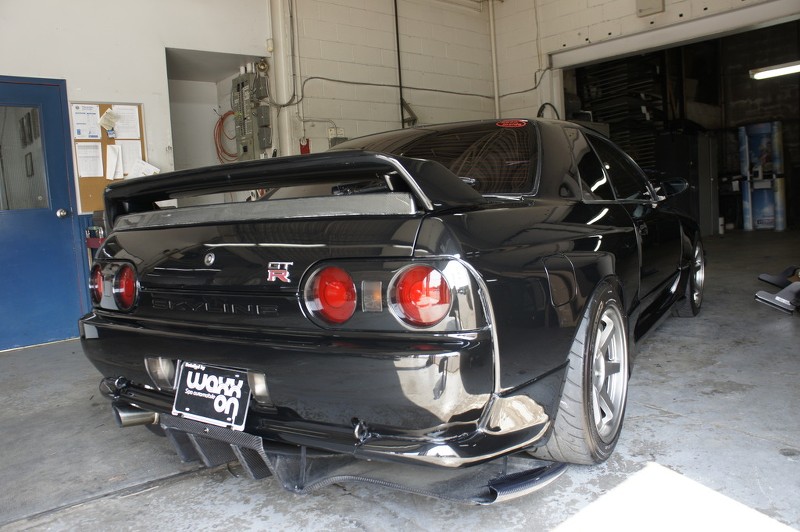
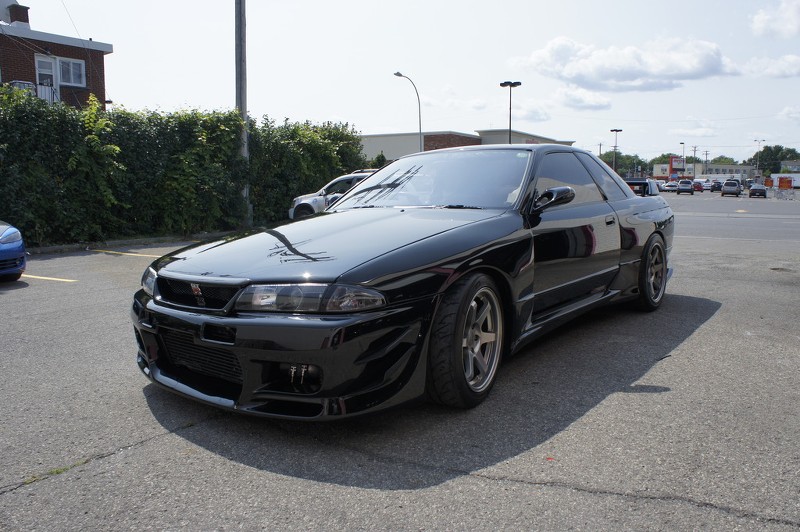
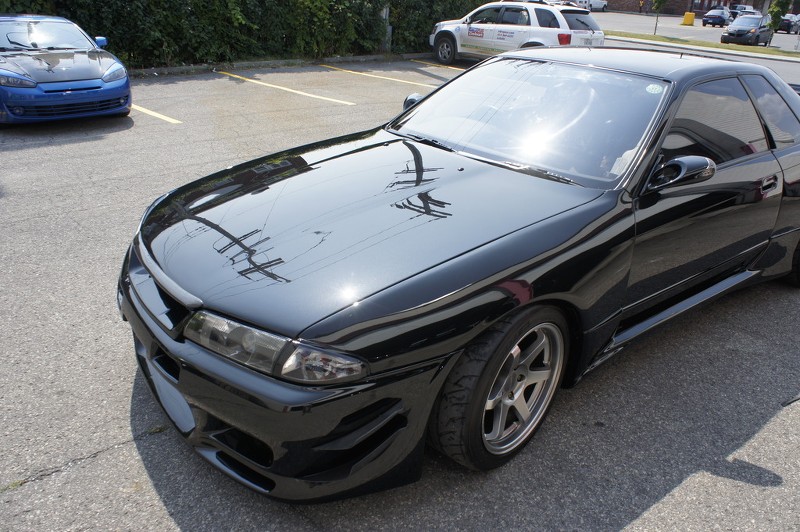
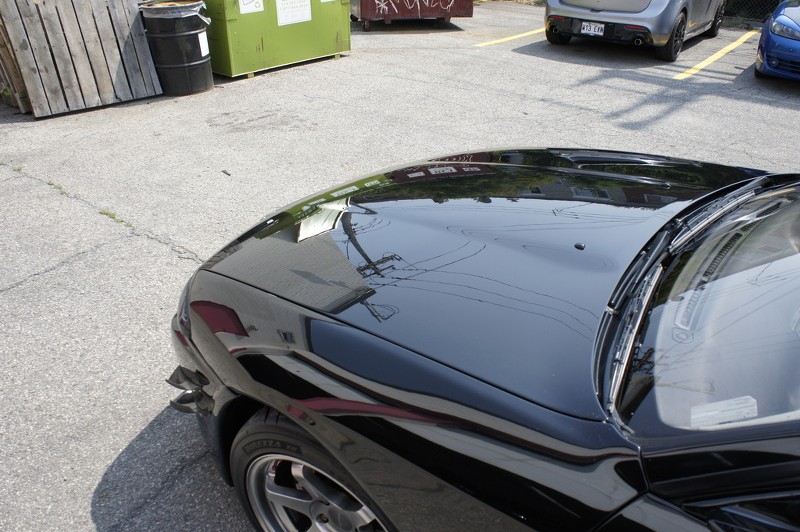
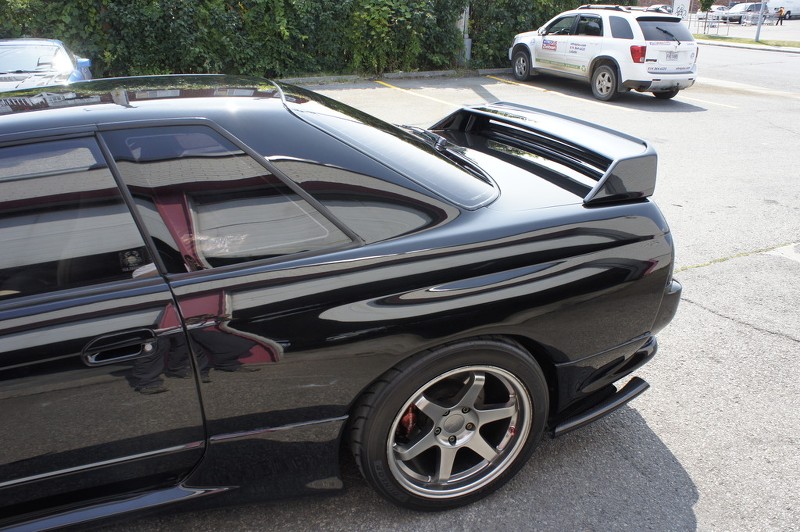
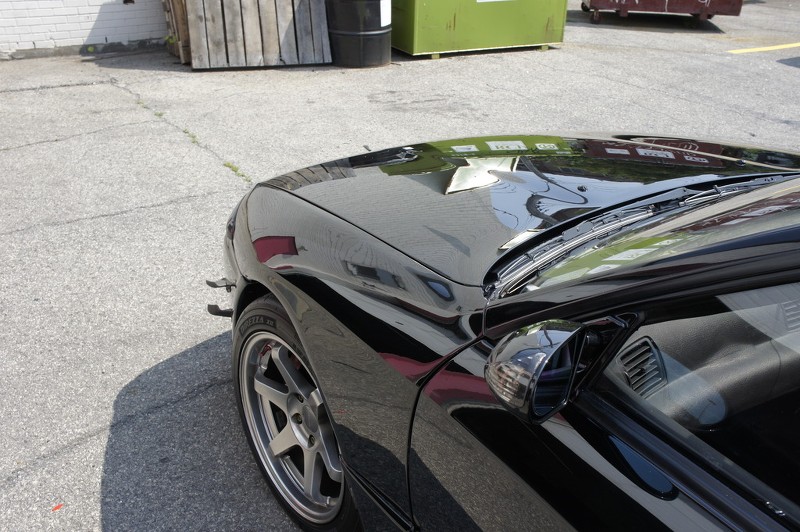
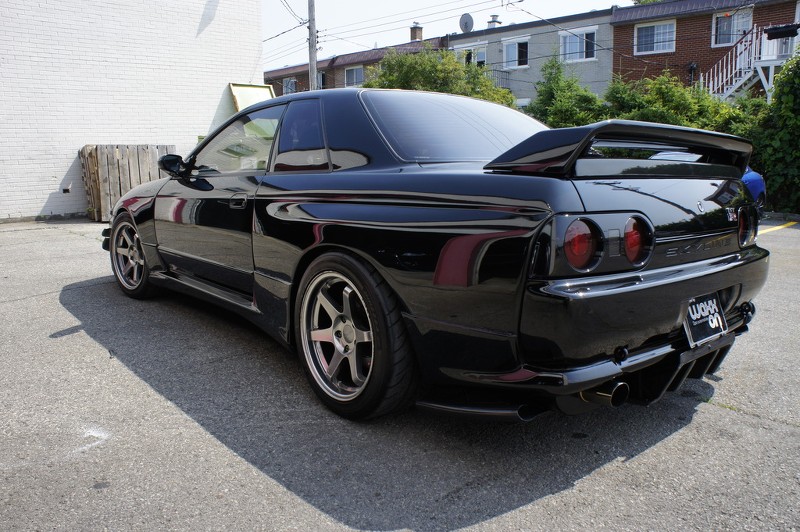
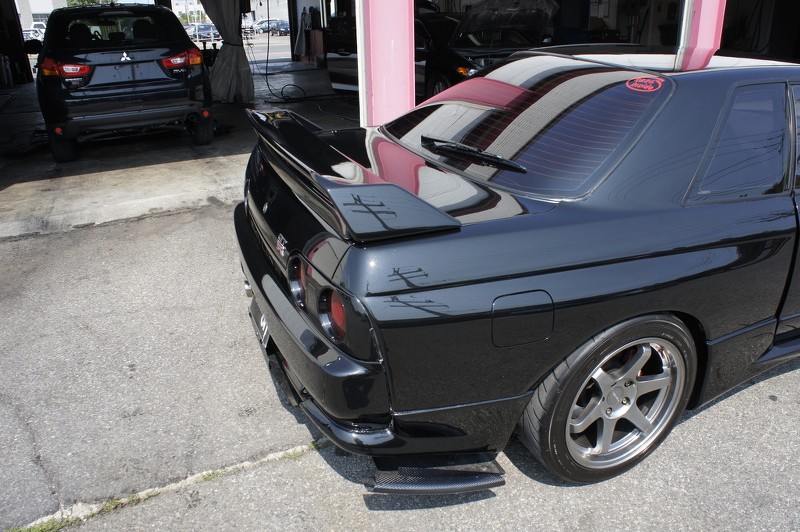
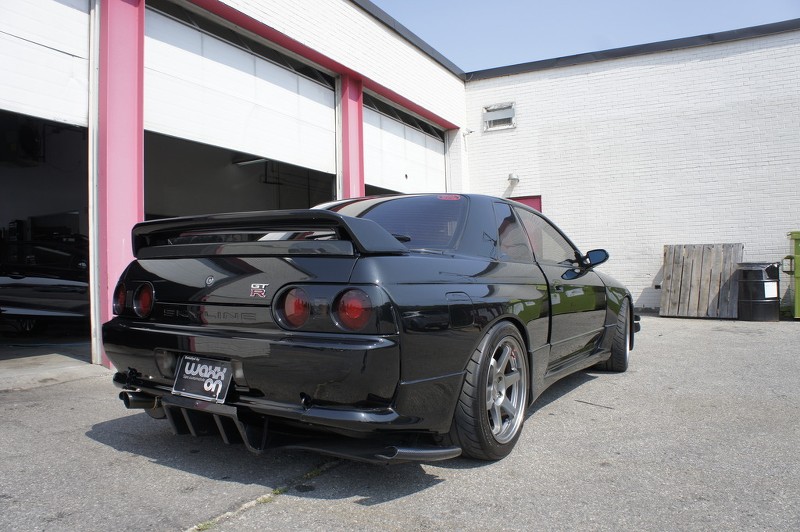
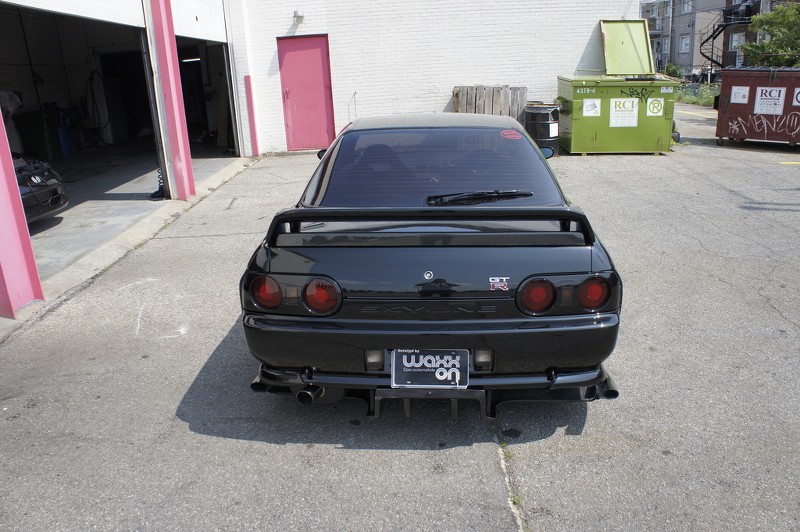
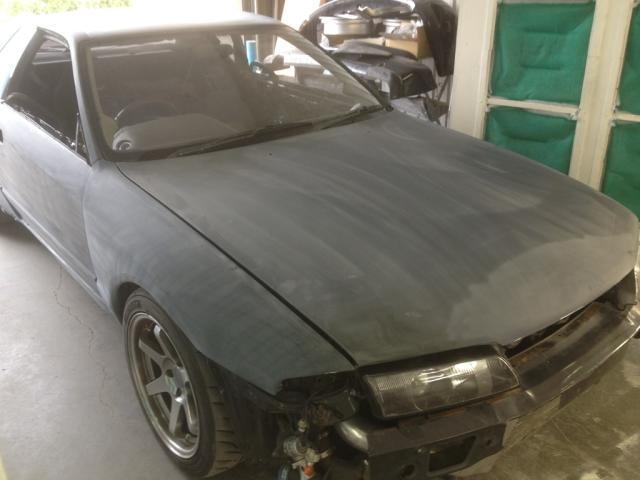
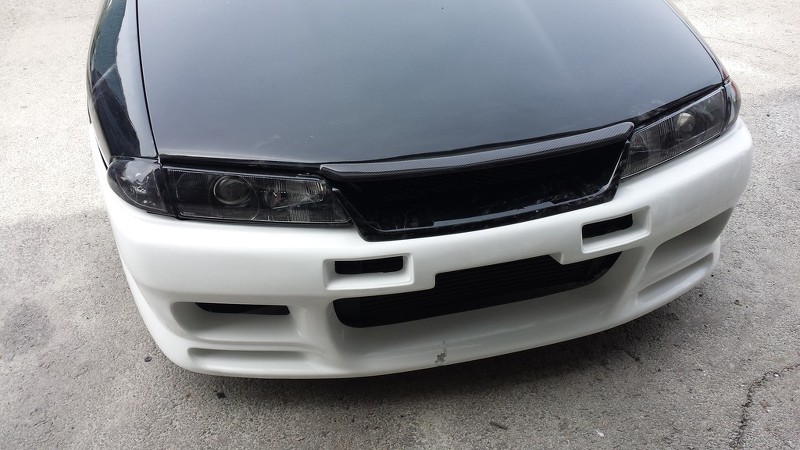
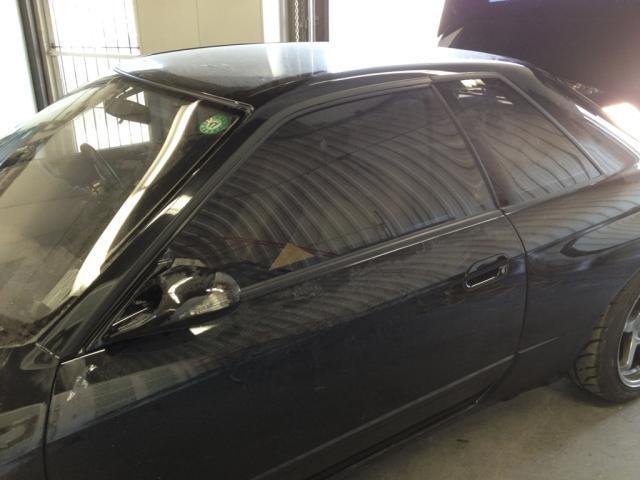
The skyline GTR R32 is an iconic car and the owner wished to keep it OEM looking with small addition for a meaner look ( i.e: carbon fiber addon). For this reason, Alex had the job to restore the car as new as possible.
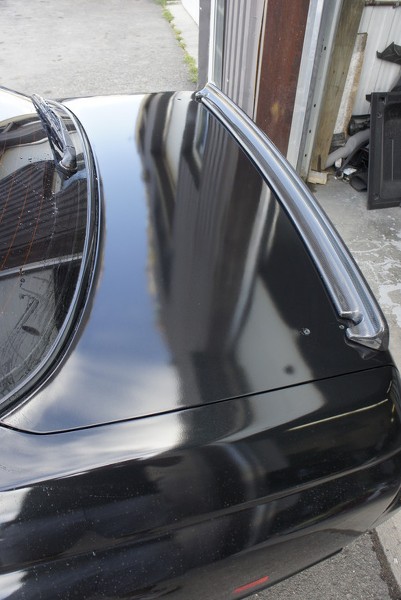
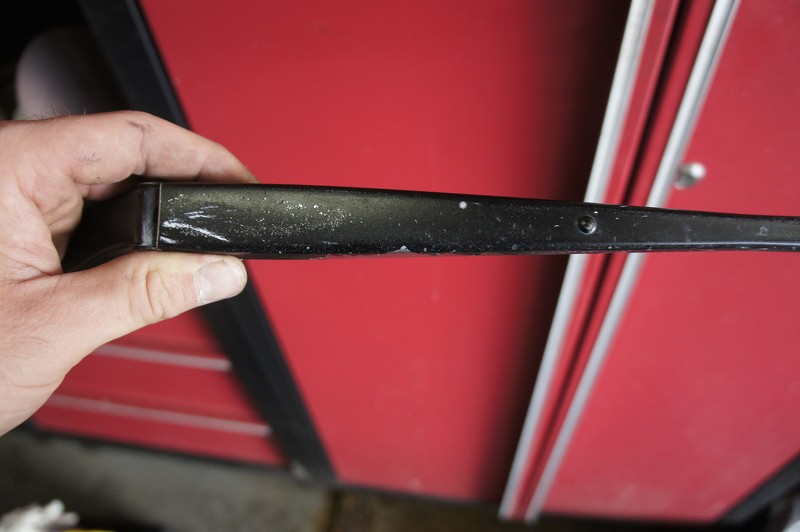
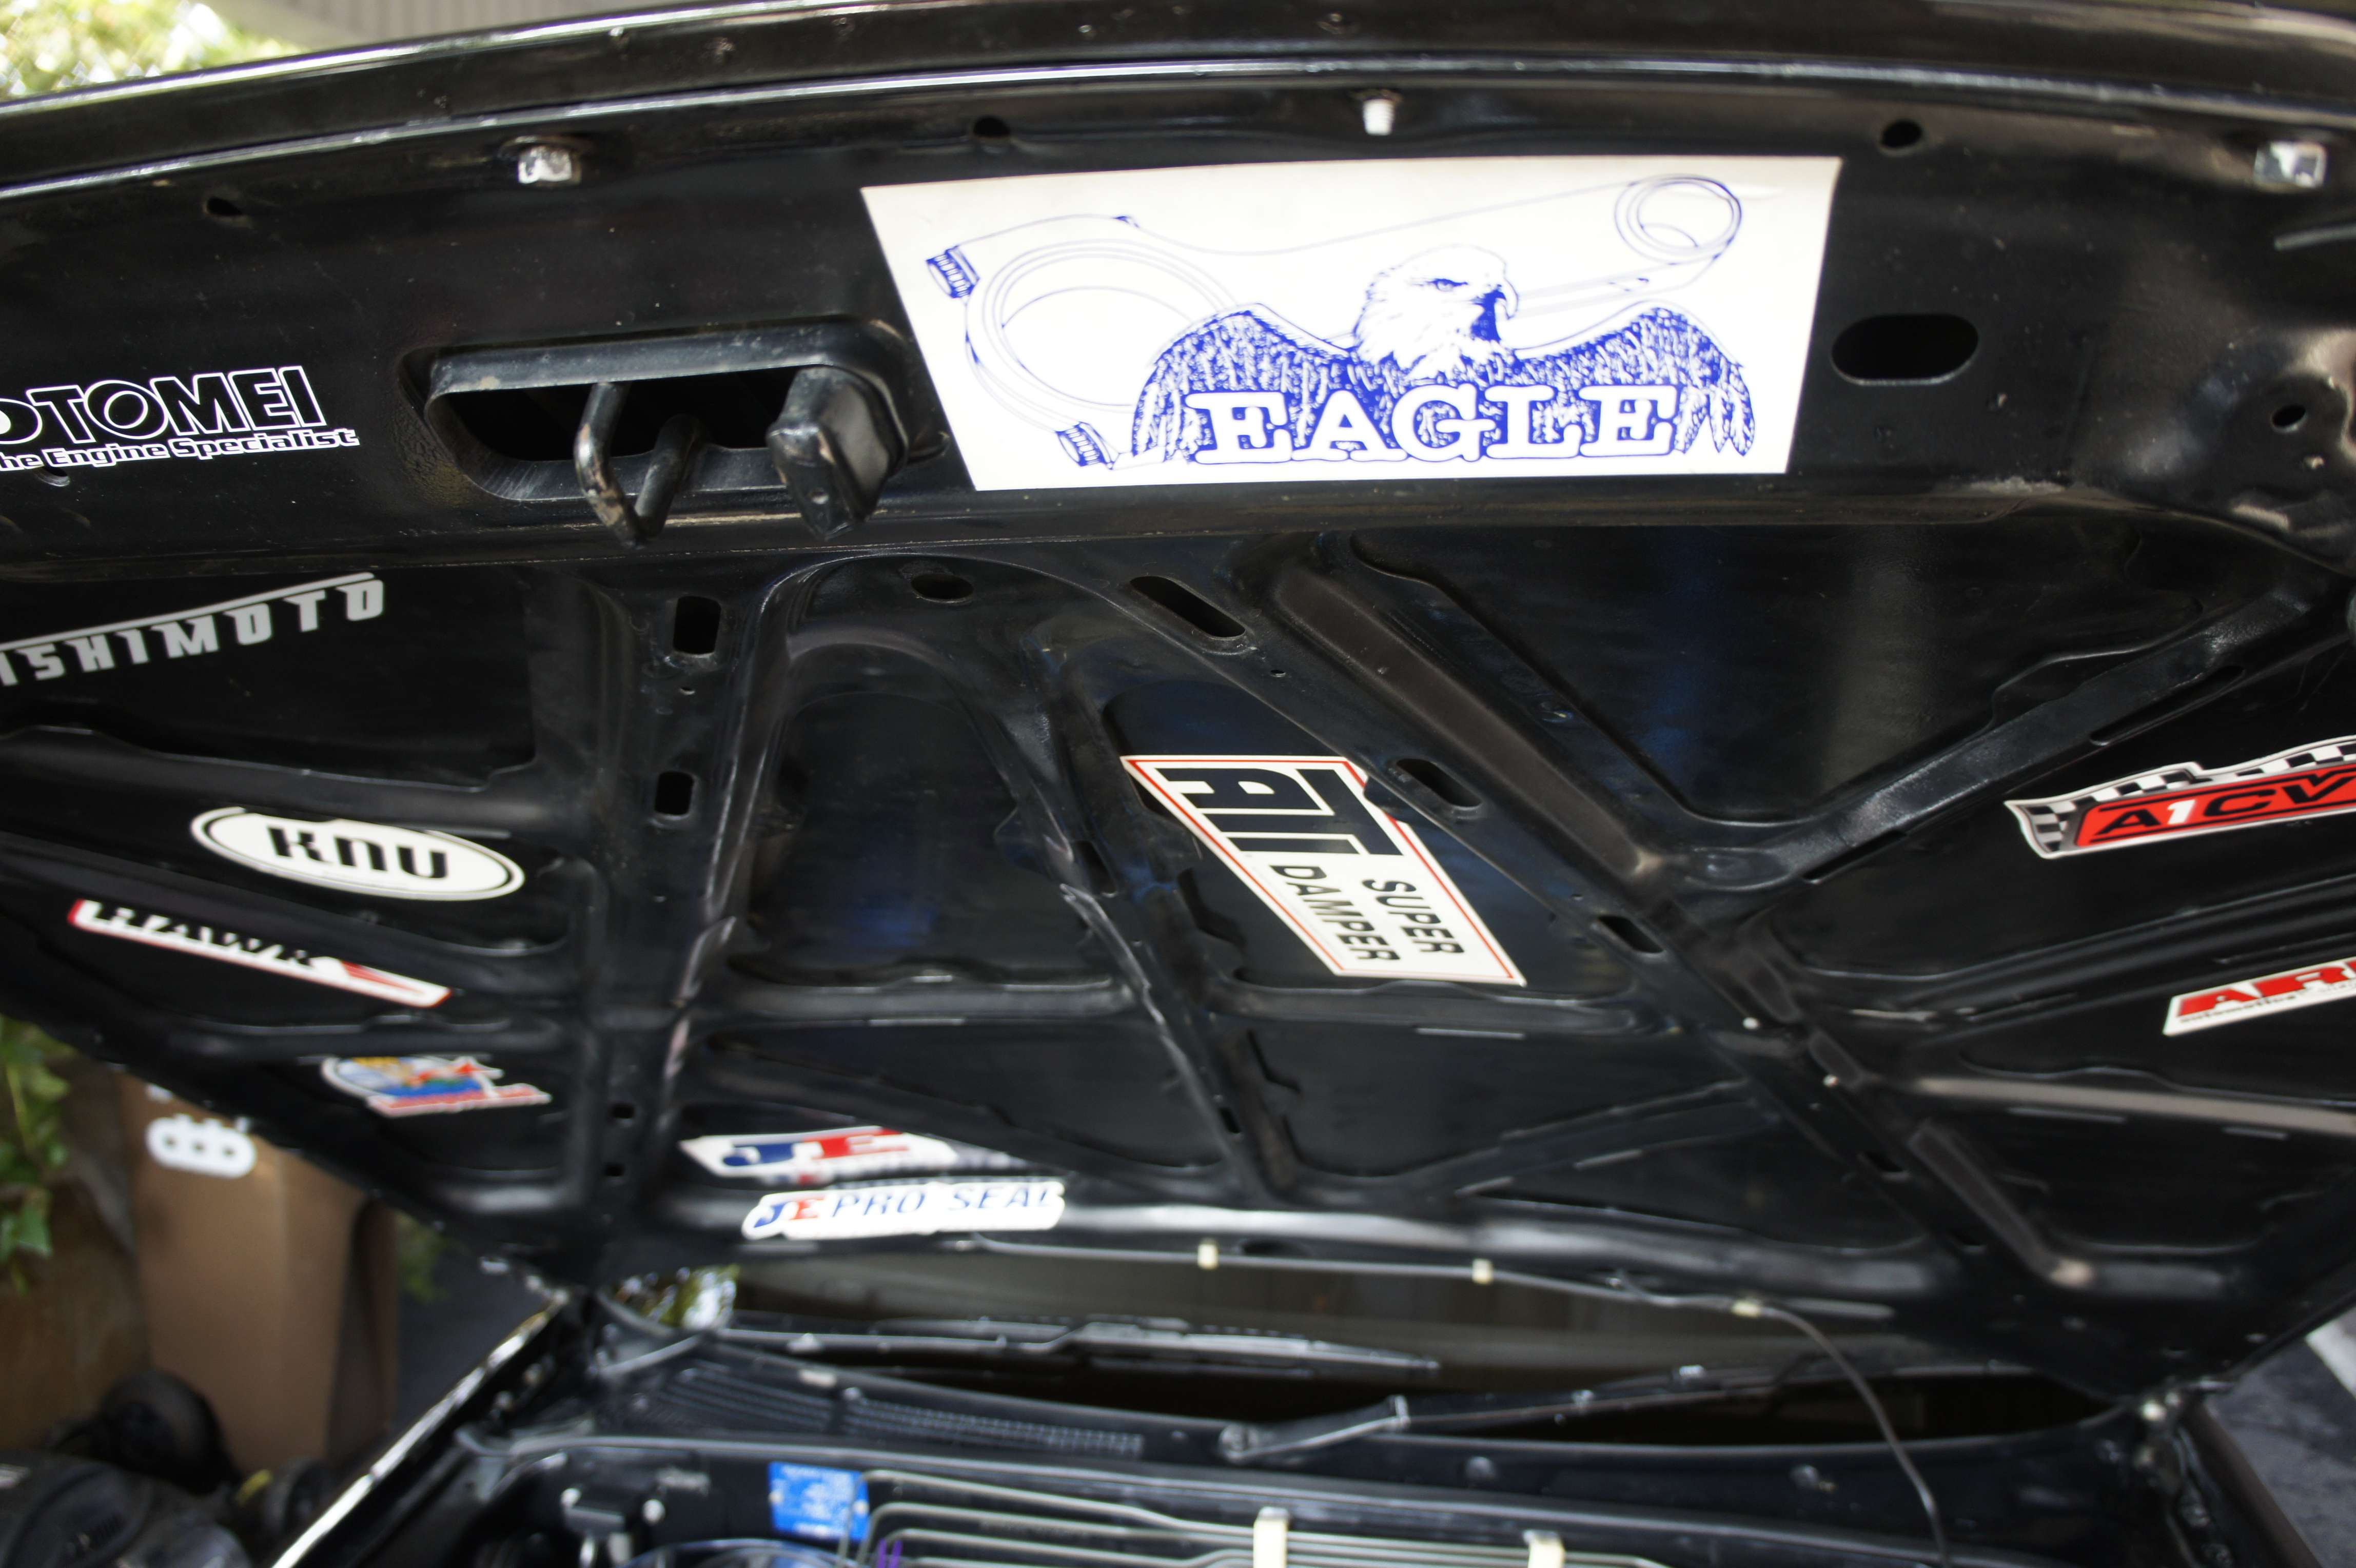
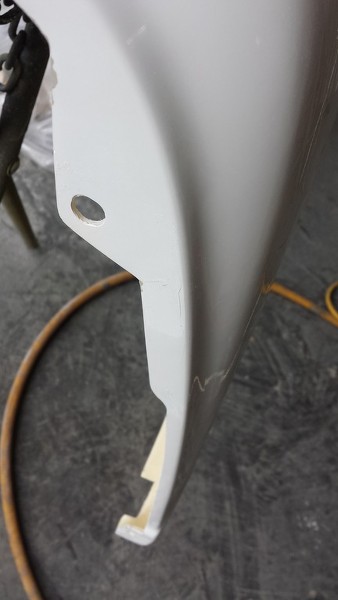
Trims: restoring trims is a real PITA because the car is now seen as a collection car and parts in Japan are now selling twice as much.. To change all the trims and seal on the car, it would've of cost min. 1500$ + 2 quarter windows ( which can usually go for 300-500$ each). So, Alex did a miracle by cleaning the trim, lightly sand them and paint them with a special trim black paint. I was very pleasant with what he did. Basically he saved the owner a 1500-2000$ expense. They look VERY GOOD.
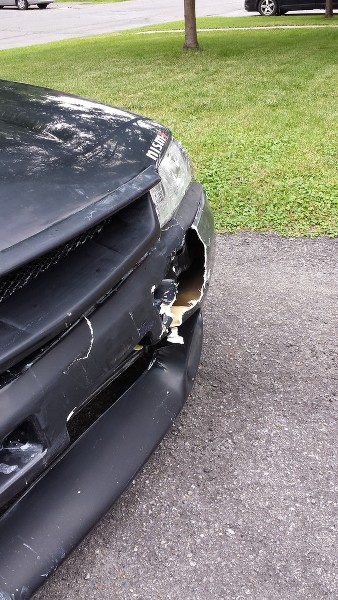
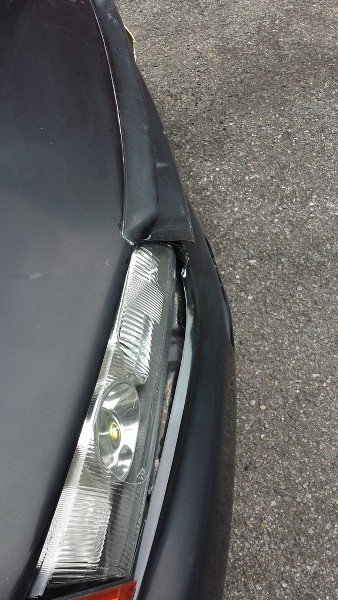
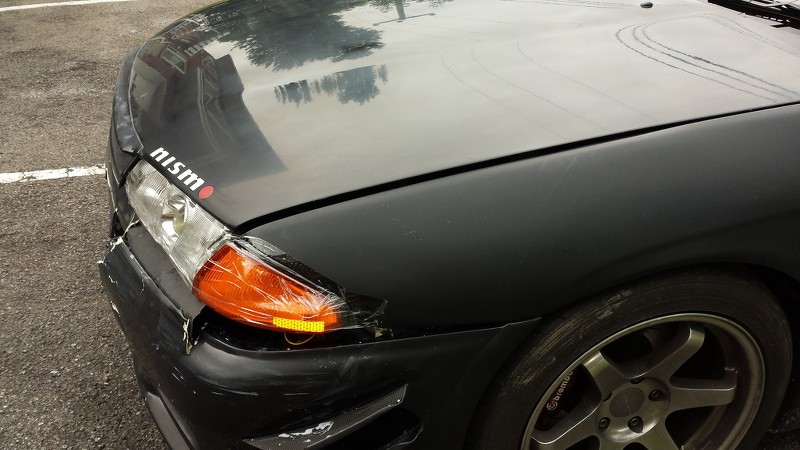
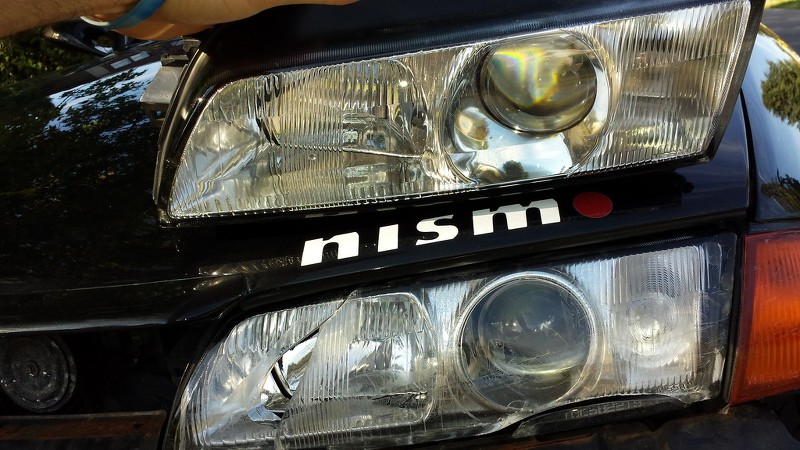
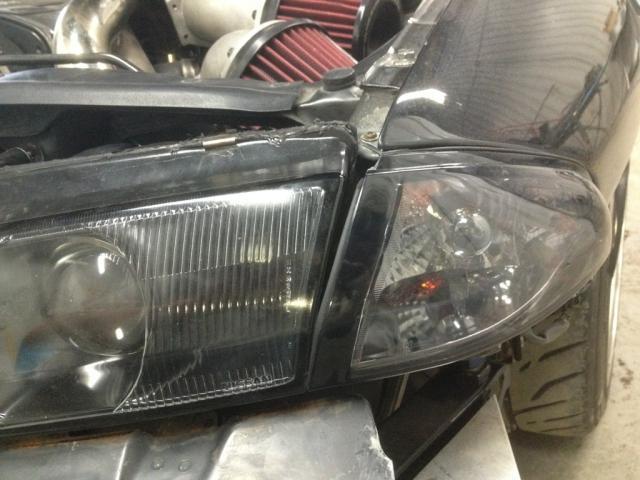
1) Remember part 1 where I said the bodyshop did a shimming job instead of a actual frame job ? well.. the gab between the headlight and corner like was like that ''V'' . The guy at promec knew a retired guy (about 70yr old) who have all the frame tools in his garage.. they brought the car there and they finally managed to do the job it deserved!
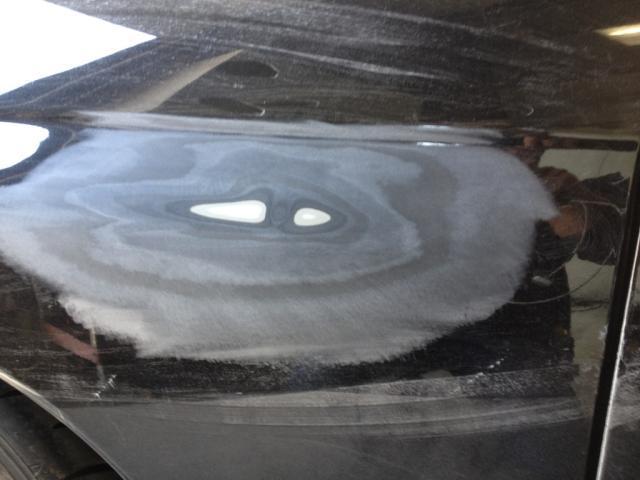
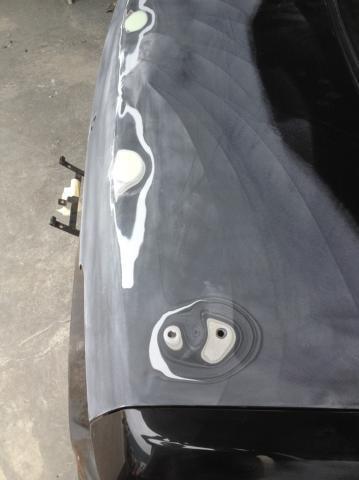
2) The car had some small dent and such..Alex was able to remove all these dent simply by sanding down the paint to the metal because the car had so much paint on the car anyways.
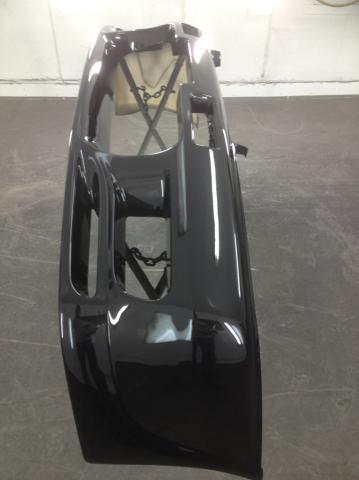
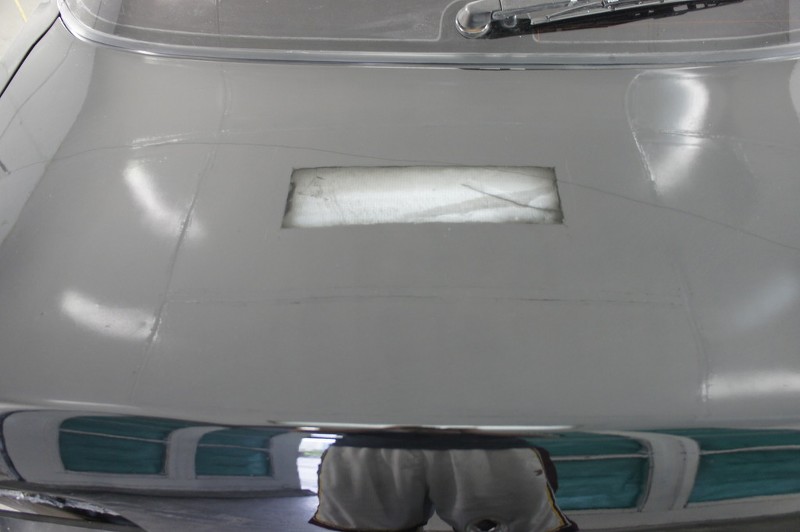
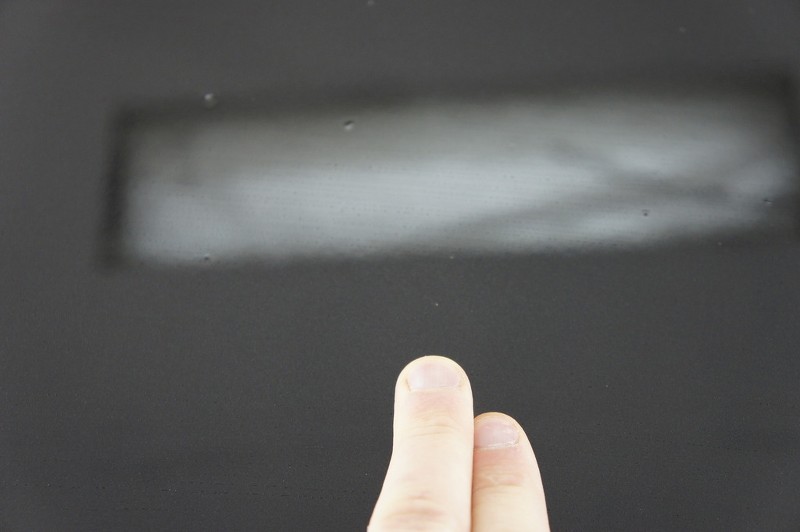
Because of the new carbon fiber N1 lip on the hood, Alex had to fill the hole used by the oem lip:
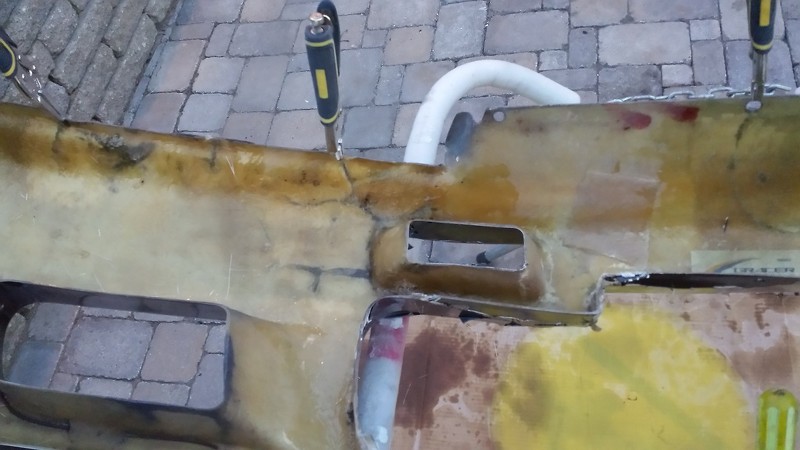
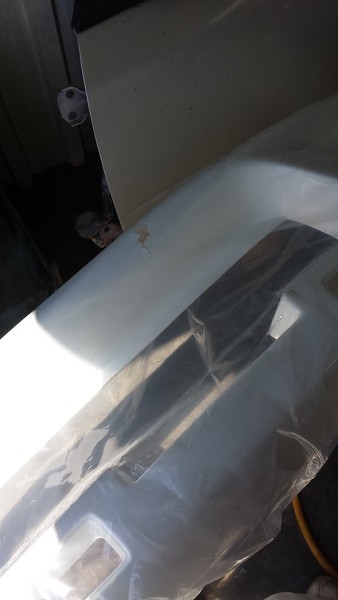
While removing all lower body parts, Alex found out some part of the car had body filler and/or small rust ( normal for a 26 yr old car!)
Sanding down all the paint :

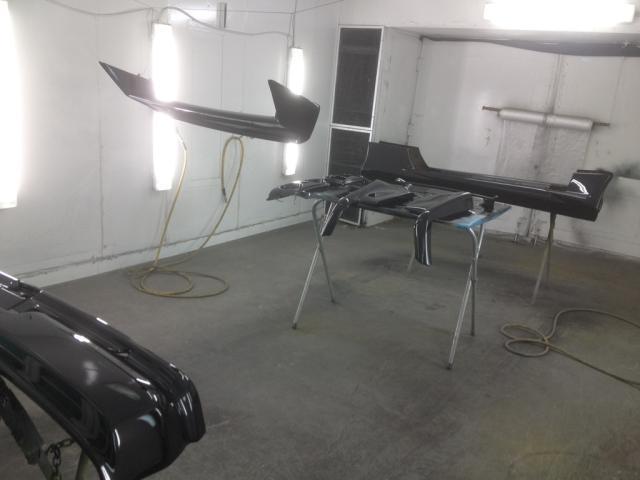
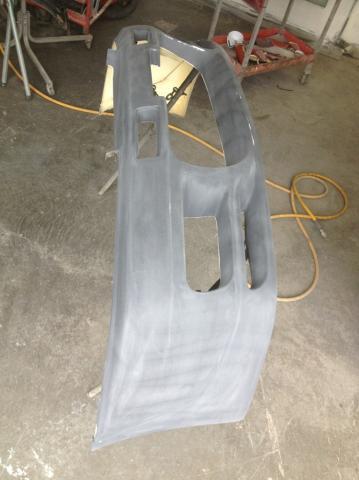
Then, each individual add-on part got painted:
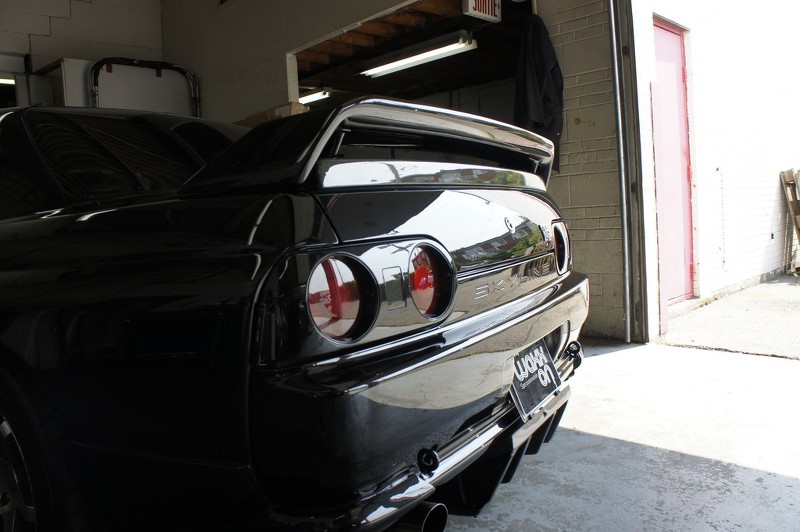
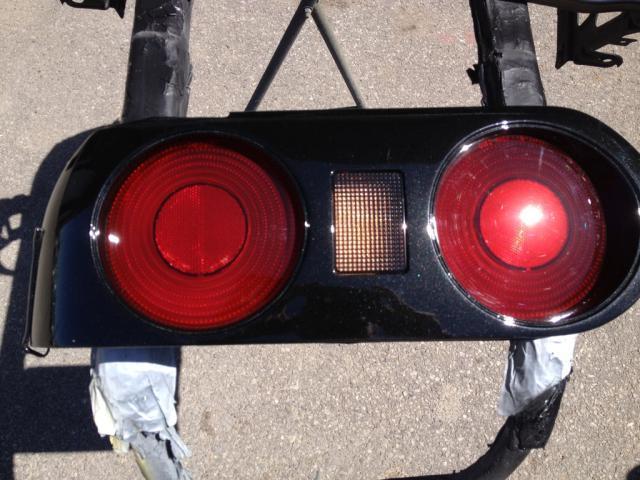
The taillight received a smoked coat ( the owner didn't want to go too crazy because like I said before, preserving the OEM iconic of the Skyline was essential), but it still added a nice little gloss to the taillight. Corner light and backup light also have been smoked.
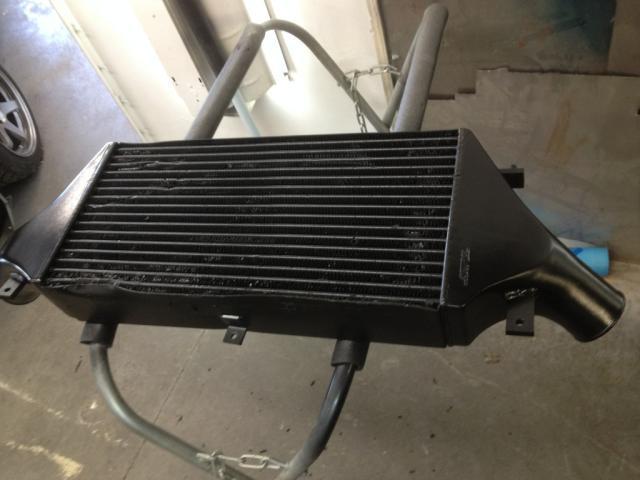
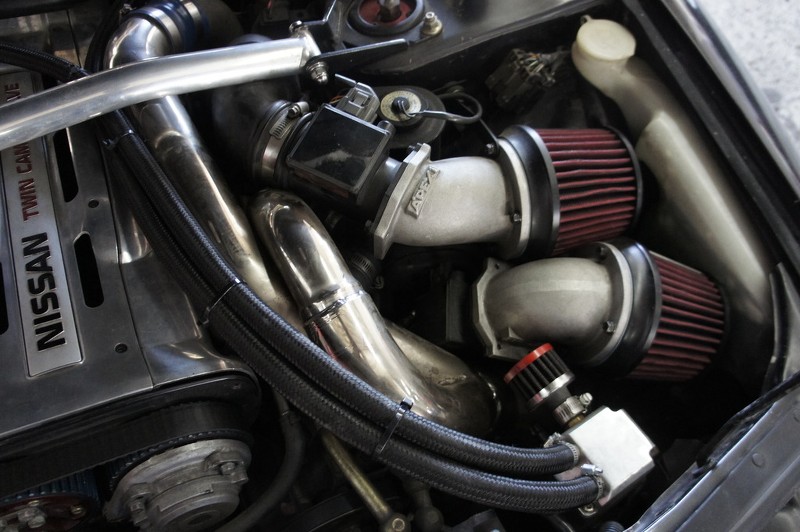
I personally recommended we had the intercooler black painted and it came out very nicely!!
big 4 inch greddy intercooler:
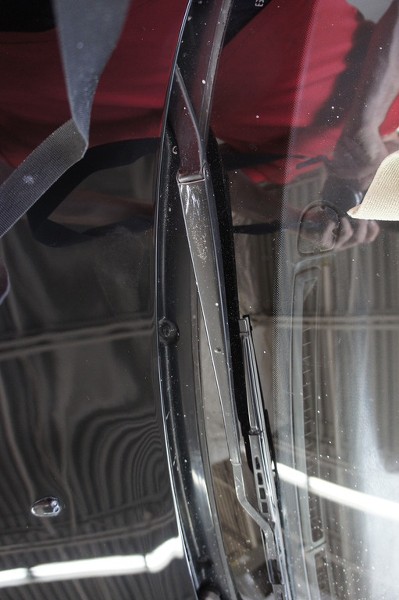
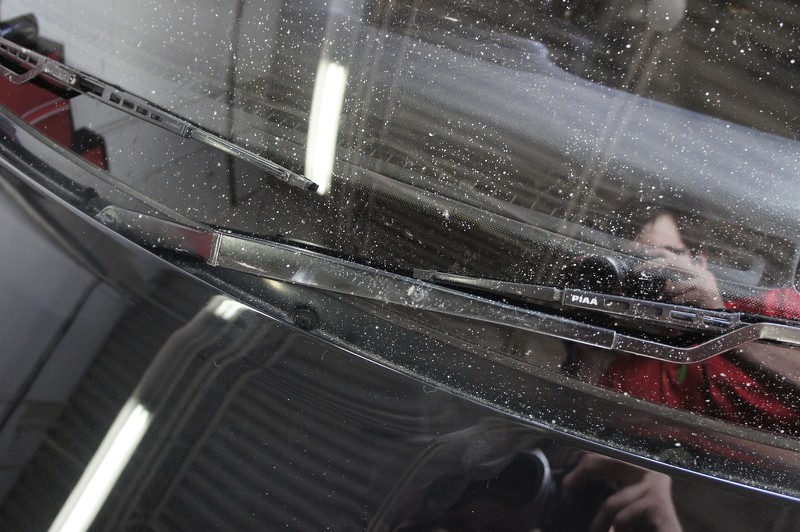
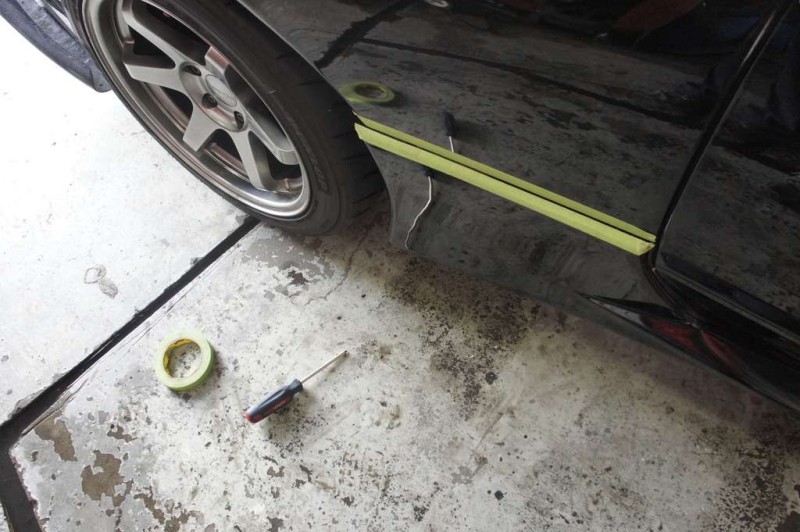
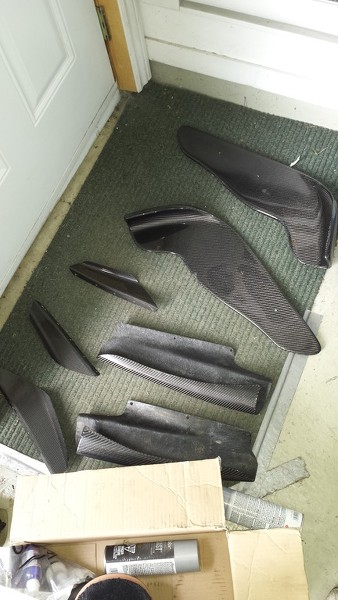
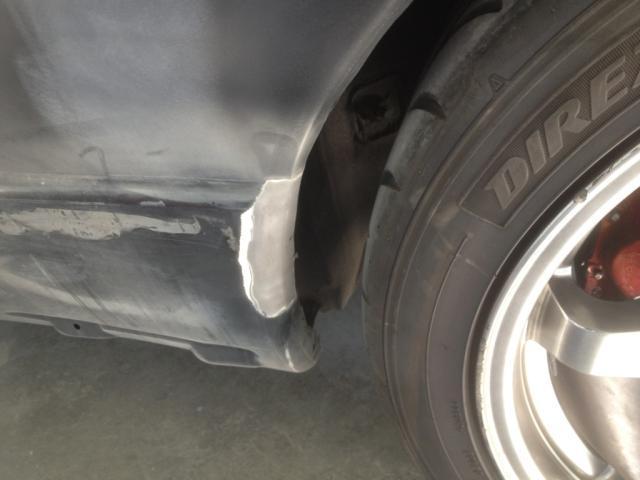
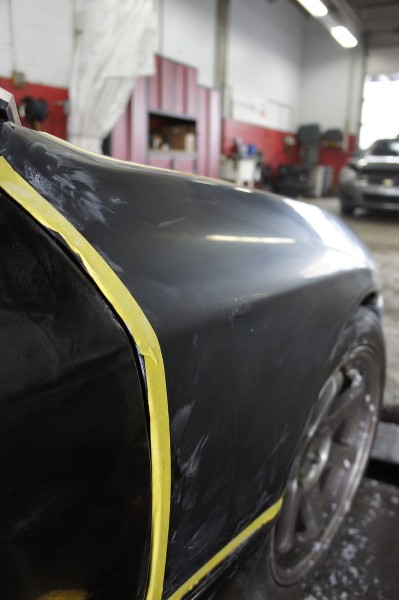
When I first saw the car, I realised Alex was a fan of drilling in the body to fix the skirt and spat.. however, even after some adhesive promoter and 3m double side tape.. some trim came off the car:
So we had to drill some part of the body to fix them 100%. Also, I should mention that these parts were not ',bolt-on'' like the product state! Lots of grinding and trimming were needed to make them fit .
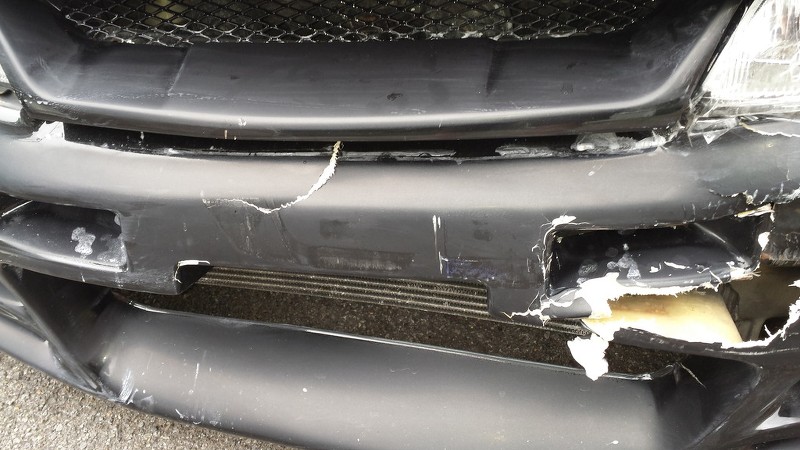
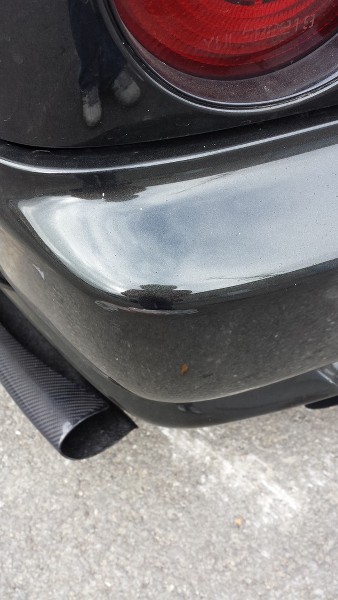
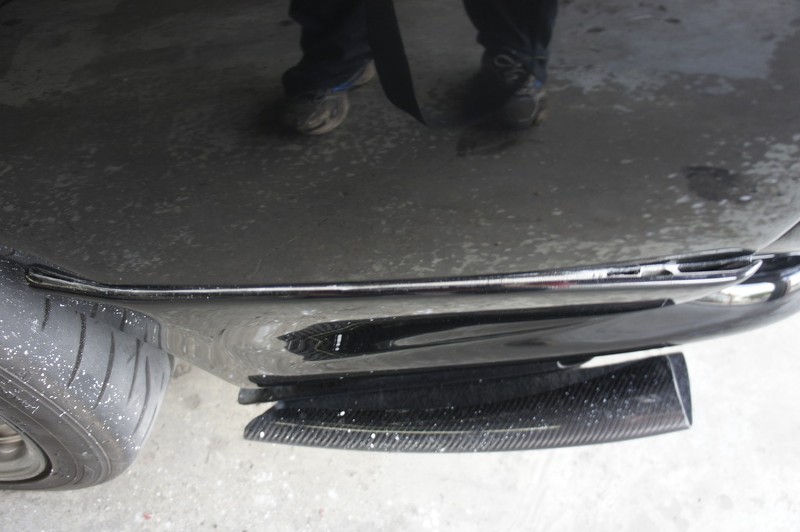
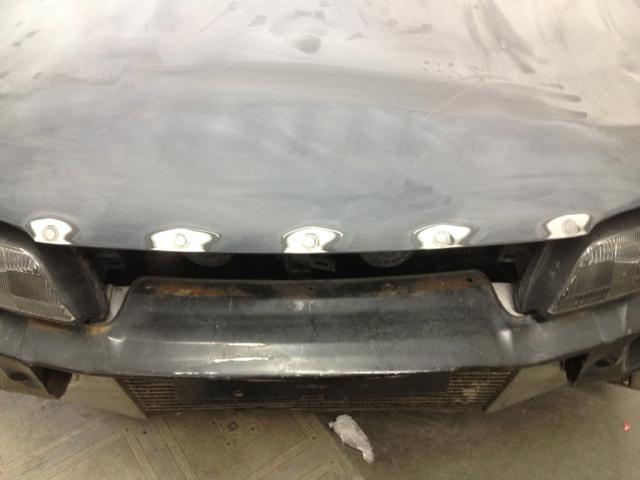
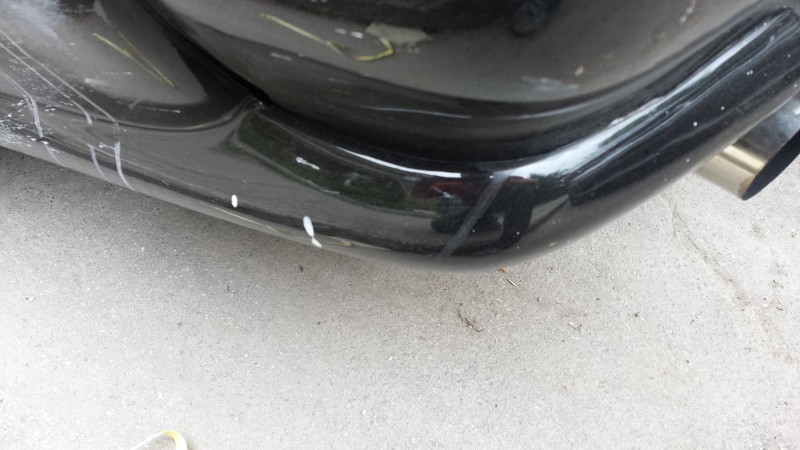
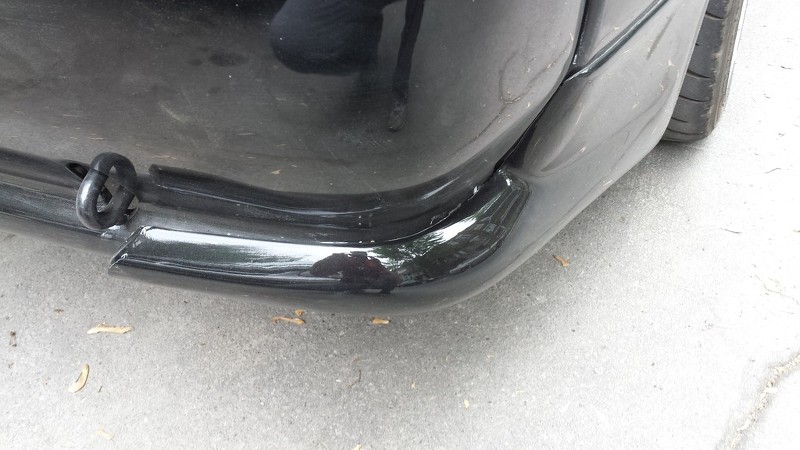
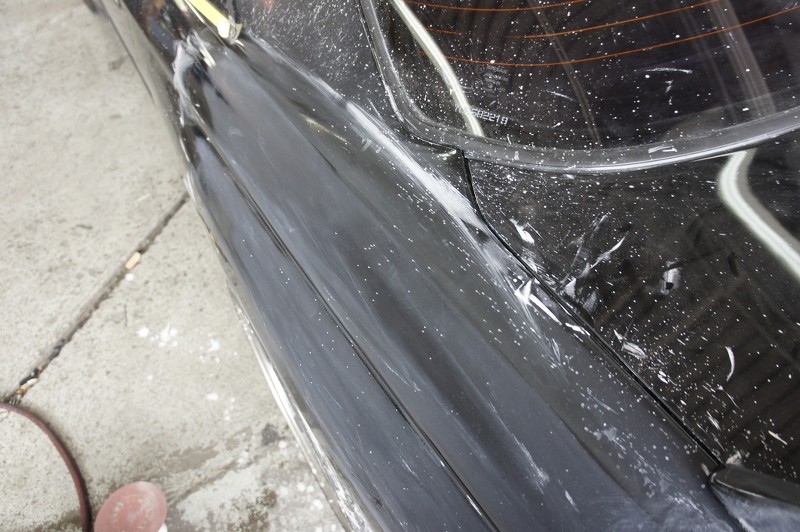
Ohhhh and you remember what happened with the repair of the bumper !? you know the reparation wasn't well done first.. so instead of wasting more time on the repaired bumper, the owner decided to buy a brand new one from greddy usa.... well look how the bumper arrived at the bodyshop!! Man, he is so unlucky!! The guy pay twice the price to have a brand new bumper shipped and that's how he got it:
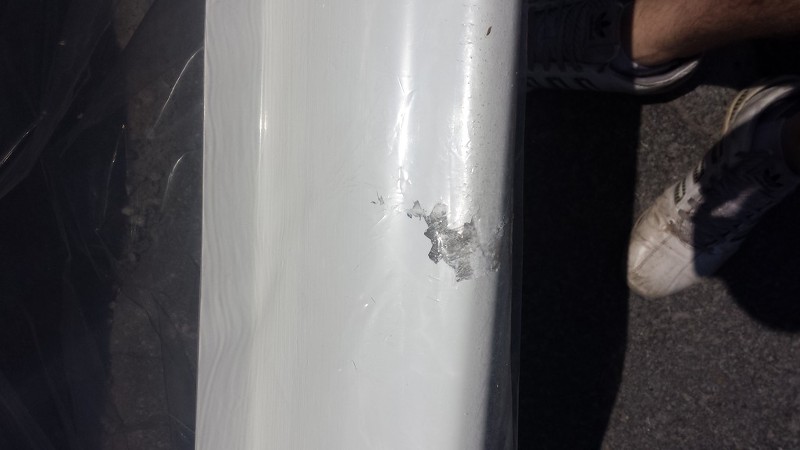
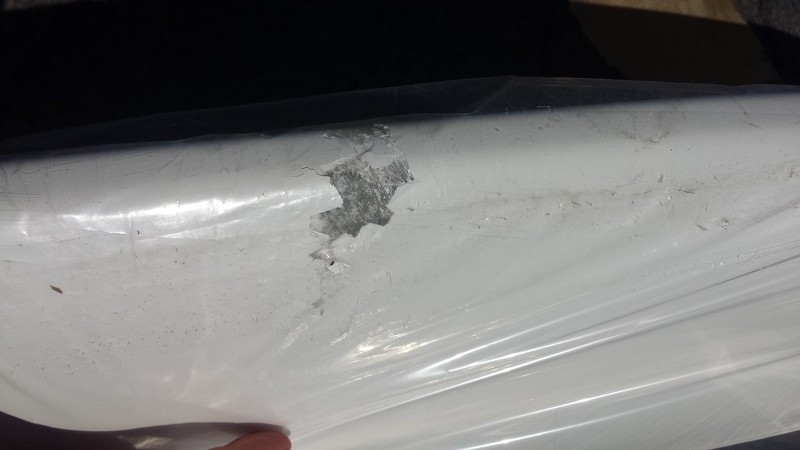
GREDDY USA have been total douchebag about it saying it was our fault and coming up with stupid excuse like we didn't keep the box..instead.. why don't you put bubble wrap worth 10$ all over the bumper ultra-expensive (1200$us) so we're sure thing like that don't happens. No bubble wrap was found on the bumper. a total disgrace. Shitty company I hope everyone who read this won't support greddy anymore !!! Way to treat their customer..... seriously screw them.
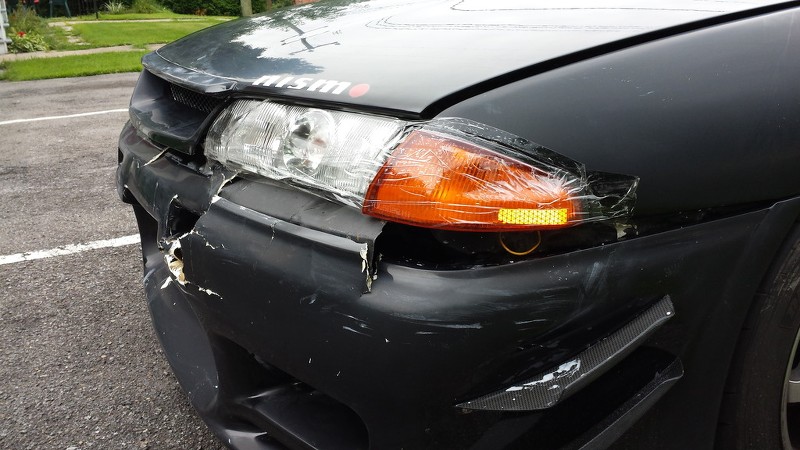
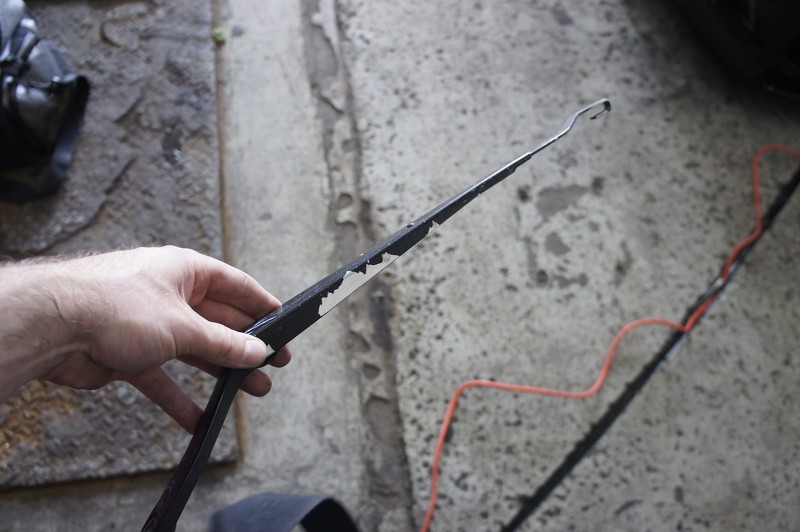
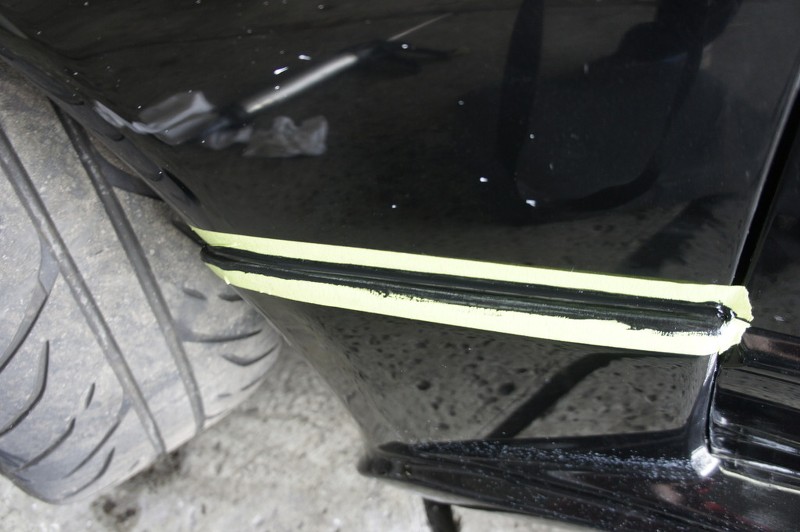
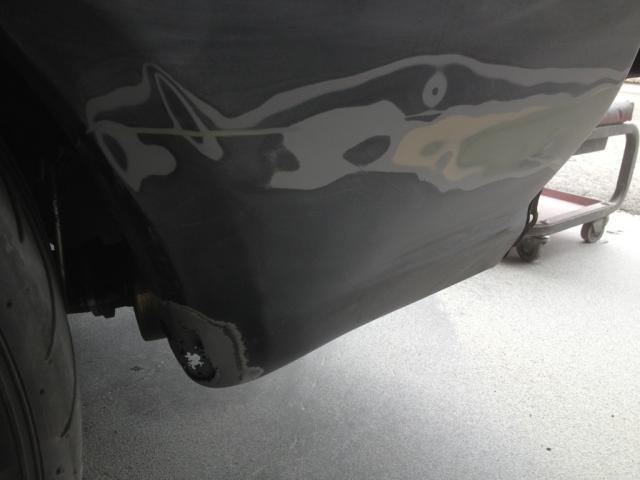
Alex, i had to repair it, but somehow the reparation didn't hold up for more than 50 kms.. not sure if the repair wasn't perfect or the paint too soft, but it only took 50 kms to put a solid crack at the exact same spot.
At the moment of writing this i haven't found a solution to this problem. we'll look into it ( either we try to fill the cracked paint or get it repainted again)
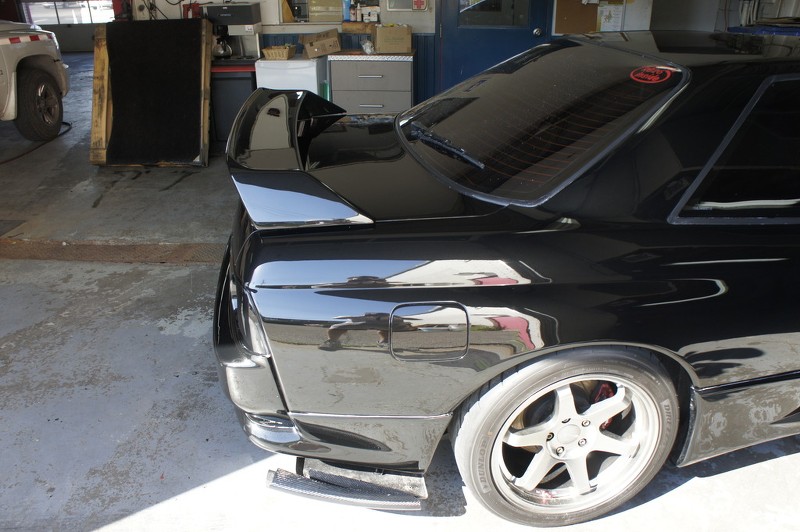
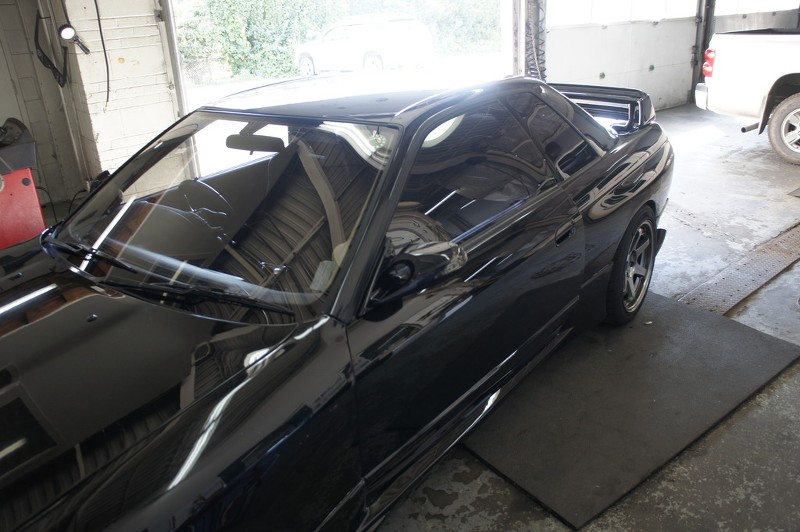
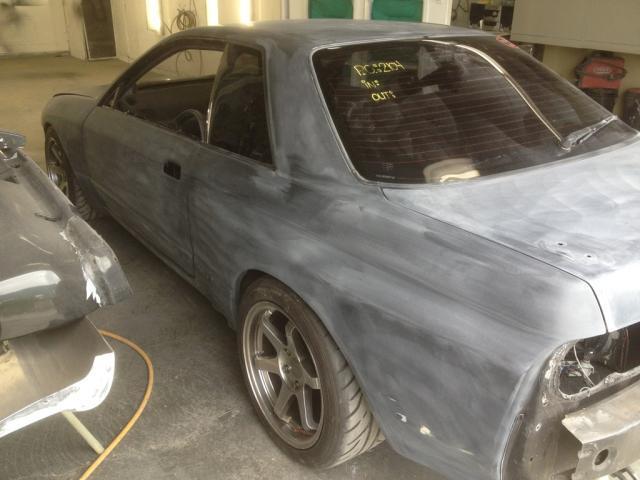
Car is almost ready.. its time for me to enter the play!
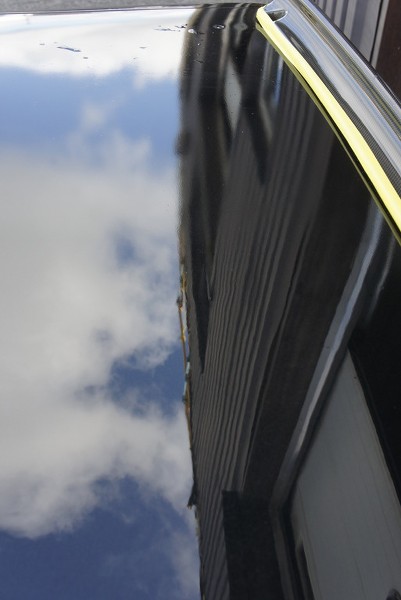
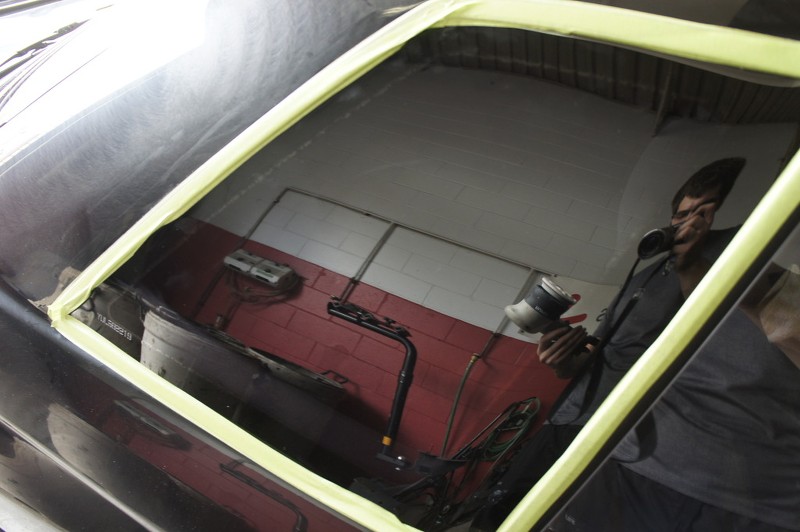
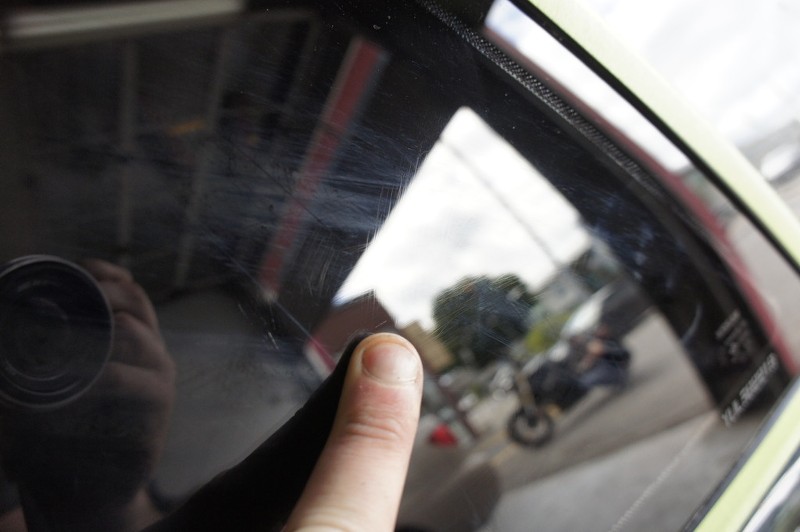
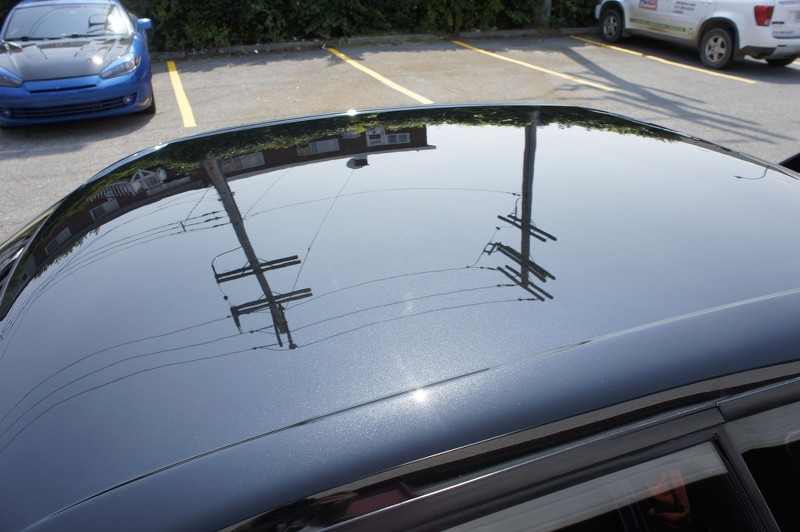
So i get to meet the car again, the painter called me asking me to come polish the trunk before we put the wing and won't be able to wet-sand it later one without removing the wing again.
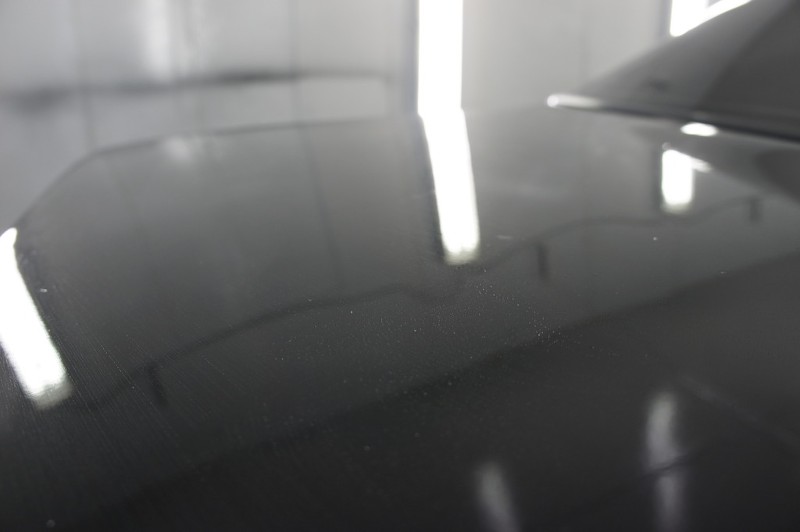
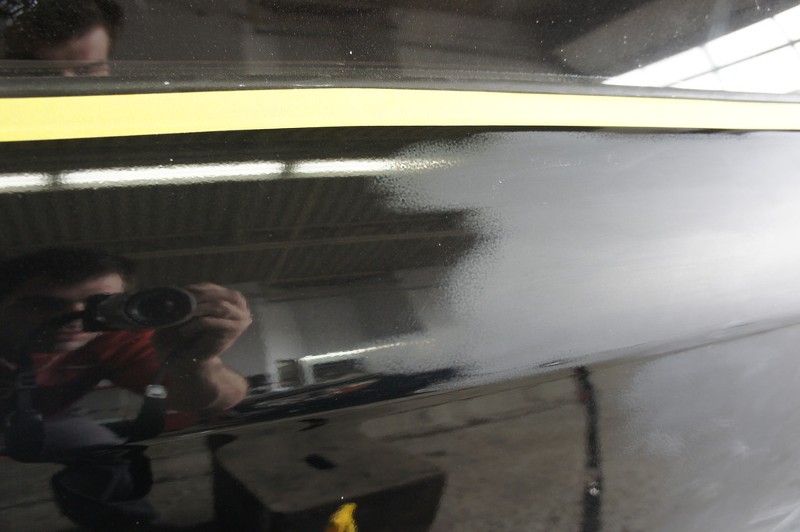
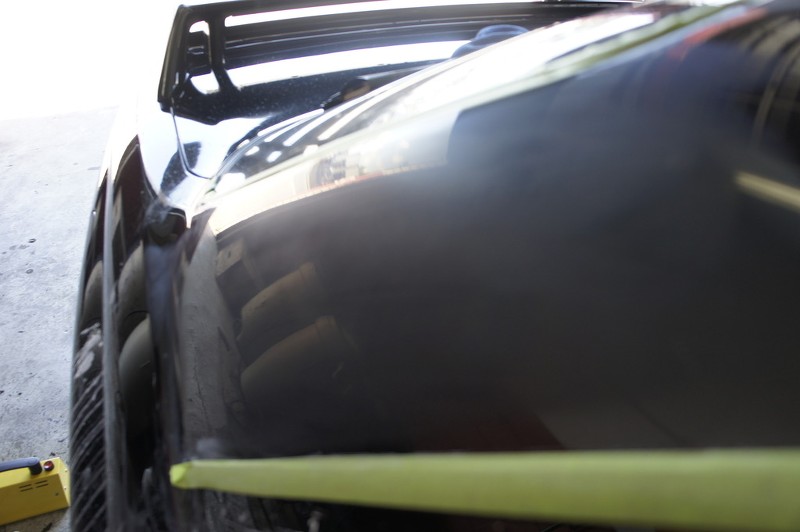
Initial condition: missing a ton of clear reflection.. let see what we can do:
Process:
Rupes air-powered sanding machines ( we use the 3 ans 6 inch machine)
3m wet sanding paper
1 inch spot air powered machine
meguiars and 3m sanding and finishing paper
3m masking tape
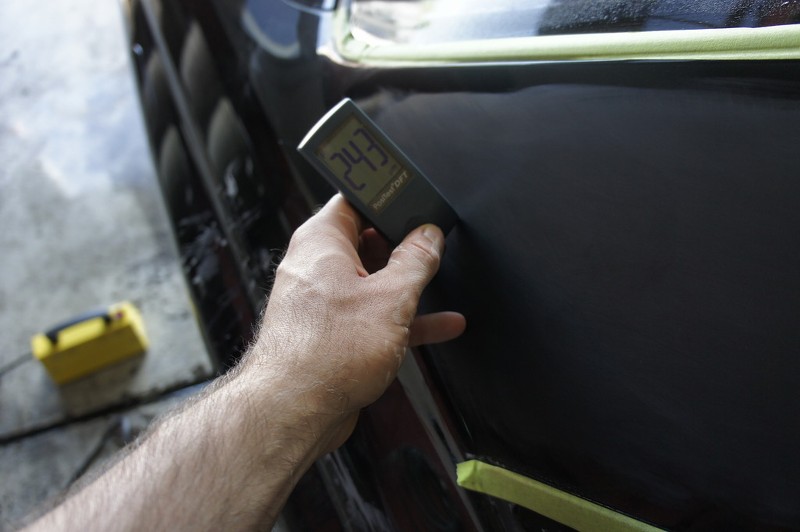
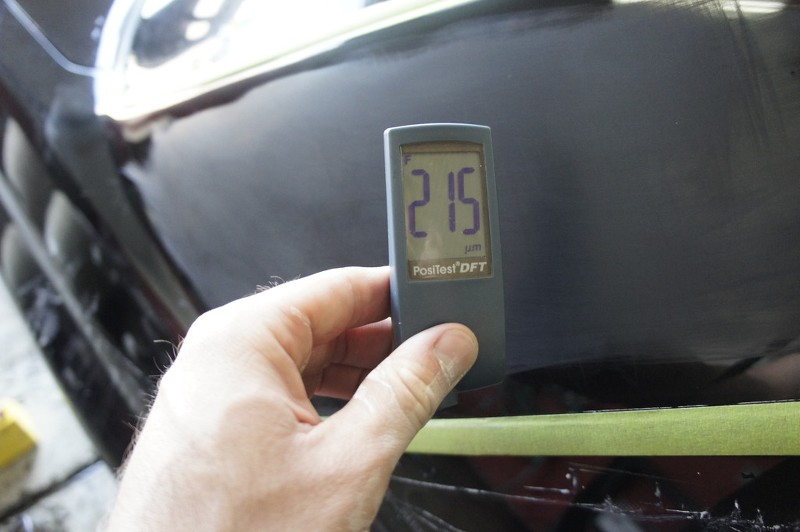
Deflesko 6000 advanced gauge for paint reading on metal and alumium
Defelsko 200B gauge for reading fiberglass
3M sun gun
LED torch light
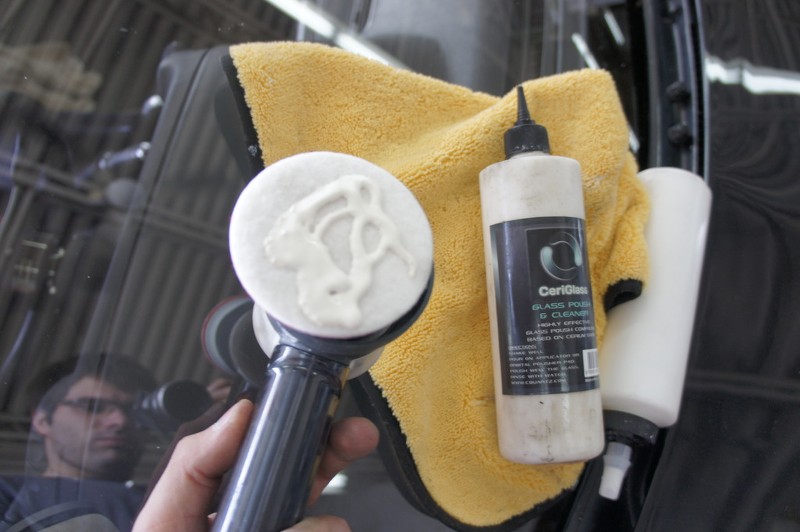
Rupes bigfoot for finishing and Makita rotary for compounding
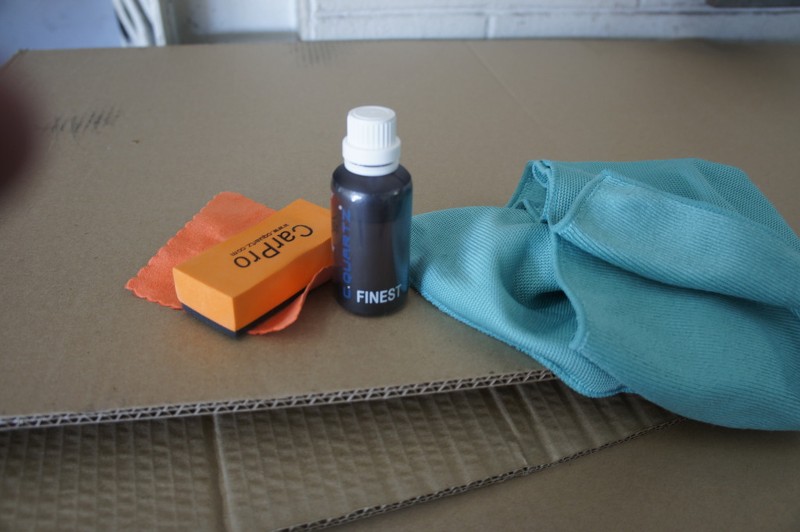
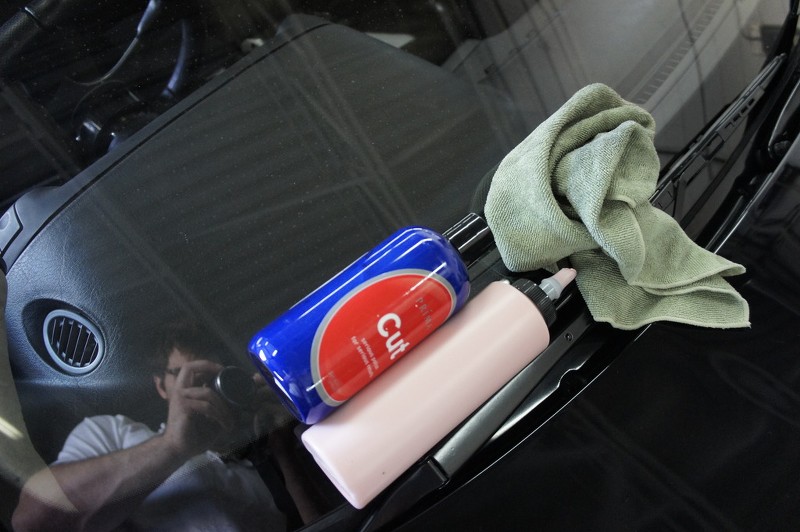
Menzerna , HD and Meguiars polish/compound
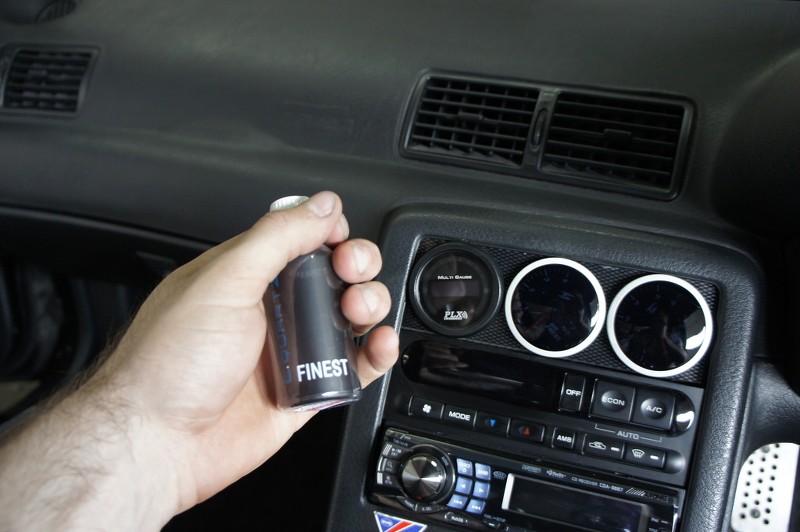
Cquartz Nano-coating Finest
I'm sure I'm forgetting stuff lol...
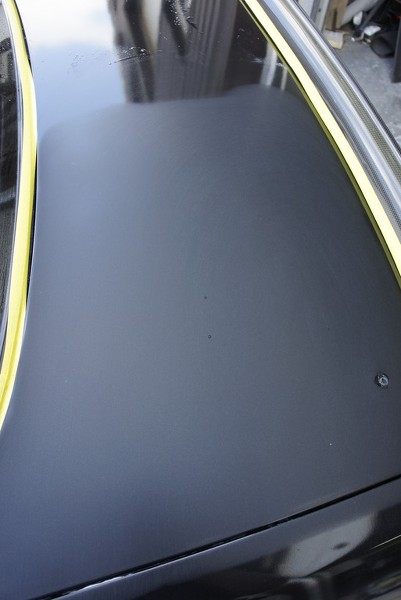
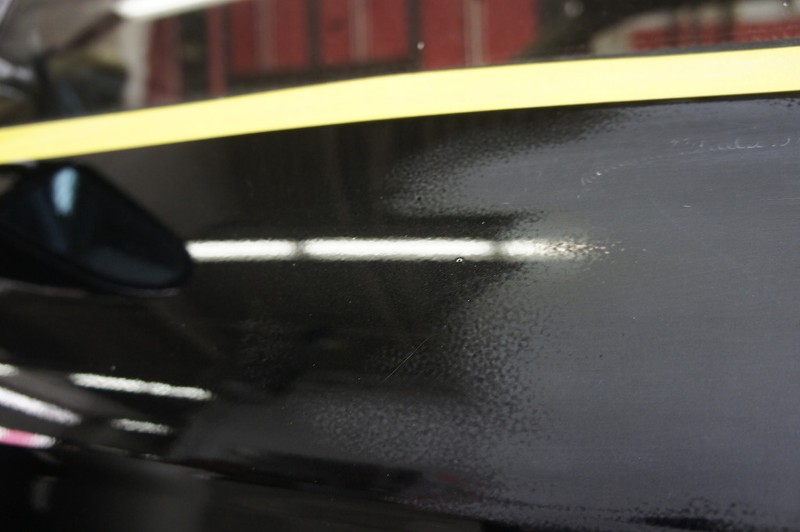
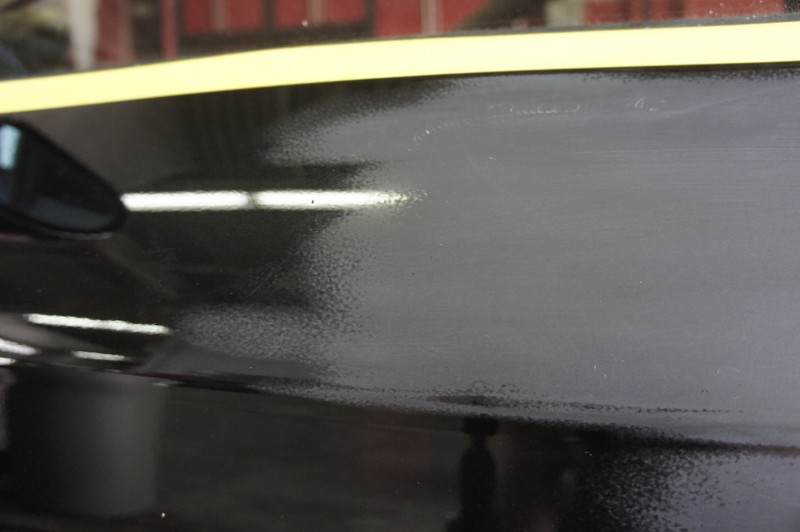
Orange peel:
Here's the difference between a finer grit sanding on the left and a after 2 sanding pass ( one beeing coarser and one finer) :
And now a more uniform look:
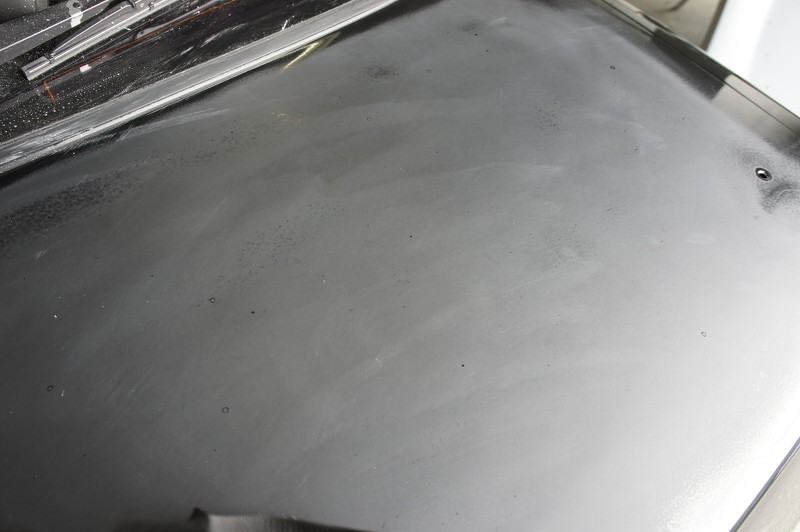
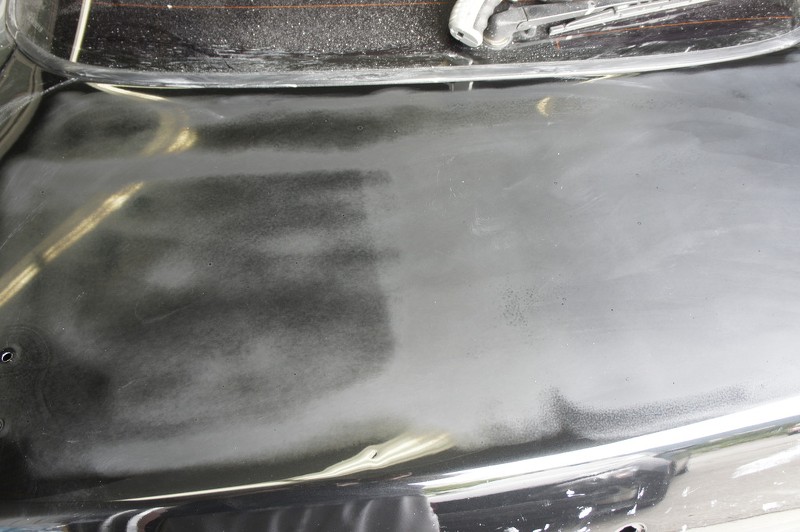
Work in progress: you can clearly see where theres still some orange peel to be removed and where the paint is flat and even:
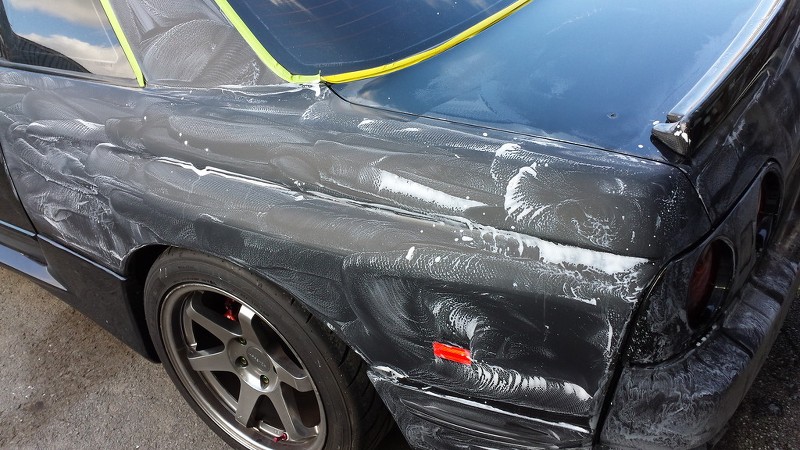
Wet-sanding can be EXTREMELY MESSY! Here's one reason why a full wet-sanding is a minimum 15-20 hours. so much time needed to clean your mess after:
here I'm about to knock the orange peel on this door:


Here's a true work in progress,, it reminds me of the inside of a tree, where you can see the different layer of wood depending on its age. gradually you can see the orange peel beeing ''flatten'' and offering an uniform matte look to the paint:
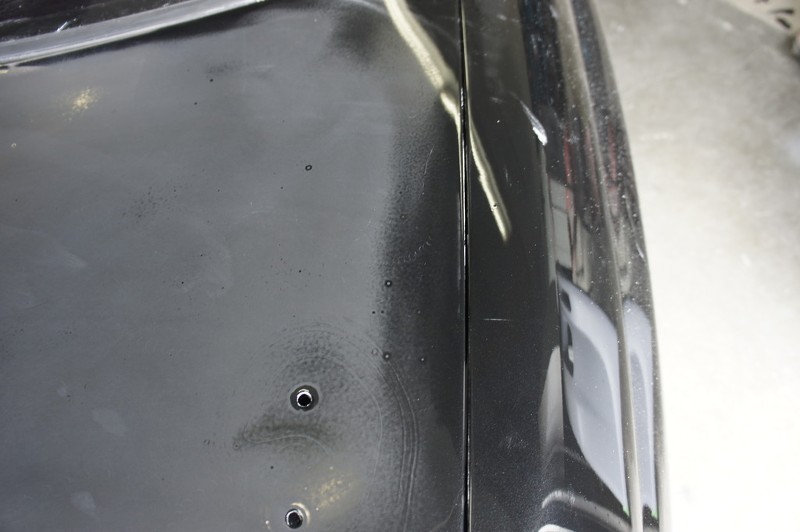
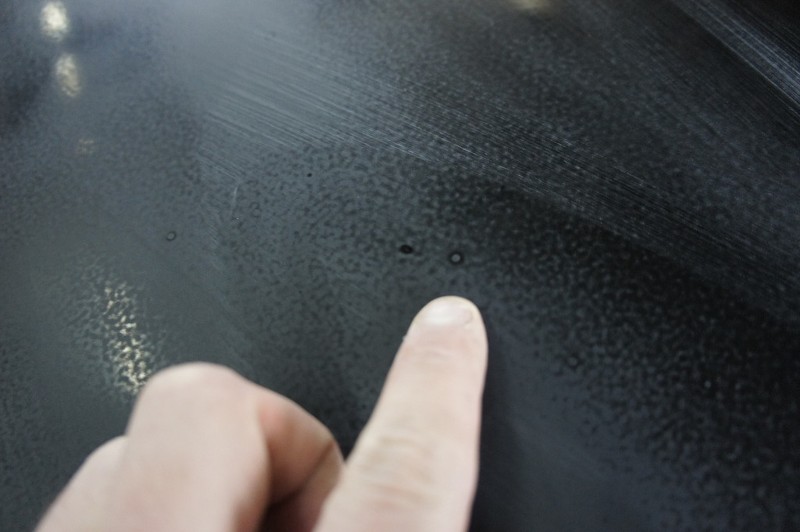
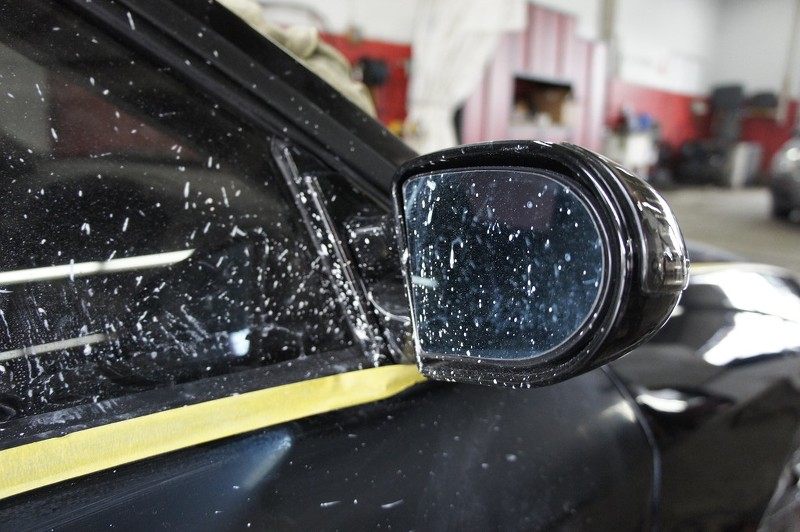
These are the dust particle that gave me so much troubles on this car:
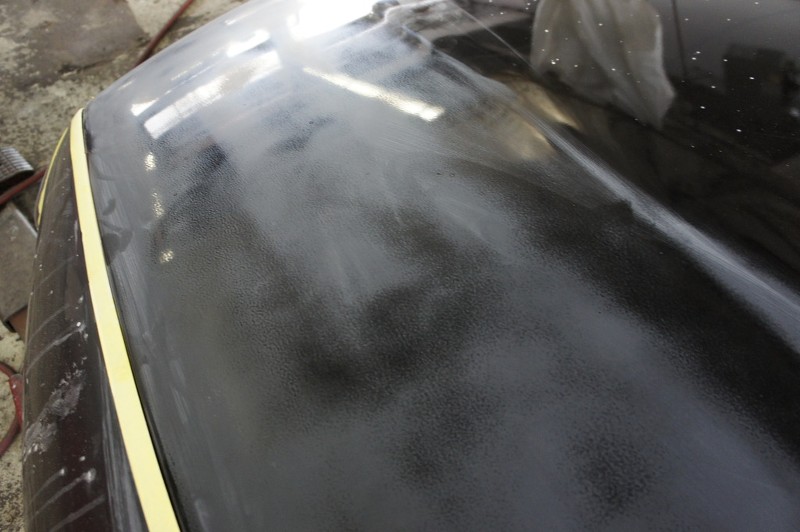
The painter was too generous with his clear coat ; putting too much clear coat can have a CONS.. it takes much longer to dry and thus it's harder for the detailer to cut throught the clear coat. As you can see, although i'm using a machine to offer an uniform sanding, i still ended up with lots of uneven spot:
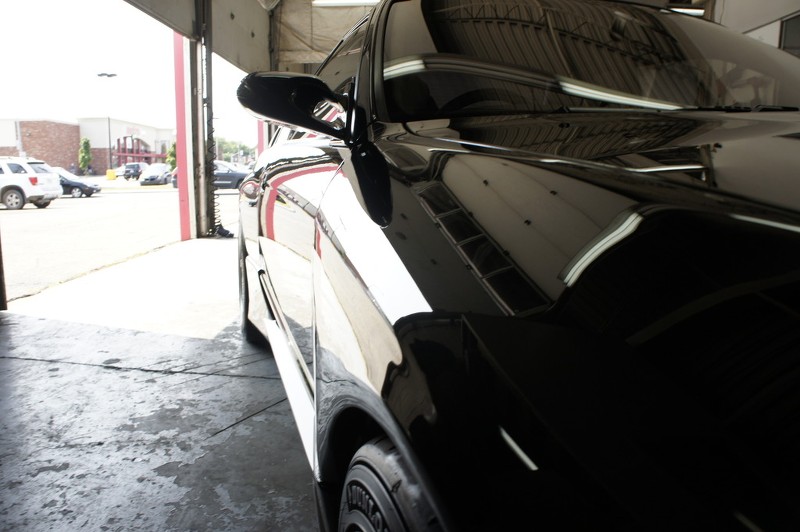
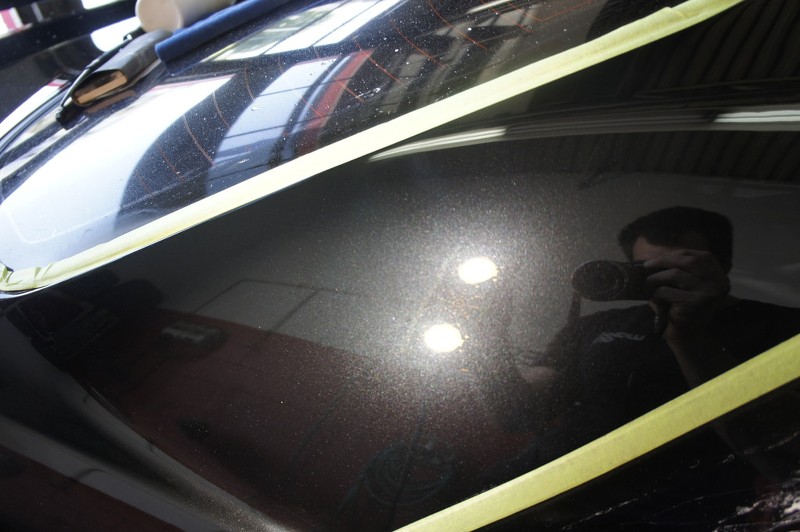
After a third pass of finer grit, you can see the clear reflection coming back.. all it needs is a few compounding pass with a foam pad and we will have a perfect panel!


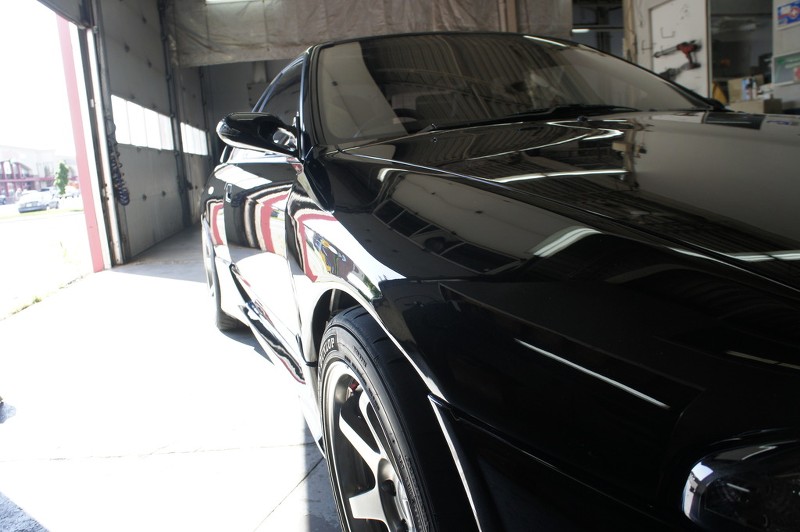
Booooom !! Told ya! Look at this reflection and gloss, no final polish or wax or nano-coating applied, just compounding with still slight hologram and buffer trail.

But it's still ultra messy:
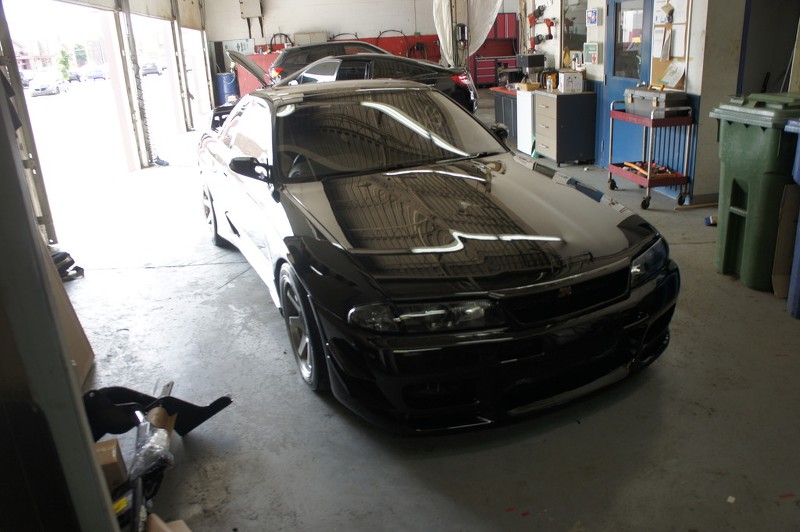
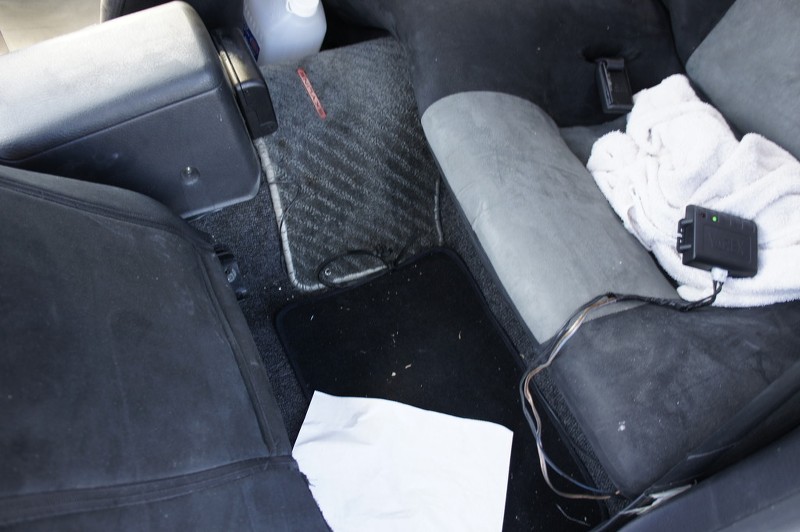
After getting the car back from the bodyshop ( it stayed there 2 weeks + 2 month at the other useless bodyshop in 2013) + mechanic work .. the interior was very very dusty.. so we took the opportunities to deeply clean the interior using the best machine and technique possible:
Steamer machine
Industrial drying tool ( for faster curing and quicker application)
Hot water professional extractor machine
Ton loads of different chemicals ( raceglaze alcantara cleaner and anti-bacteria cleaner, meguiars fiber cleaner to name a few)
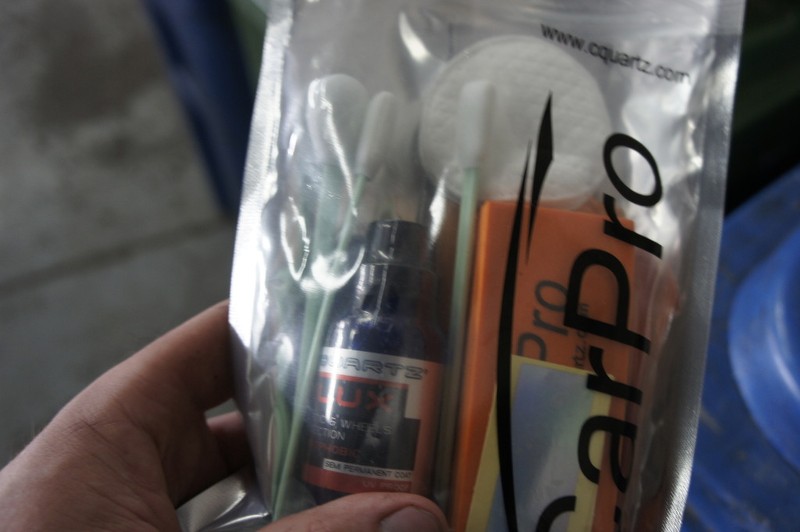
Cquartz Fabric and UV protection
Aquapel fog fight
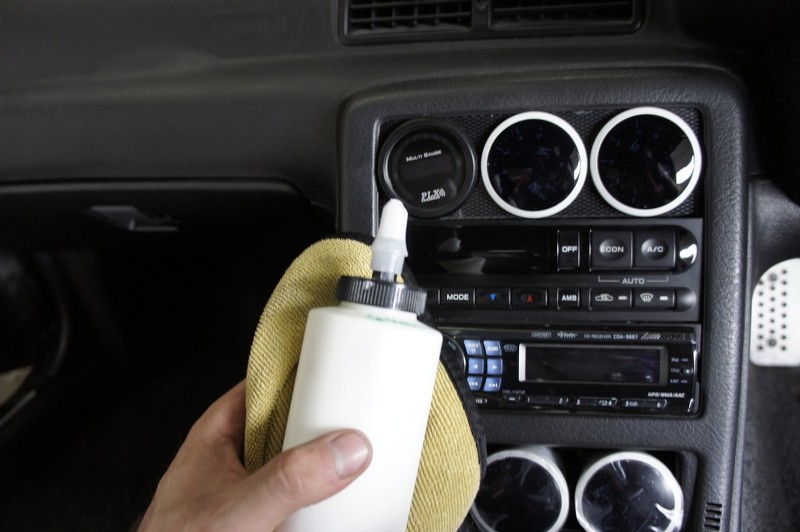
Cquartz Finest for all plastic screen, metal pedal and door sill
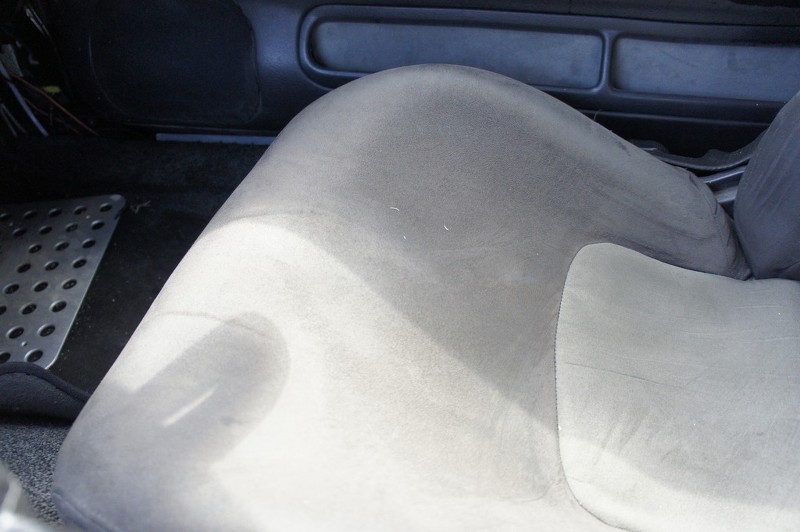
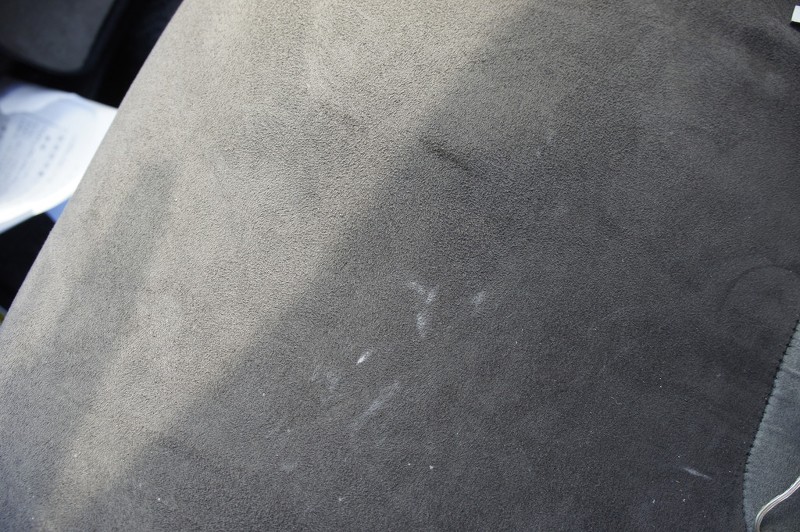
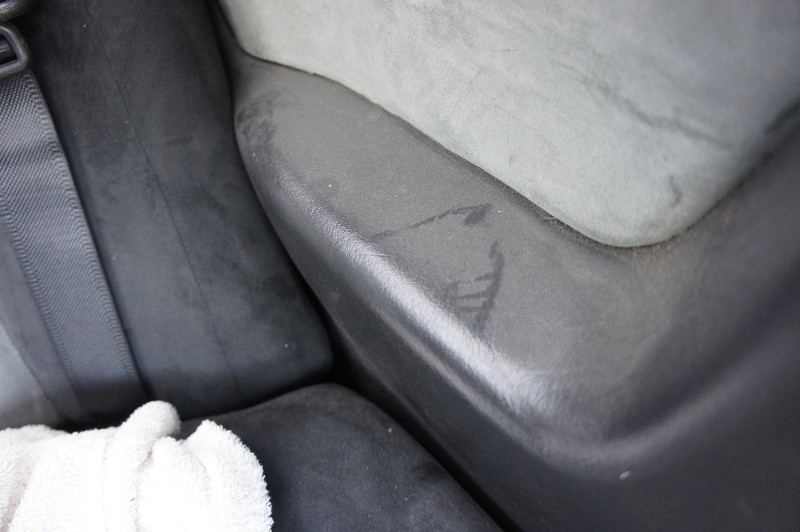
Dusty interior with some stain on the seat:


Professionnal extractor at work!
Cquartz ozone treatment to help kill bacteria that cause bad odor:
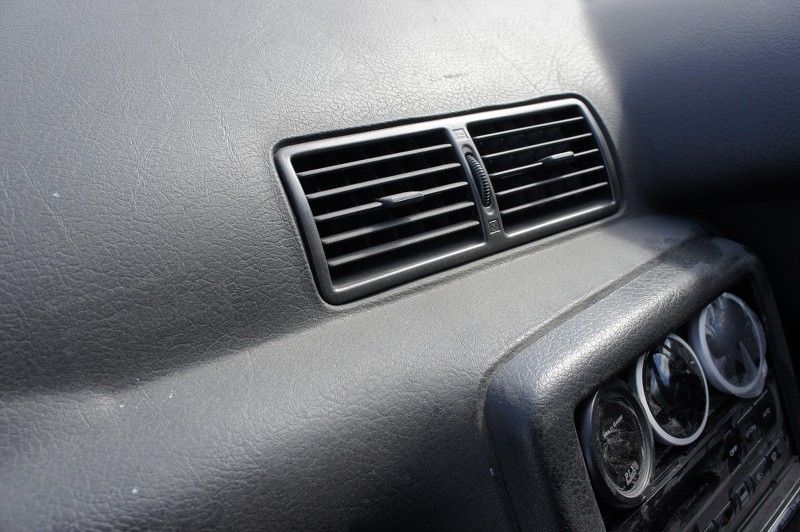
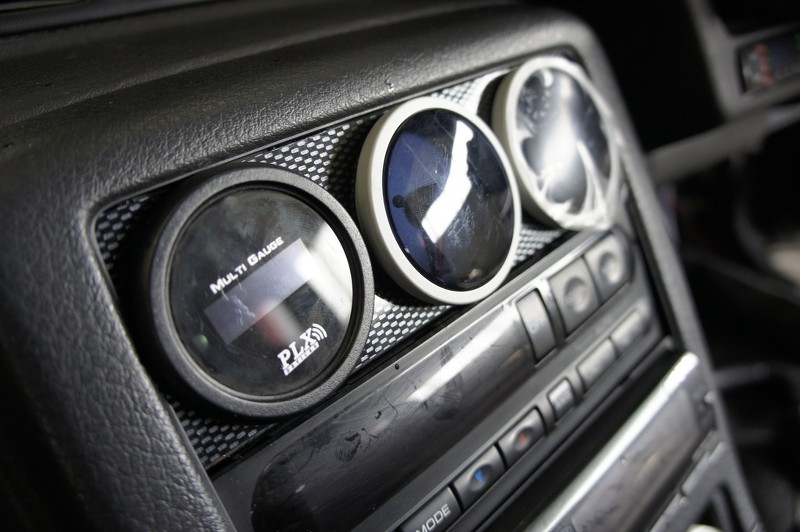
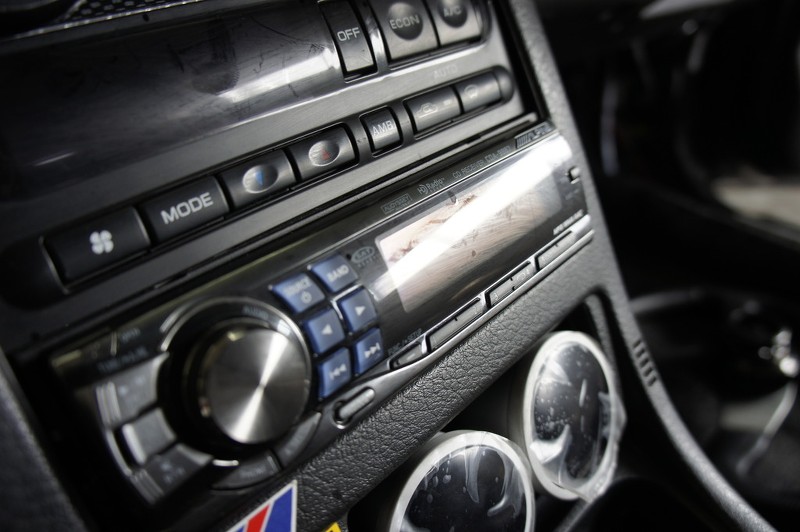
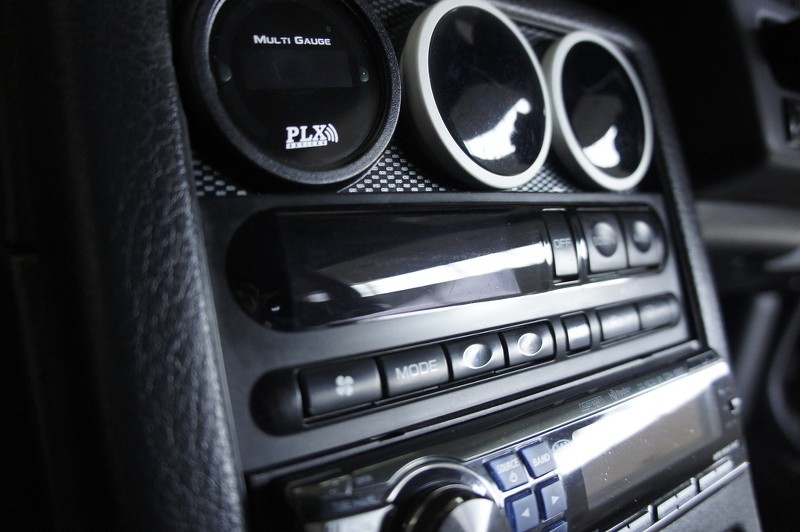
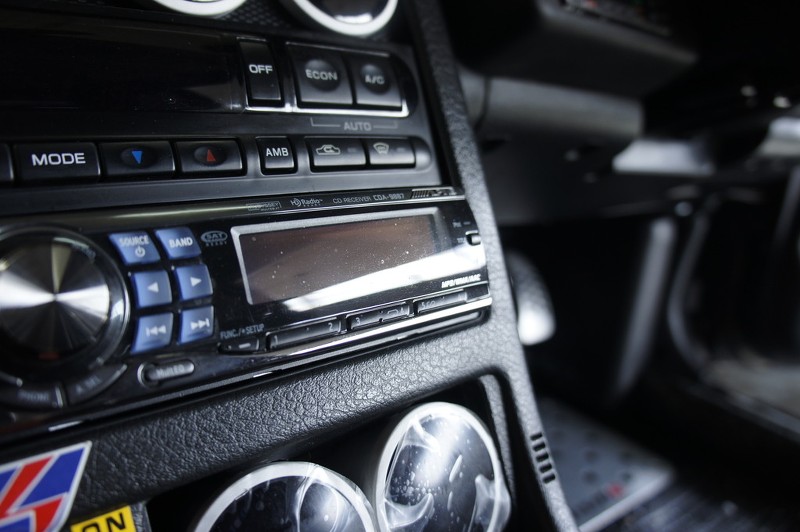
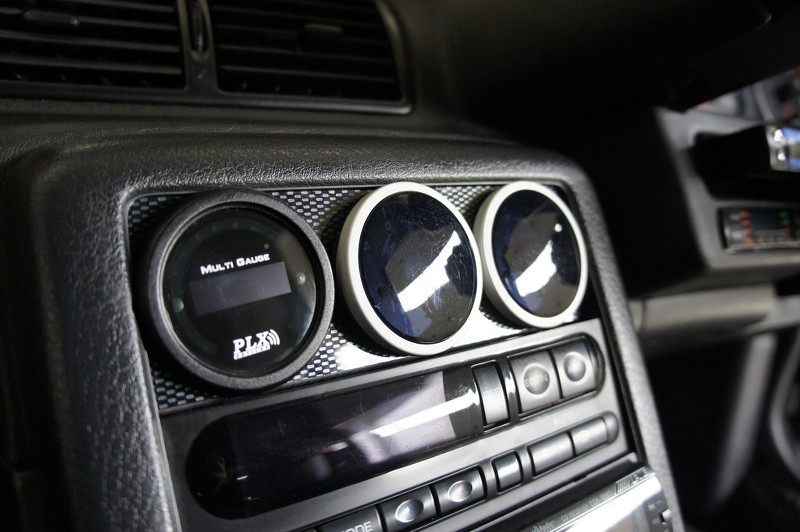
It's all in the detail right ?? these gauges are brand new, yet they are still scratched due to cheap soft plastic screen.. I needed to polish all screen by hand using a menzerna polish and soft gold microfiber and cleaned the surface with carpro erase prior to the Finest nano-coating application which should help to reduce the chance of new swirls to be found. ( nano coating will harden the surface of which it is applied making it harder to scratch)
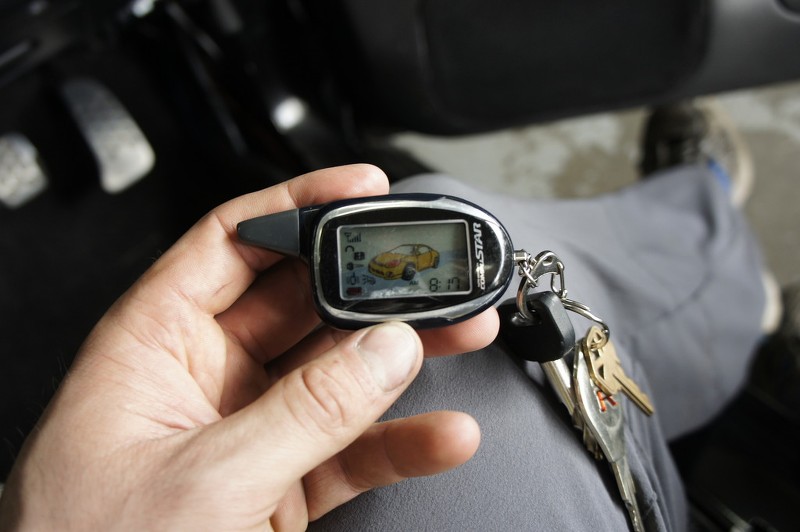
I even did the remote lol:
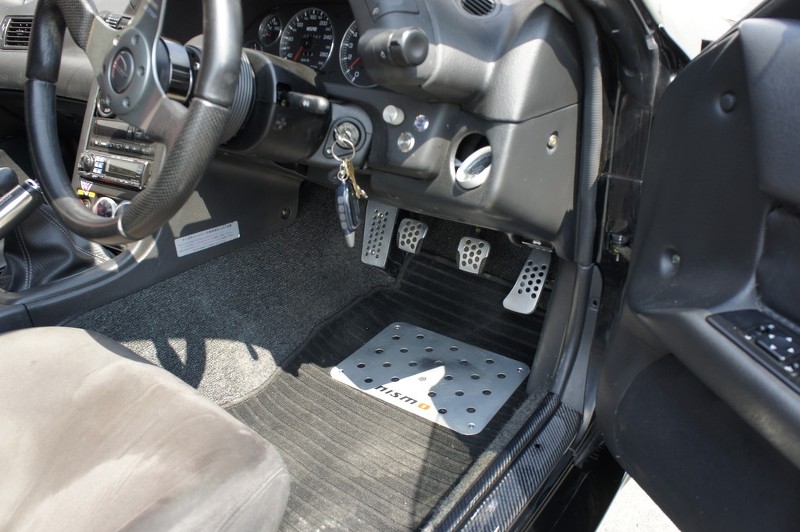
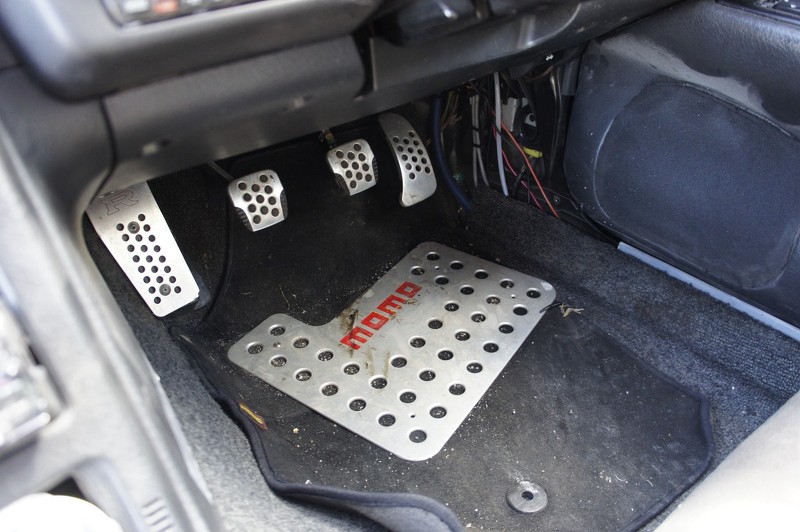
and nano-coated the pedal
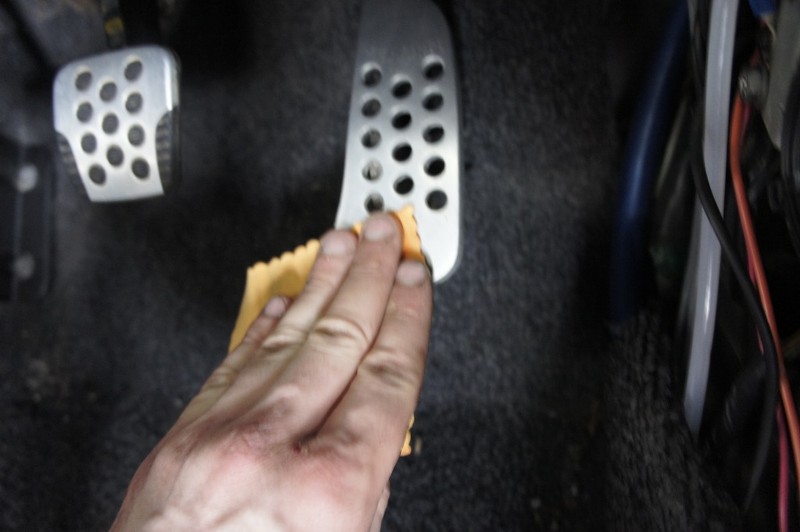
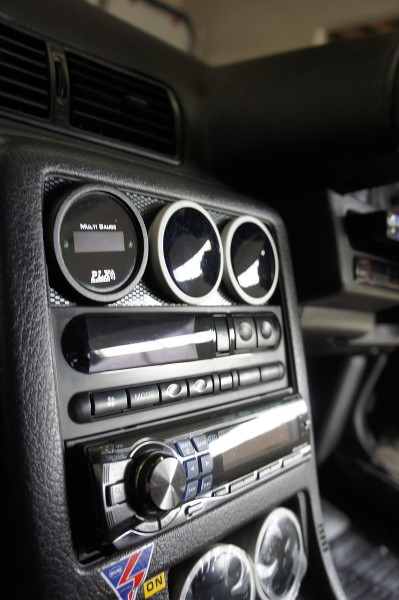
Look at the final result:
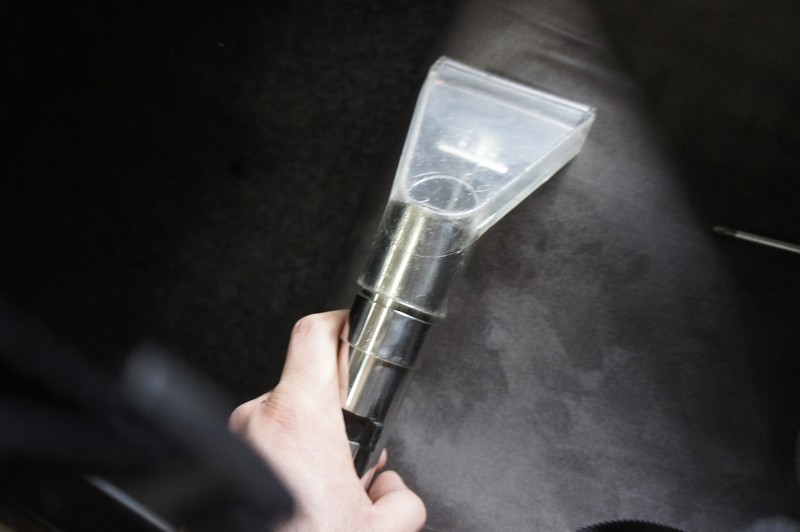
Using the new carpro q-tip for cleaning interior vent:
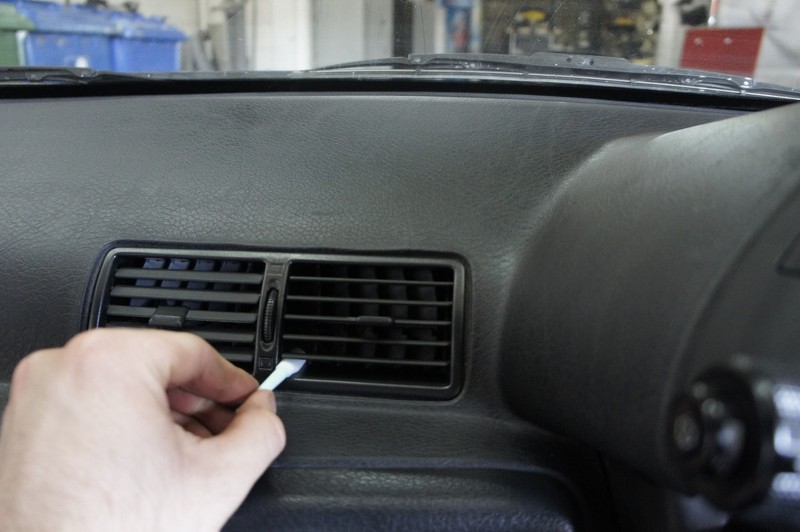
Look at all the dirt, my extractor pulled!
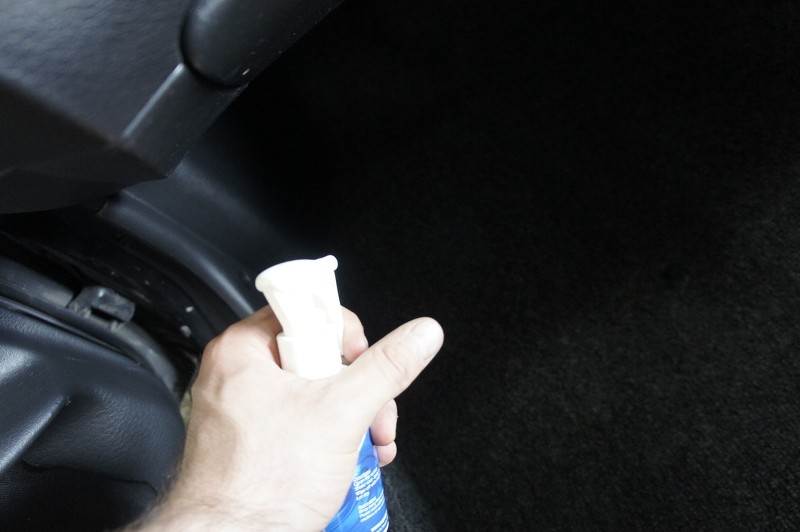
Once the seat have been wetted by the extractor, i dry the interior using my dryer machine, once almost dry, i spray some ozone treatment like show previously.. and then when completely dry.. i will apply carpro fabric protection which in my testing prove to be better than 3m sctochguard! It also over UV protection which is perfect for this vehicle since the fabric of the seat can discolor over time due to UV rays abuse.
Okay let's look later on how the interior will look like once the new carpet and carbon fiber door sill get installed:
Of course the carbon fiber door sill were polished and nano-coated!
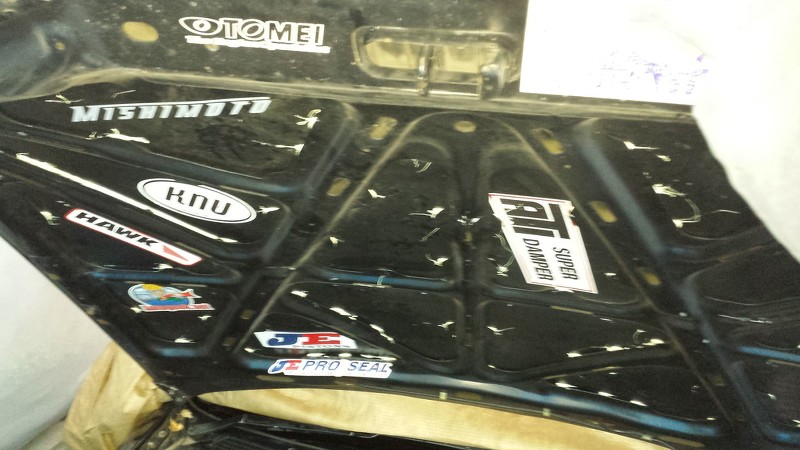
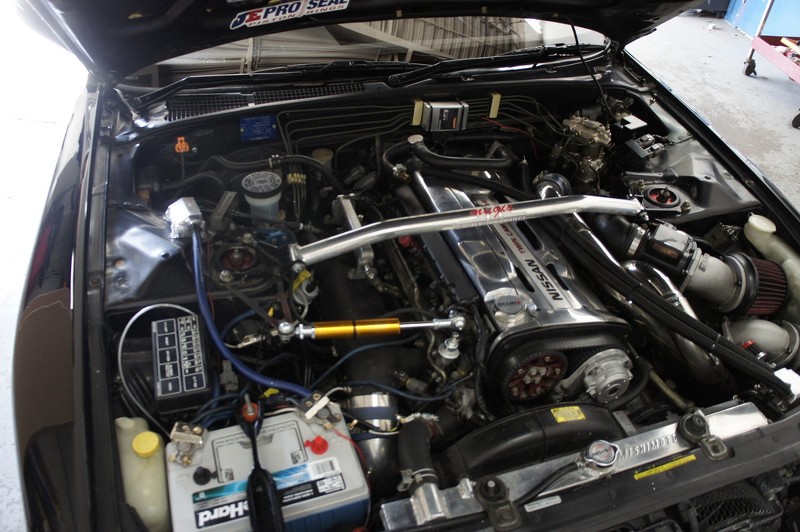
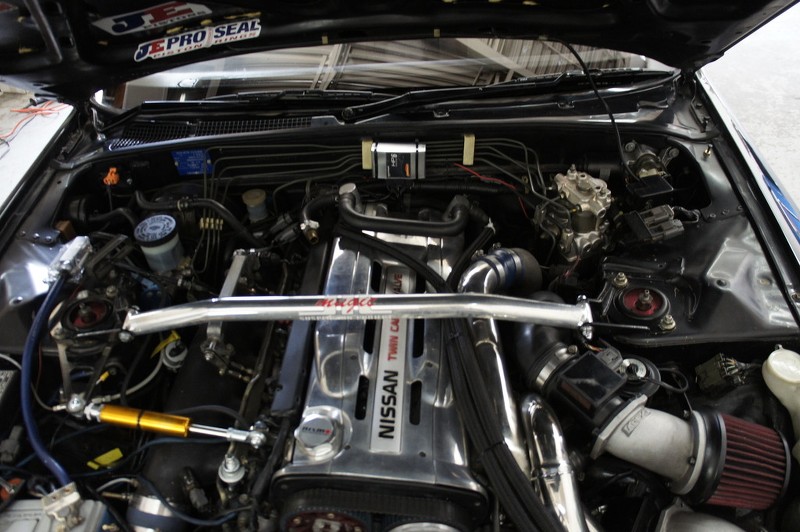
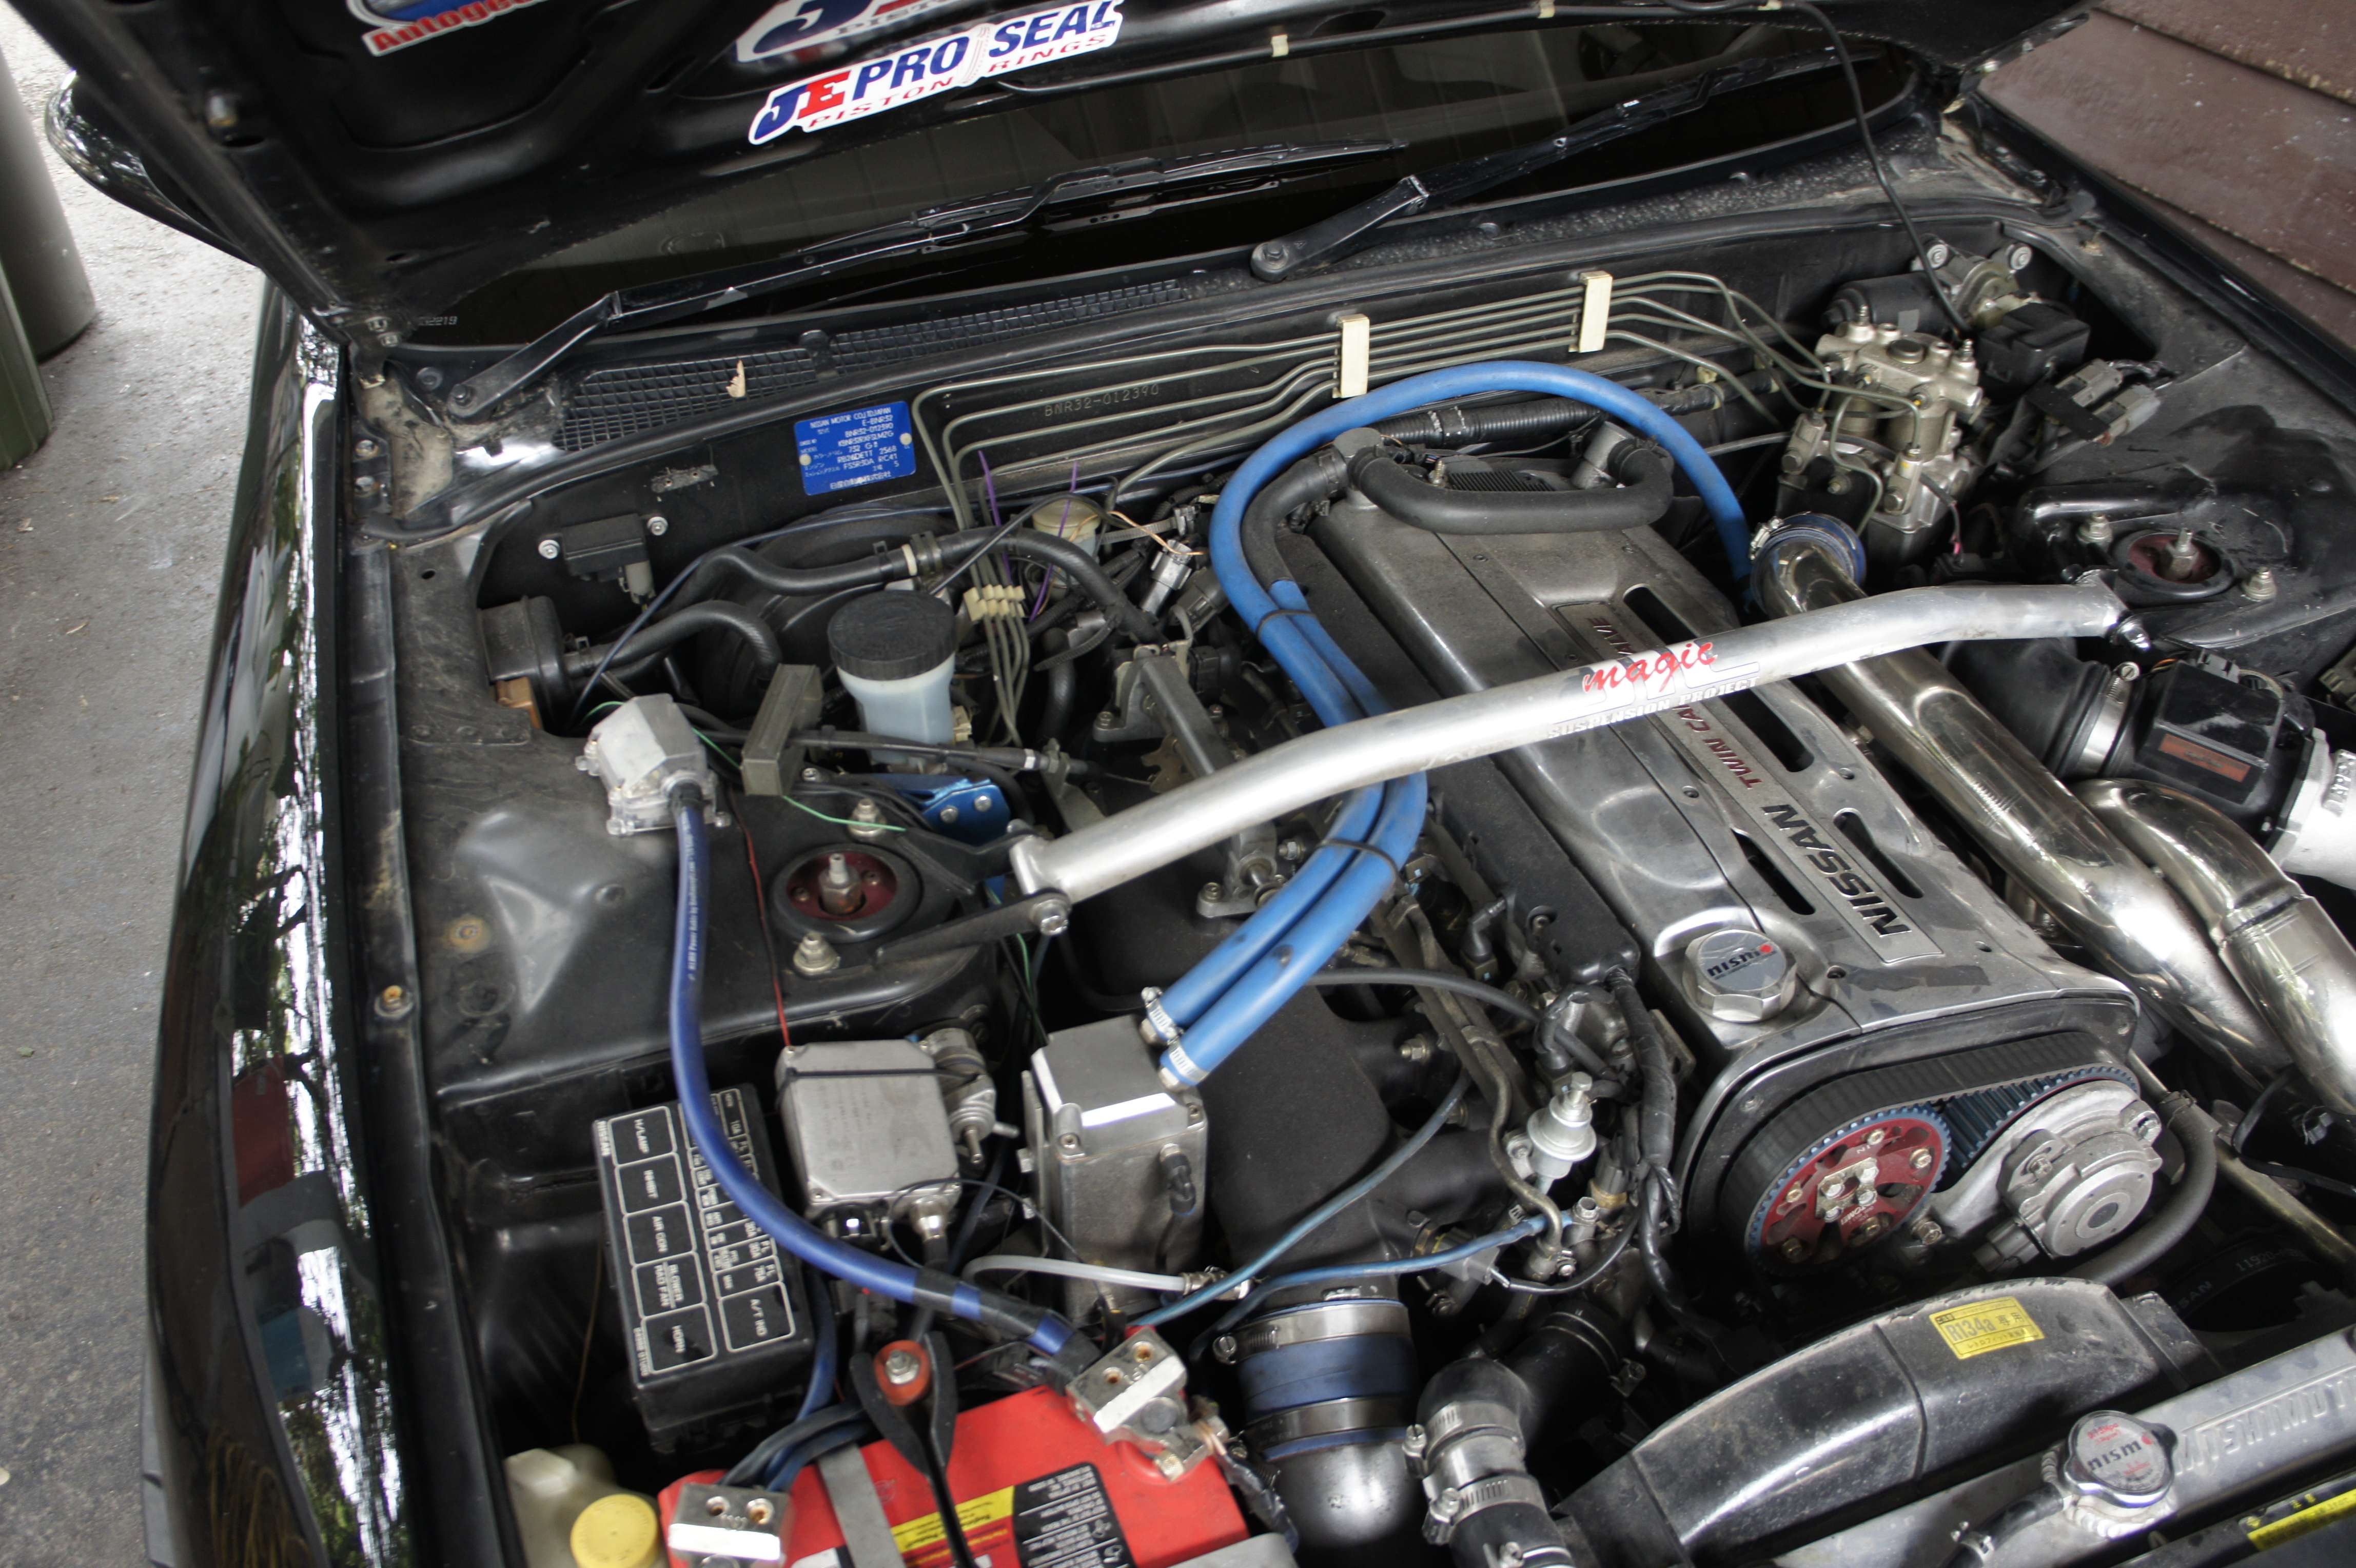
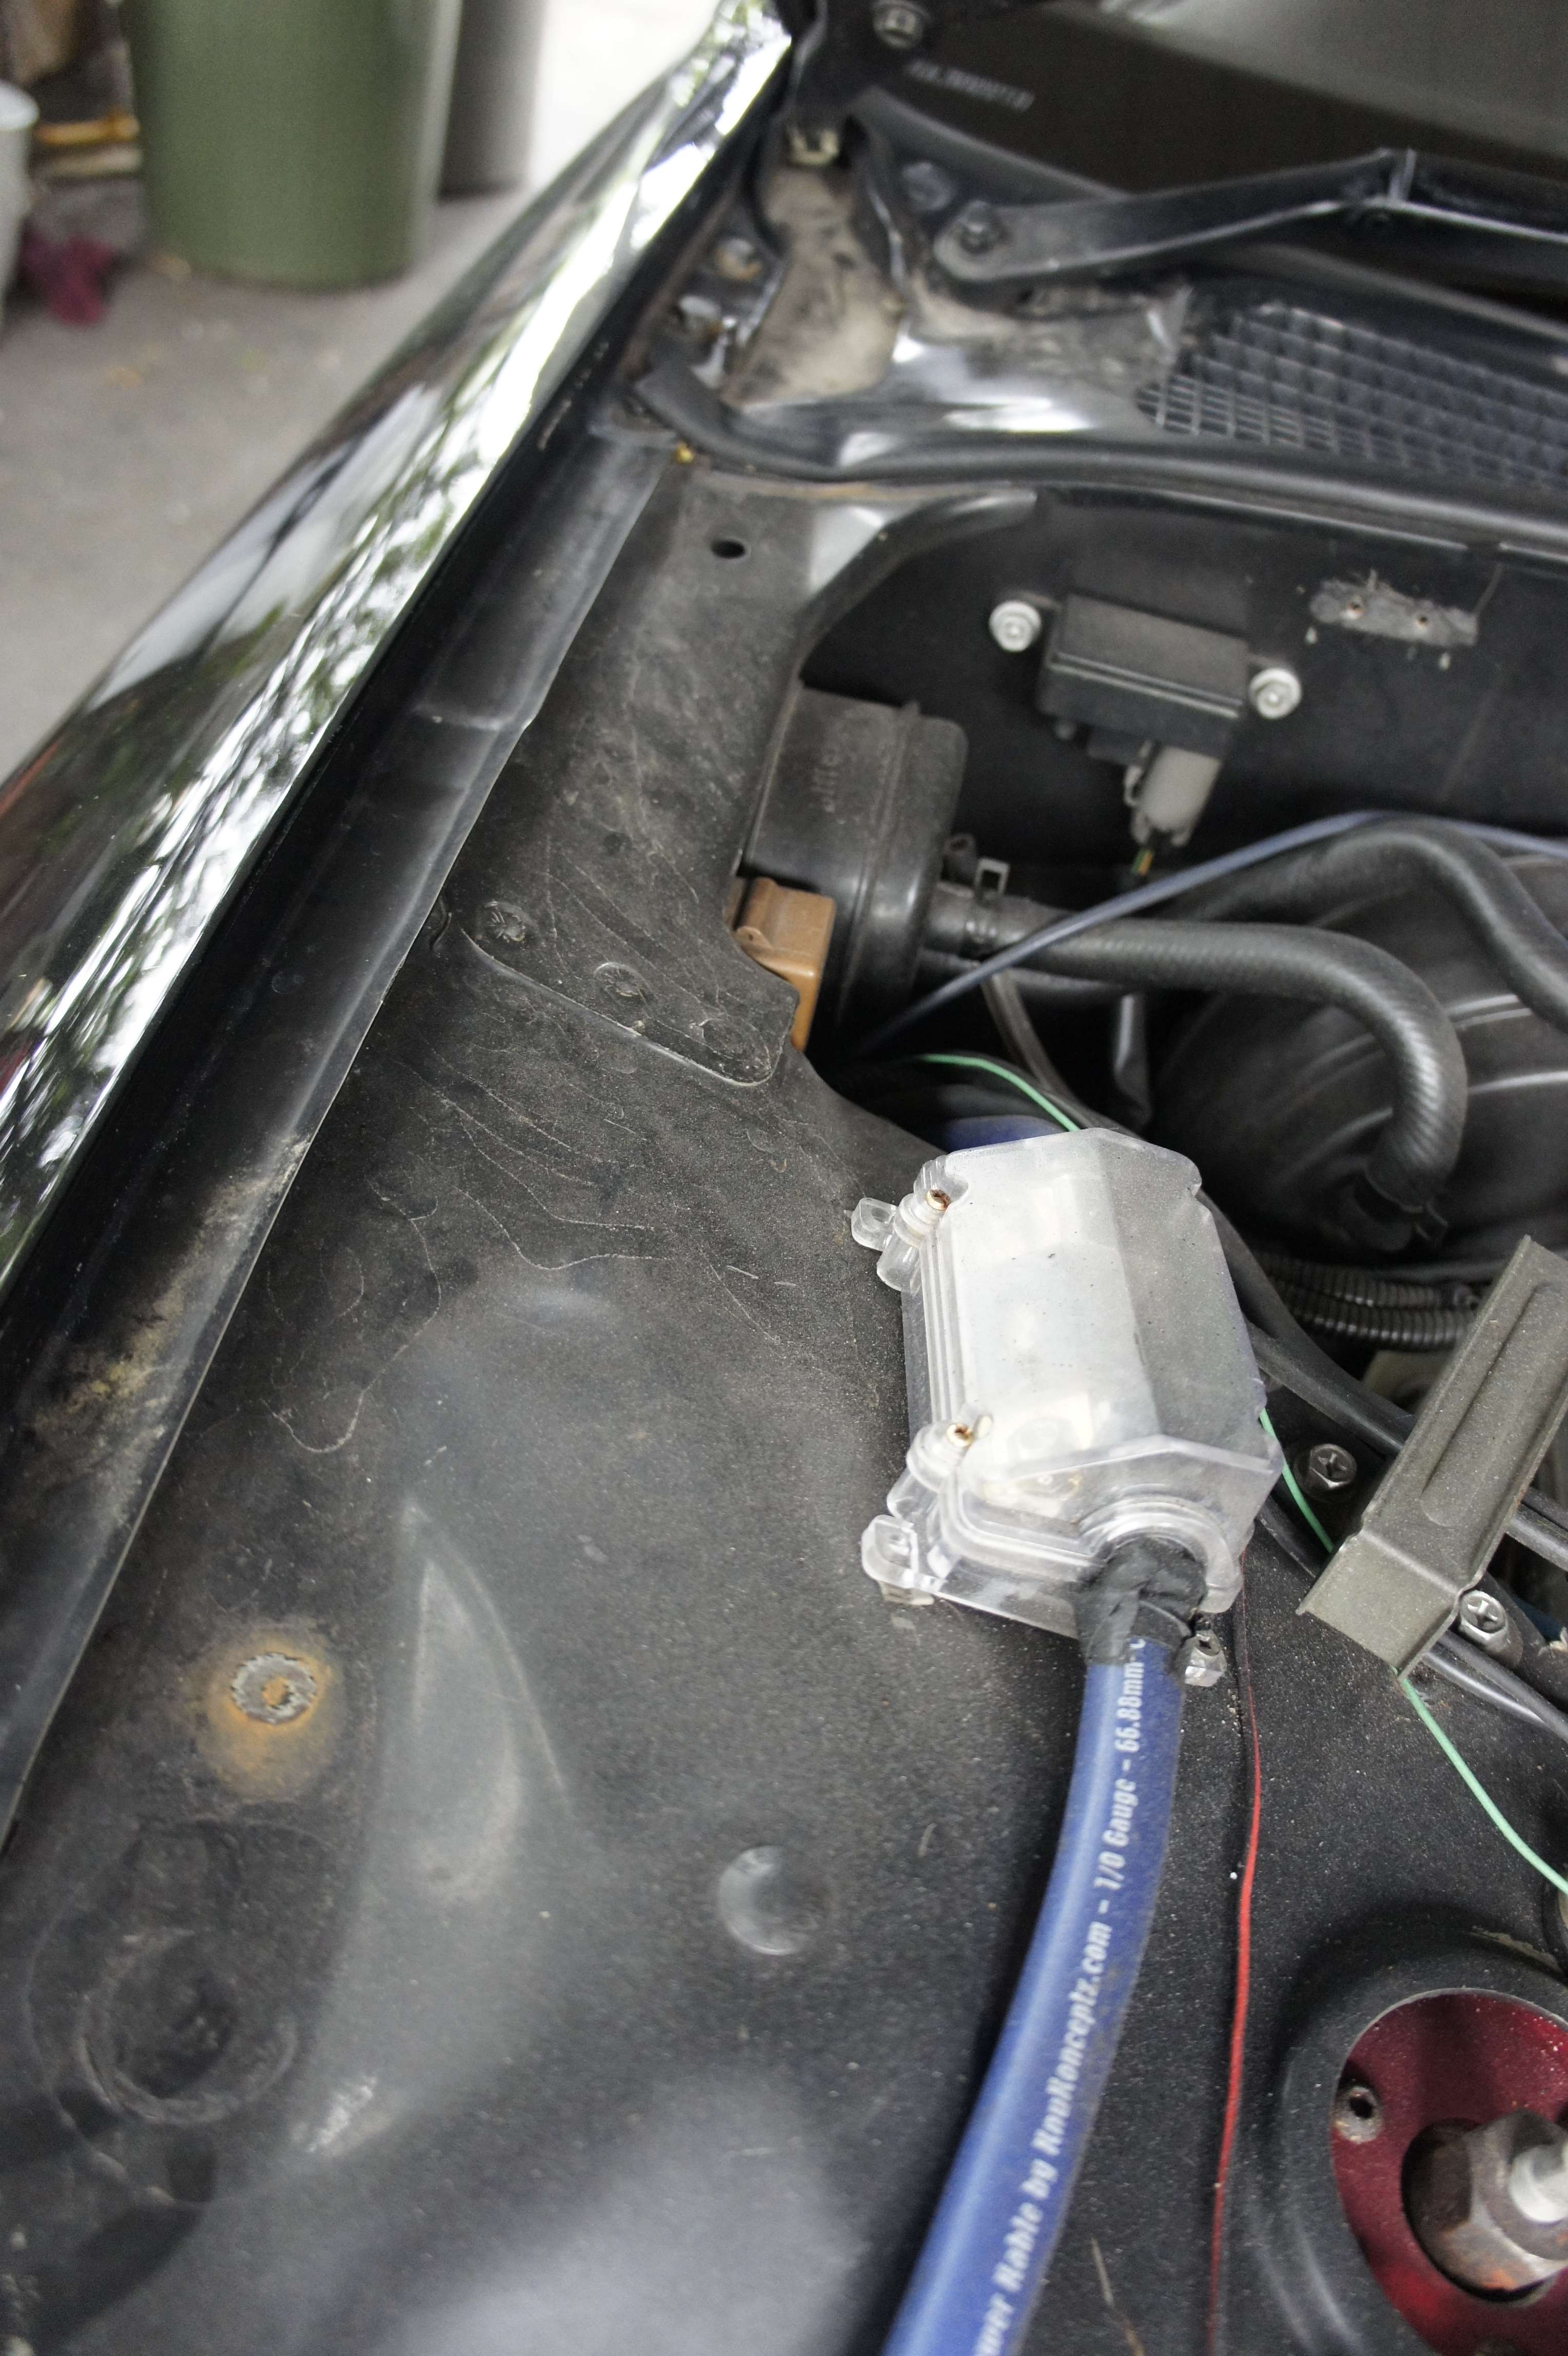
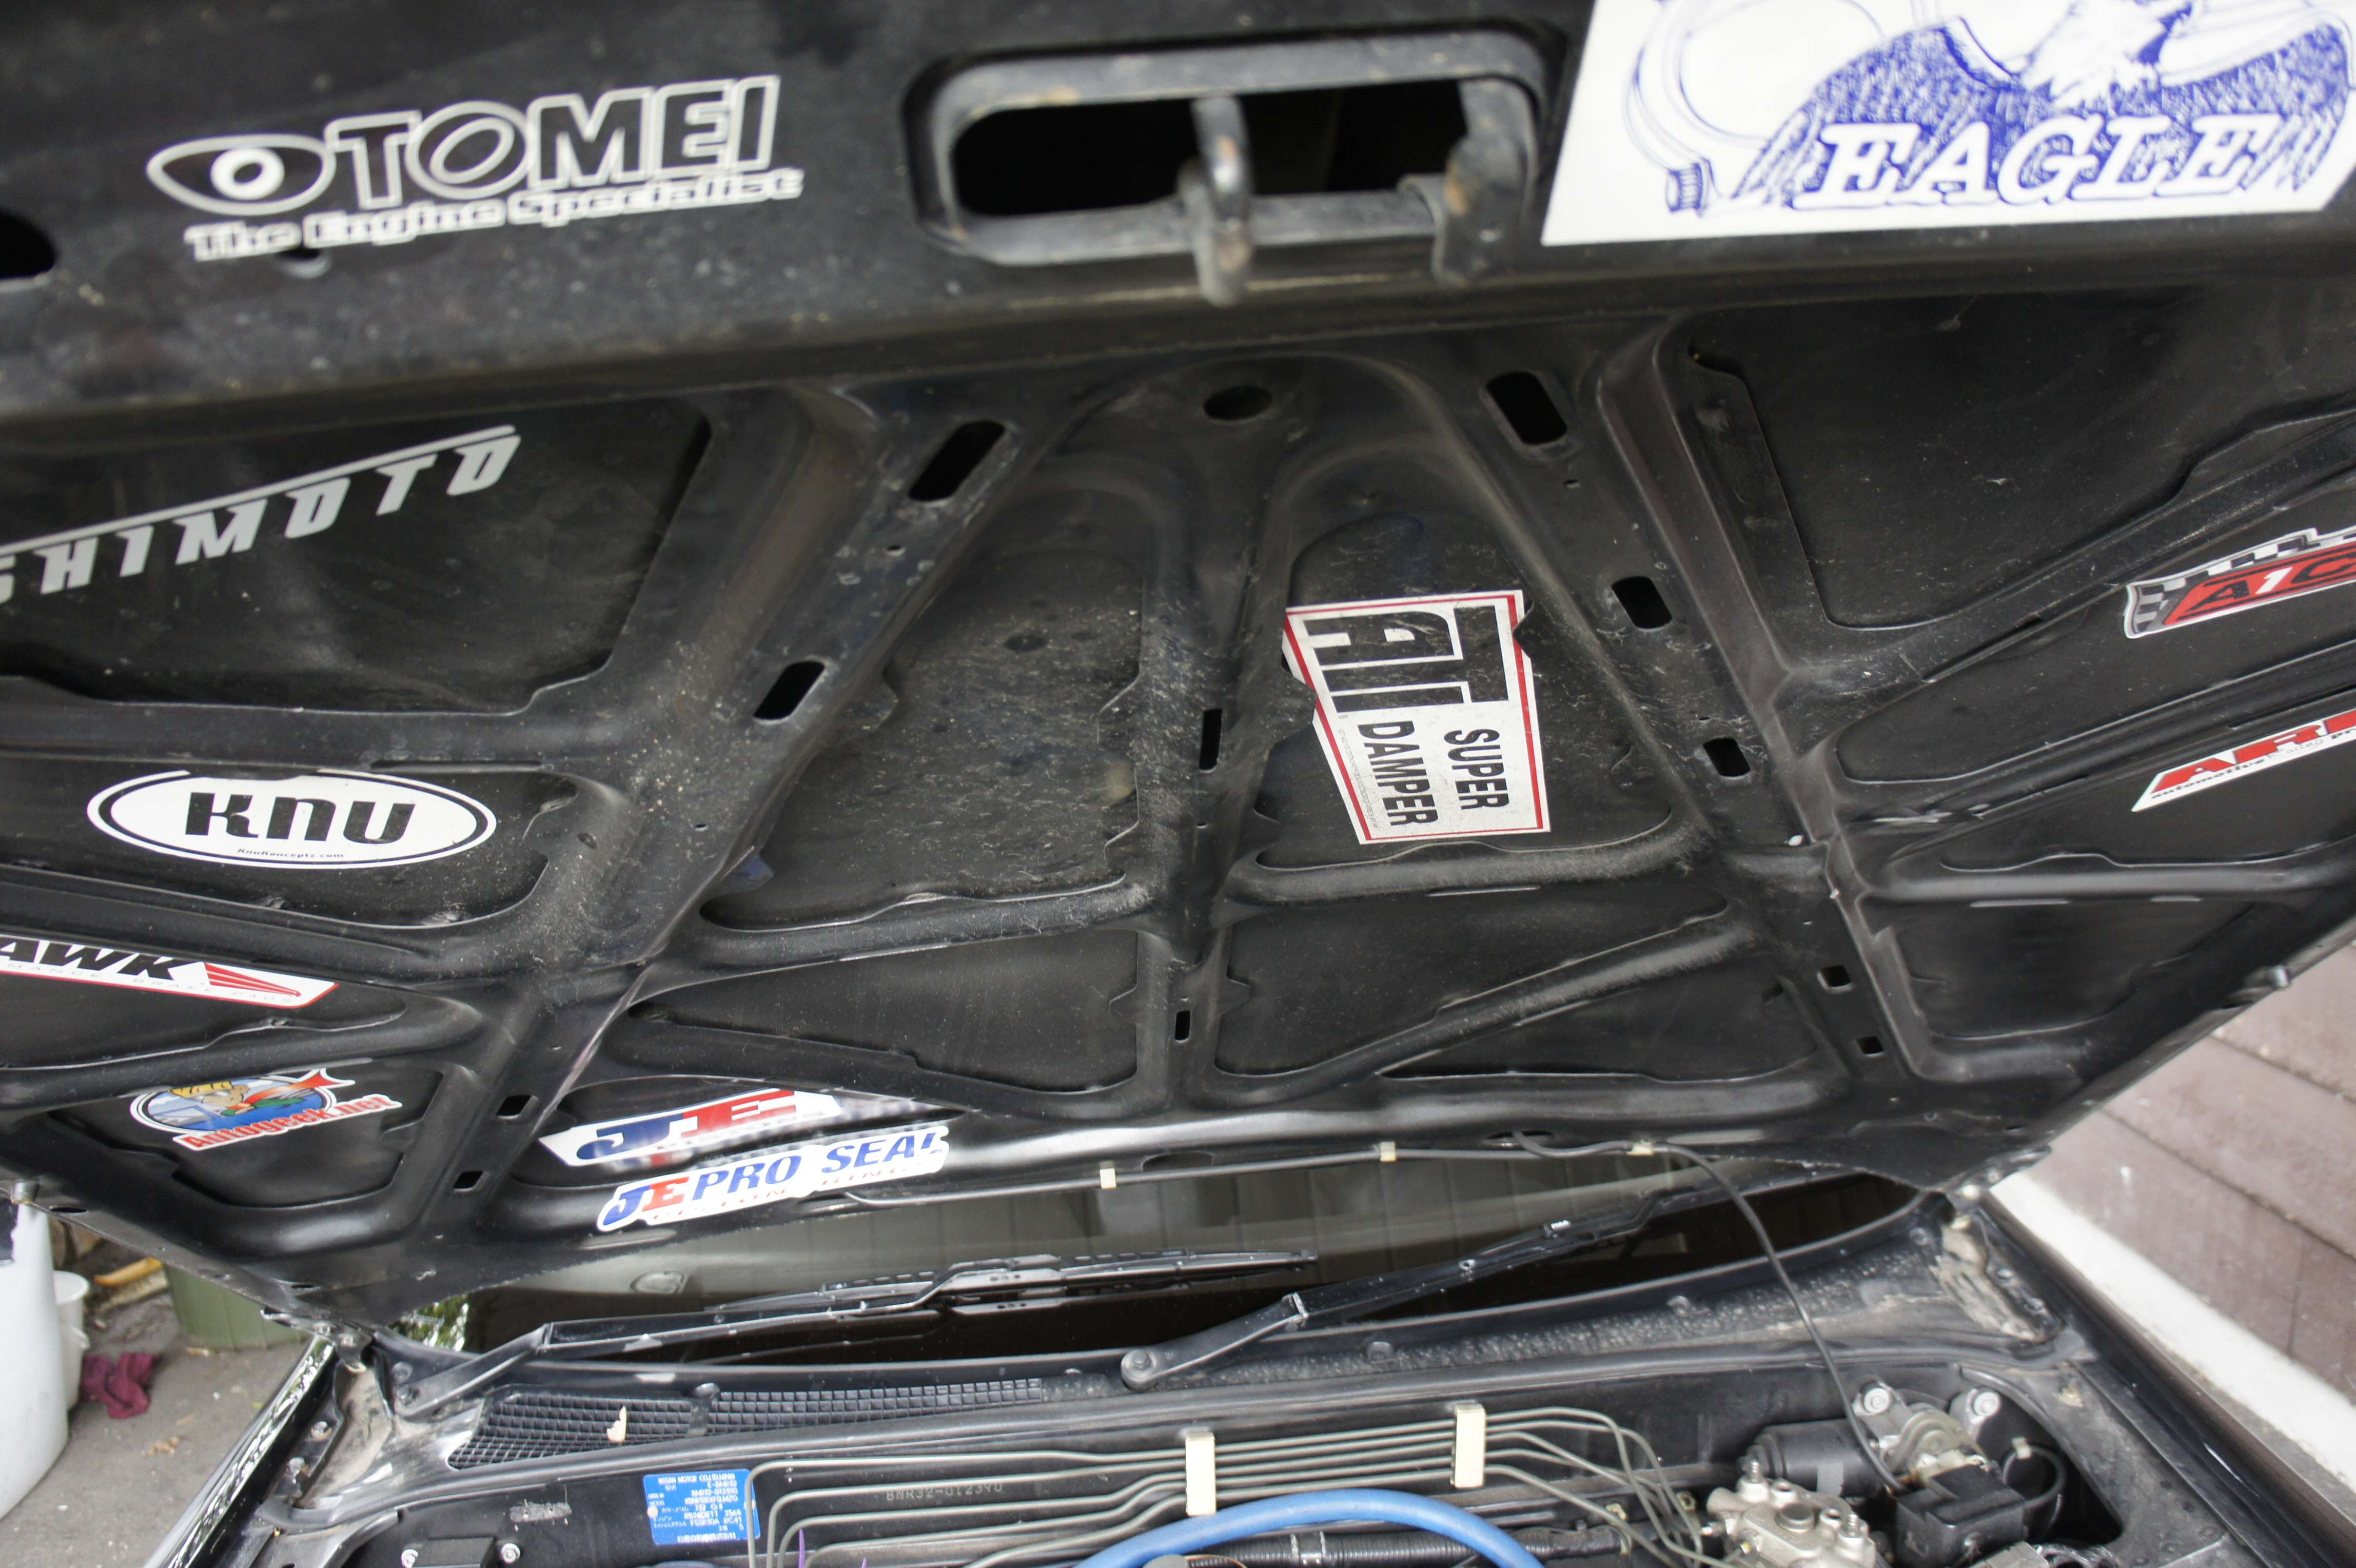
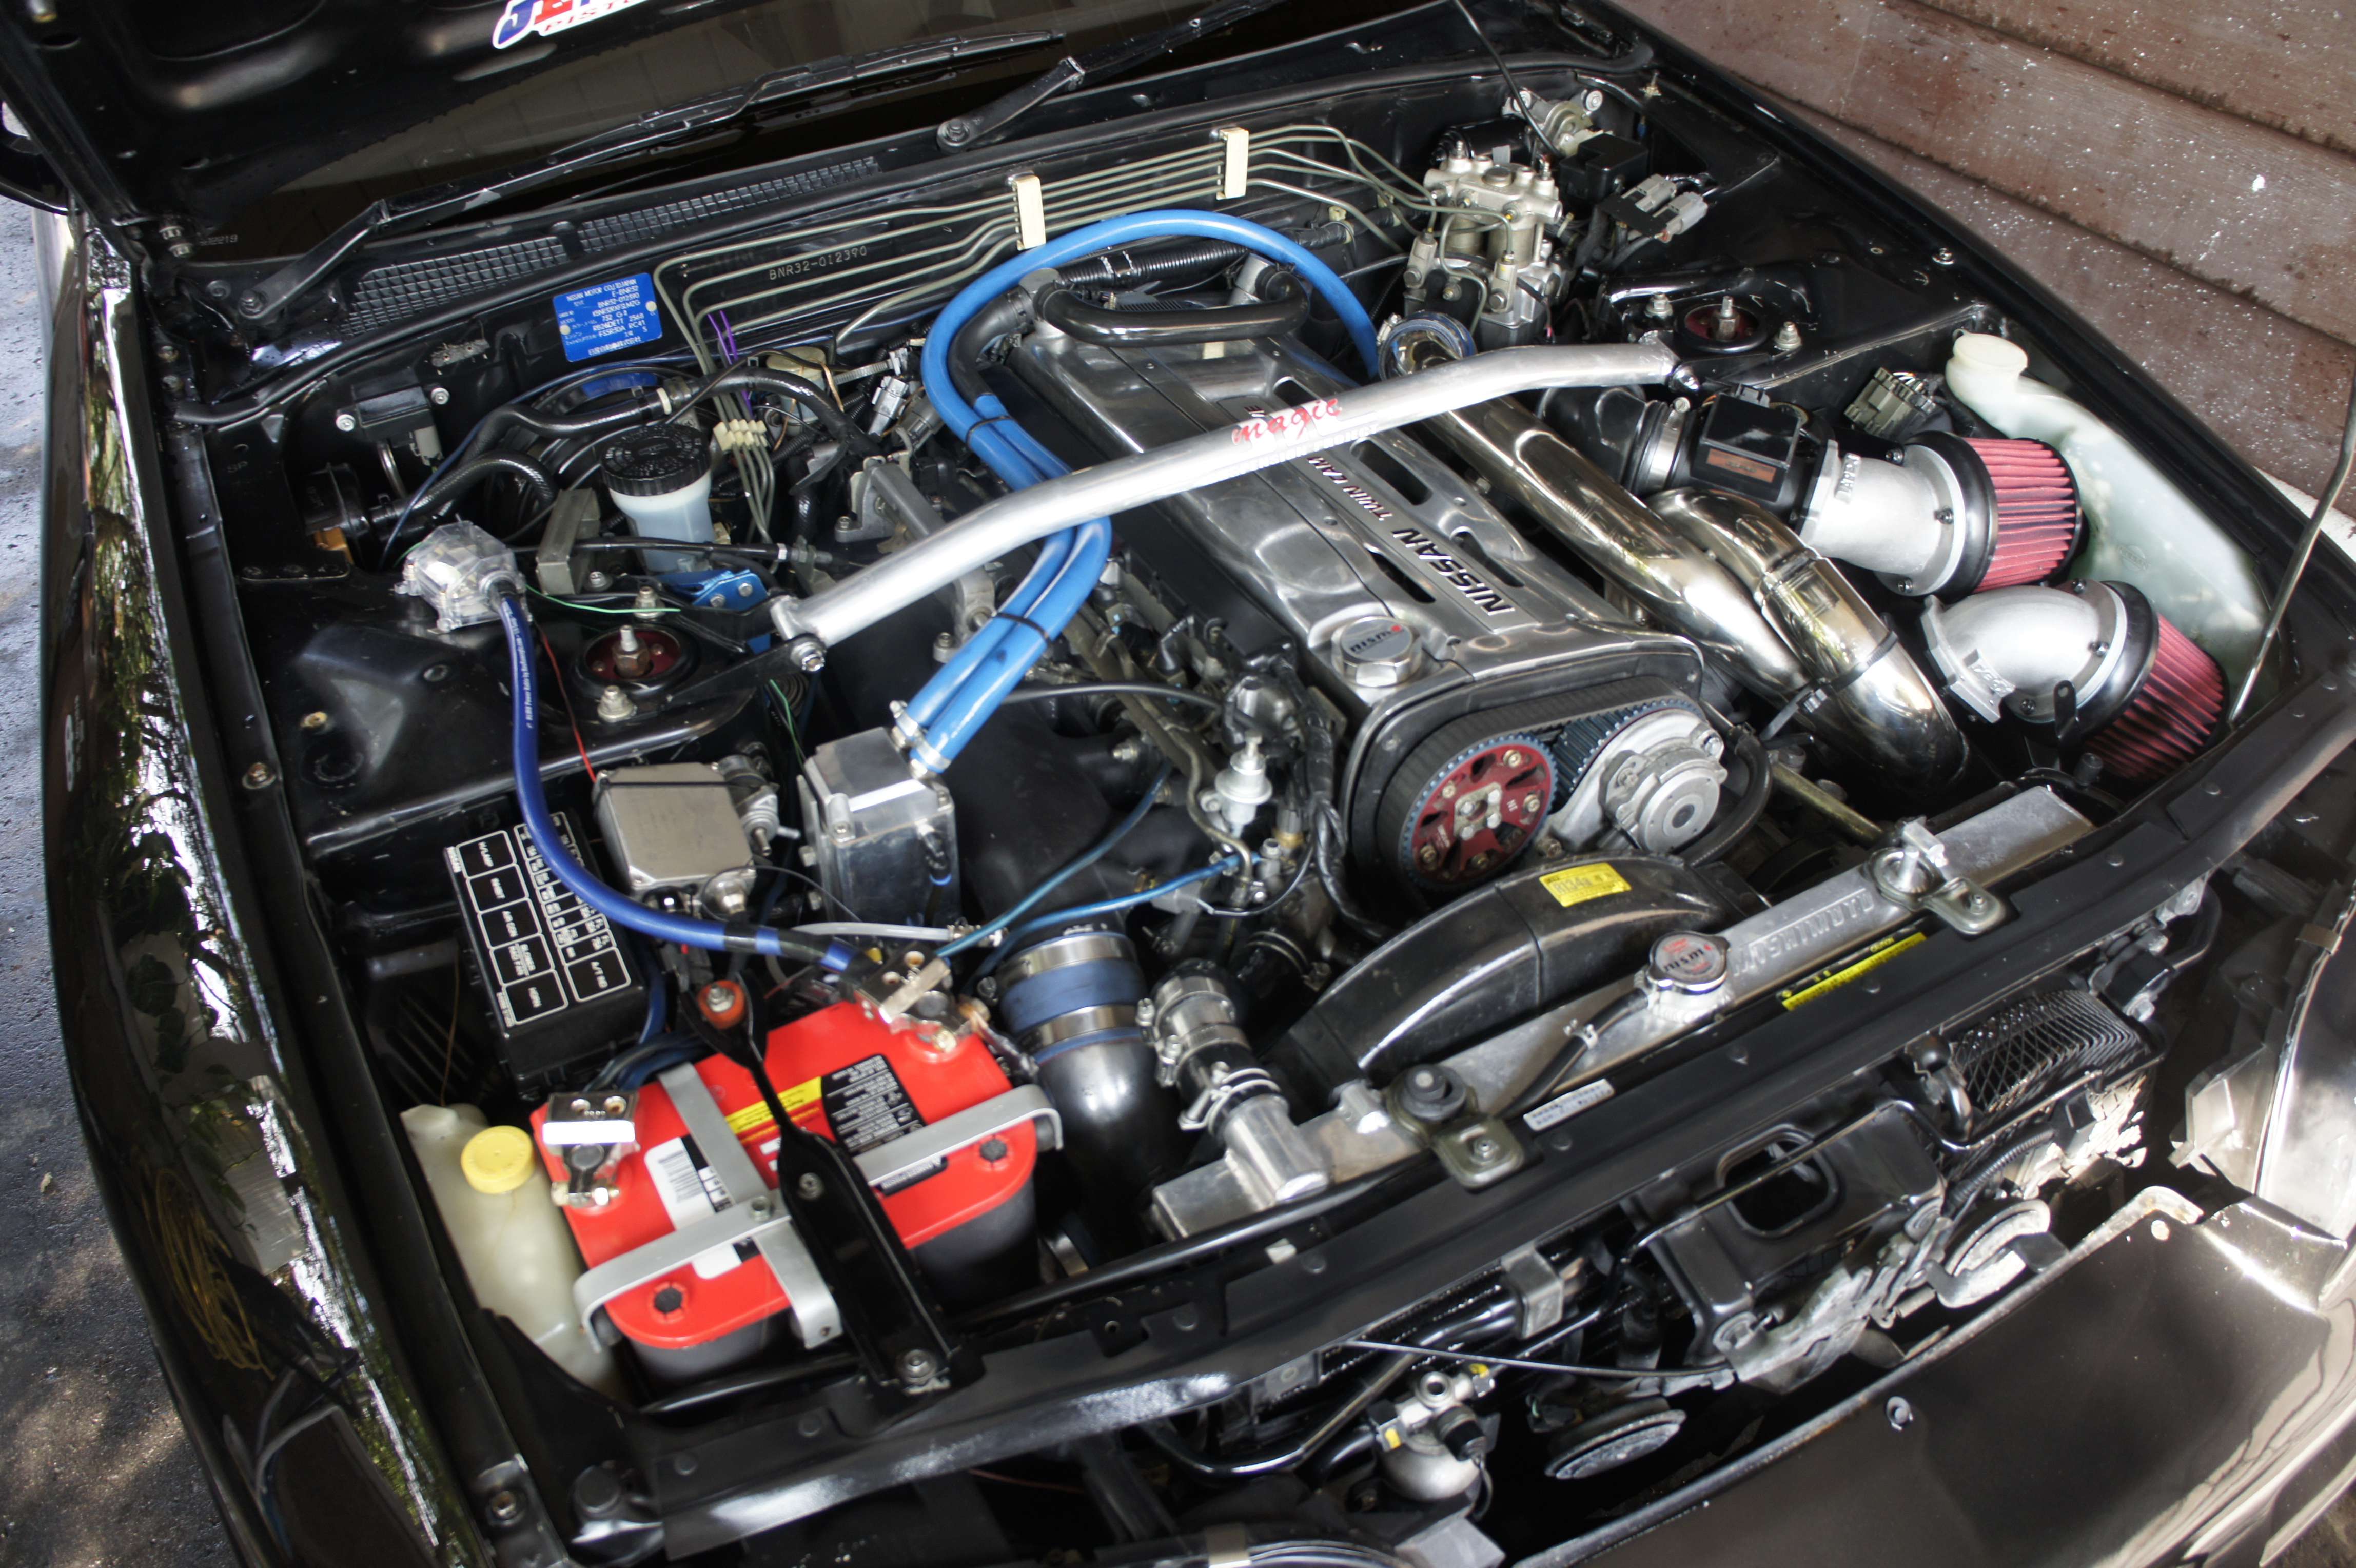
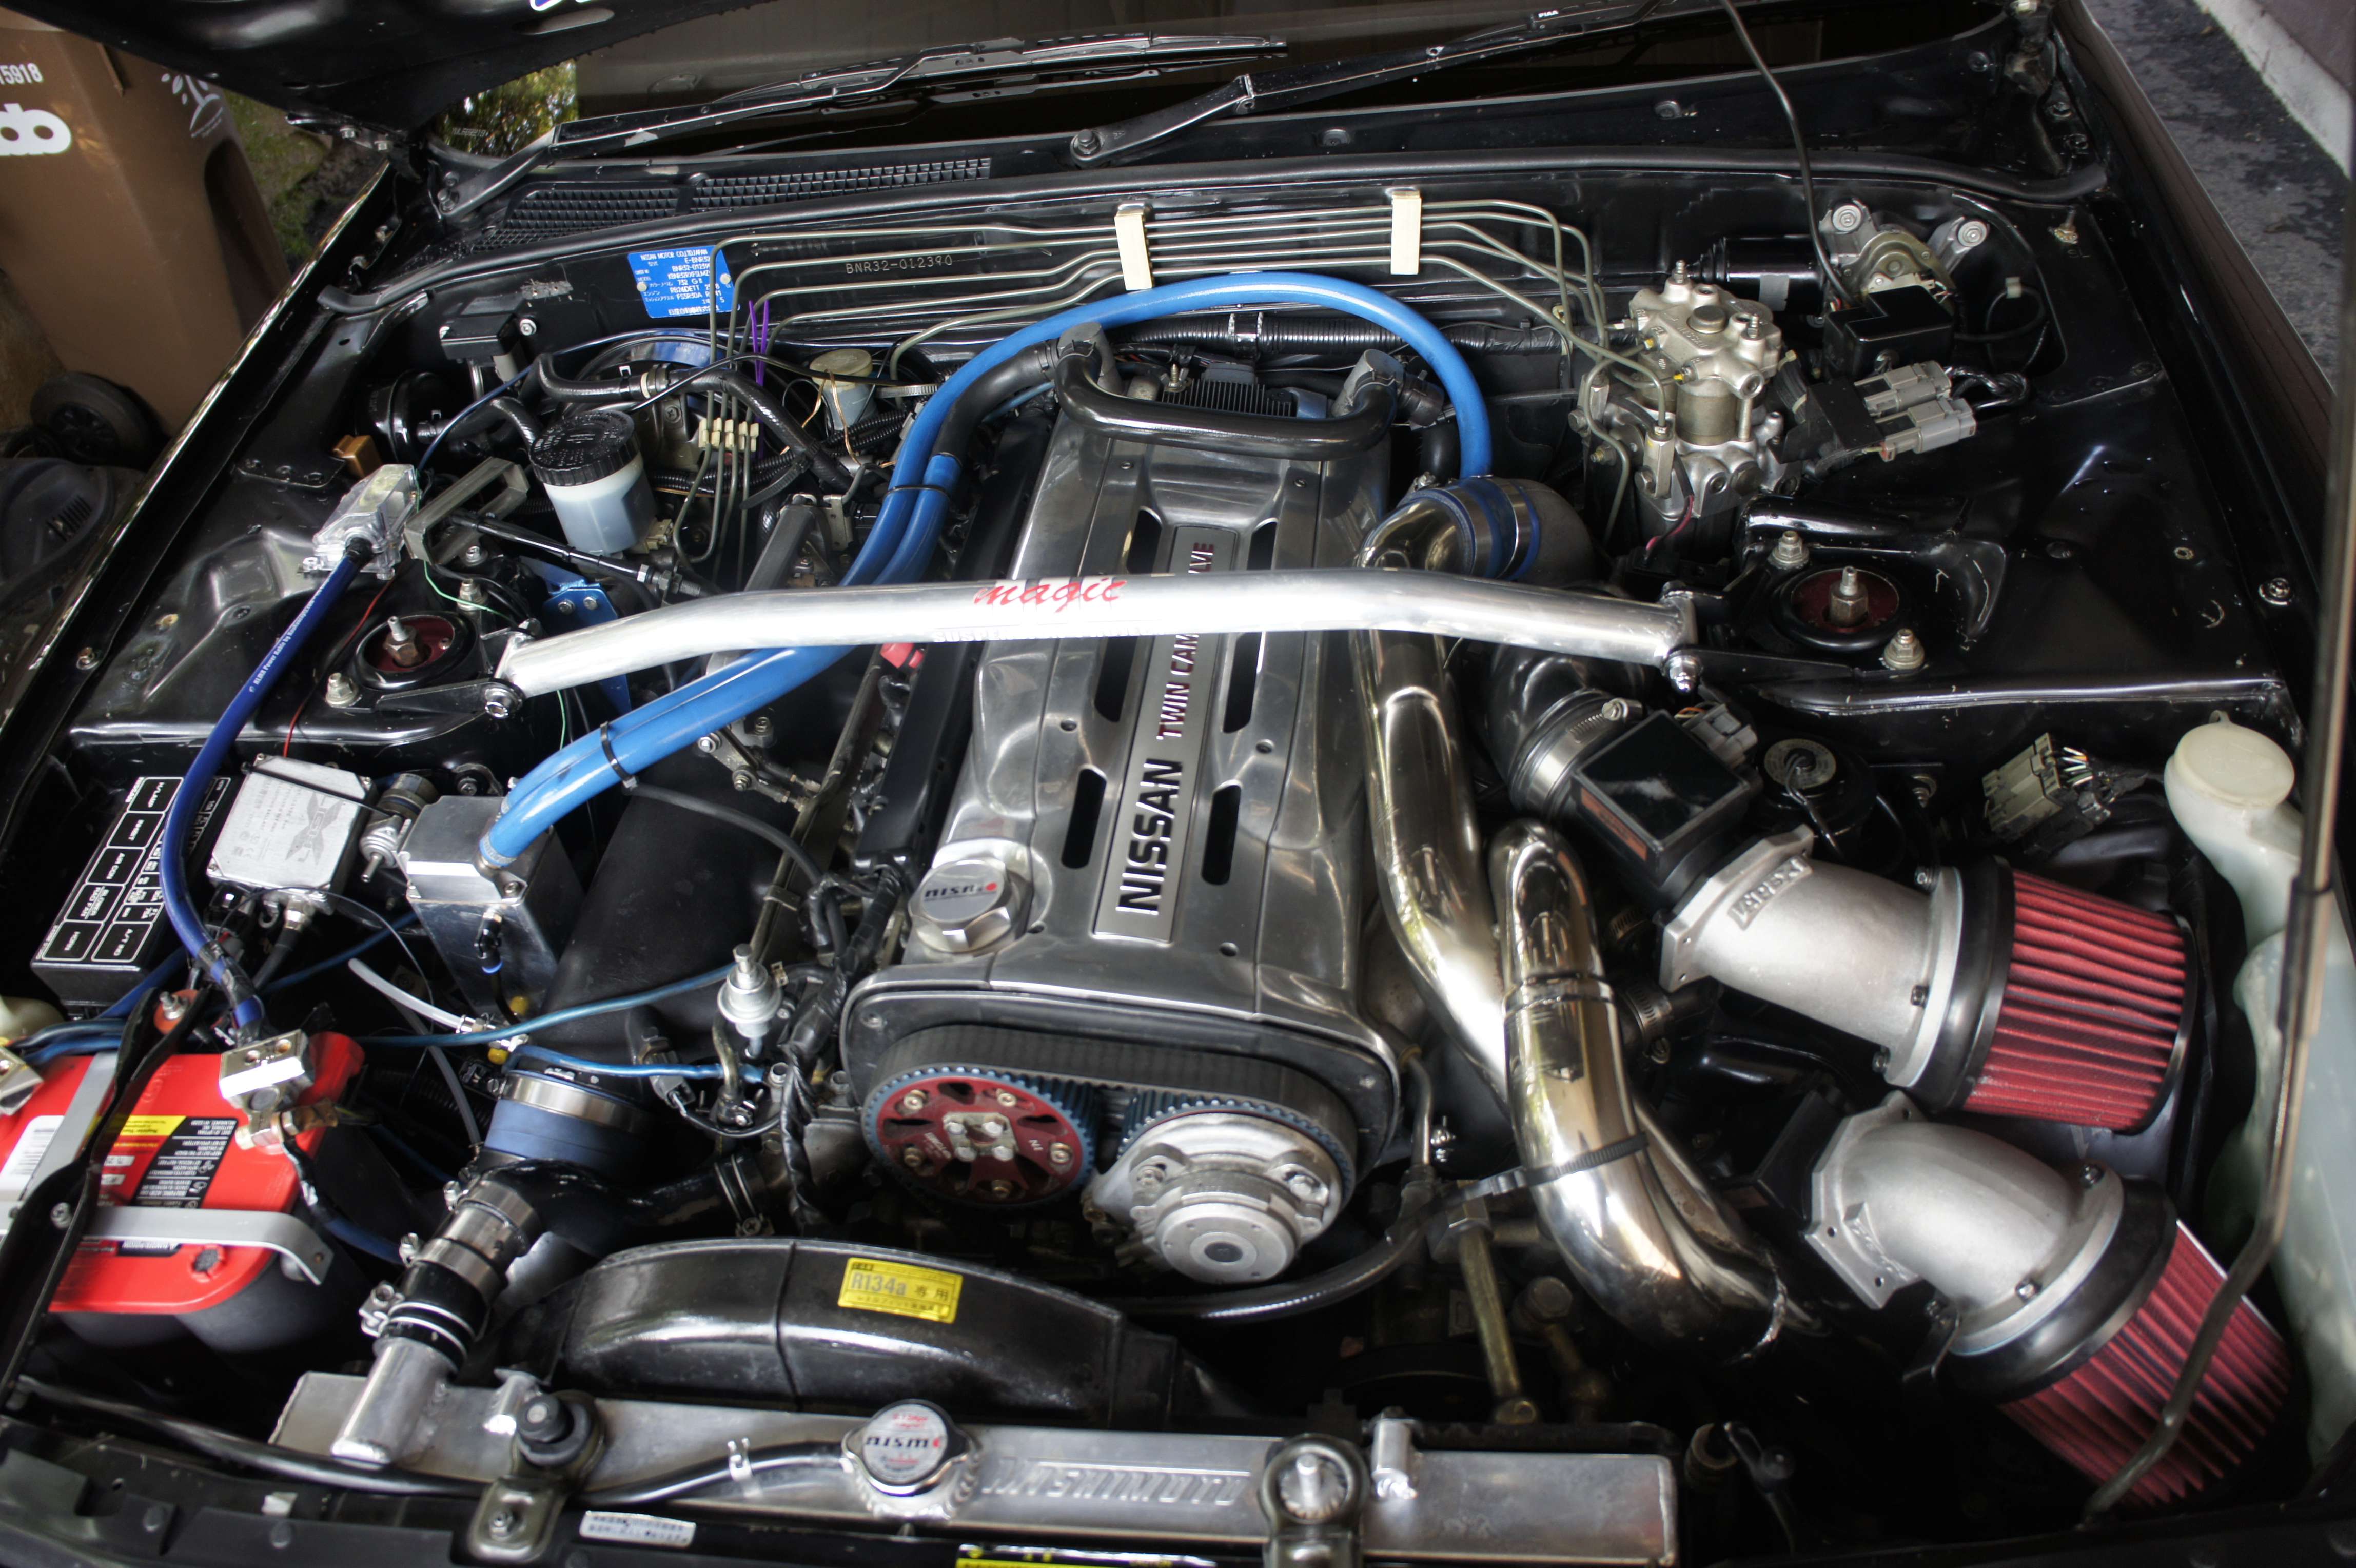
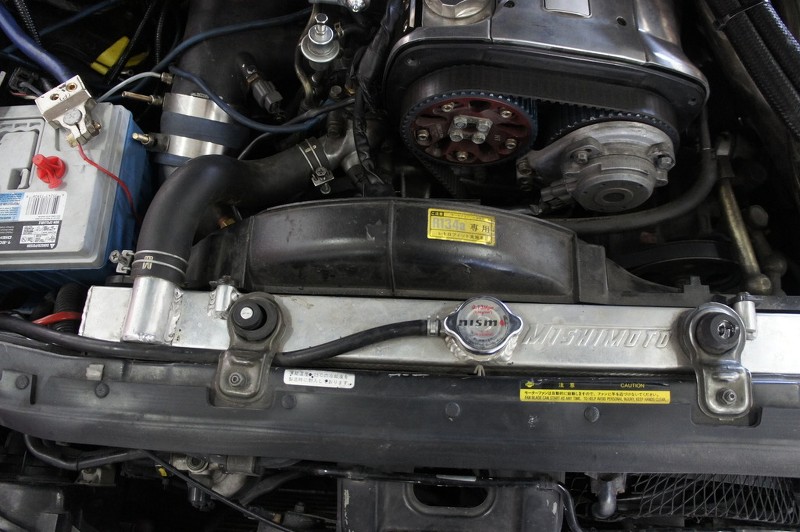
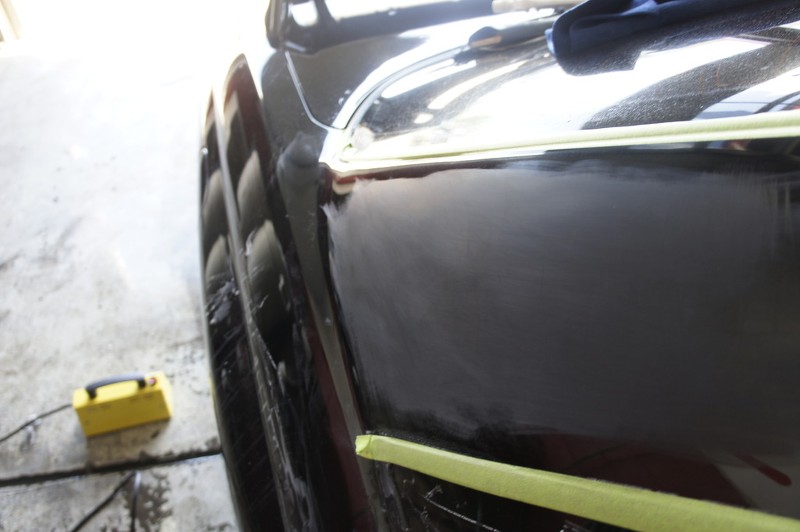
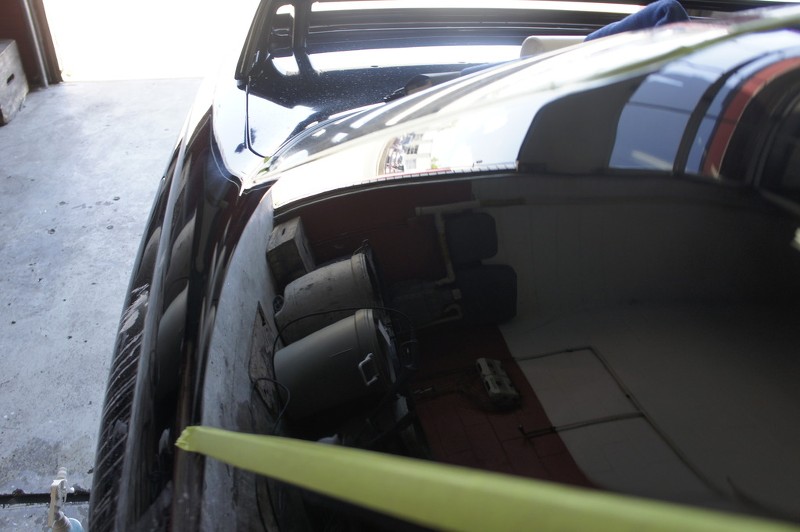
Now onto the engine-bay... quite a few works have been done there + all the polishing dust and wet-sanding, that engine bay was in done of a refresh:
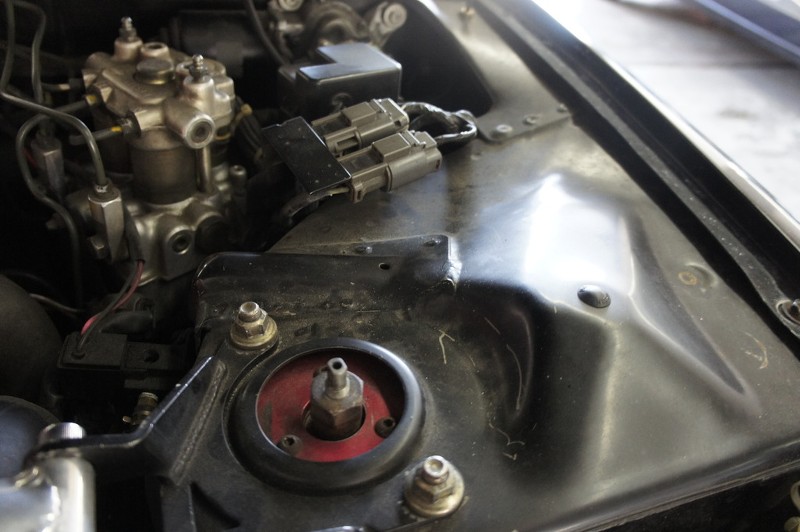

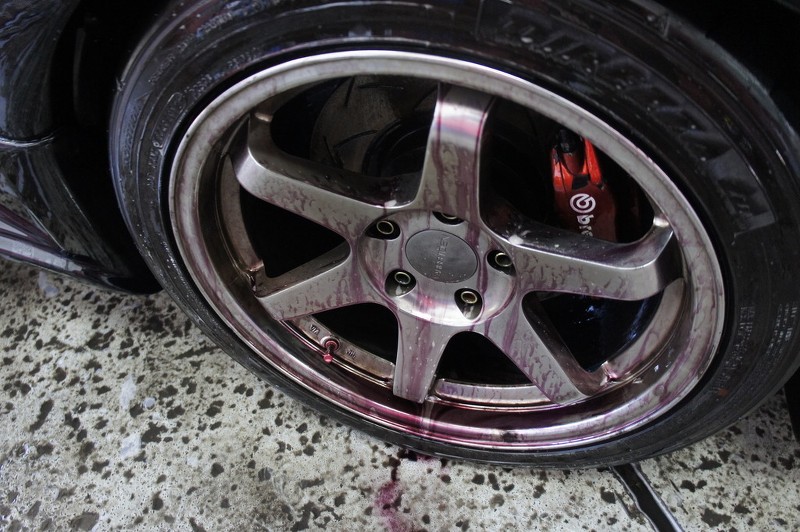
With some high-speed driving and hard braking.. it's normal to see that much brake dust on this car:
Althought the paint is brand new, I still did a clay bar and decontamination process because of iron particle from the brake that could stick to the still-not-cured-100% paint.
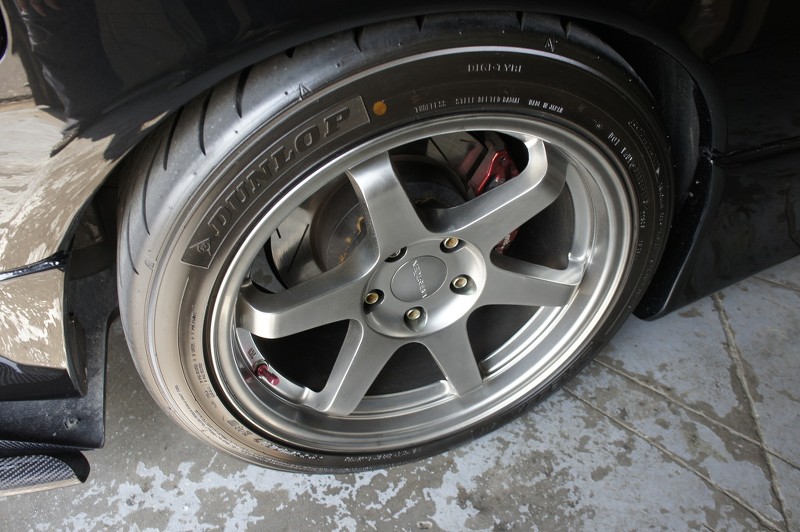
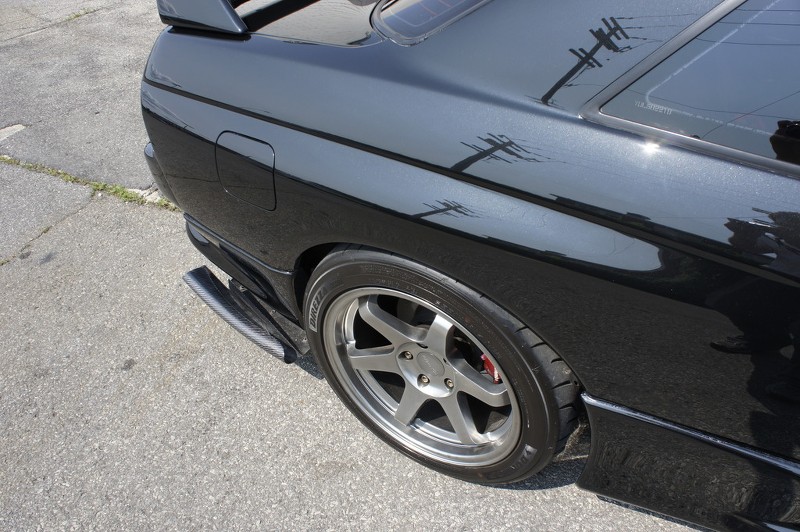
Regarding the wheels, each one were individually removed for a full nano-coating treat! All wheels were washed a first time using sonax wheel cleaner, then I used Prima cosmonot to remove any grease inside the wheel barell, after that i went with autofinesse tar remover to remove old glue from wheel weight not used anymore. Once cleaned, I used Menzerna polish by hand for tight area and my small rupes 3 inch to polish the spoke and inside barell. Once done, I used carpro erase to remove polishing oils and then applied 2 layer of nano coating inside and outside.
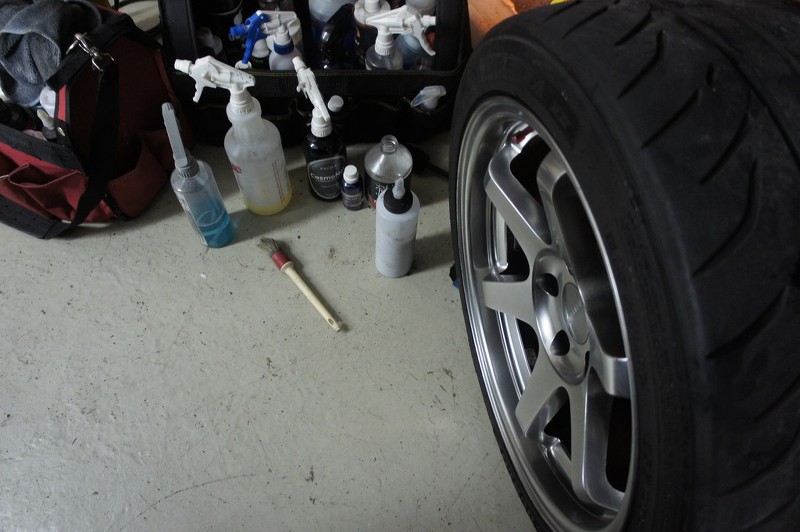
I would say i took about 1 hours per wheel.
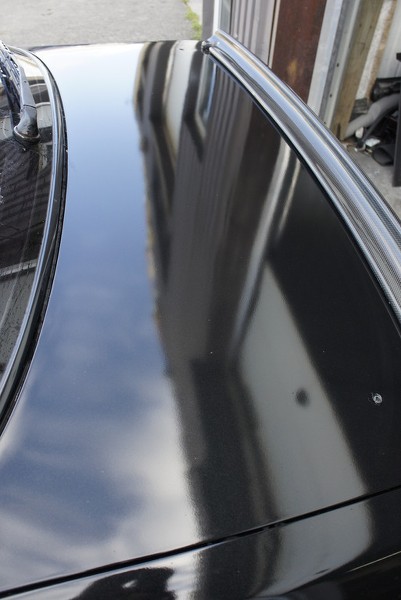
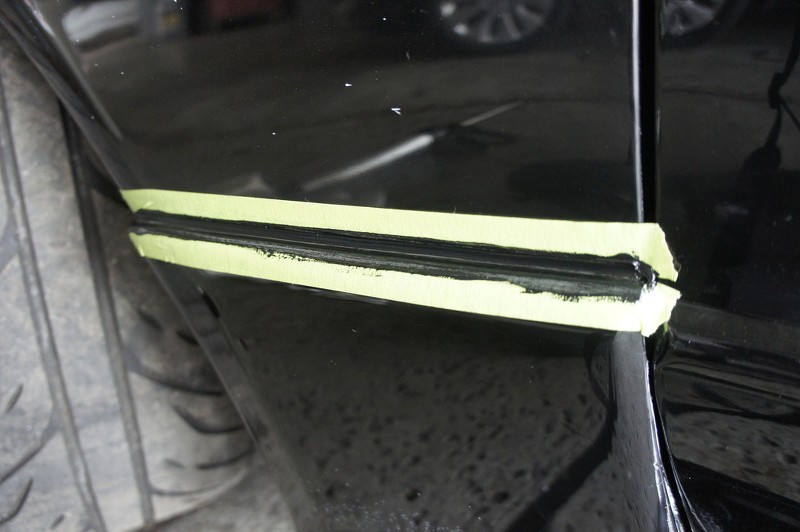
Here's another exemple of wet-sanding the pillar.
We start with a coarse grit:
Taking some paint measure just to monitories how much paint I'm removing but since the paint is a bit inconsistent, it's hard to keep track of it so I kinda forgot my effort at keeping track of it.

See, the reflection is MUCH BETTER now, yet still only wet-sanding happening. This is after meguiars #3000 grit disc.
Tool of predilection for working in tight spot:

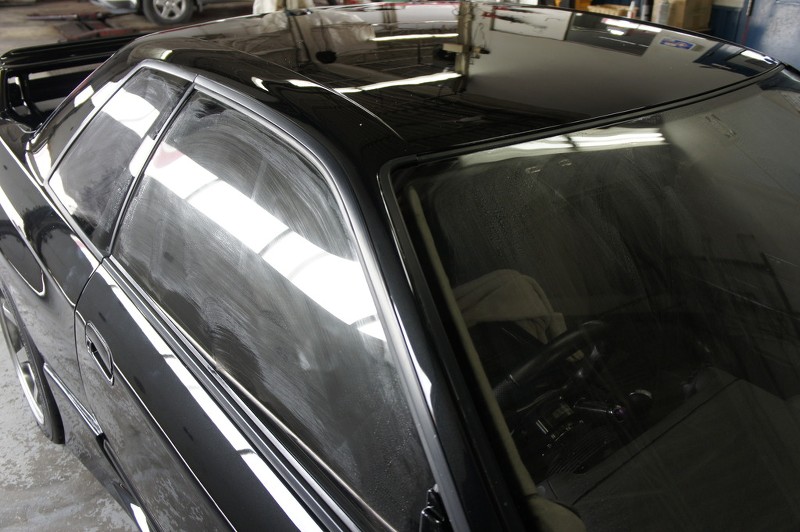
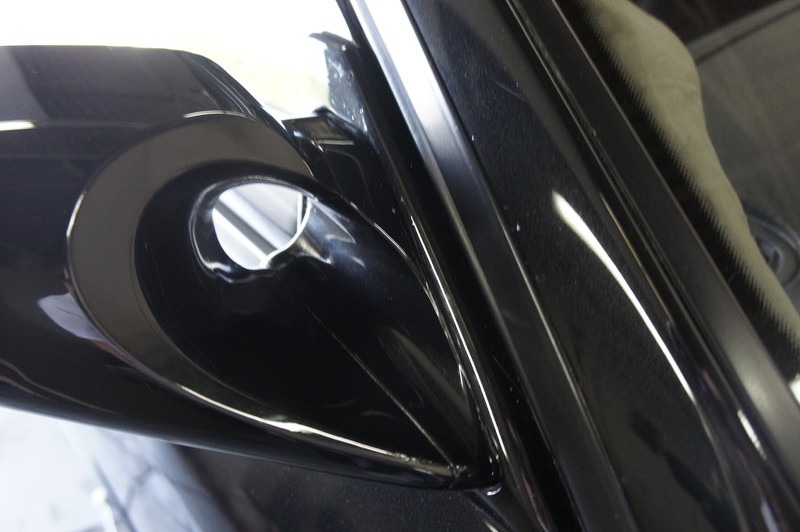
TADAM! once polished.. nothing to report, just an ultra-clean paint with no orange peel and whatsoever
Yeah buddy!!!
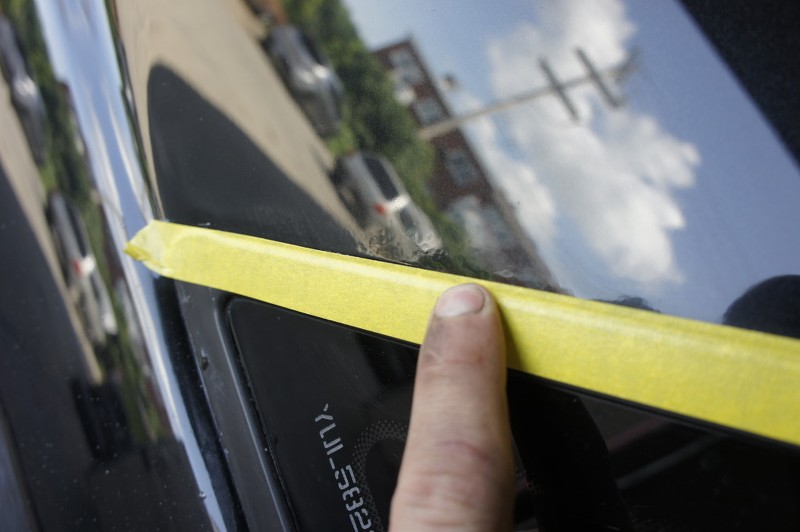
Now we're approaching the final step.. Basicly the whole care have been polished and obviously wet-sanded ( except for the front bumper and grill), and I'm at the point of inspecting my work and work panel by panel if defect is present.. and obsviouly some defect were present ( I mean, we are all humans, it's hard to expect such an exhaustive project ( +80 hours) to go without one single ''trouble'', but this... who cares if it will be corrected before delivering the car? )
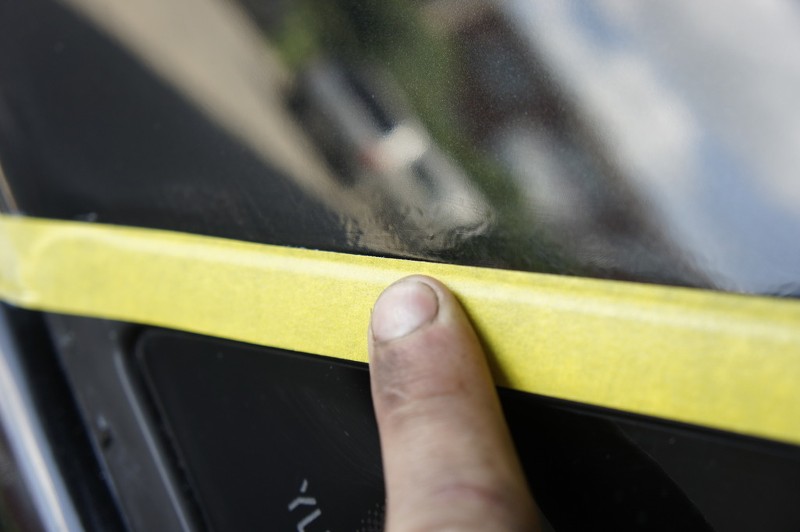
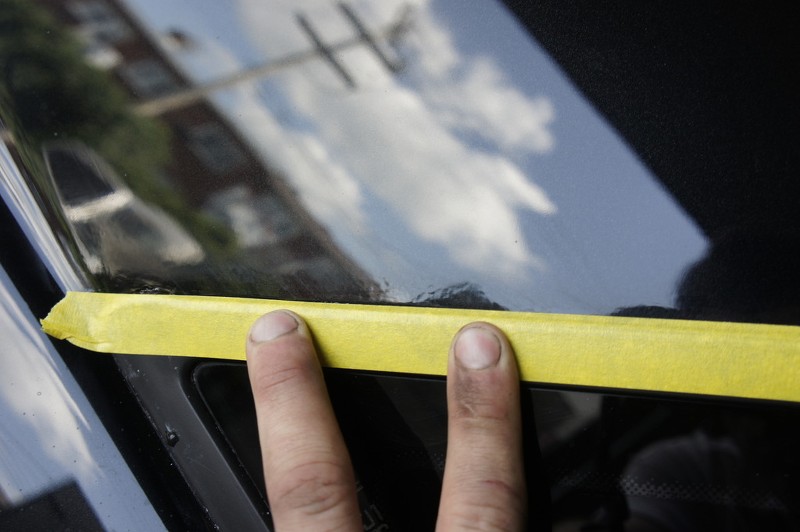
What I do is pick up 3 different light gun ( halogen, sungun and LED) and turn around he car, every time I see something i put a small tape:

I was mostly looking at sanding mark not corrected or small pigtail due to all the dust particle stuck on the paint.
look closely under the light spot, you will notice a half circular mark, that's a pigtail:

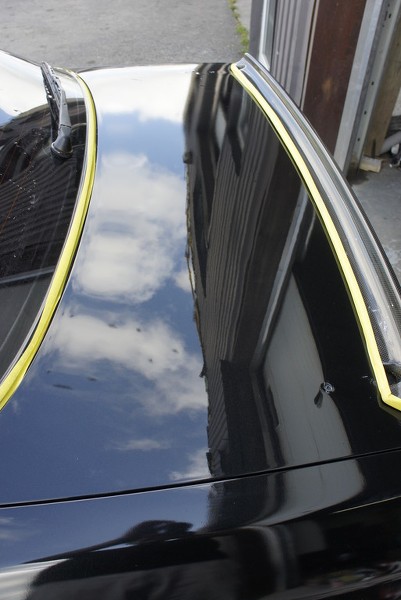
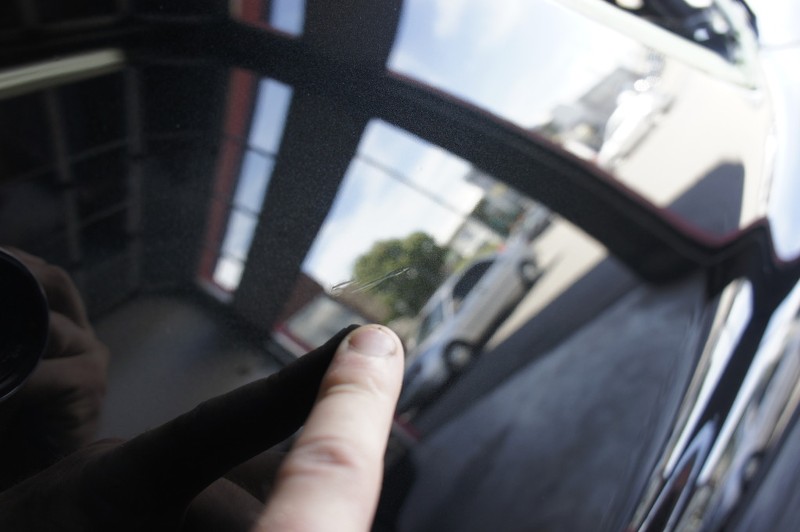
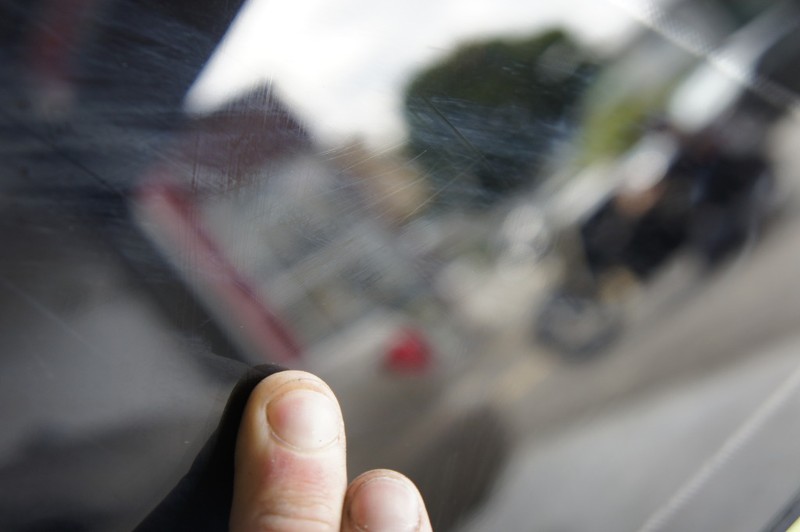
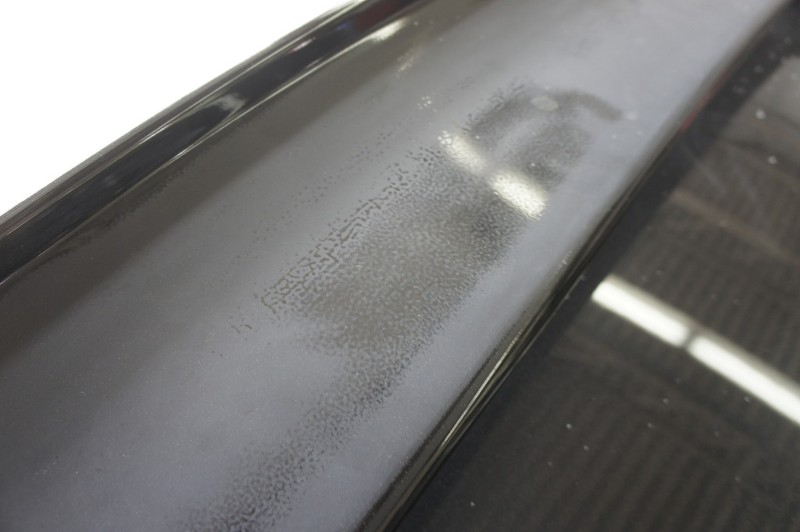
Later on.. I found this kind of orange peel on the pillar.. I first didn't want to go too crazy around the trim because they were very fragile and trims didn't get removed of the car prior to painting so last thing I want is burn the paint there.. but at the same time it was way too obvious of orange peel to let it like that. see by yourself?
See the white faded paint. this is what i had to polish by hand using these products:
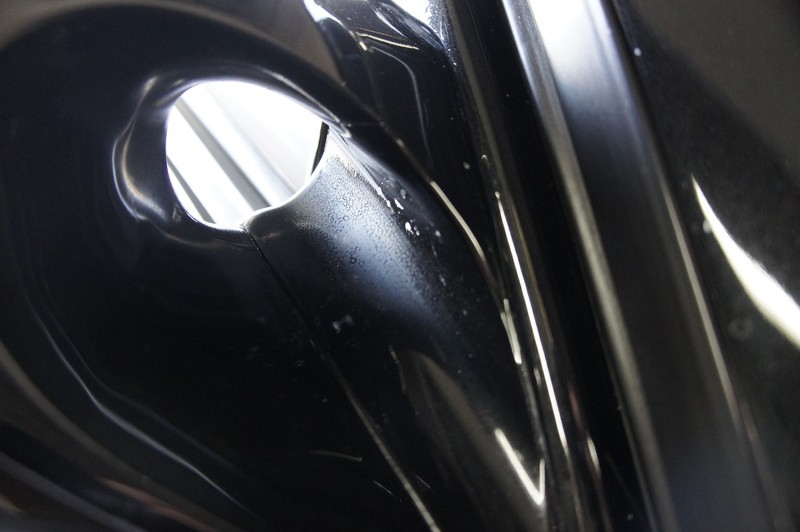
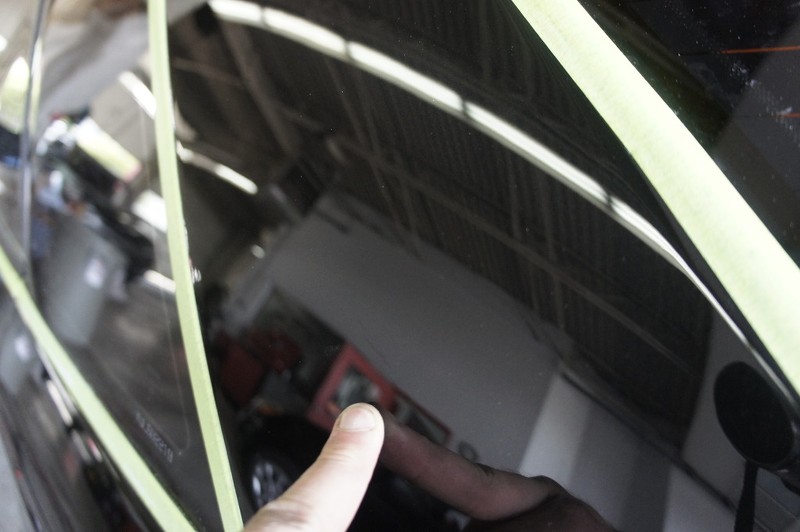
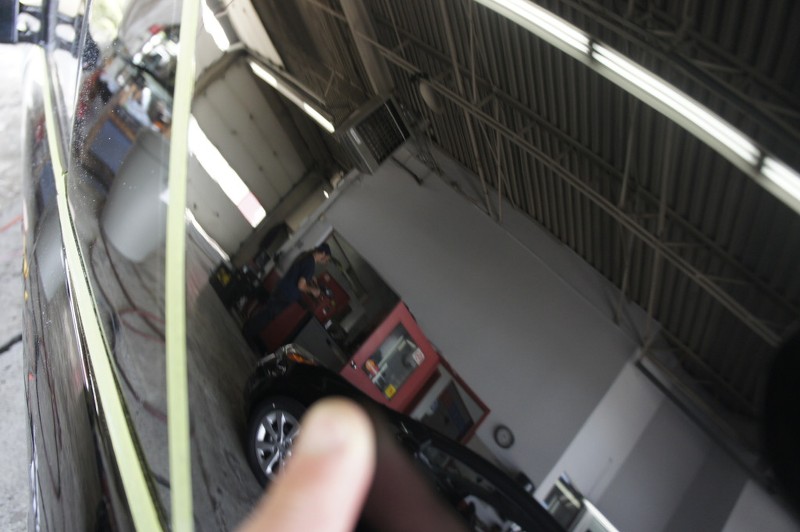
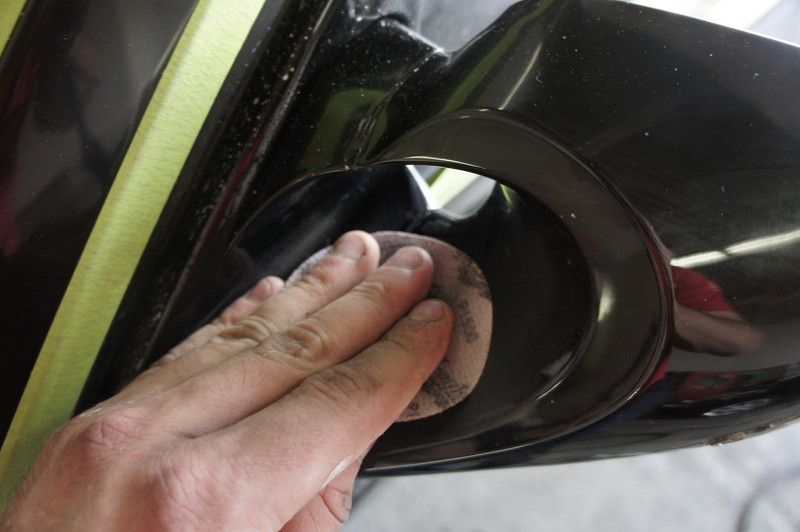
I also had to wet-sand the inside of the mirror because the grain was too present to be ignored. it's actually quite complicated to polish this area because wet-sanding is easy, but removing sanding mark by hands is a whole different story.. i believe i spent 1 hour per mirror just to polish /sand 30% of the mirror.
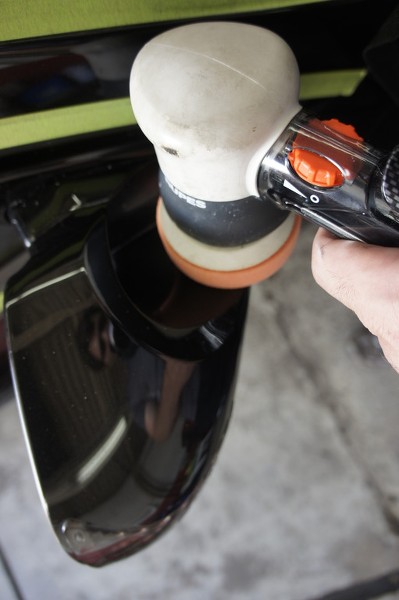
This is how far the machine could go.. i had to do the rest by hand :

")