Kart72
Legacy Member
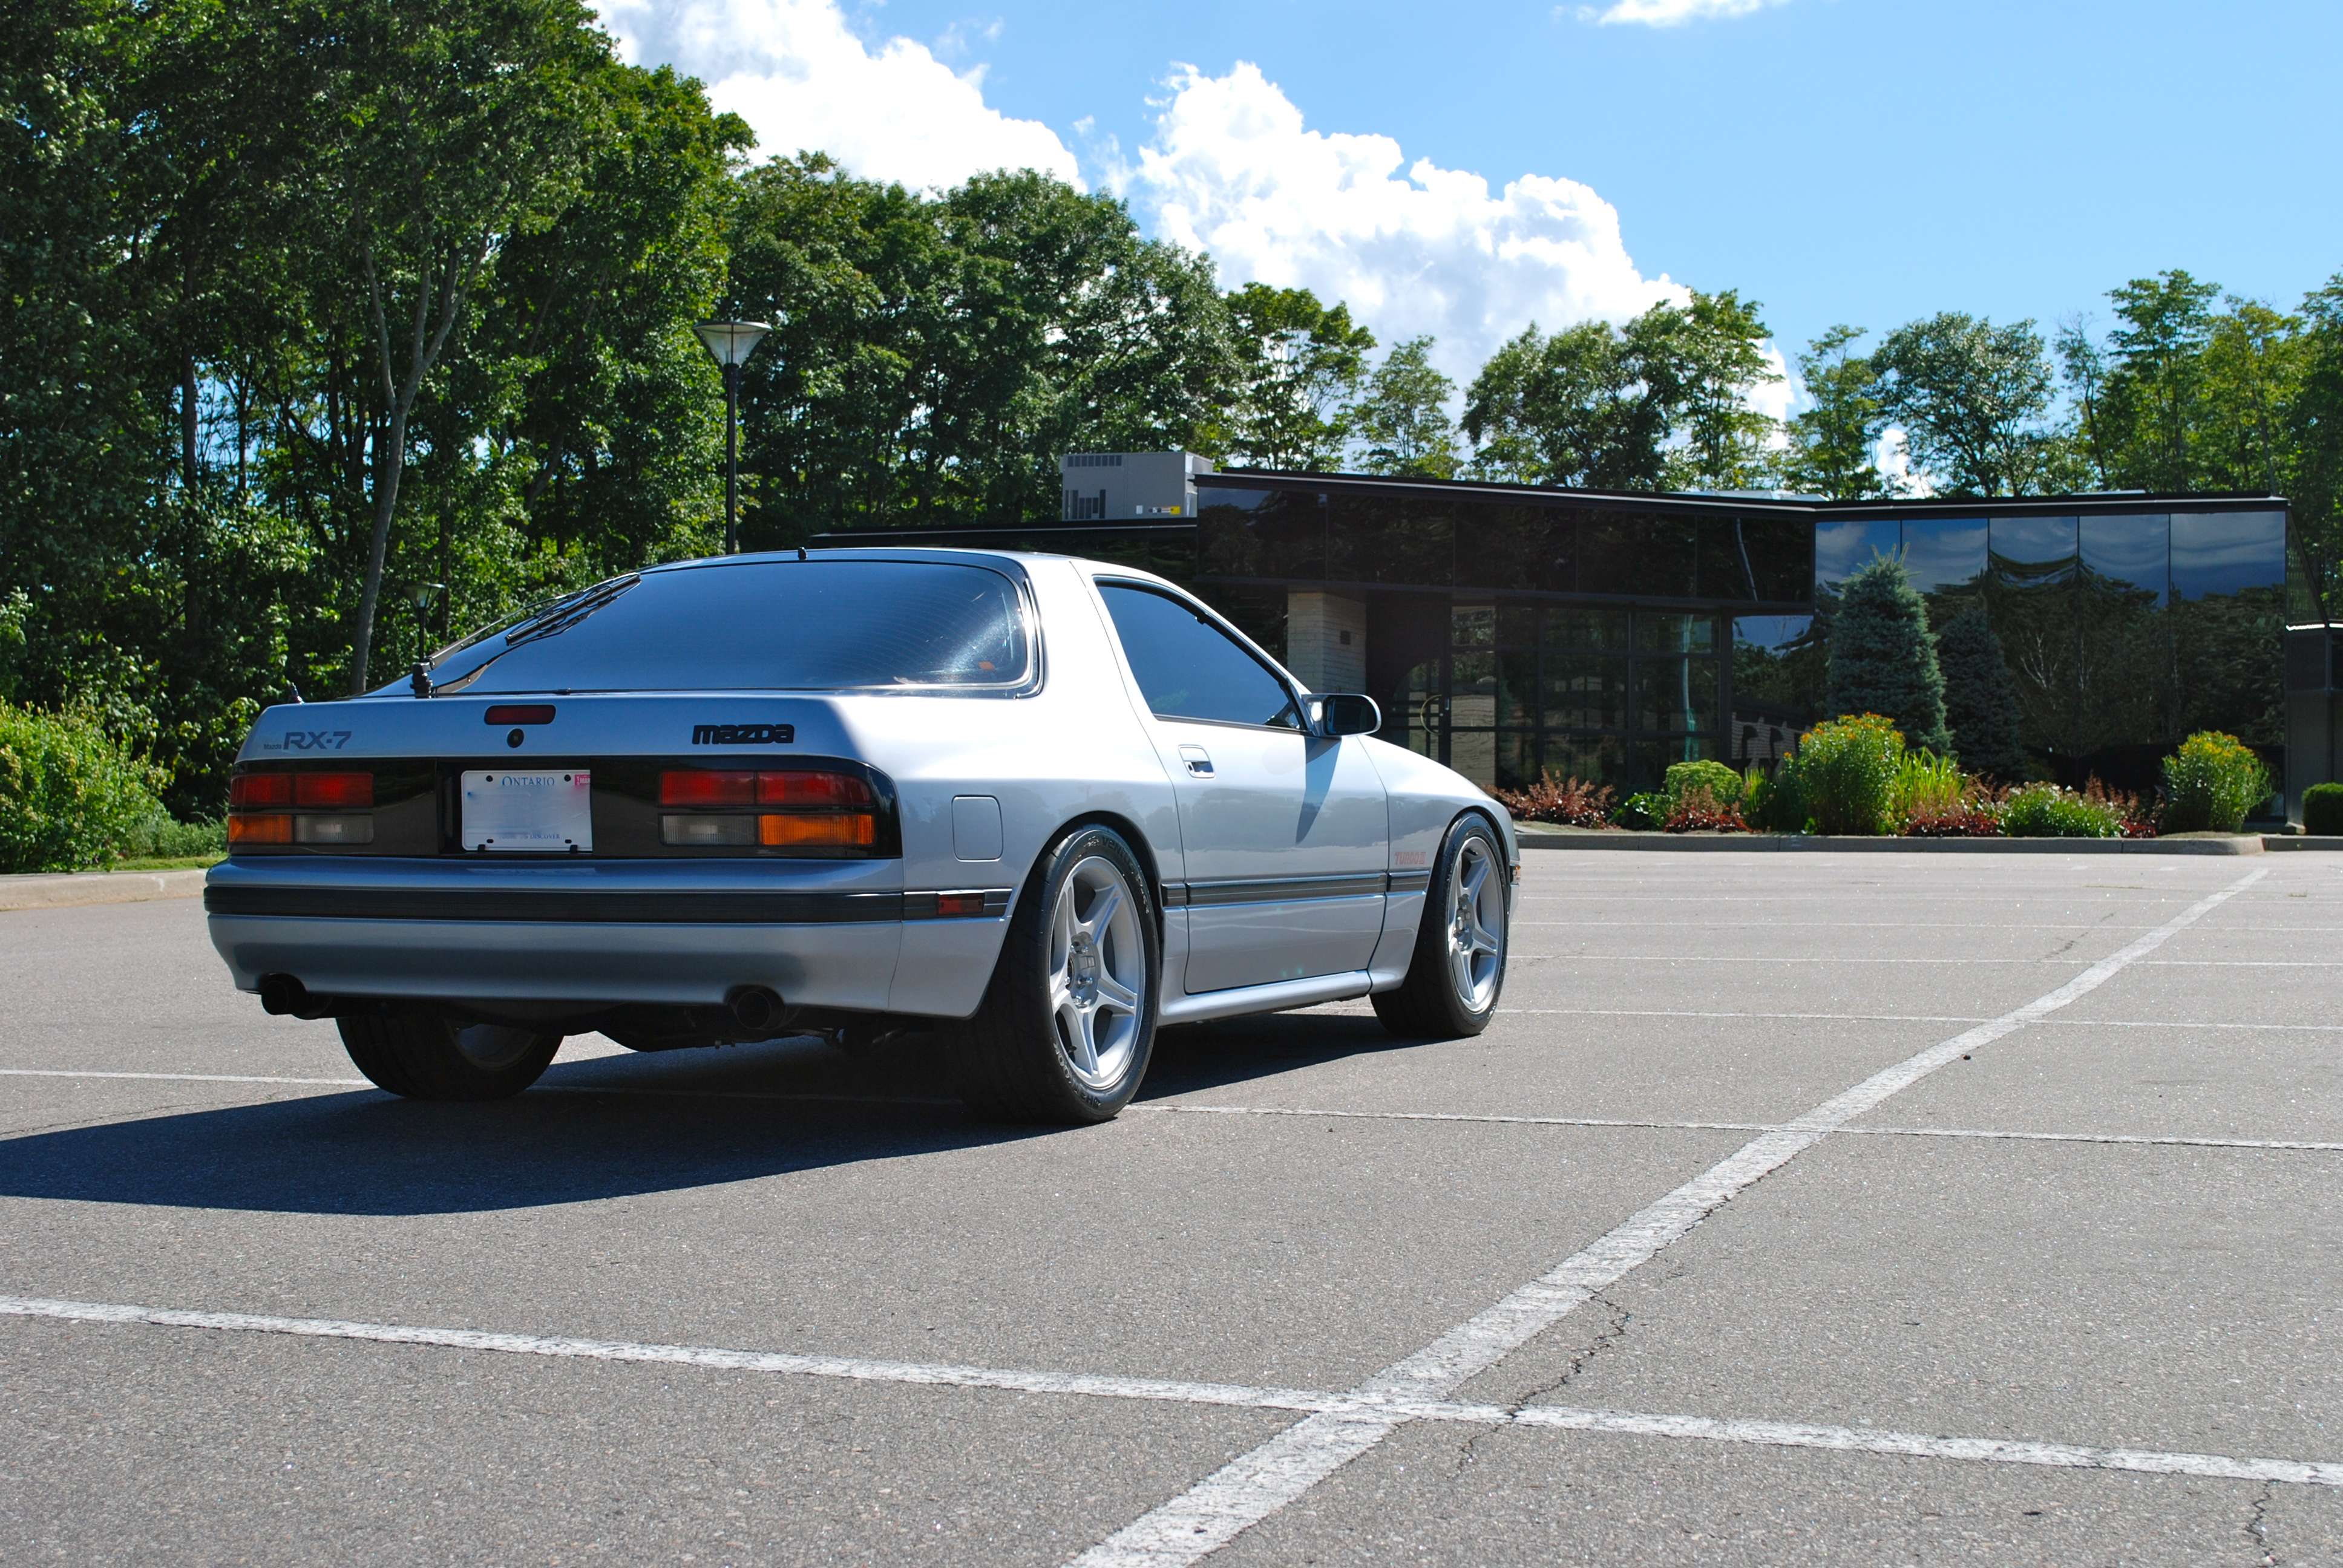
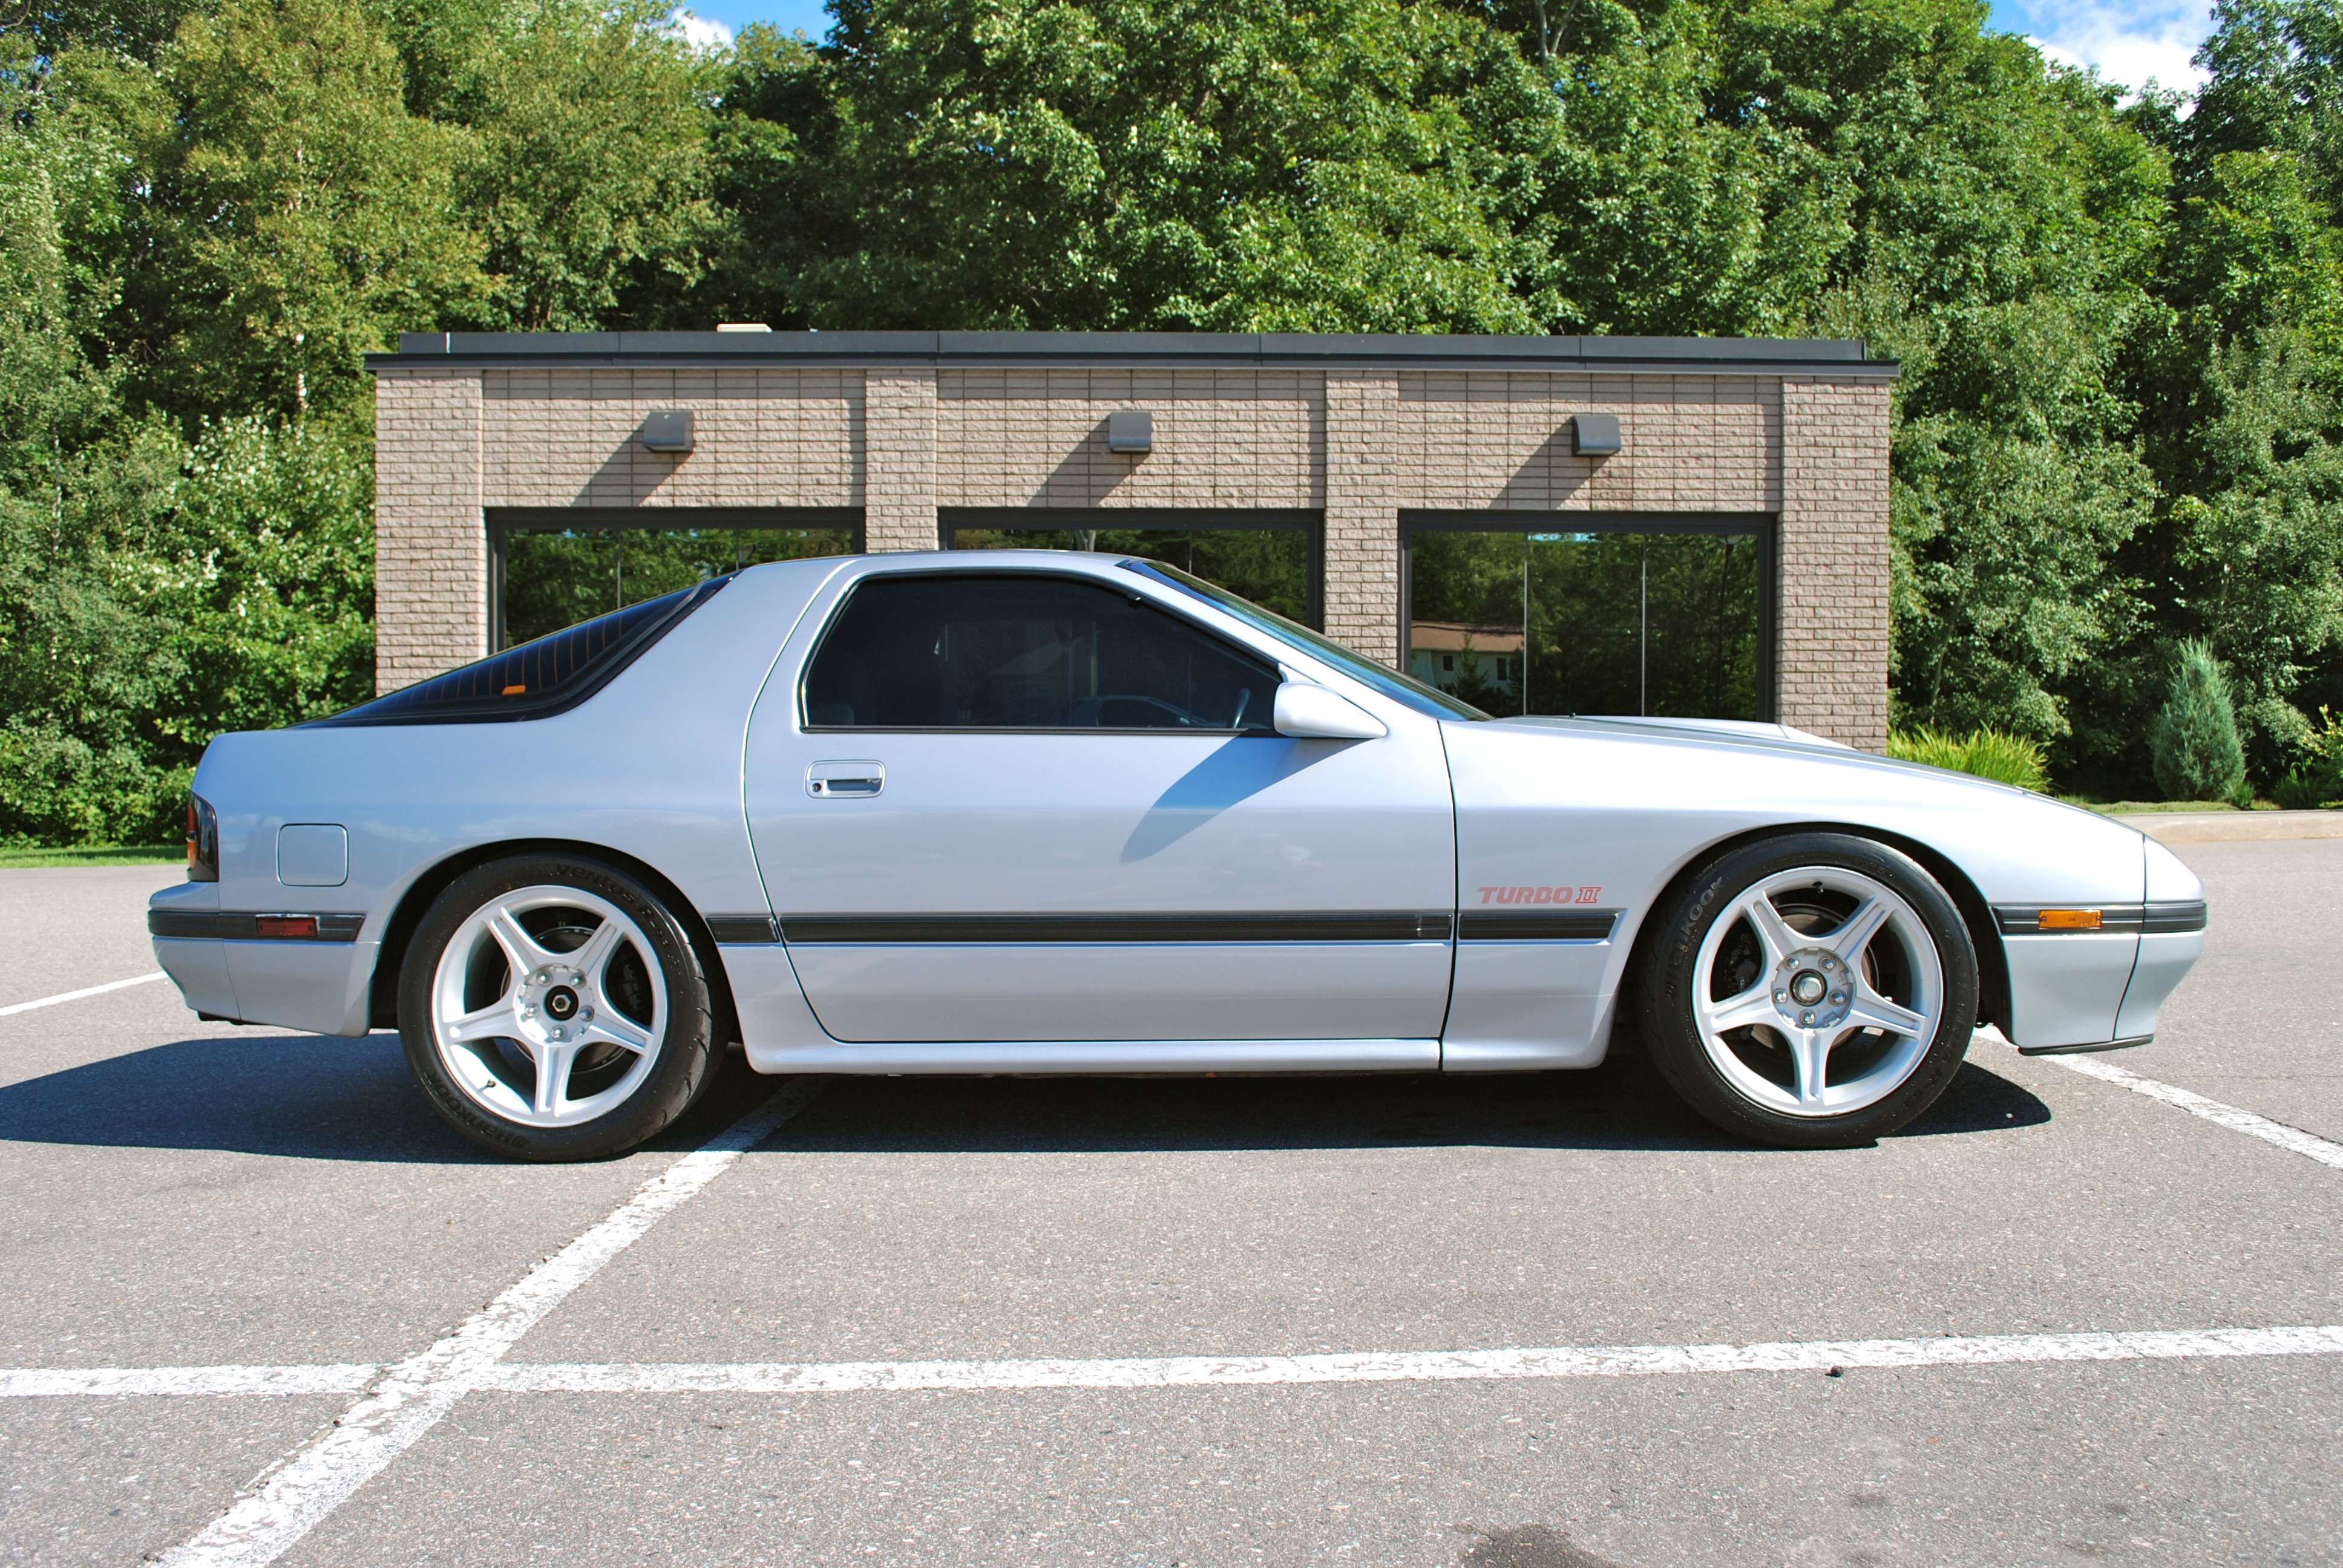
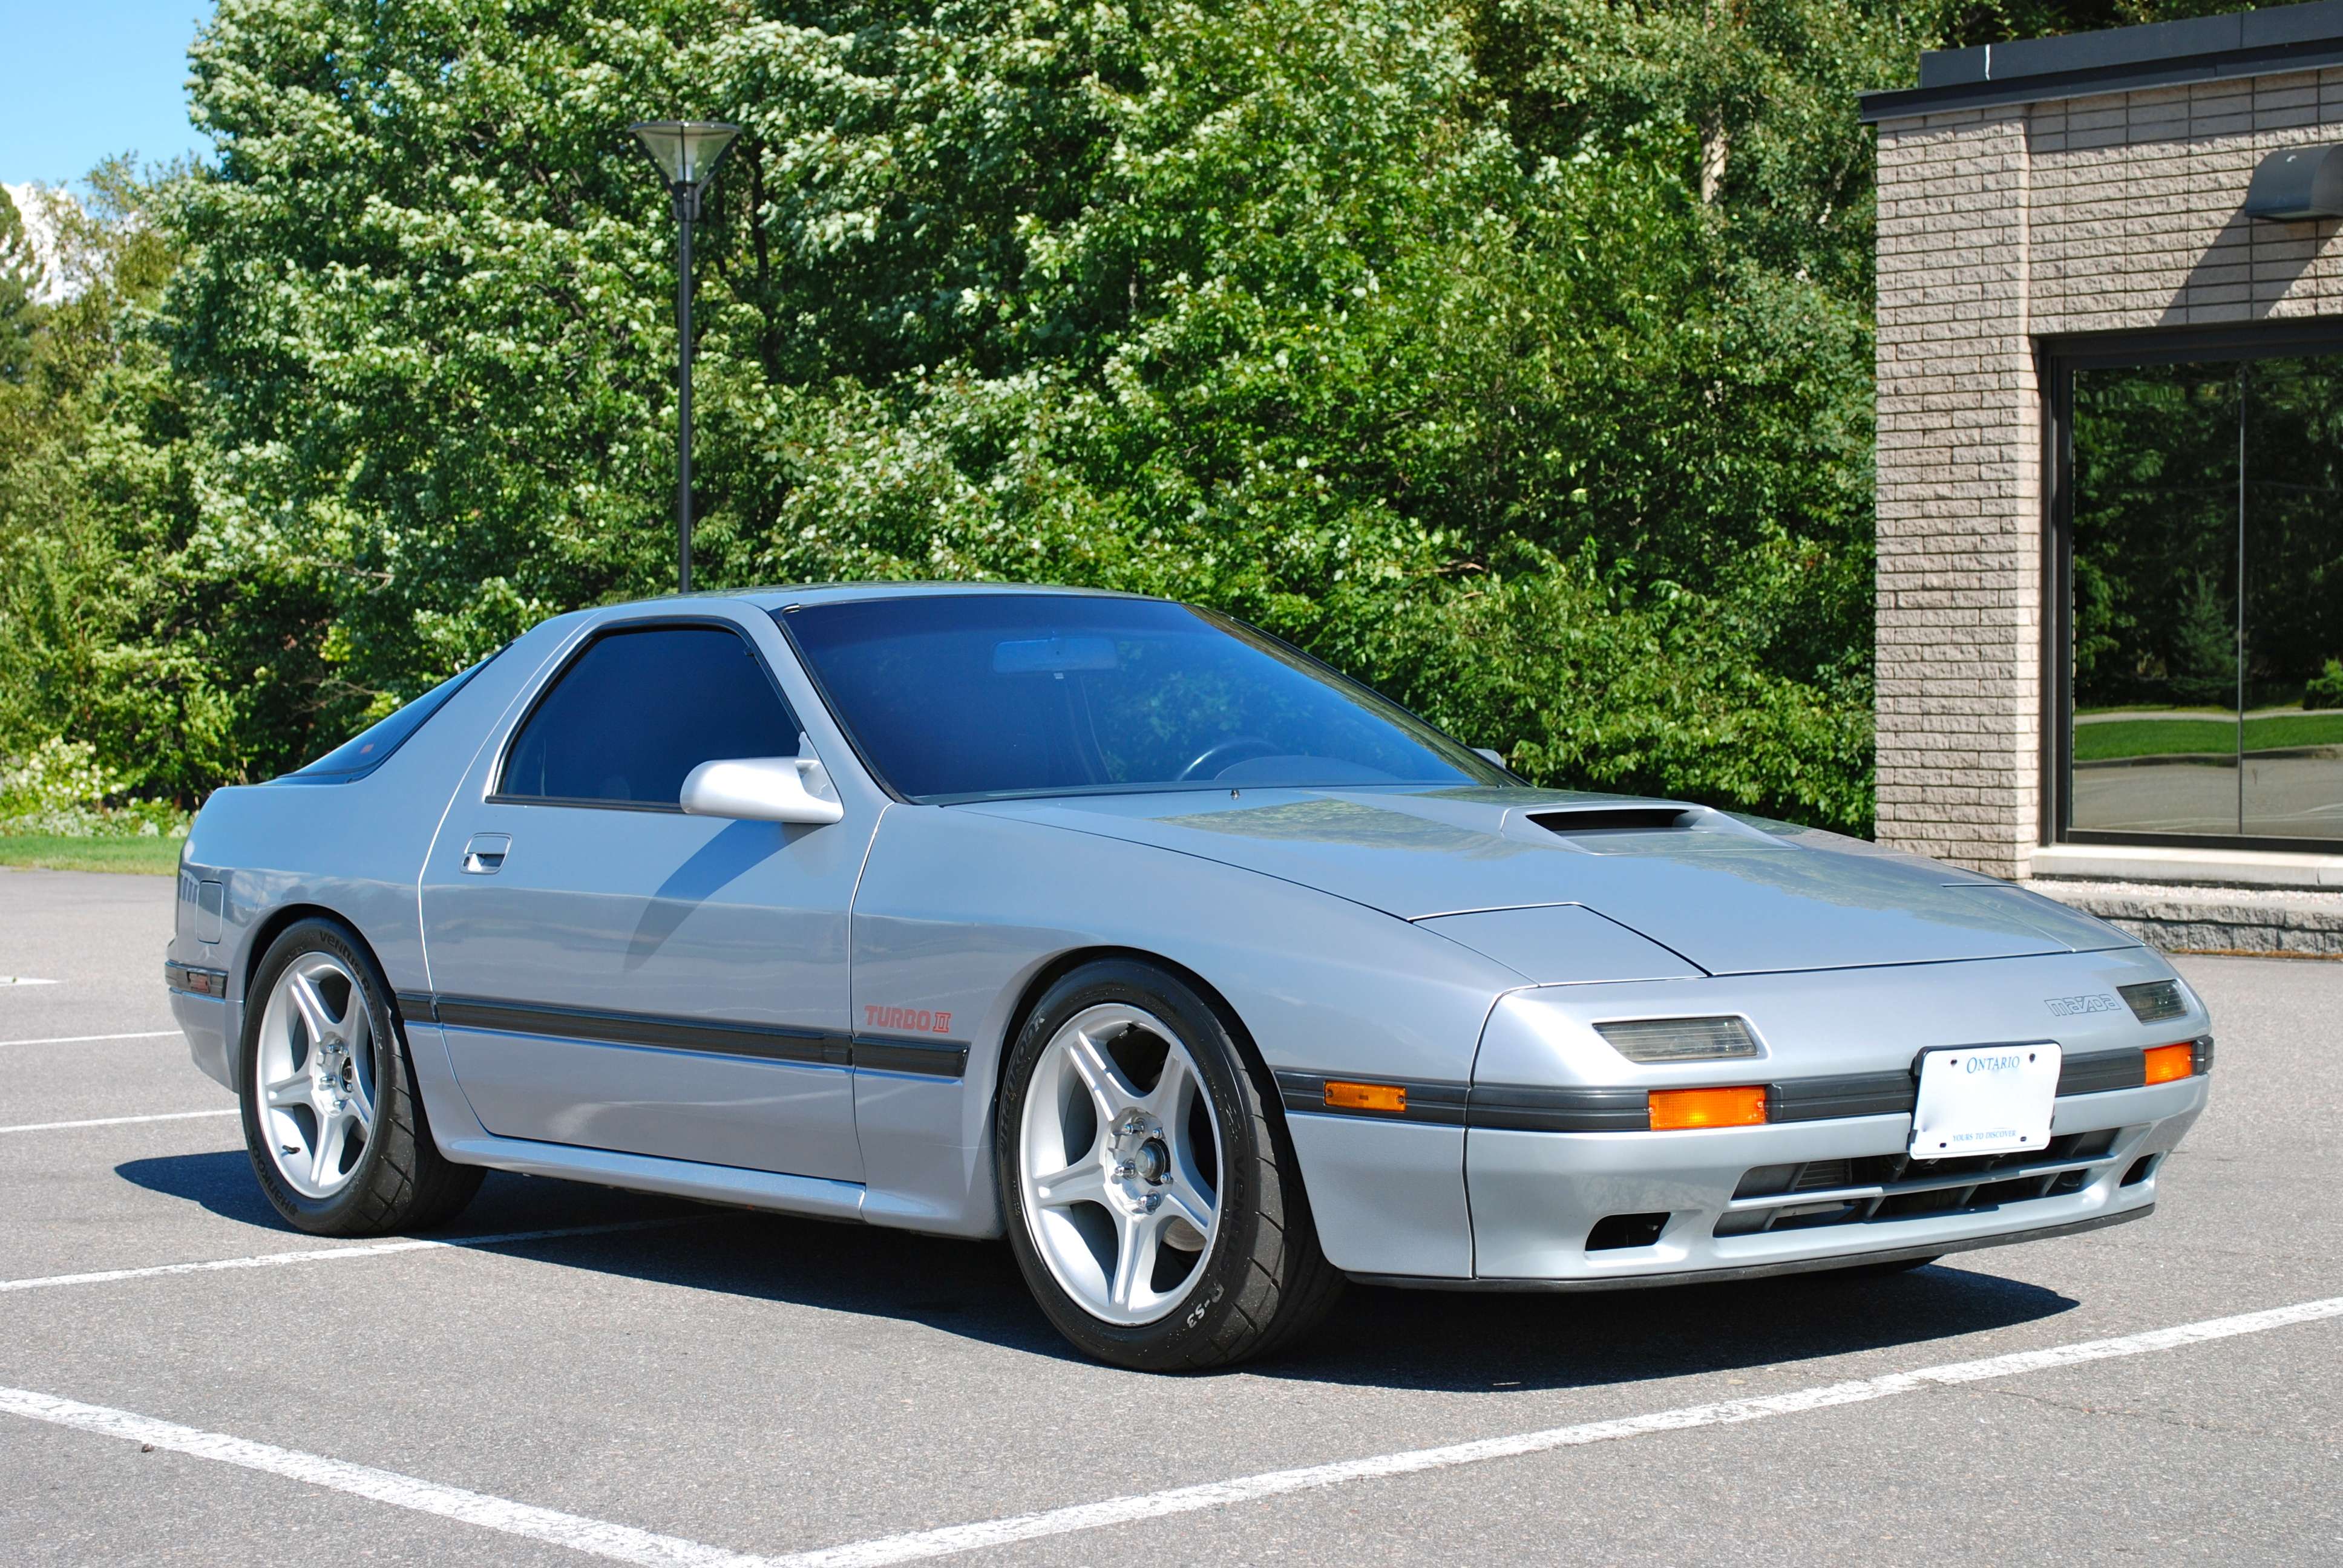
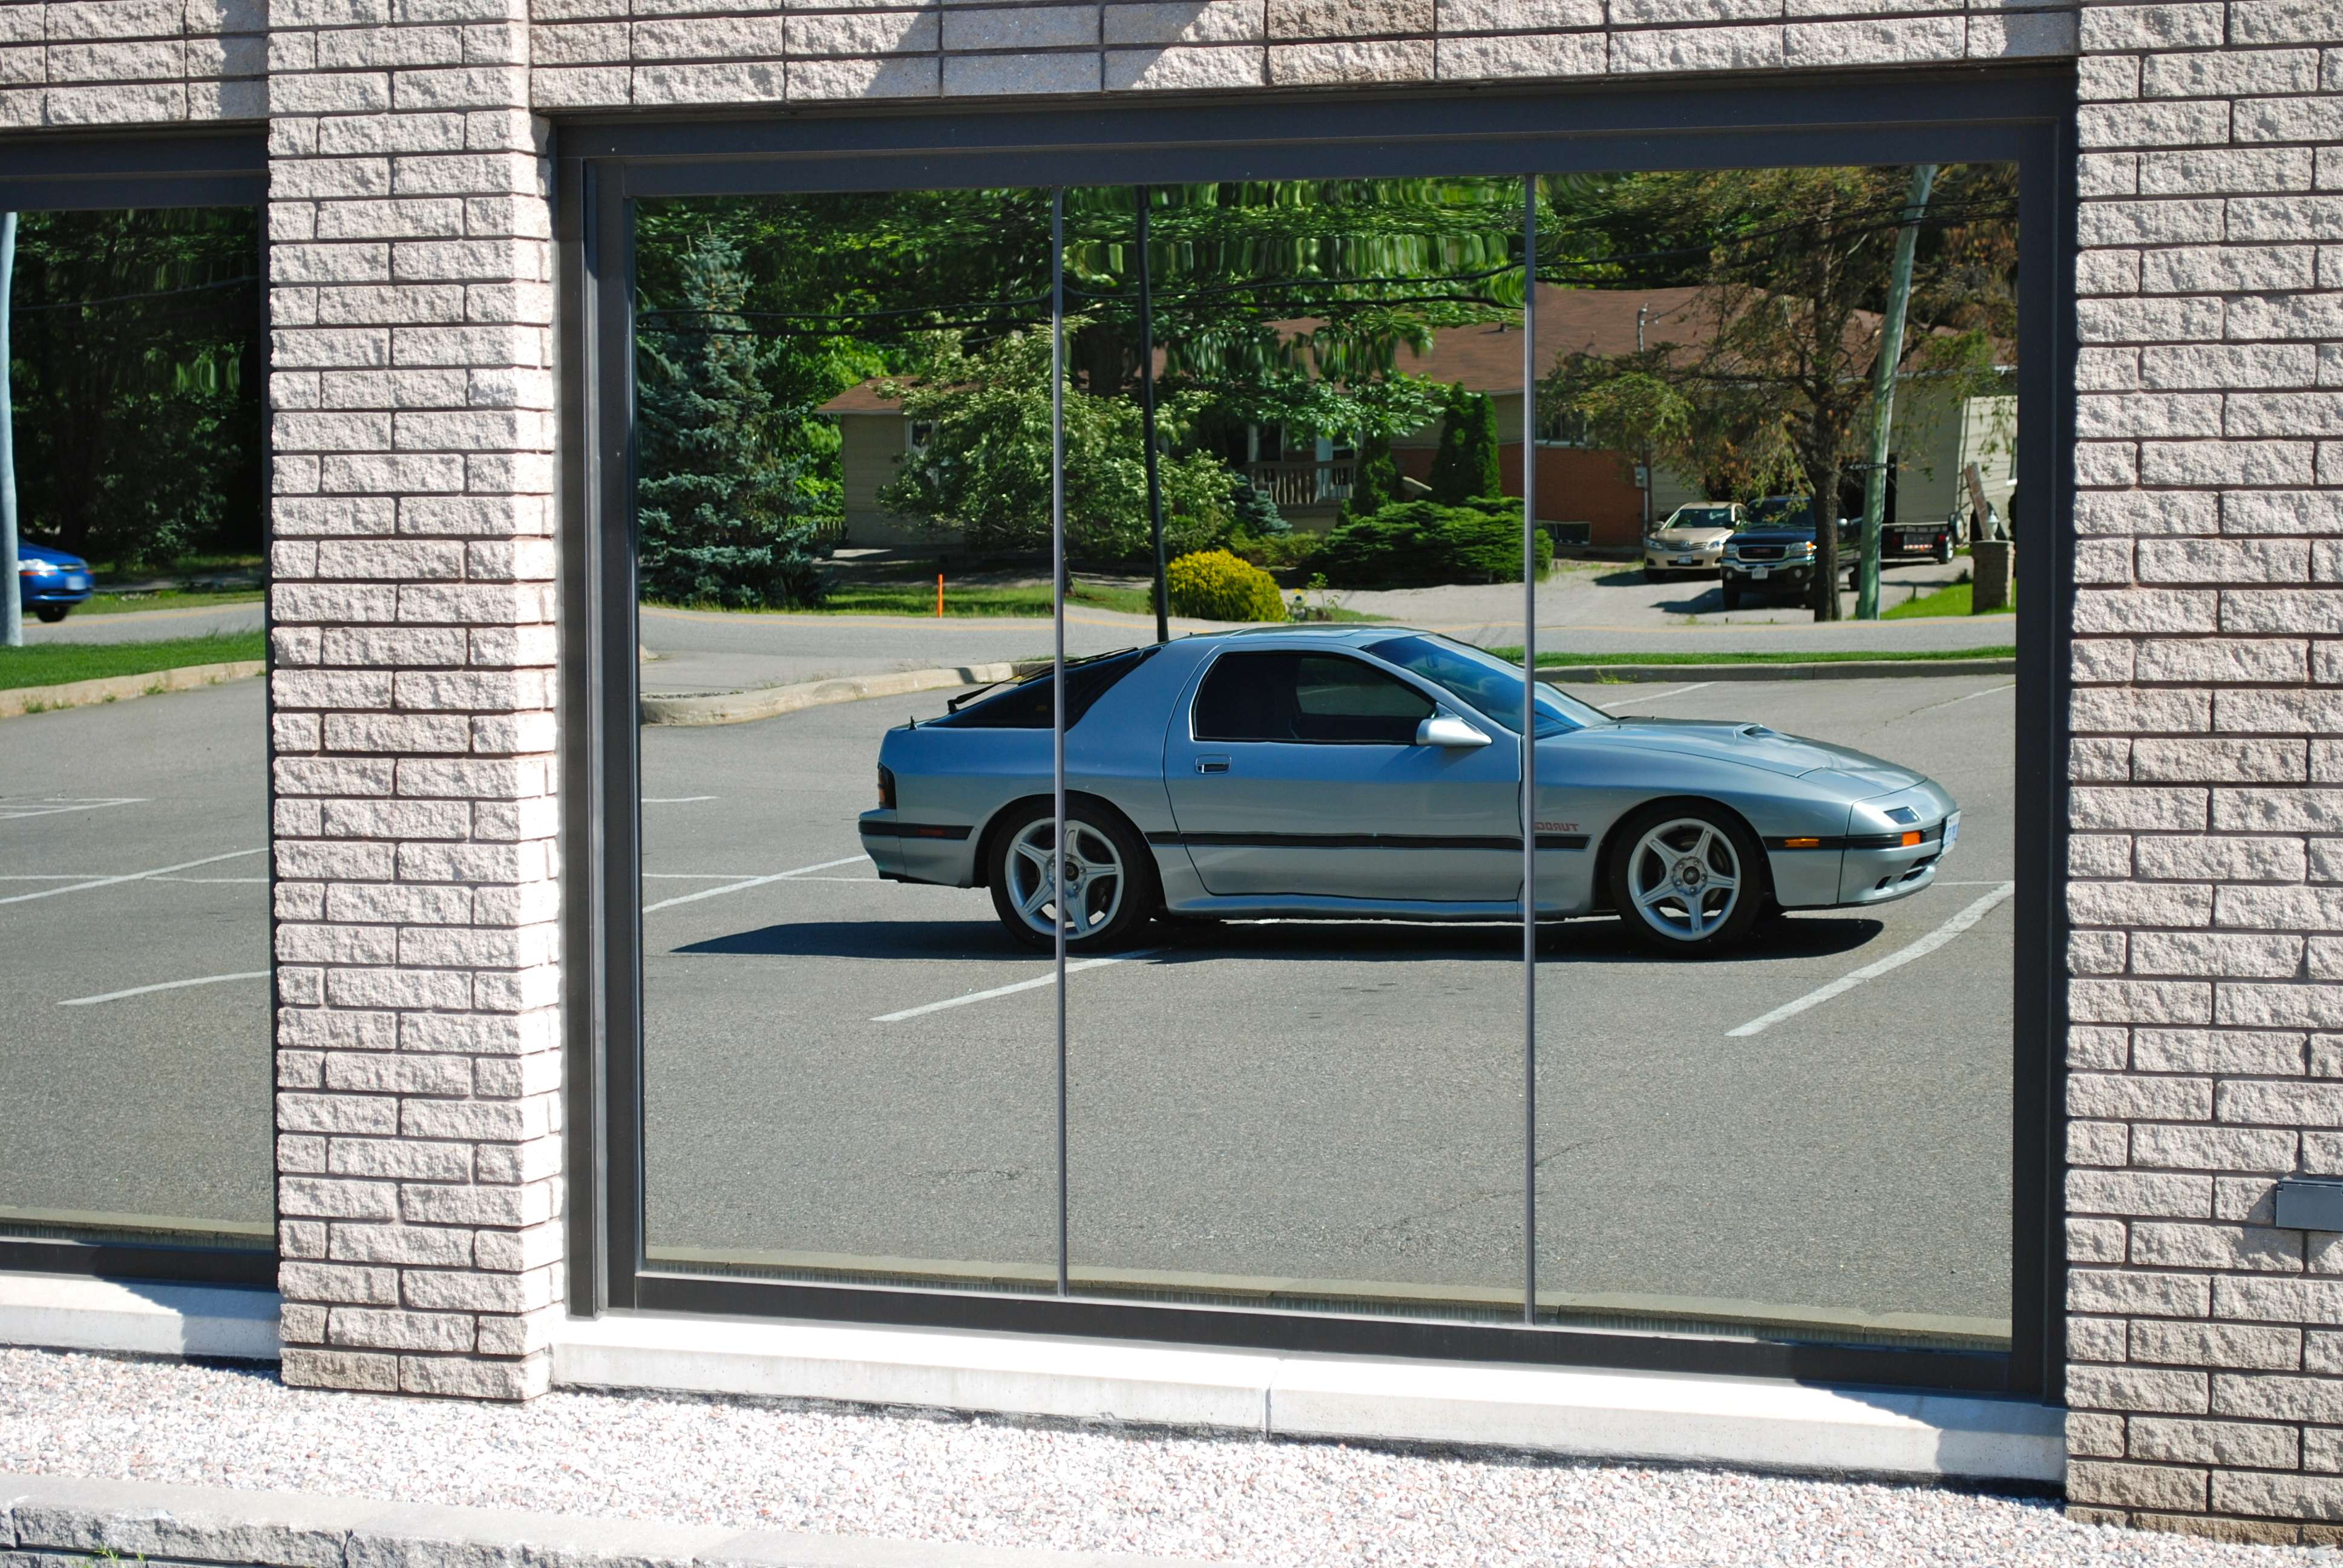
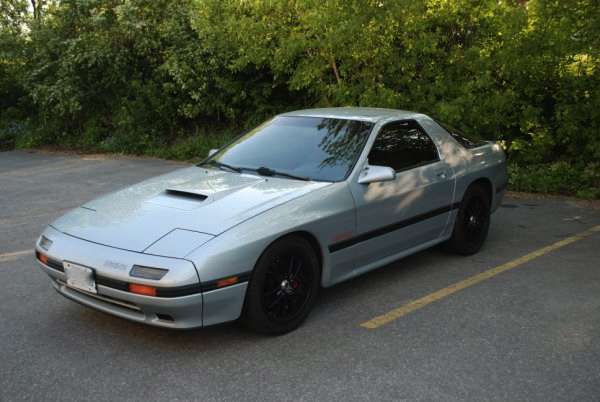
I had been wanting to do a V8 RX7 swap for quite a while and spent the better part of a year trying to find a suitable car for the swap. Turns out it is getting harder and harder to find these cars in the condition that I would consider clean enough for a swap. I ended up finding a never winter driven Arctic Silver Metallic 1987 Turbo II coupe that was VERY clean. Car came with the wheels seen in the picture and also had the stock Turbo II wheels with the original tires.
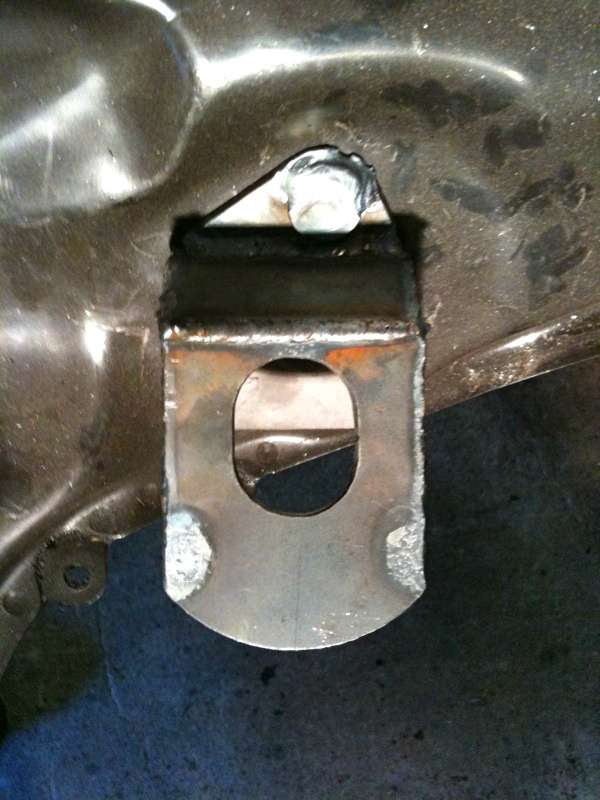
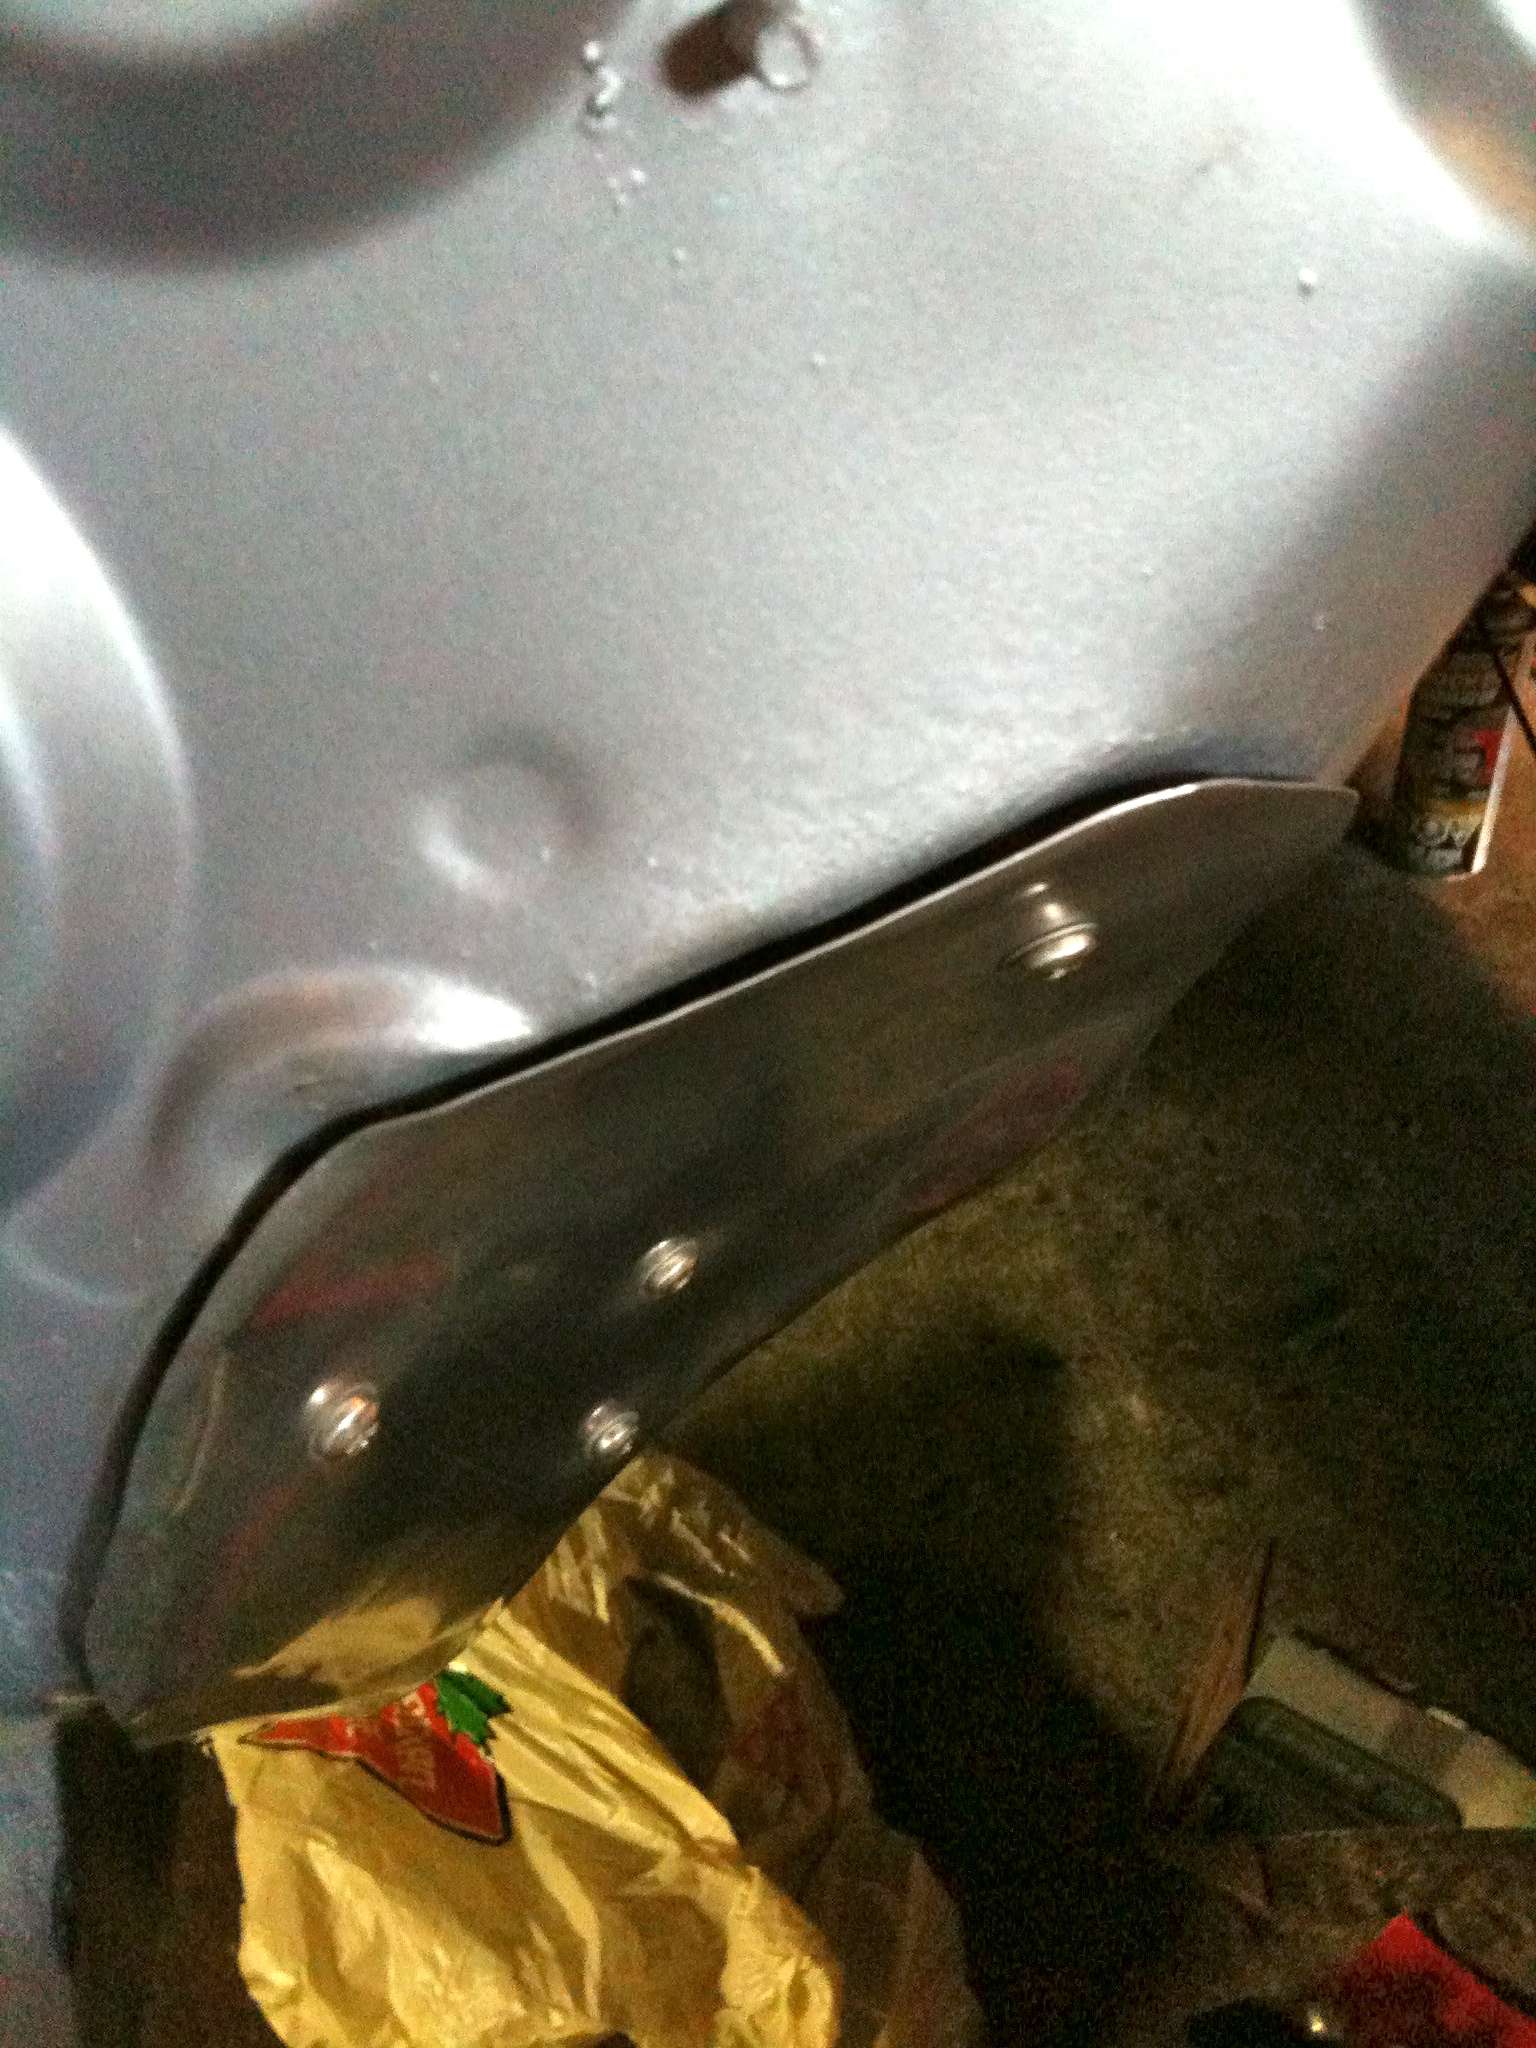
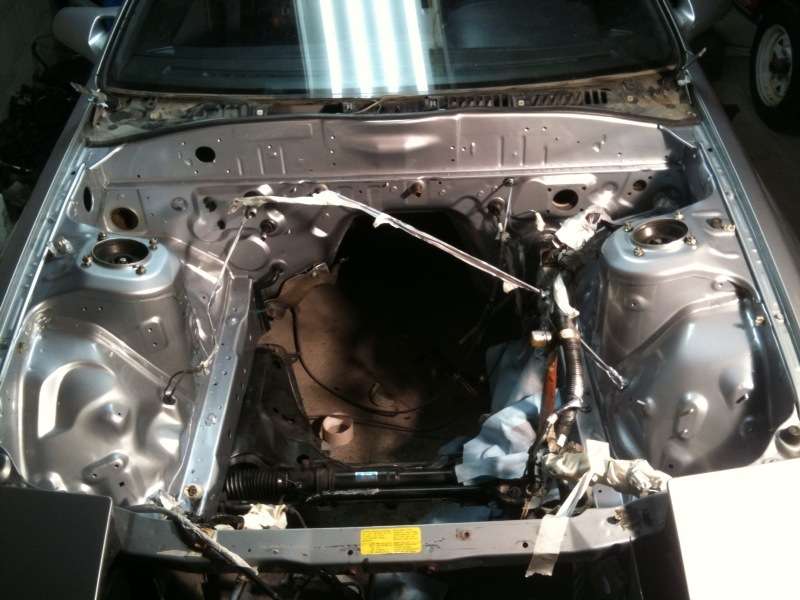
First order of business was to remove the stock drivetrain and all other parts that wouldn't be needed for the swap.
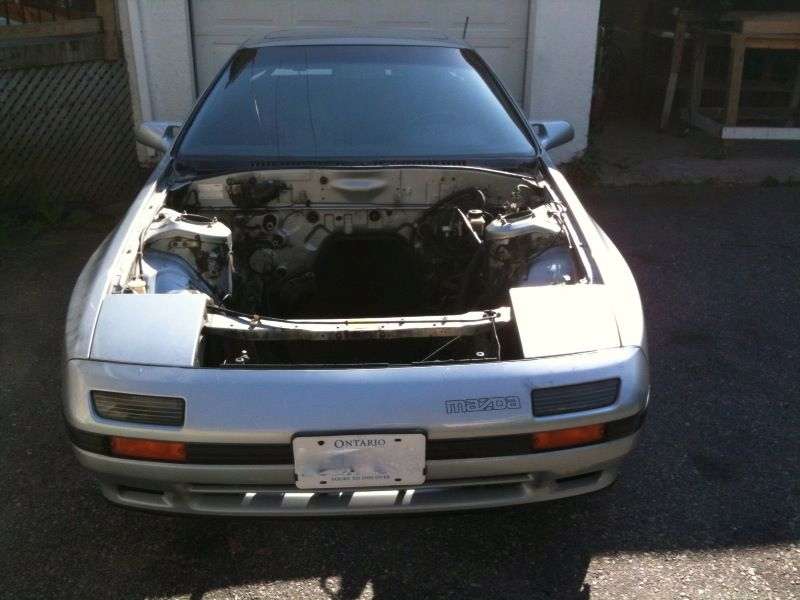
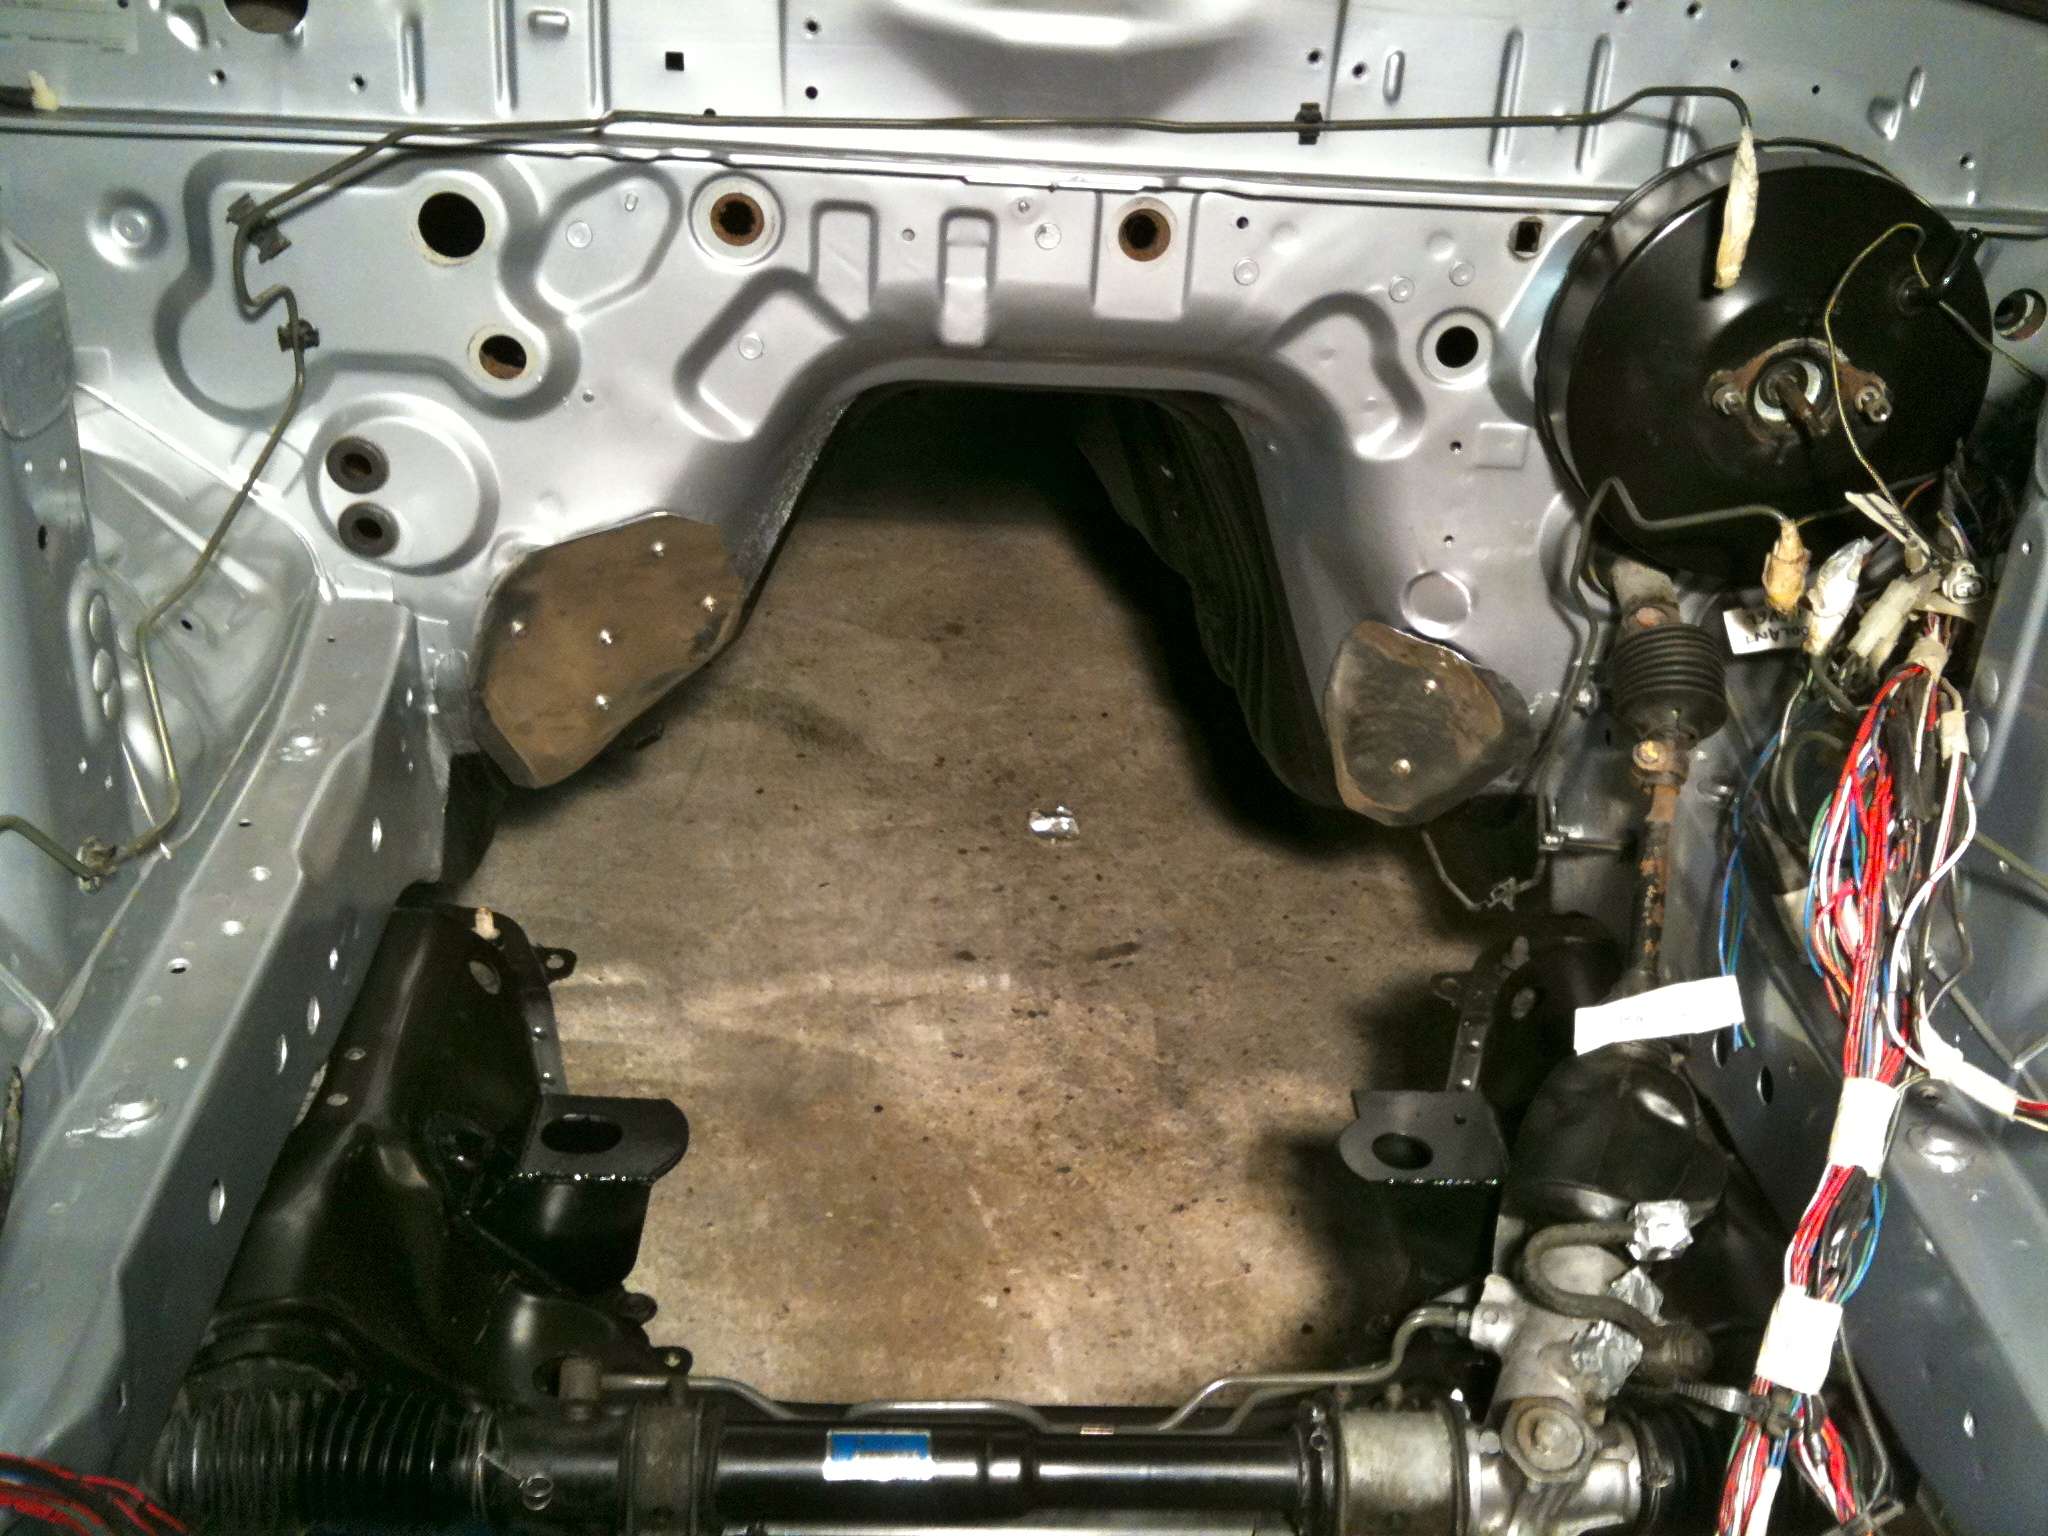
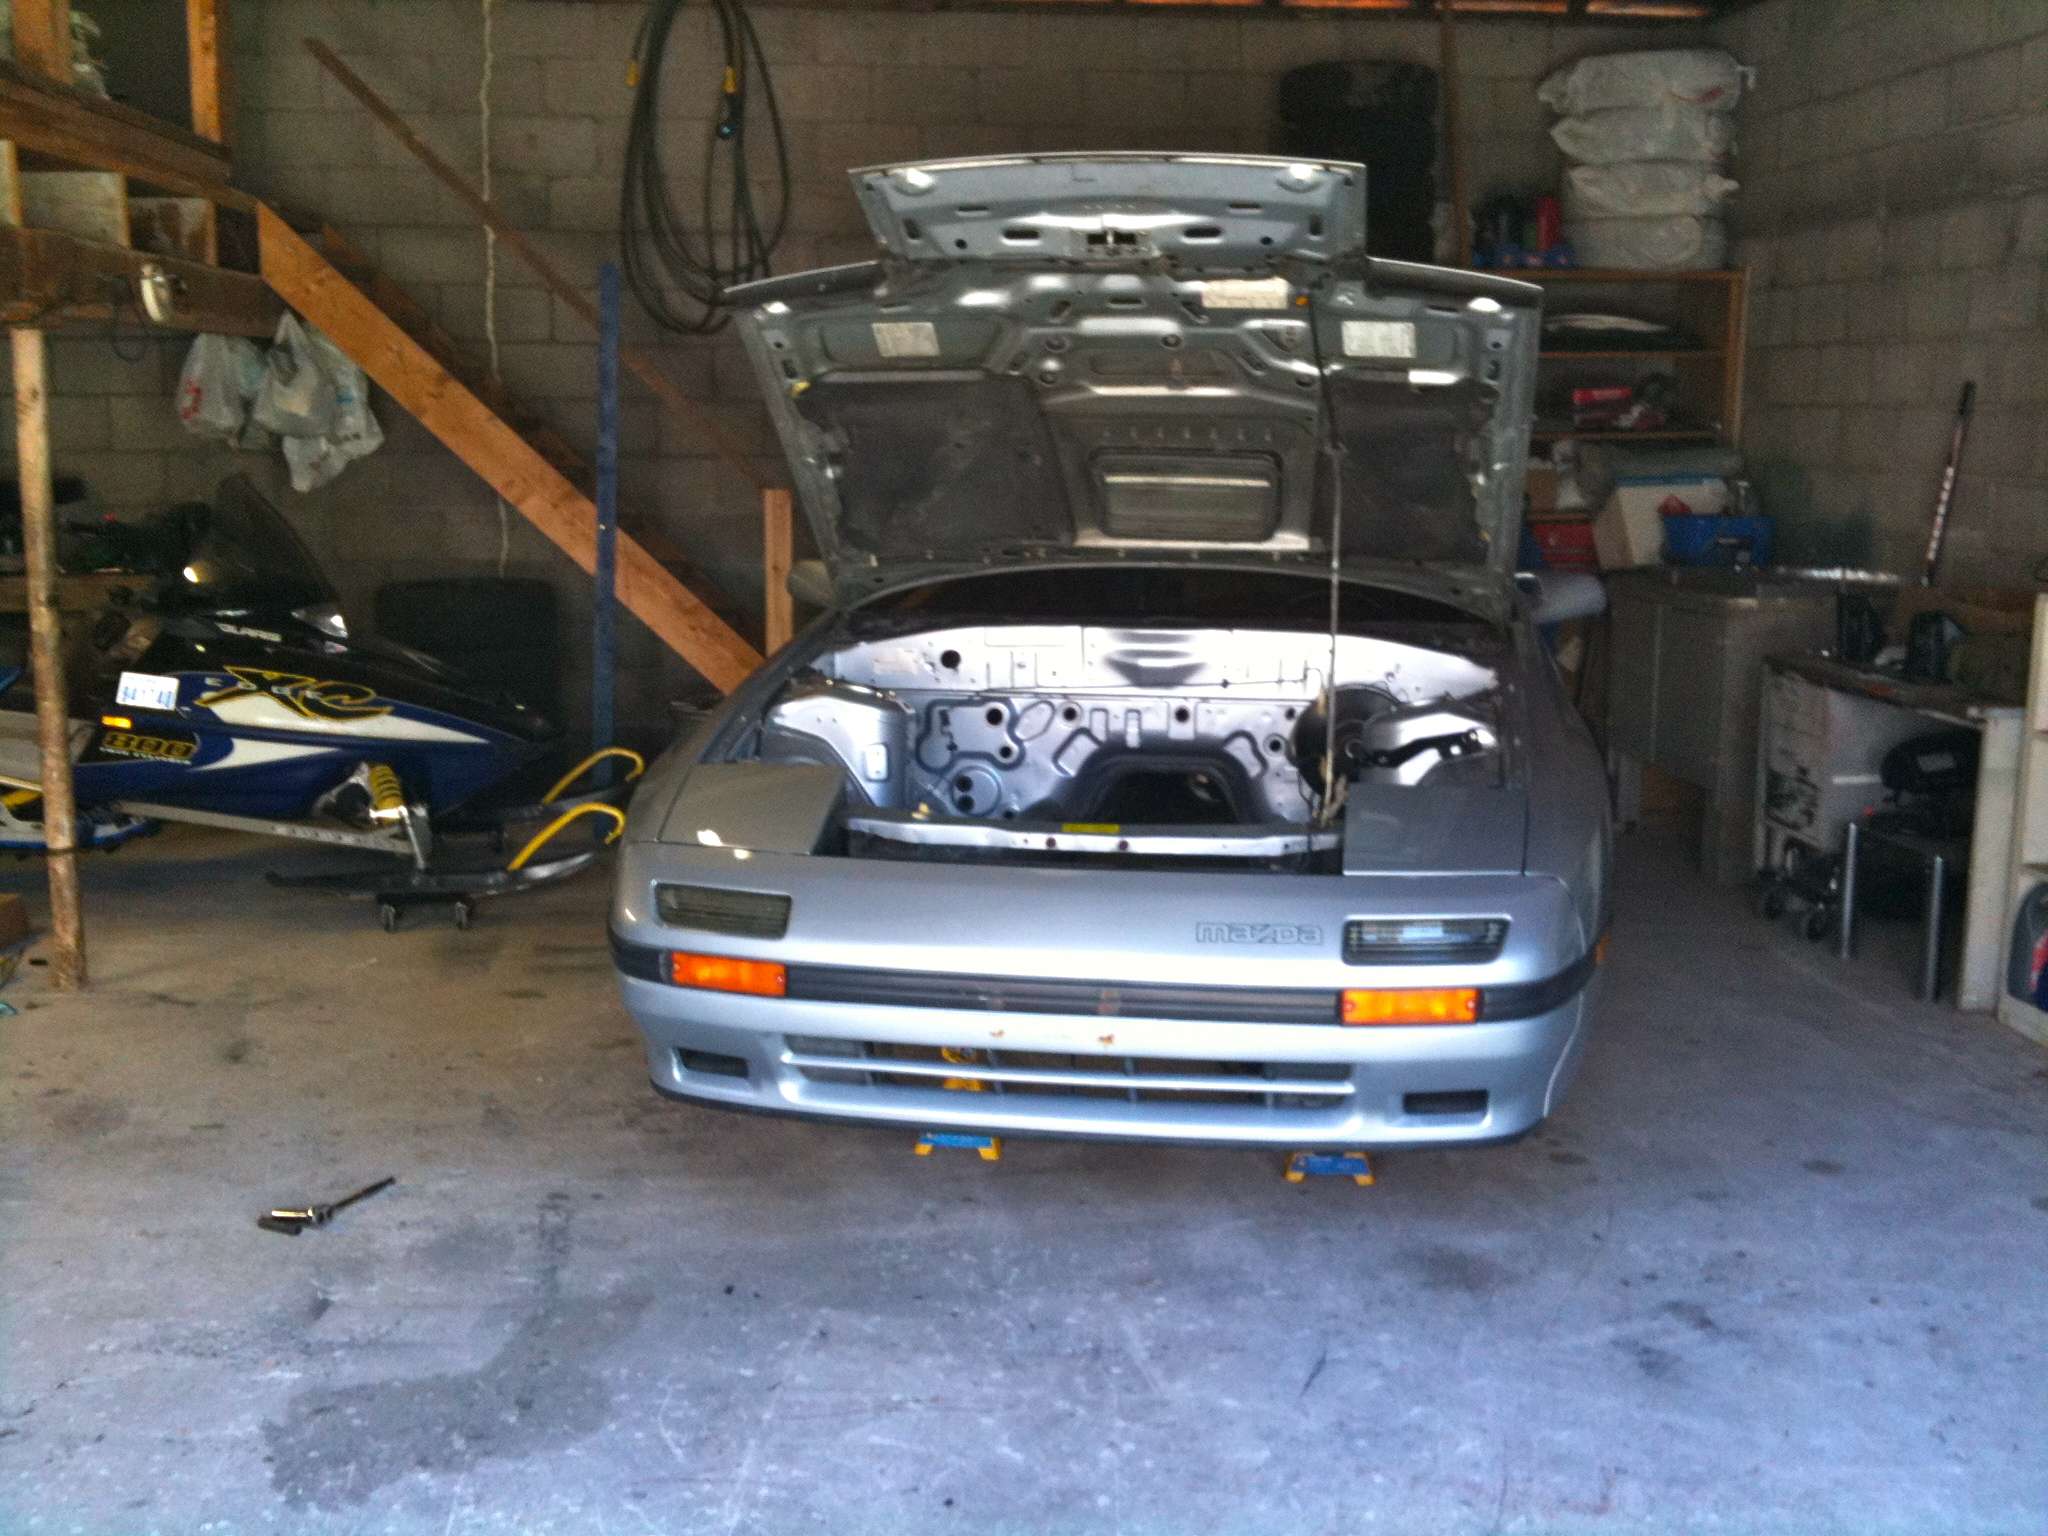
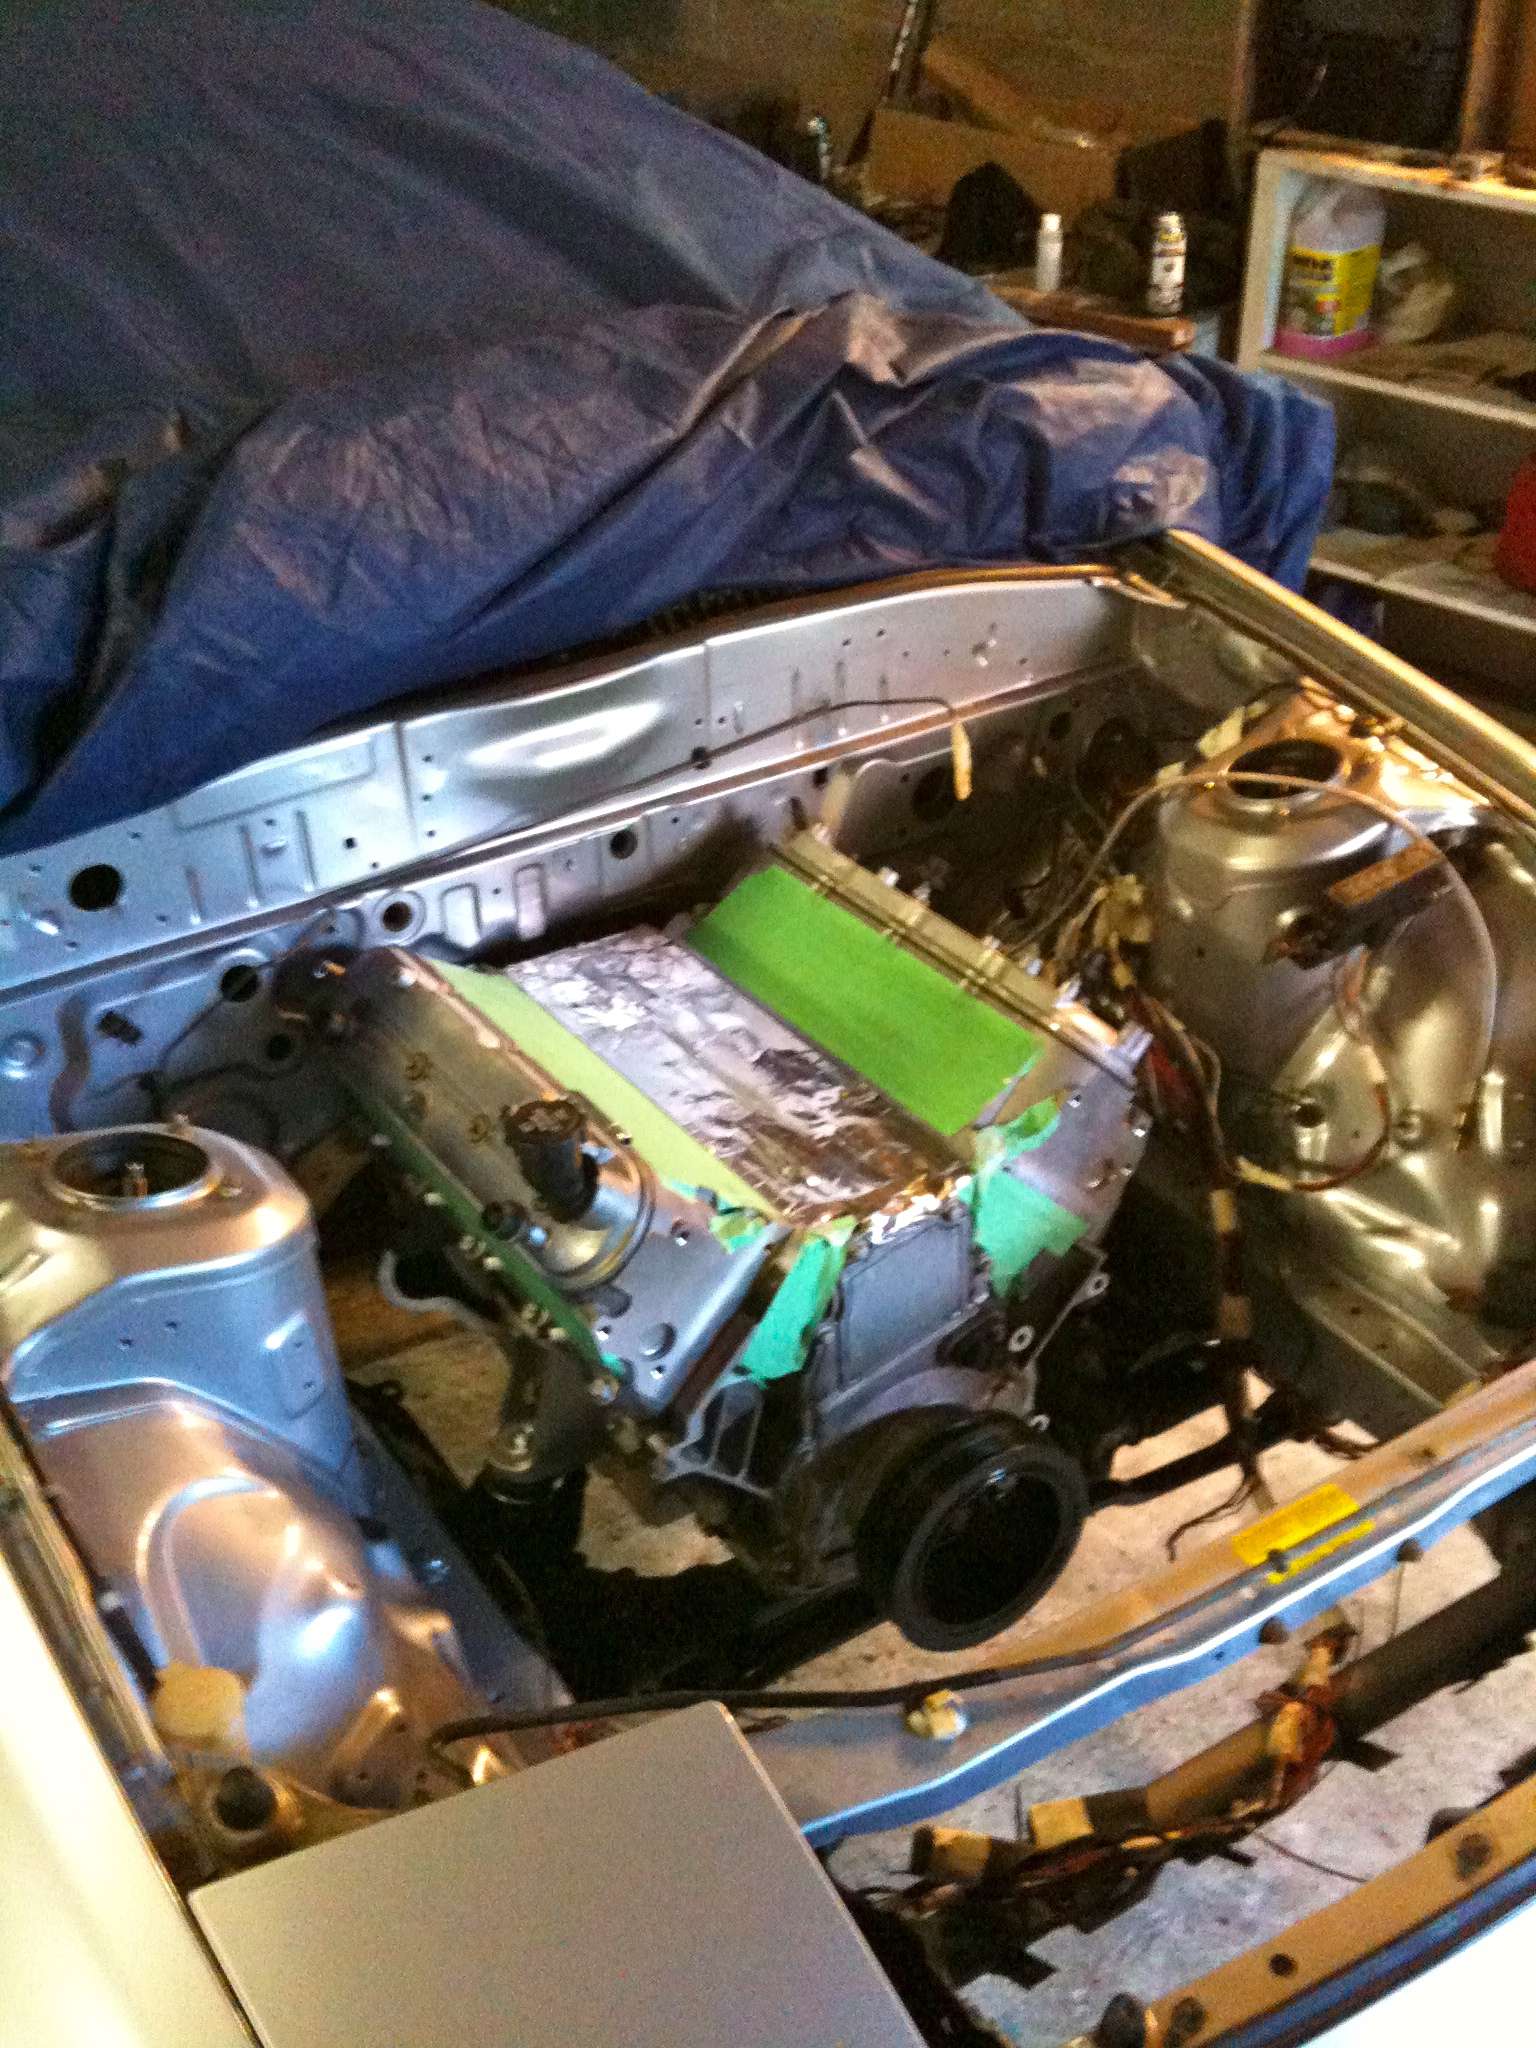
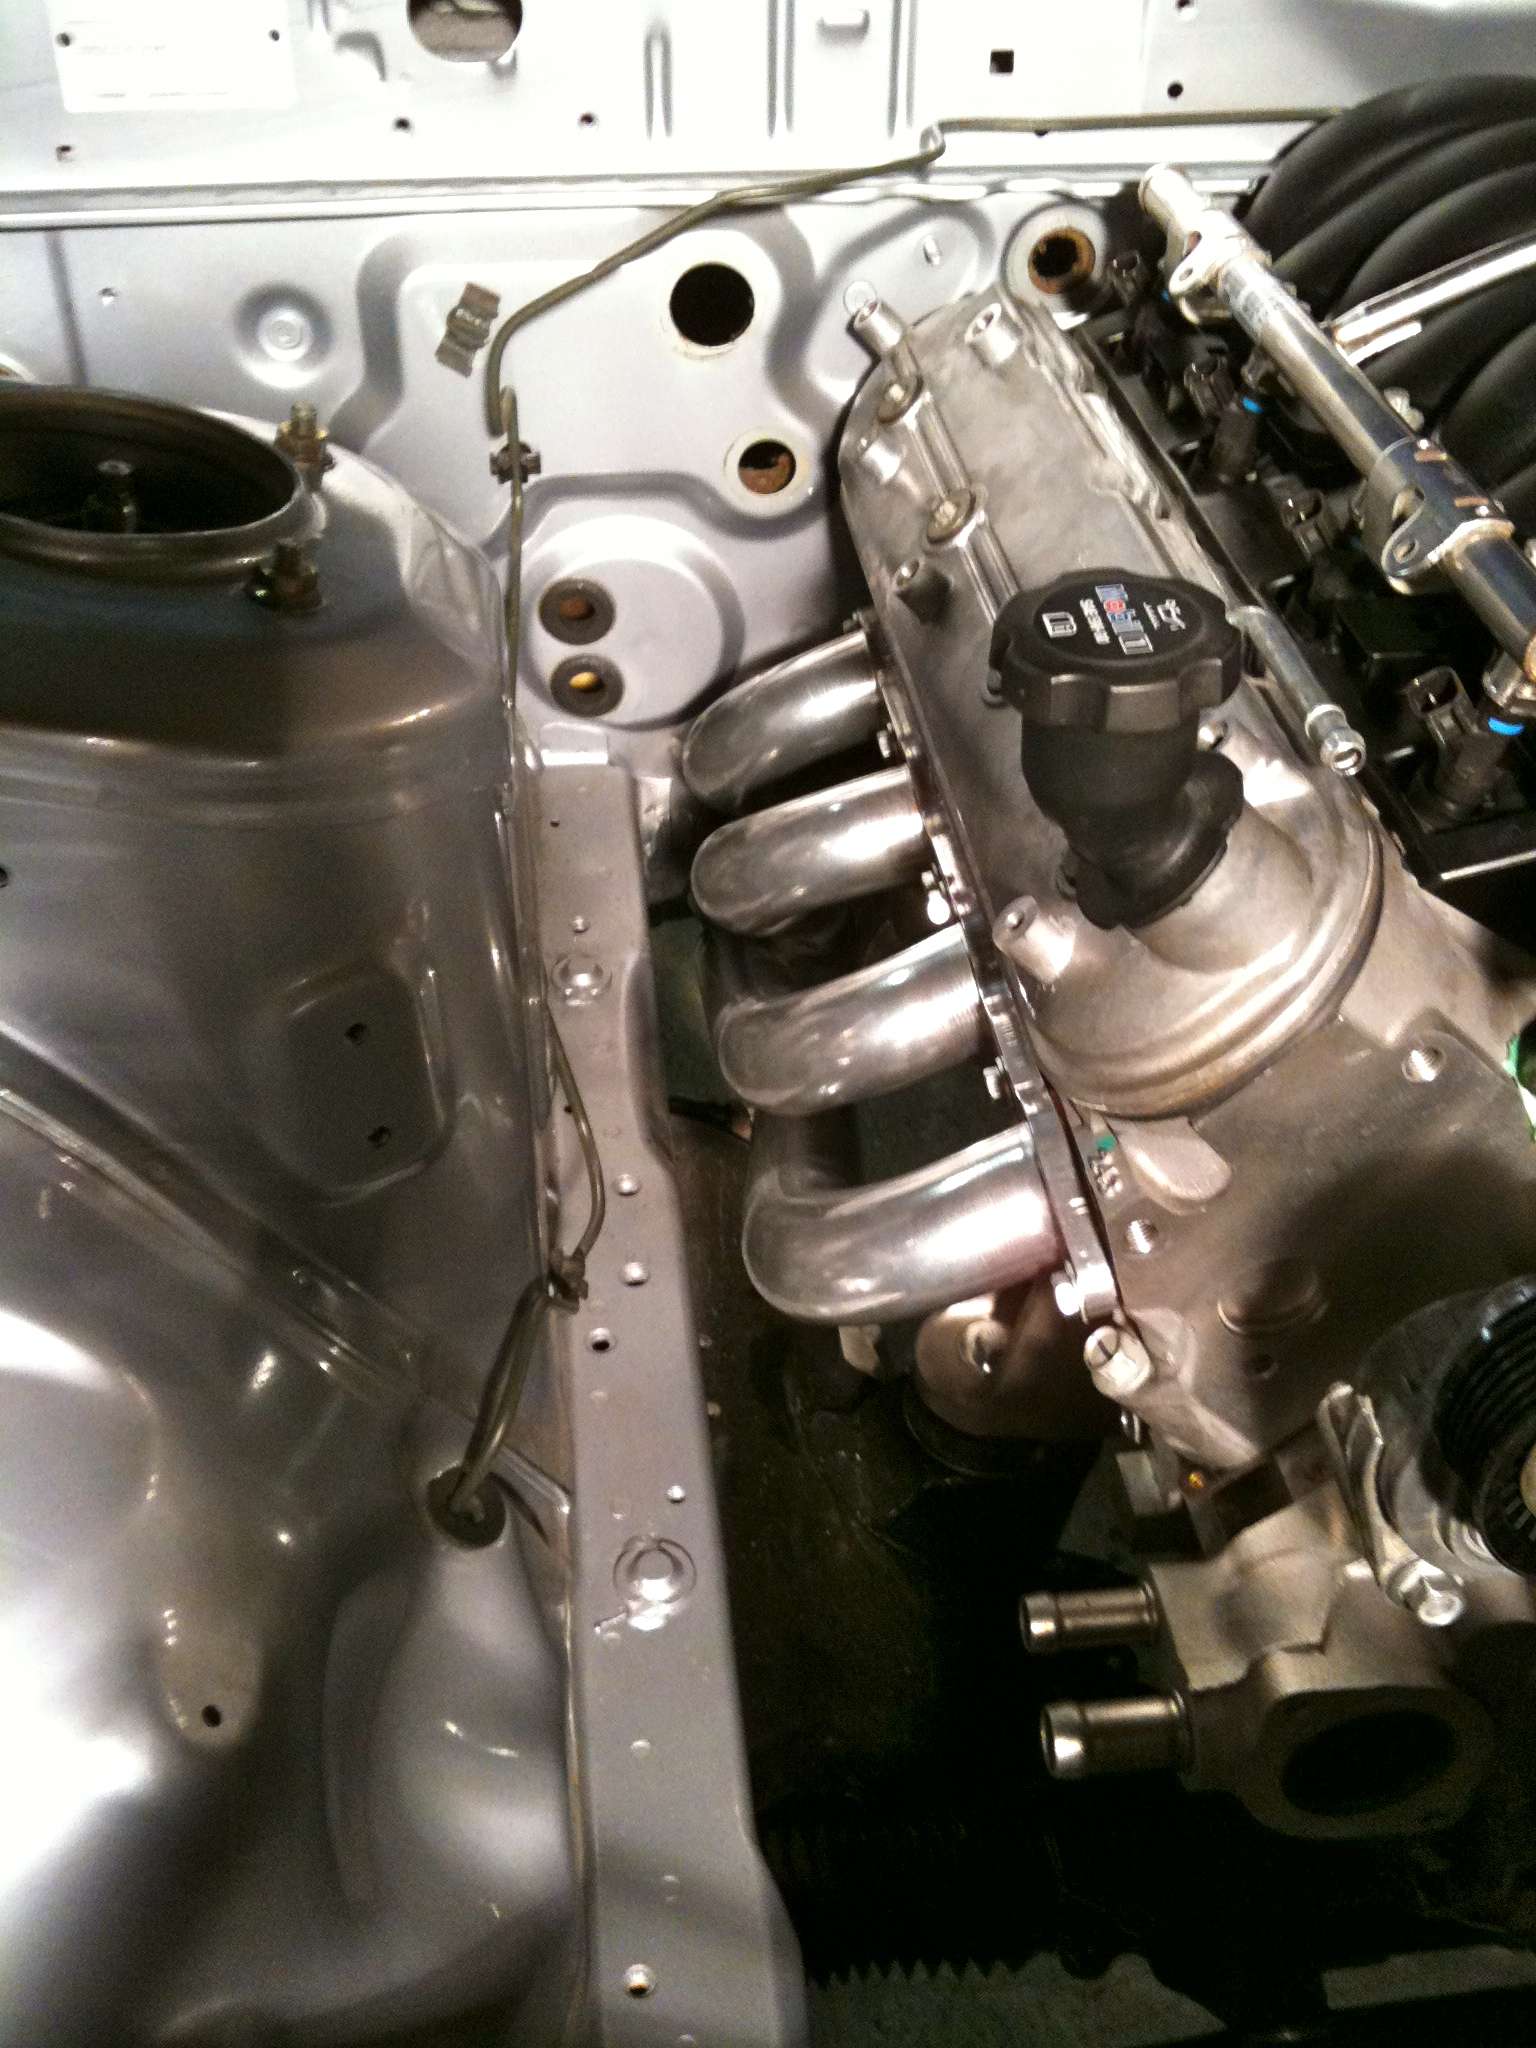
Engine bay needed some good elbow grease to clean up, then three coats of base and two coats of clear to get it looking brand new again.
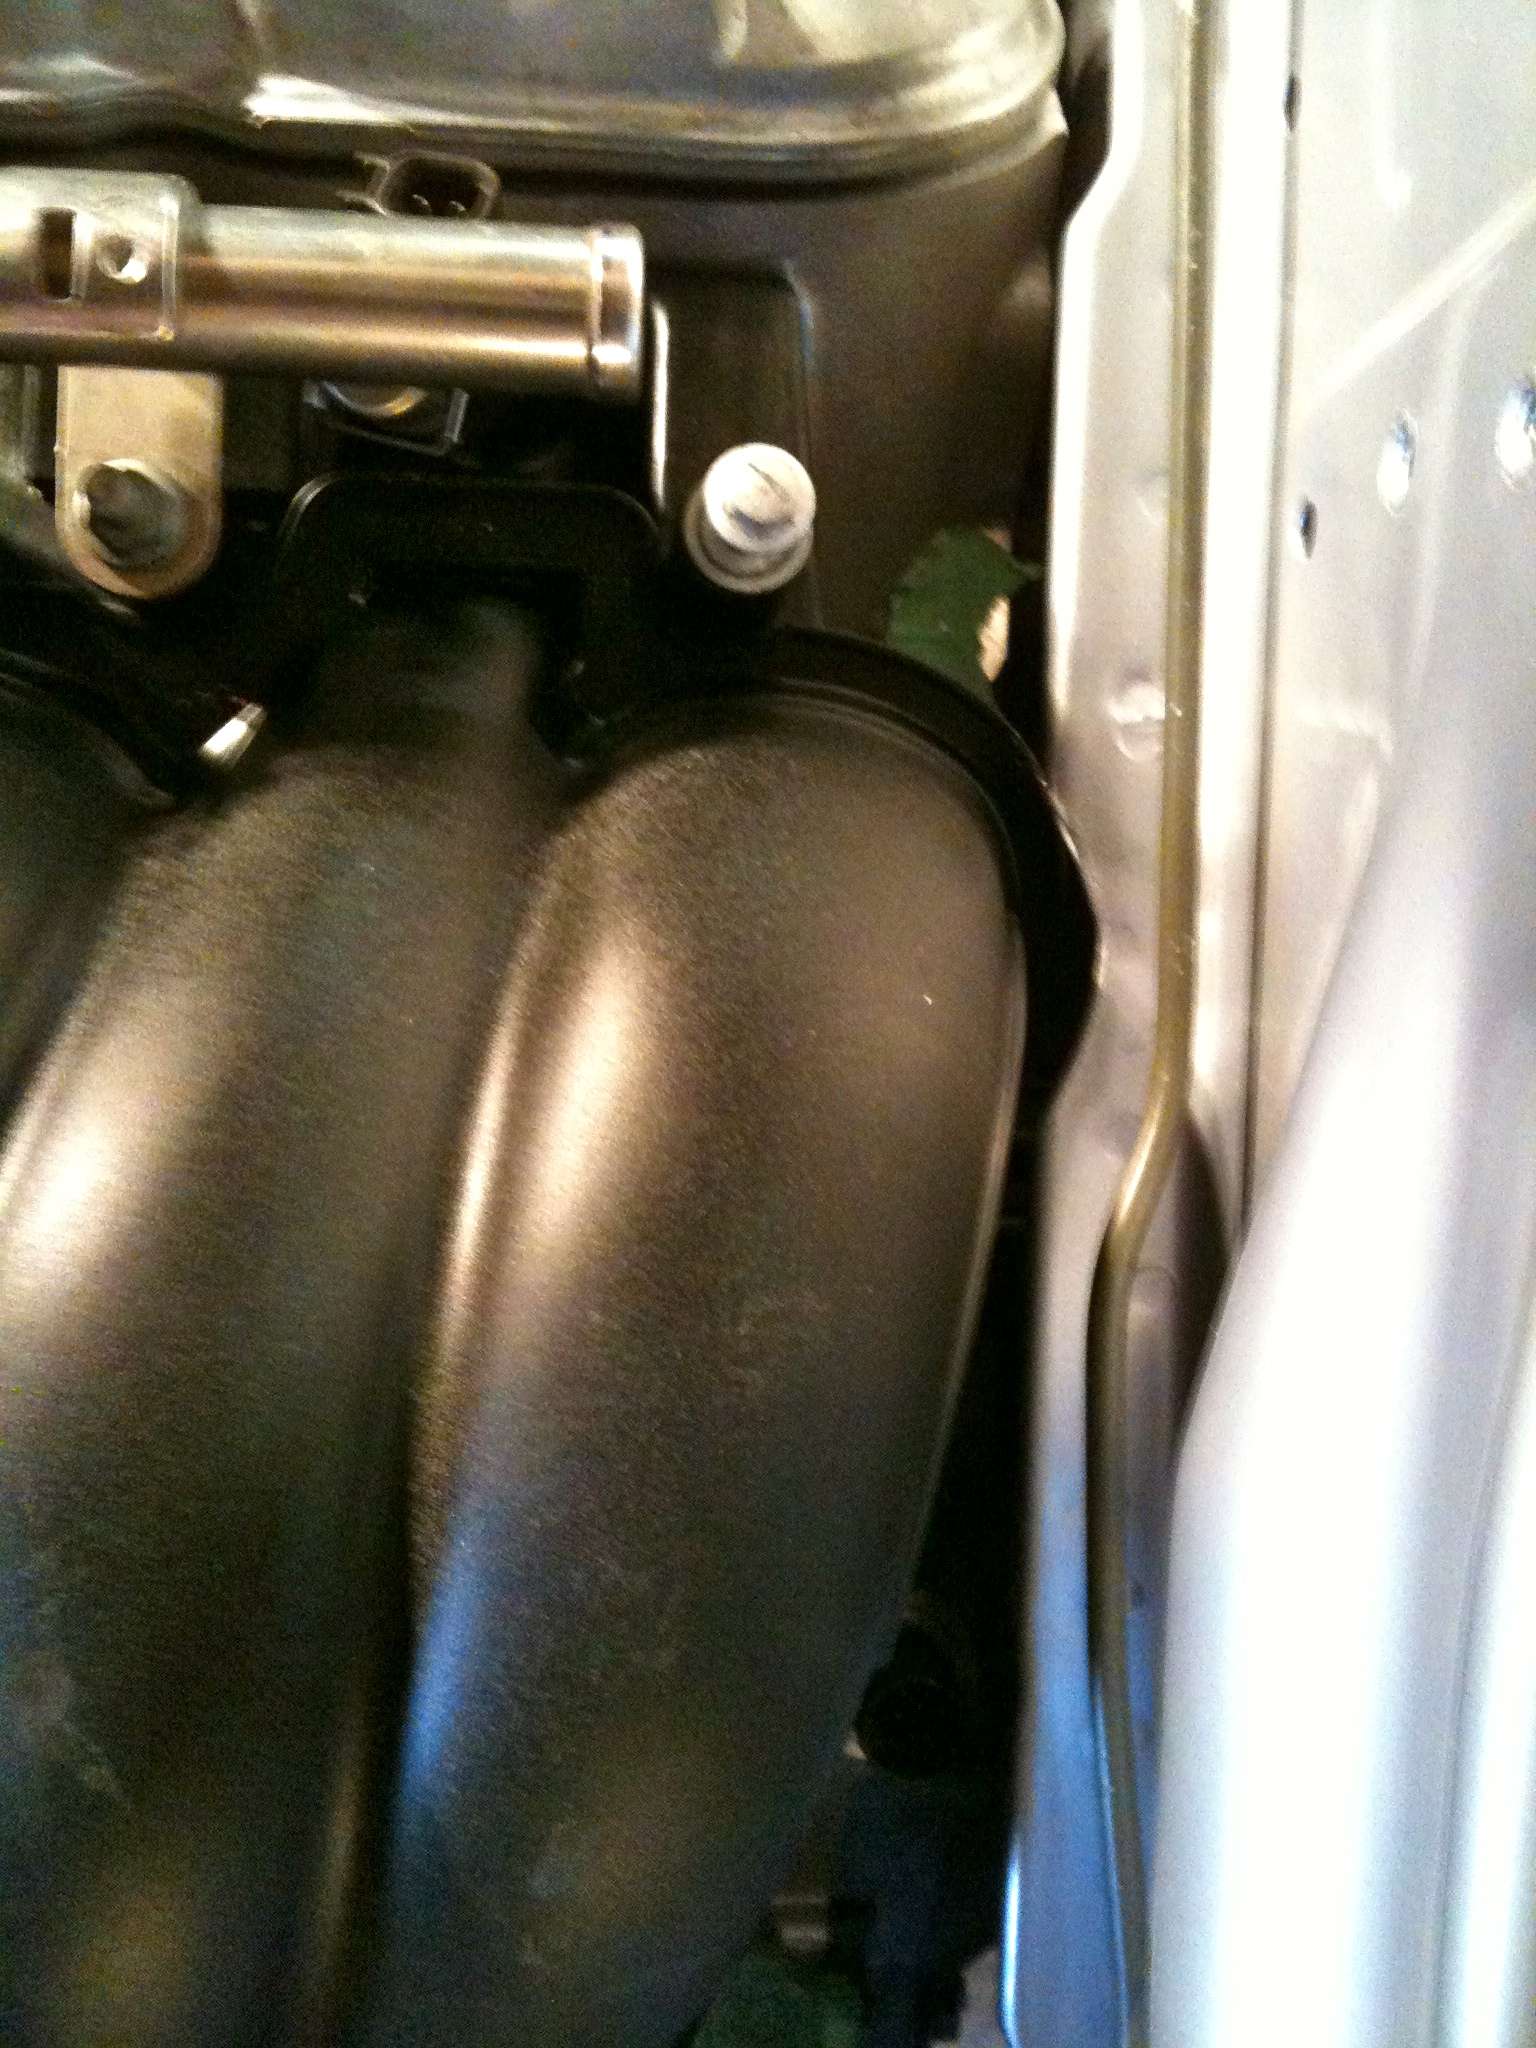
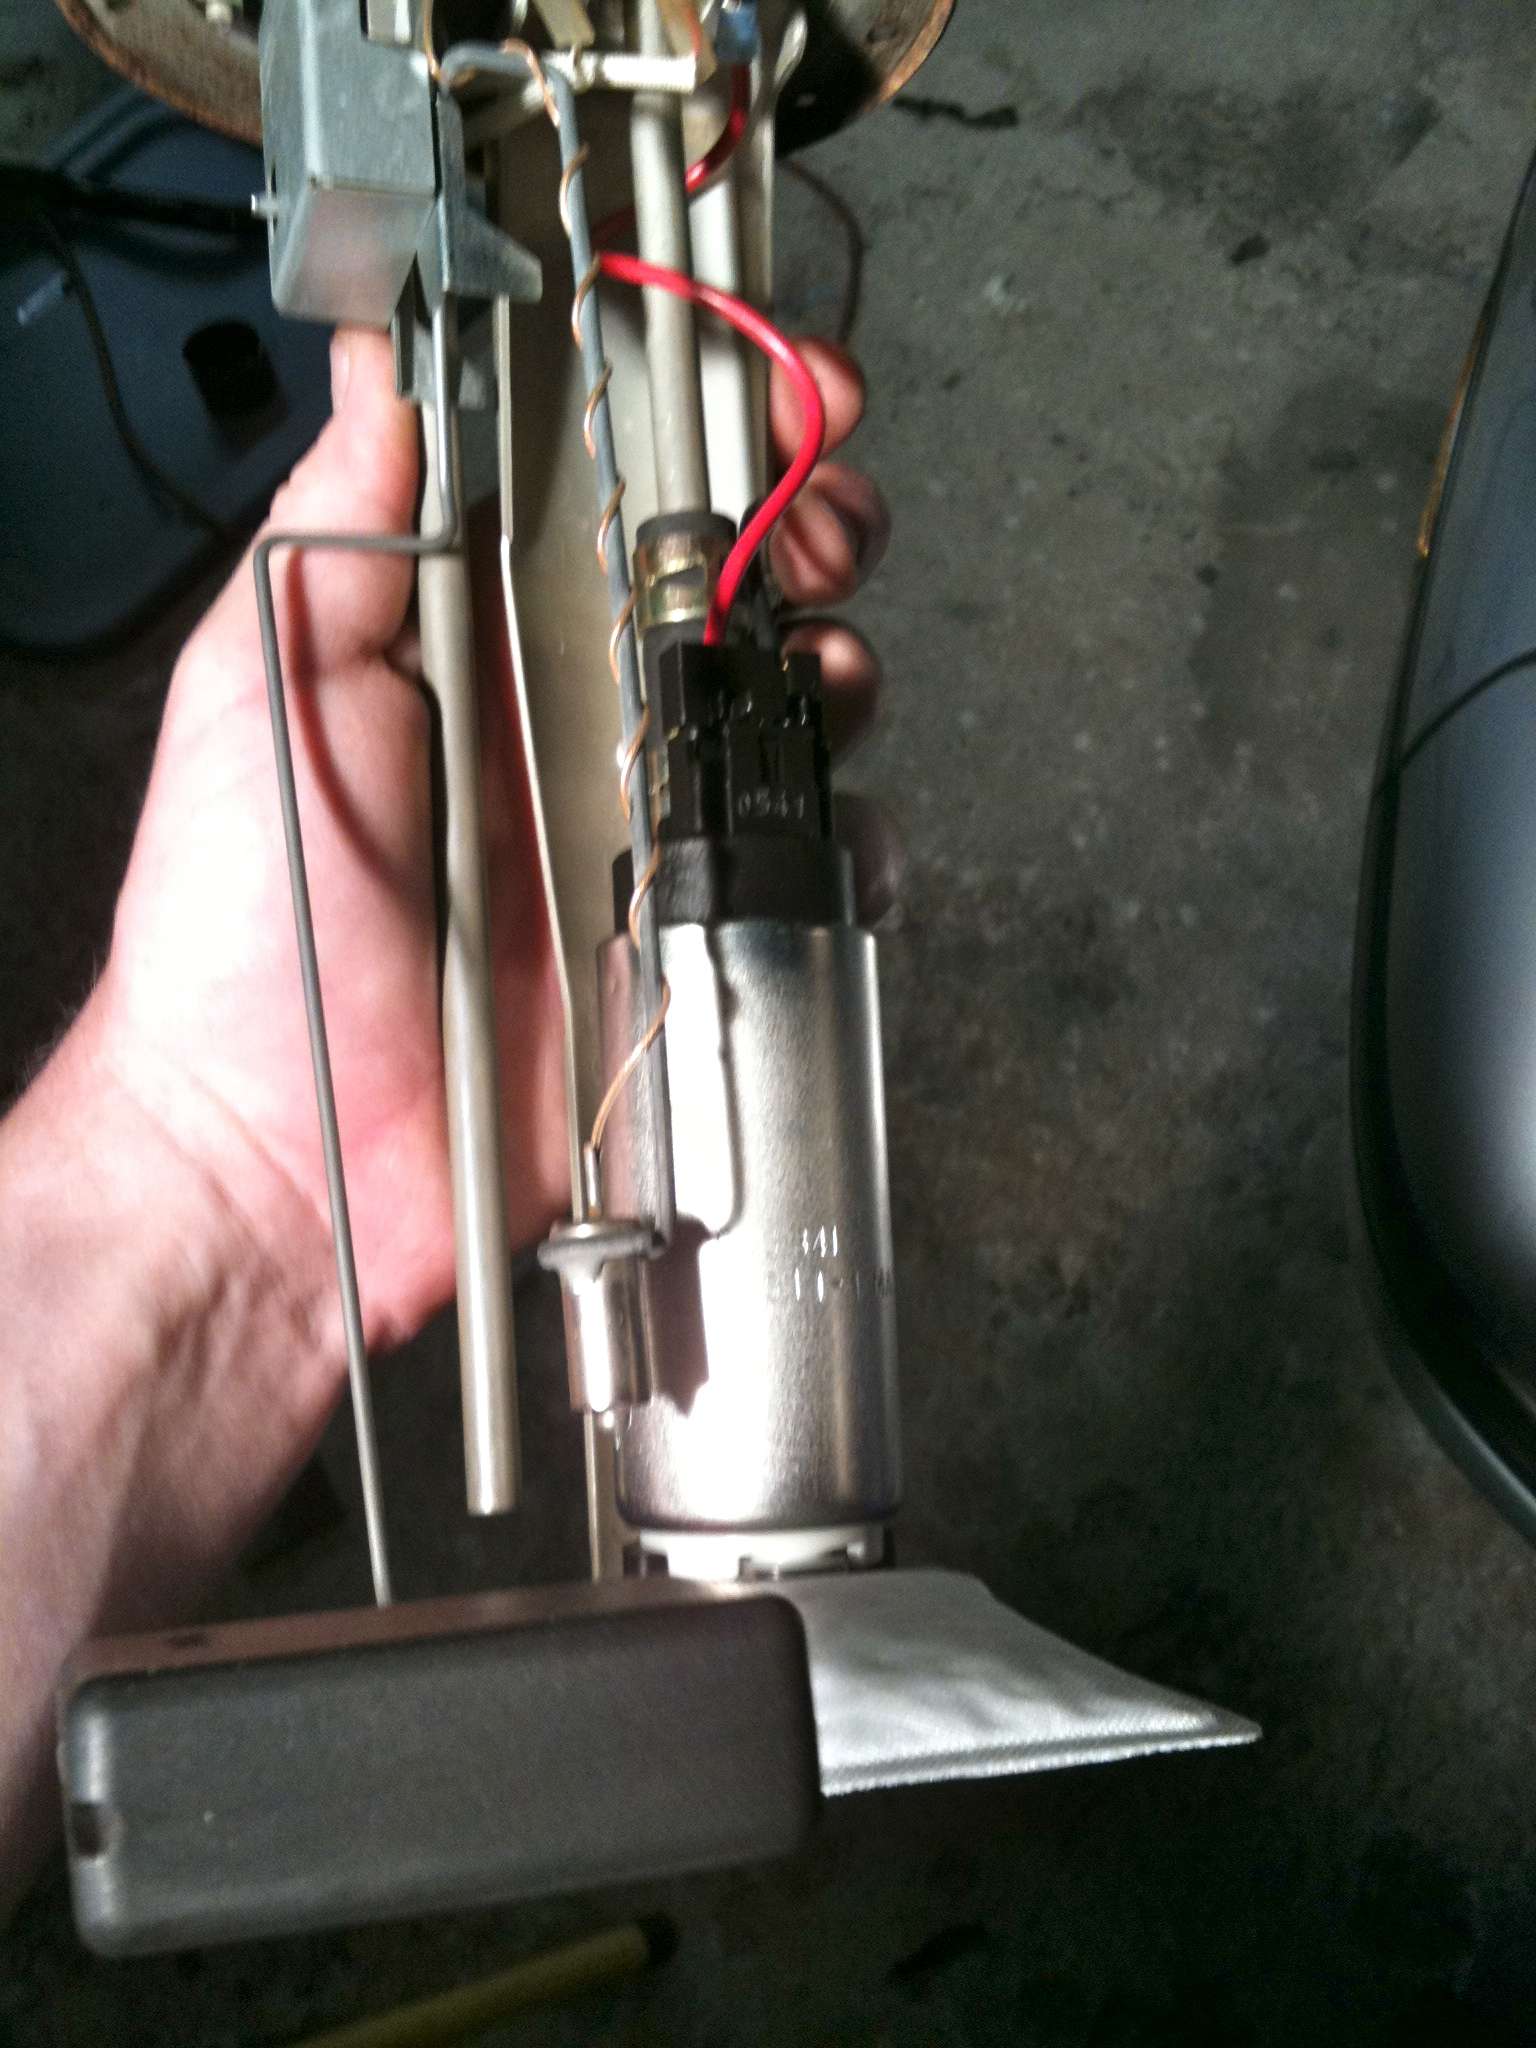
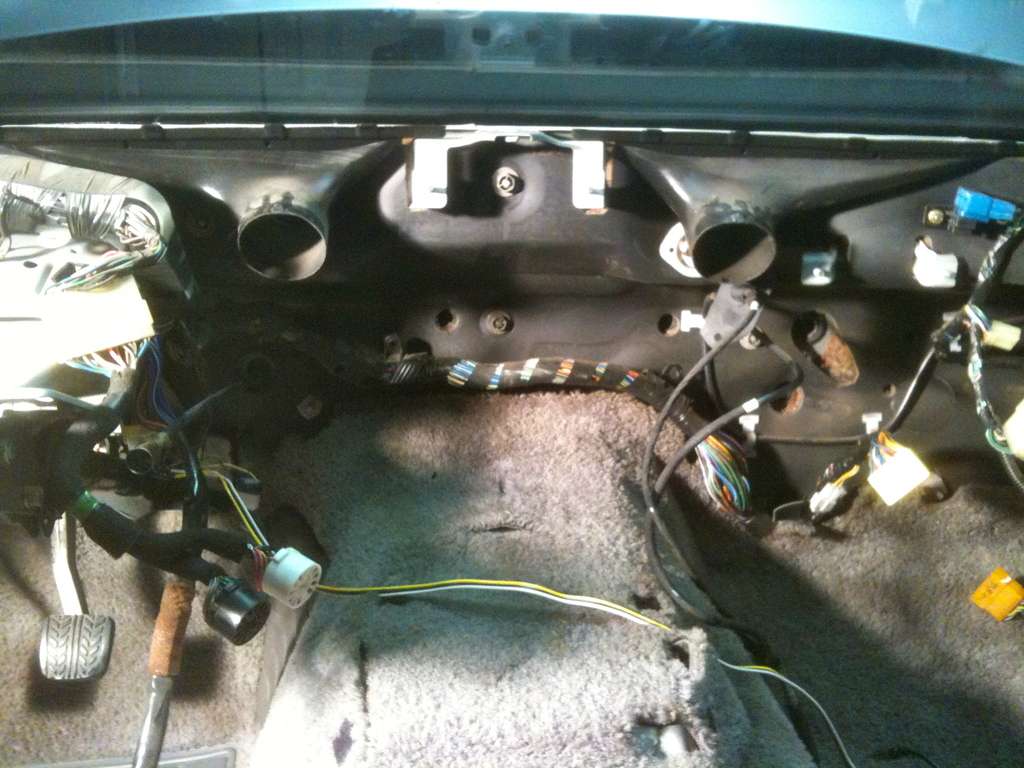
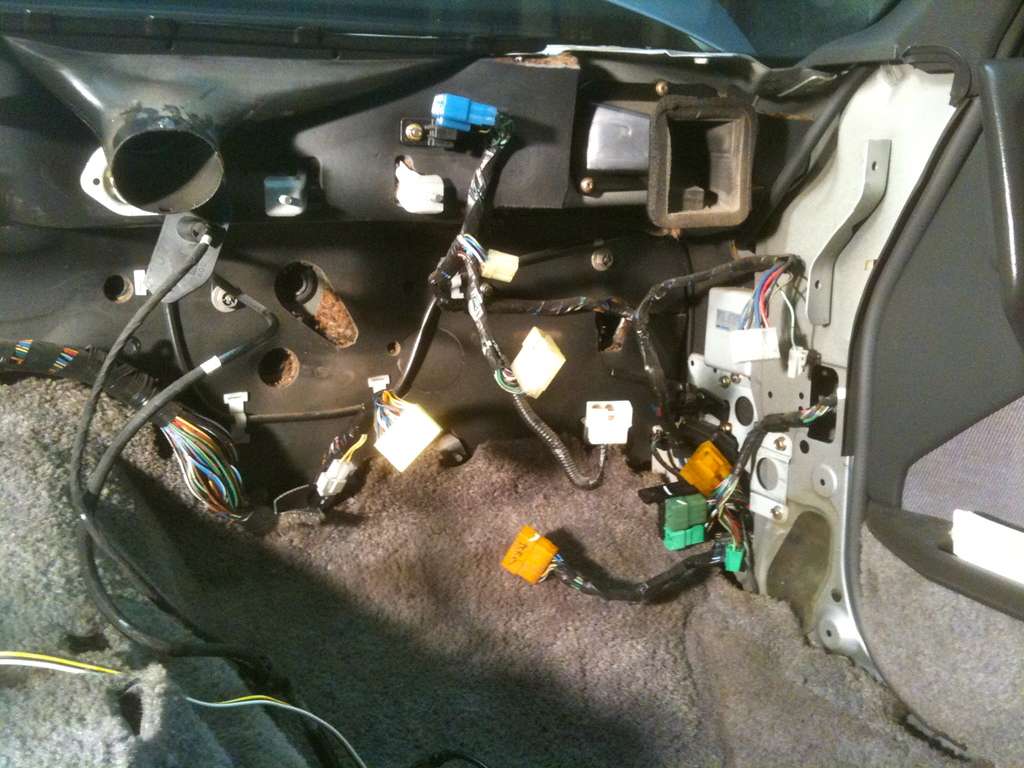
I started working on the interior to remove all wires not required for the swap. This meant the dash had to come out for access, also enabling me to access the heater core so that I could reroute where the heater hoses come through the firewall so they wouldn't come out over top of the intake manifold.

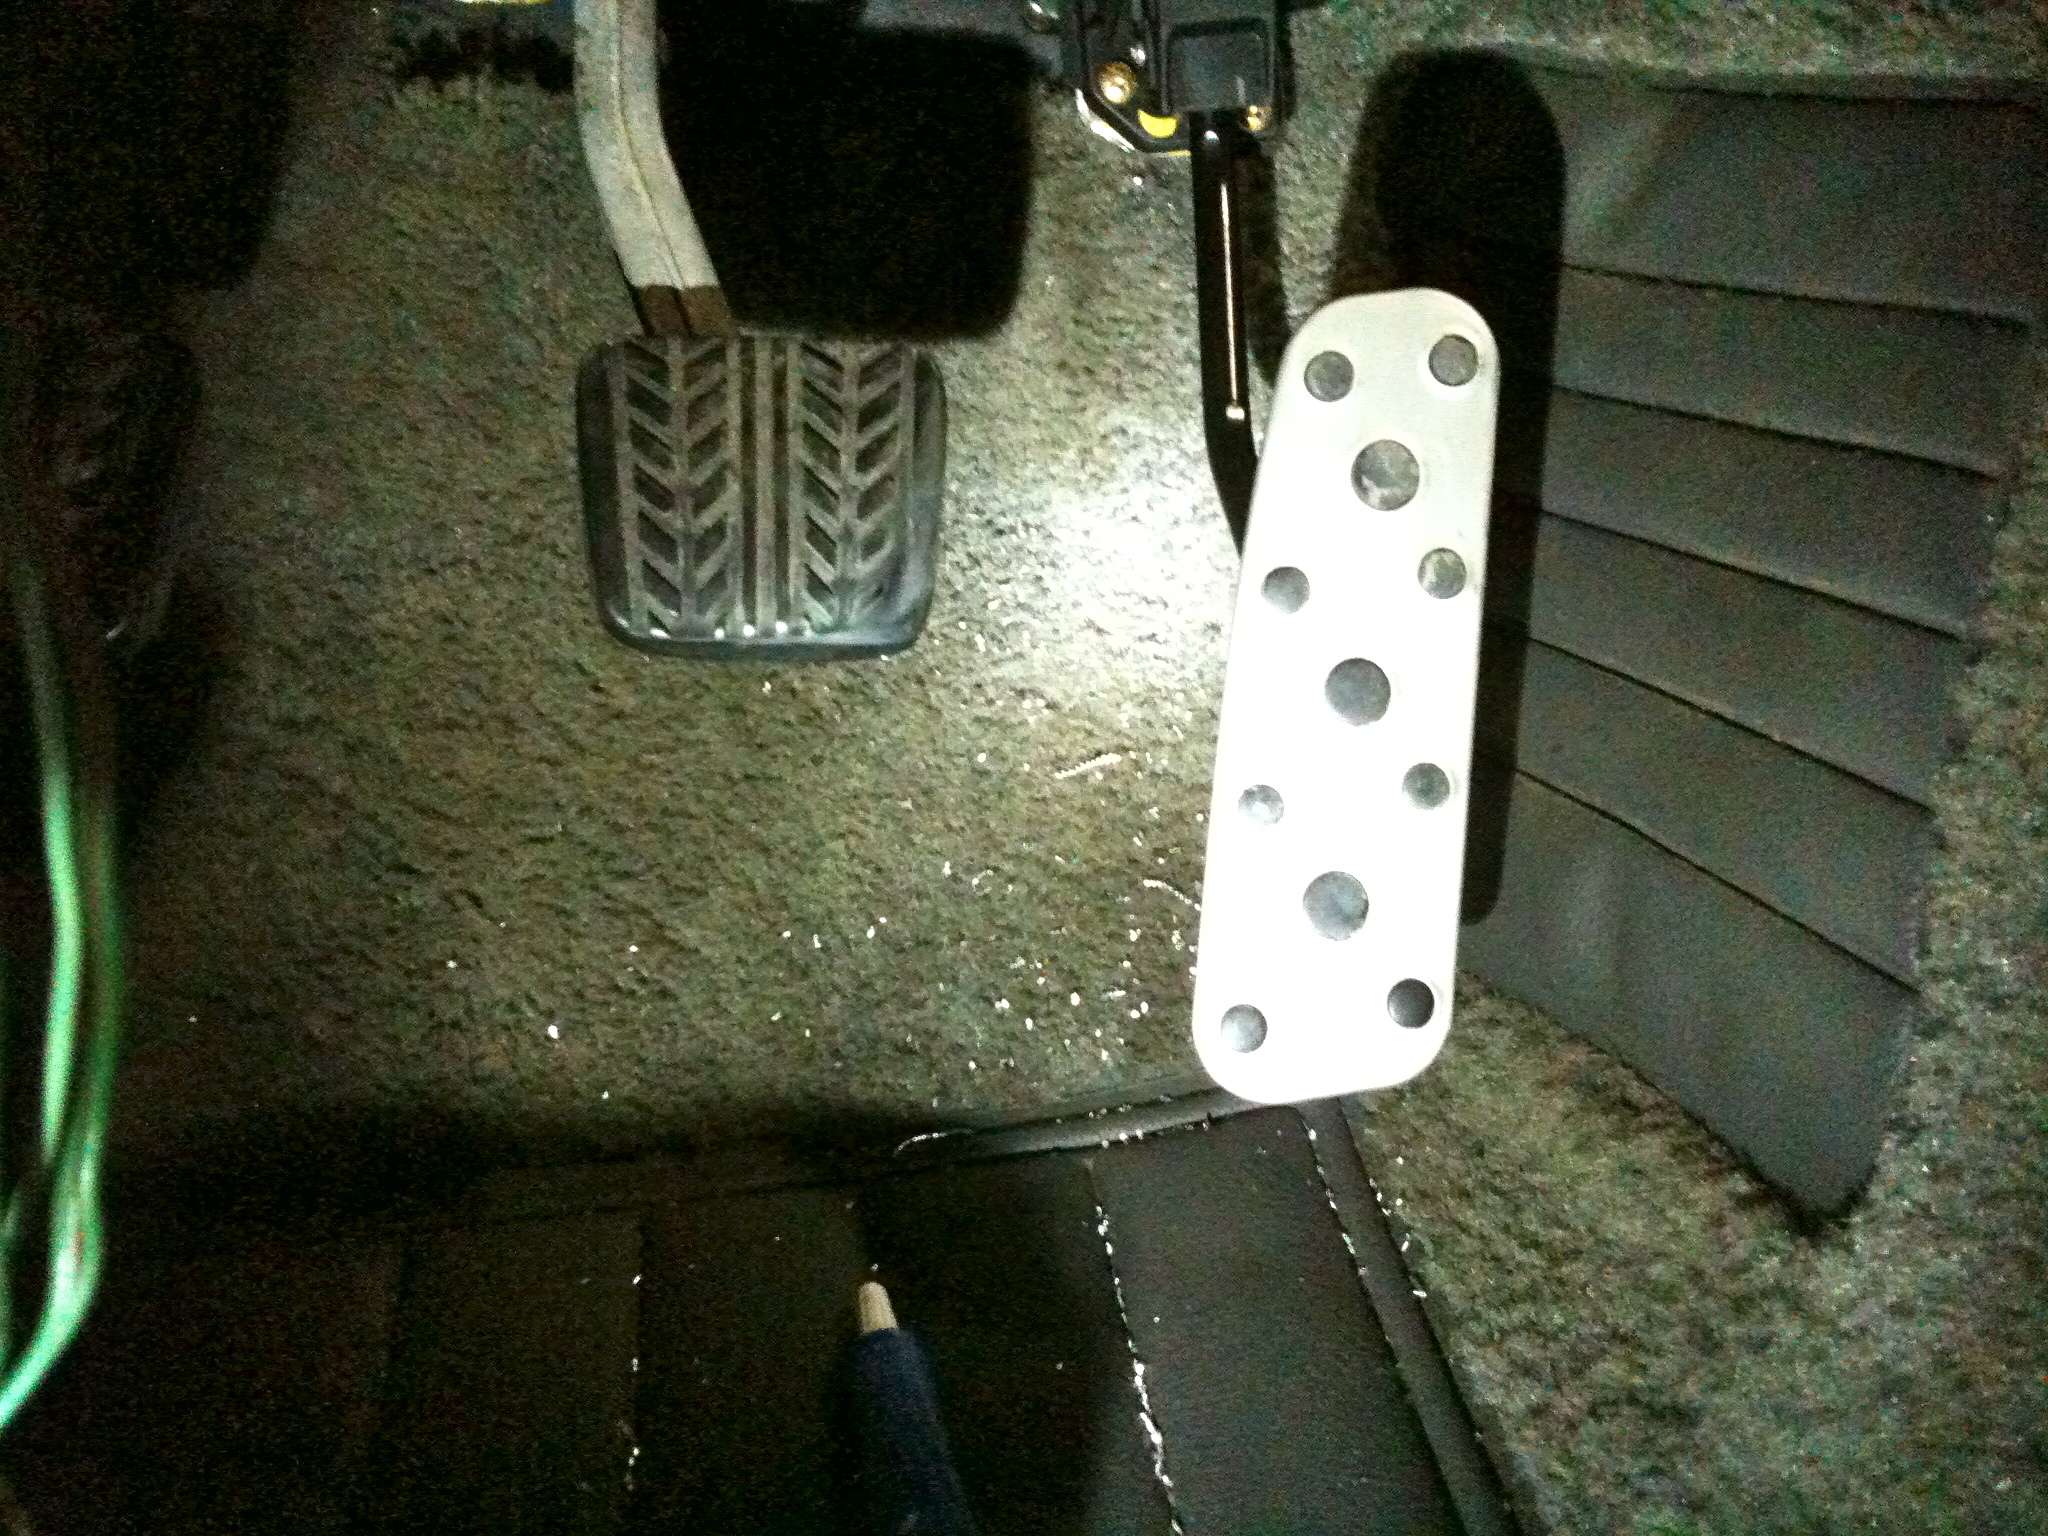
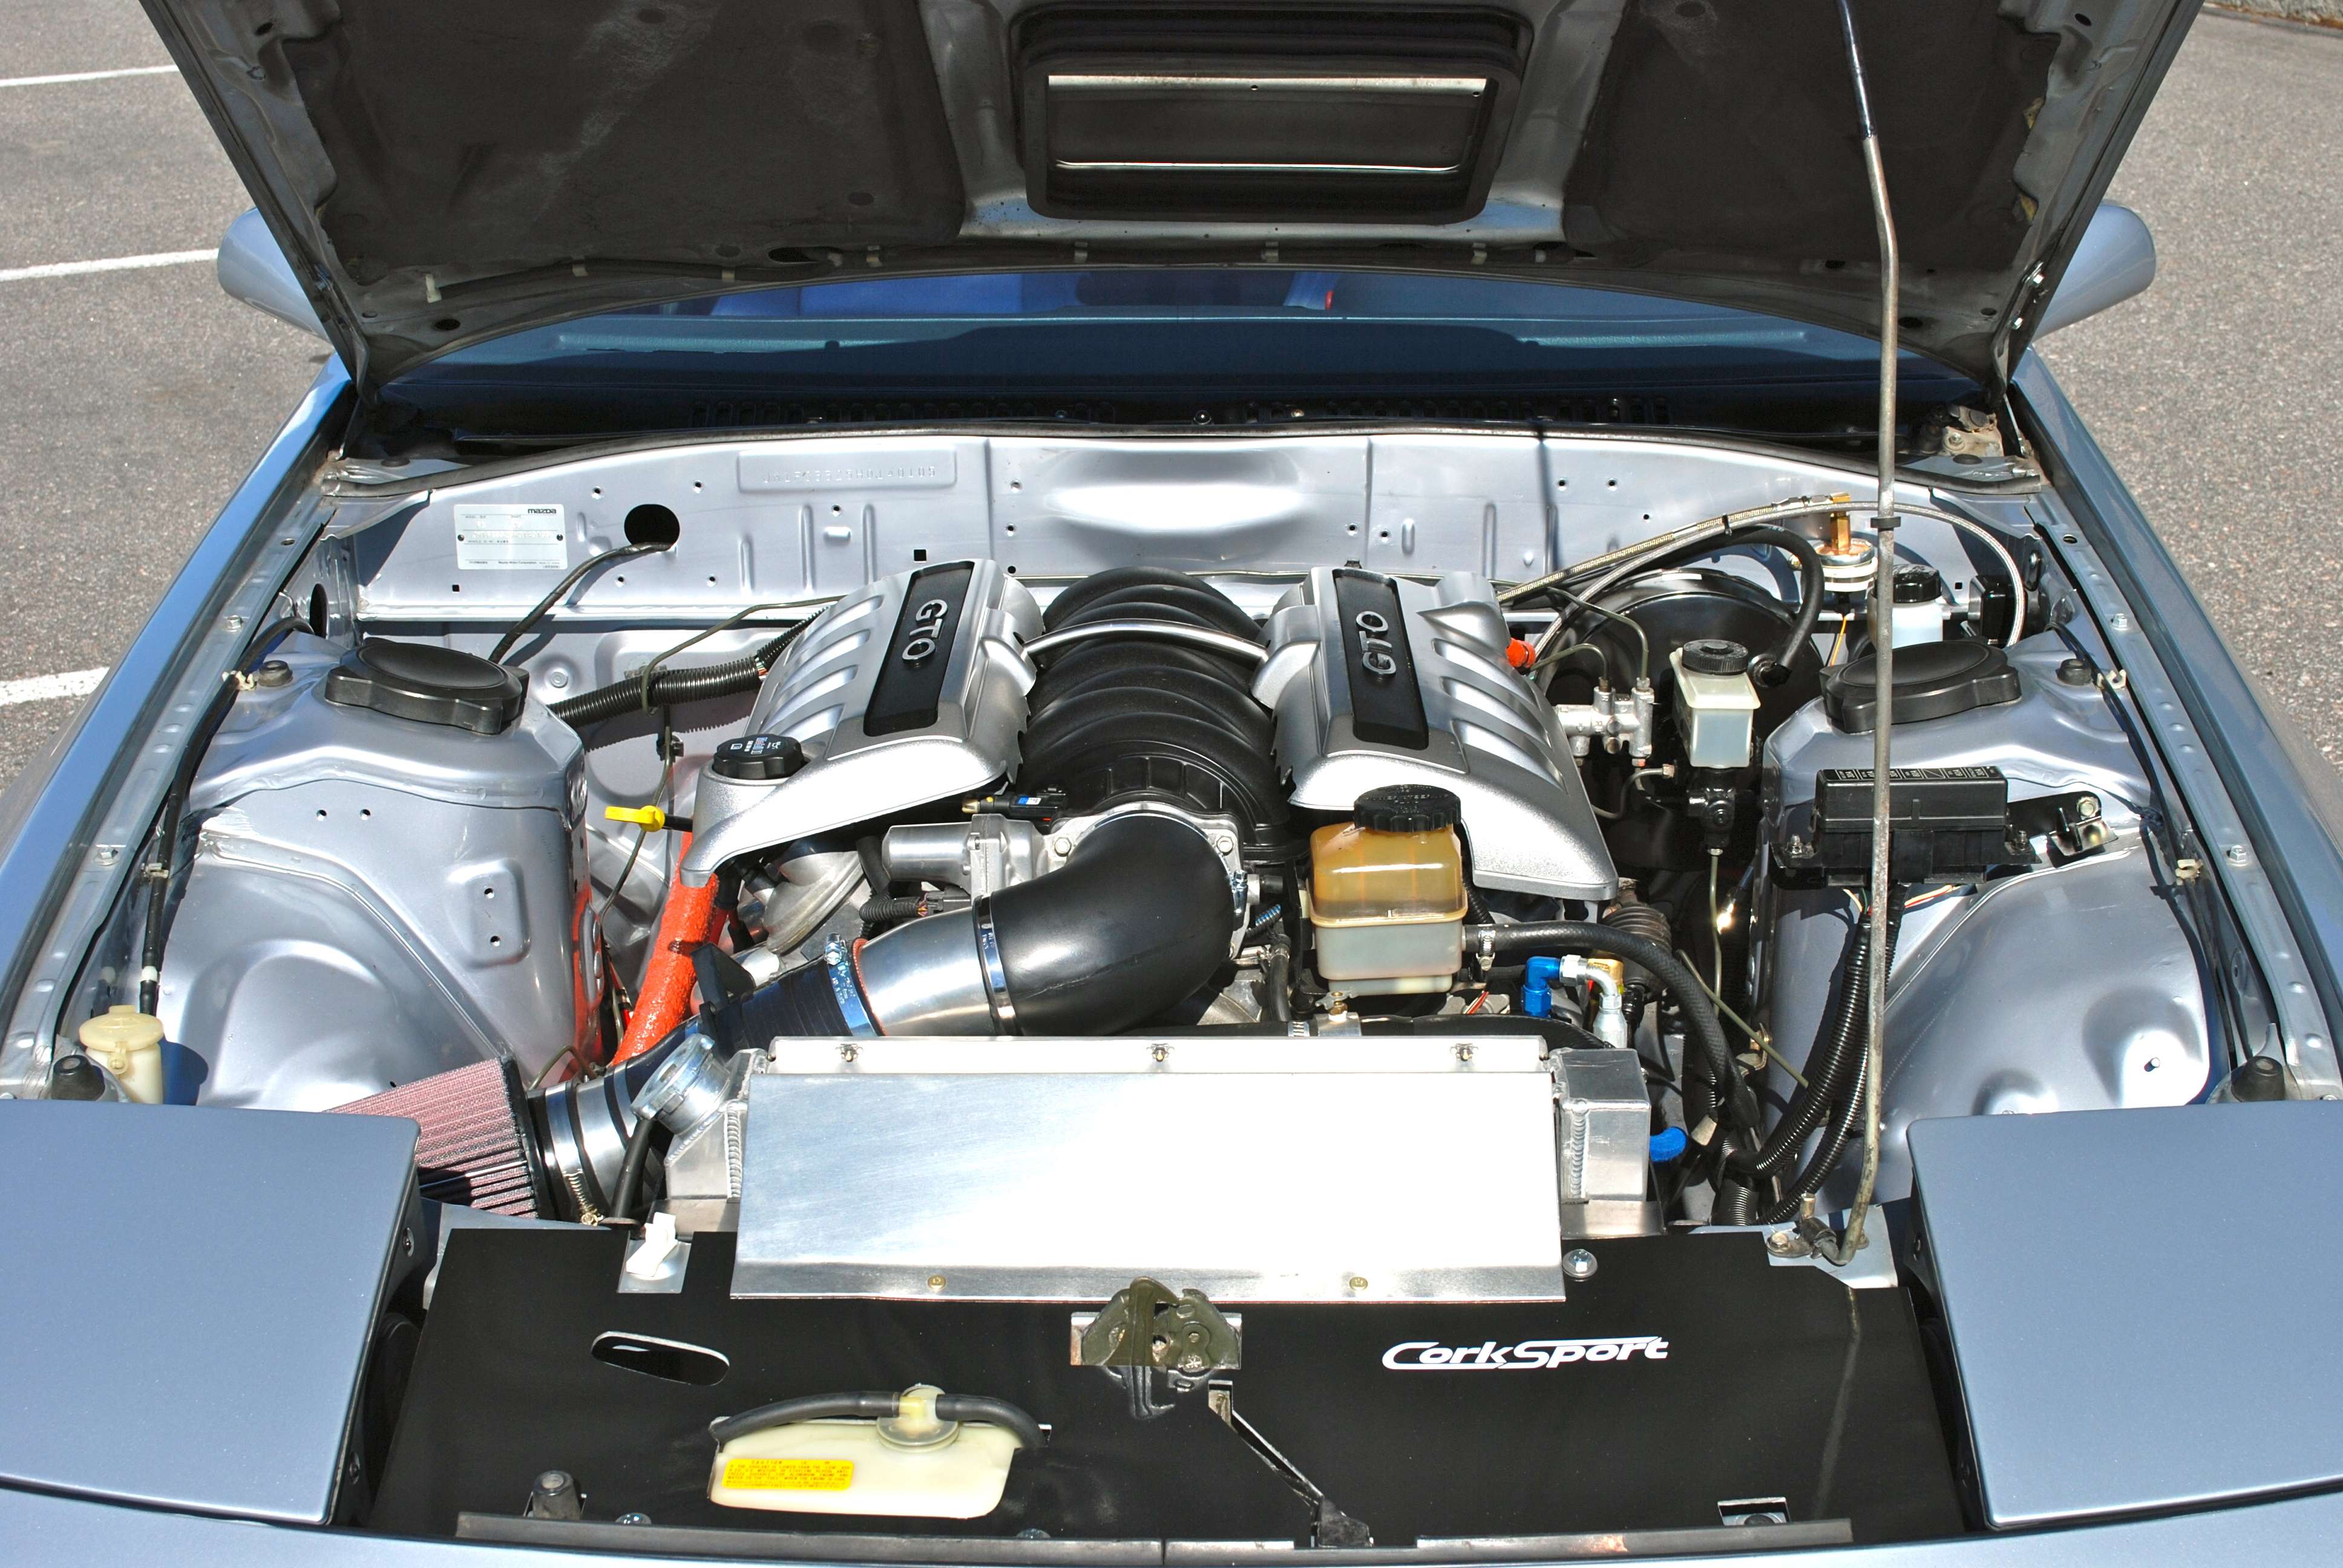
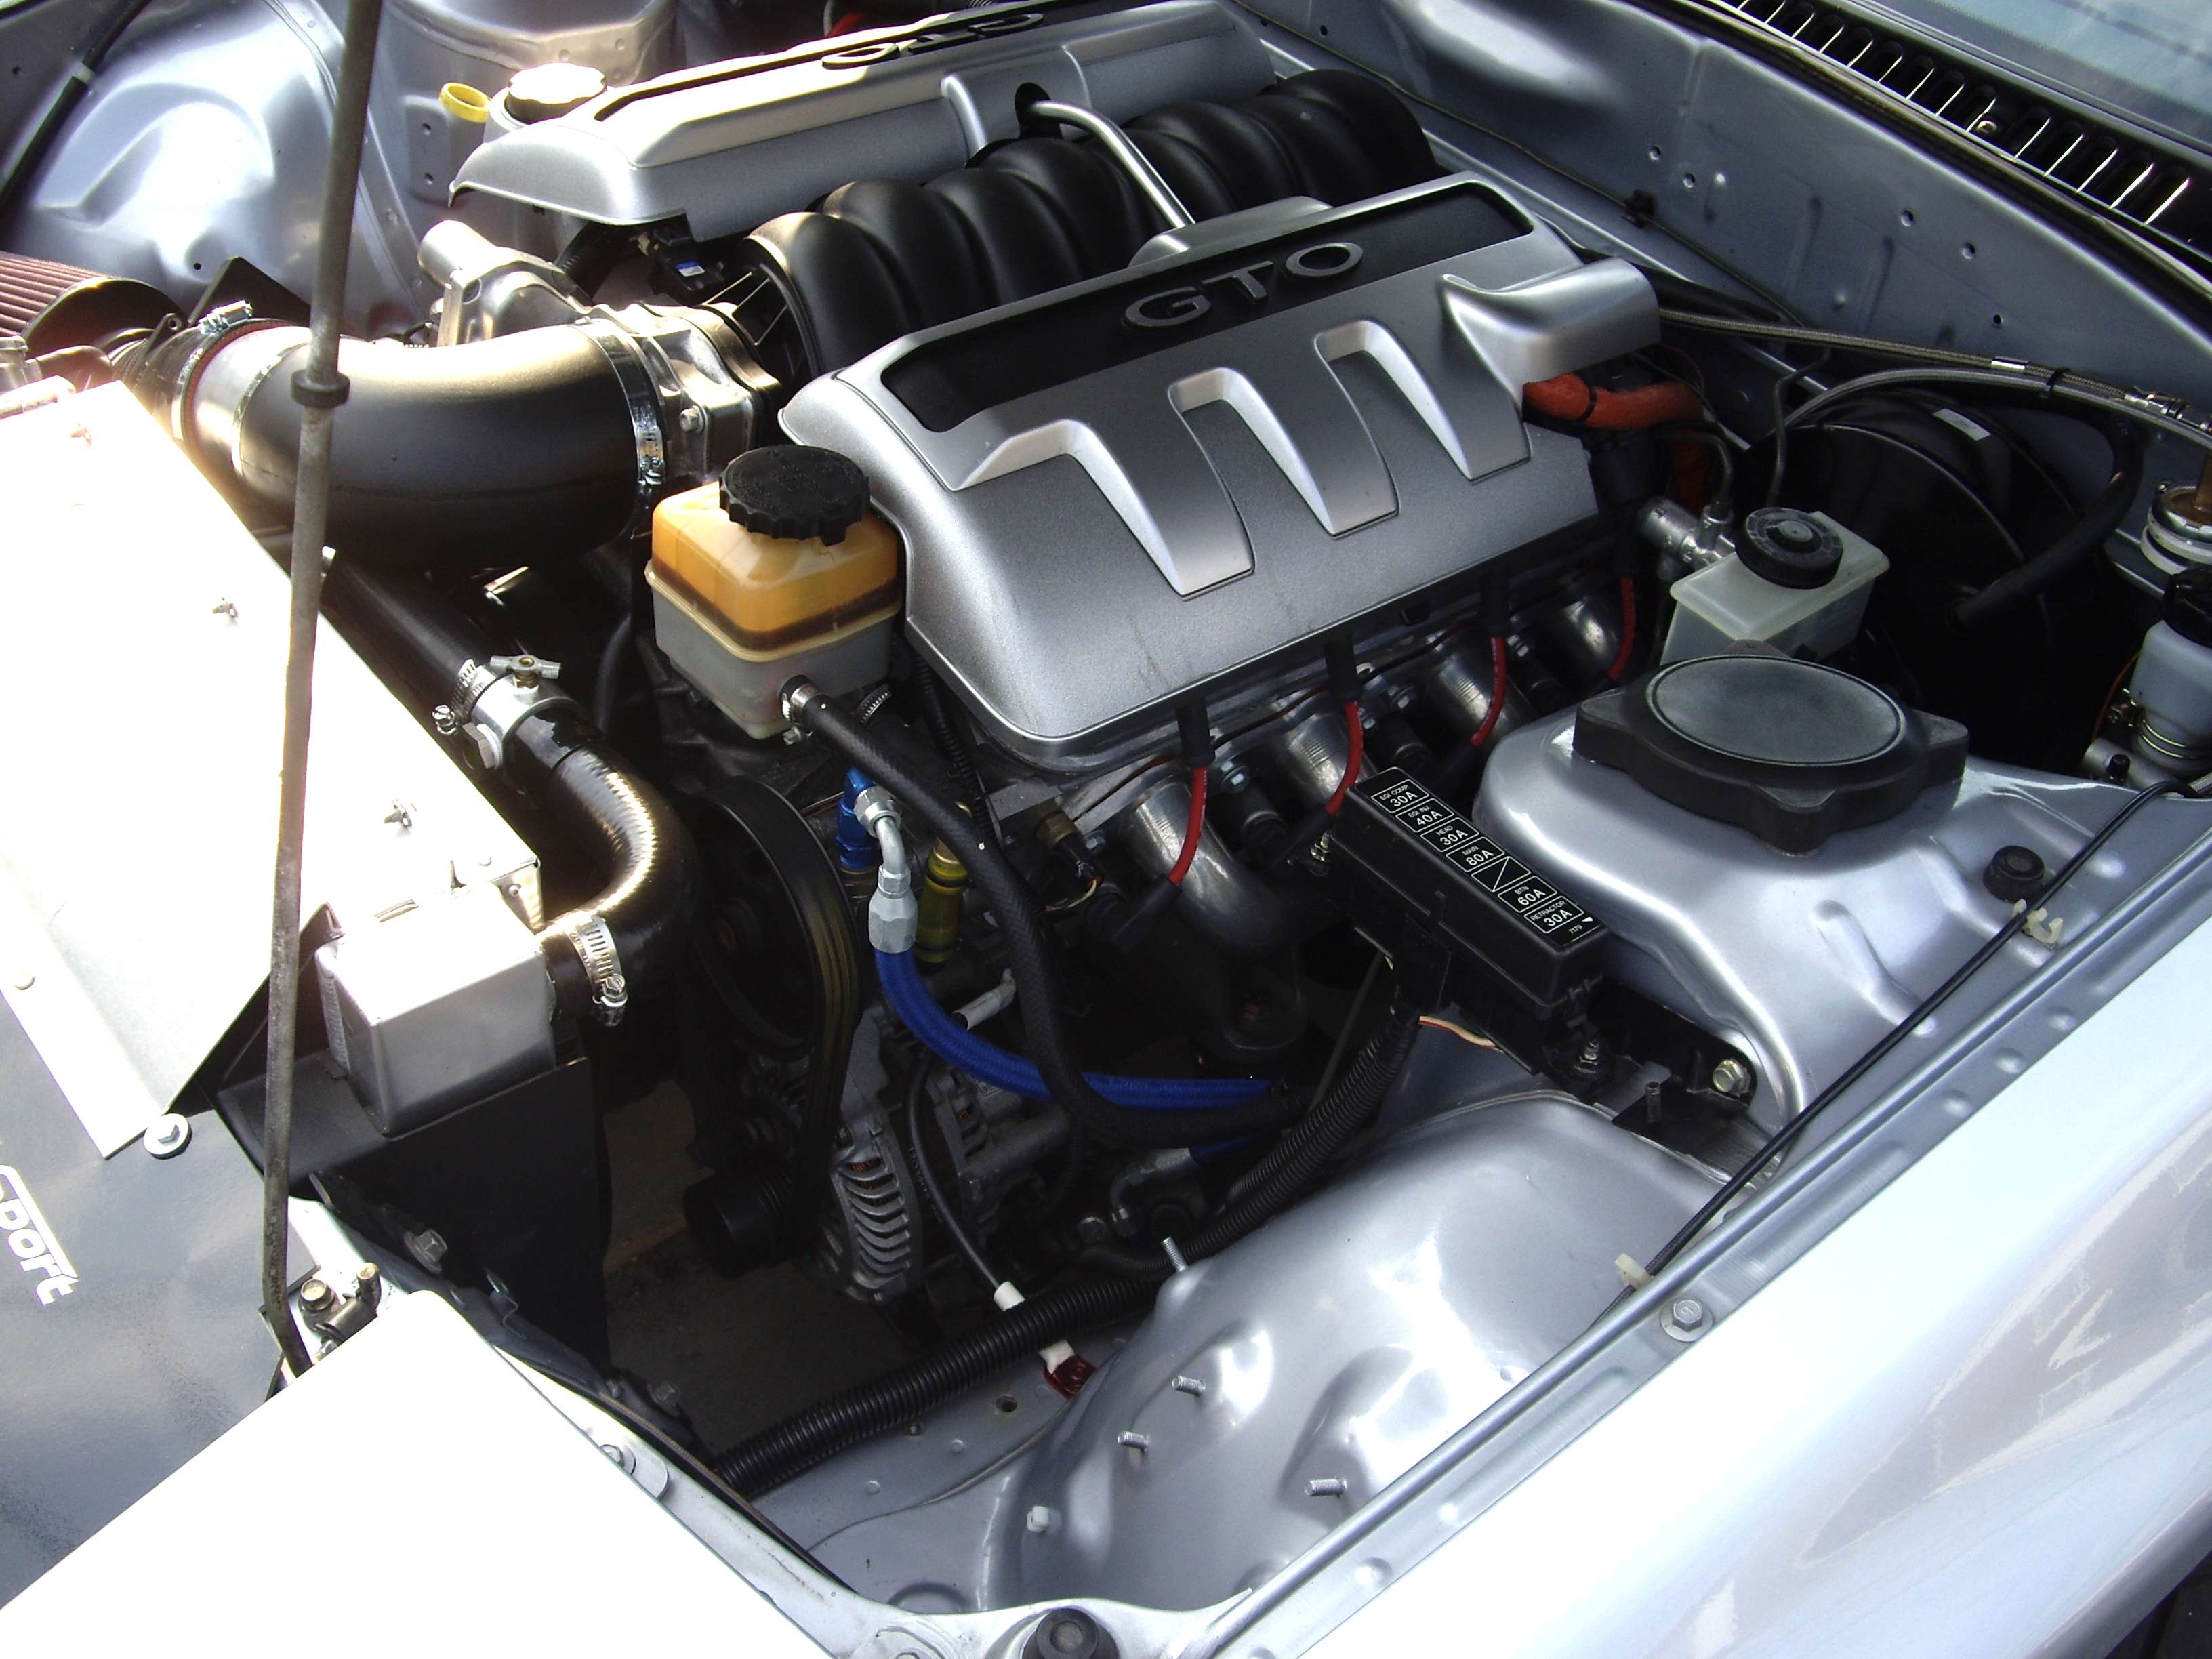
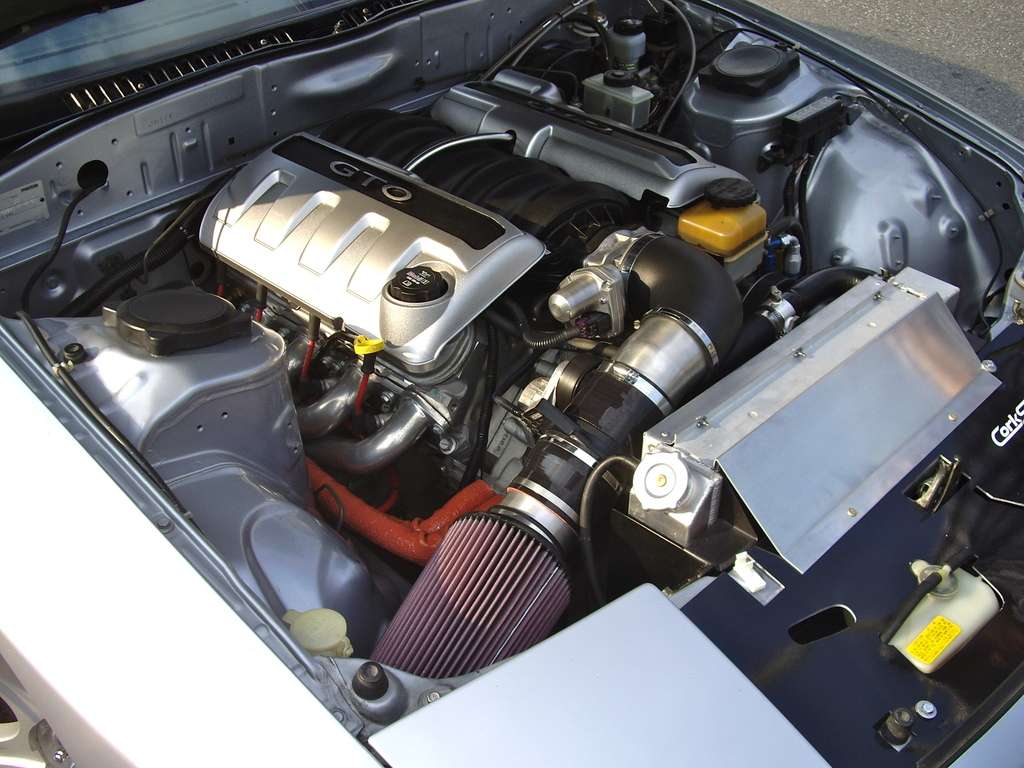
I had originally planned on using an LS1 dropout from an F-body but found that it was hard to find a clean one with low milage. I had to start looking at getting one out of the US and having it shipped here. The availability of LS2 dropouts was much better in the US due to the fact that they came in the Pontiac GTO in 2005 and 2006, a car which never made its way north of the border. I ended up finding a nice LS2 dropout from a 2005 GTO with only 31,000 miles on it. Had it shipped from Alabama to a shipping depot in Dorval and then trailered it home. The only added difficulty of using the LS2 over the LS1 is that it is drive by wire which would mean I would have to mount the DBW pedal and do a little extra wiring, small price to pay for the added power right out of the box.

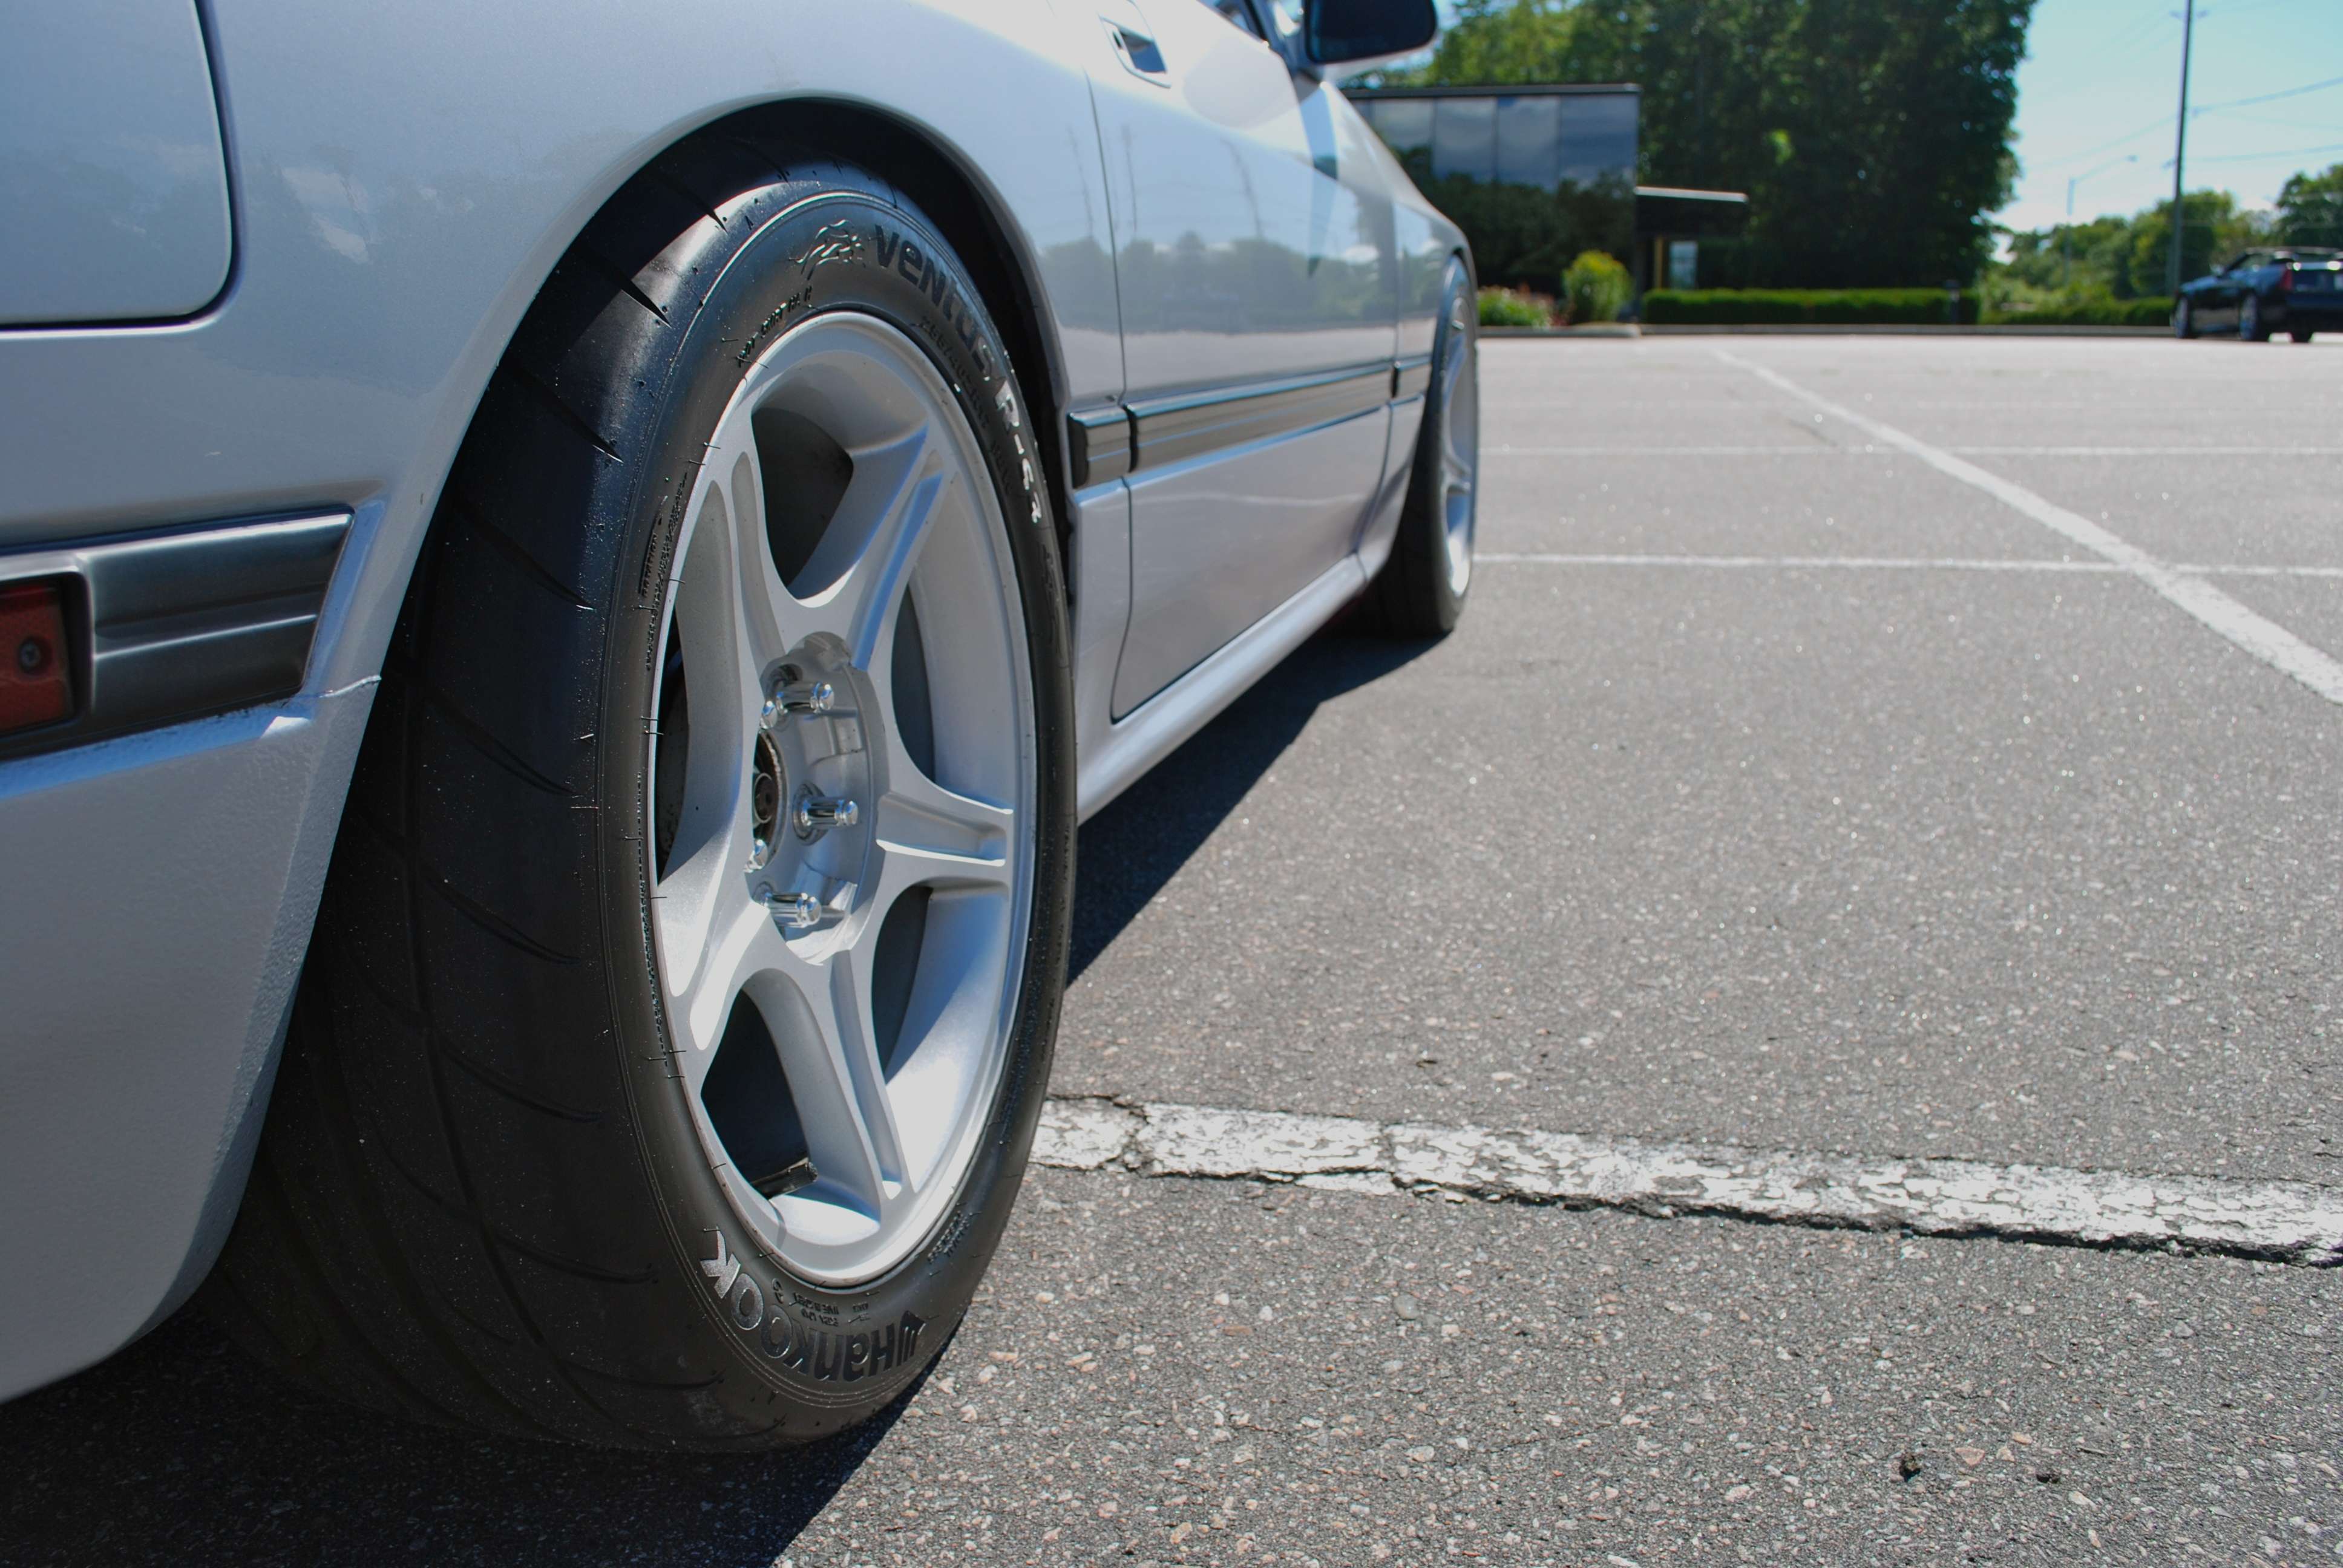
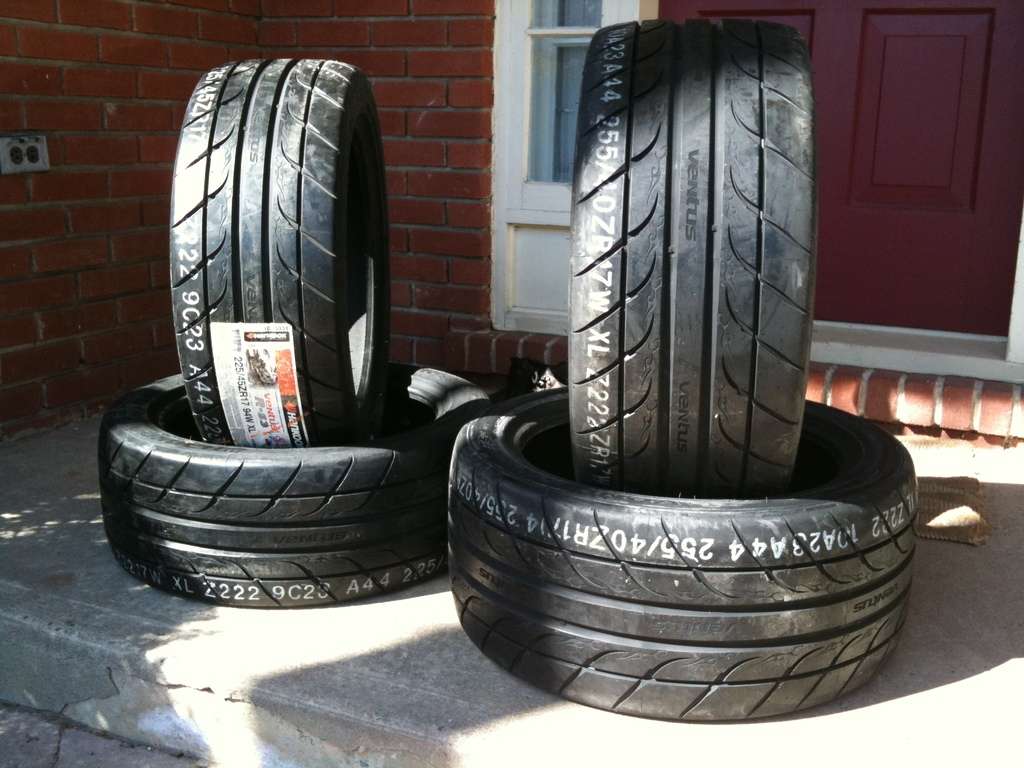
After doing lots of research on tires I decided to try out the Hankook Ventus RS3s. I needed a really grippy tire as I could only get 255's in the back without rolling fenders. Went with 225/45-17 up front and 255/40-17 in the back. I like the look of 2000 Mustang GT wheels and they fit great on the car, they are also pretty light for a 17x8 wheel.
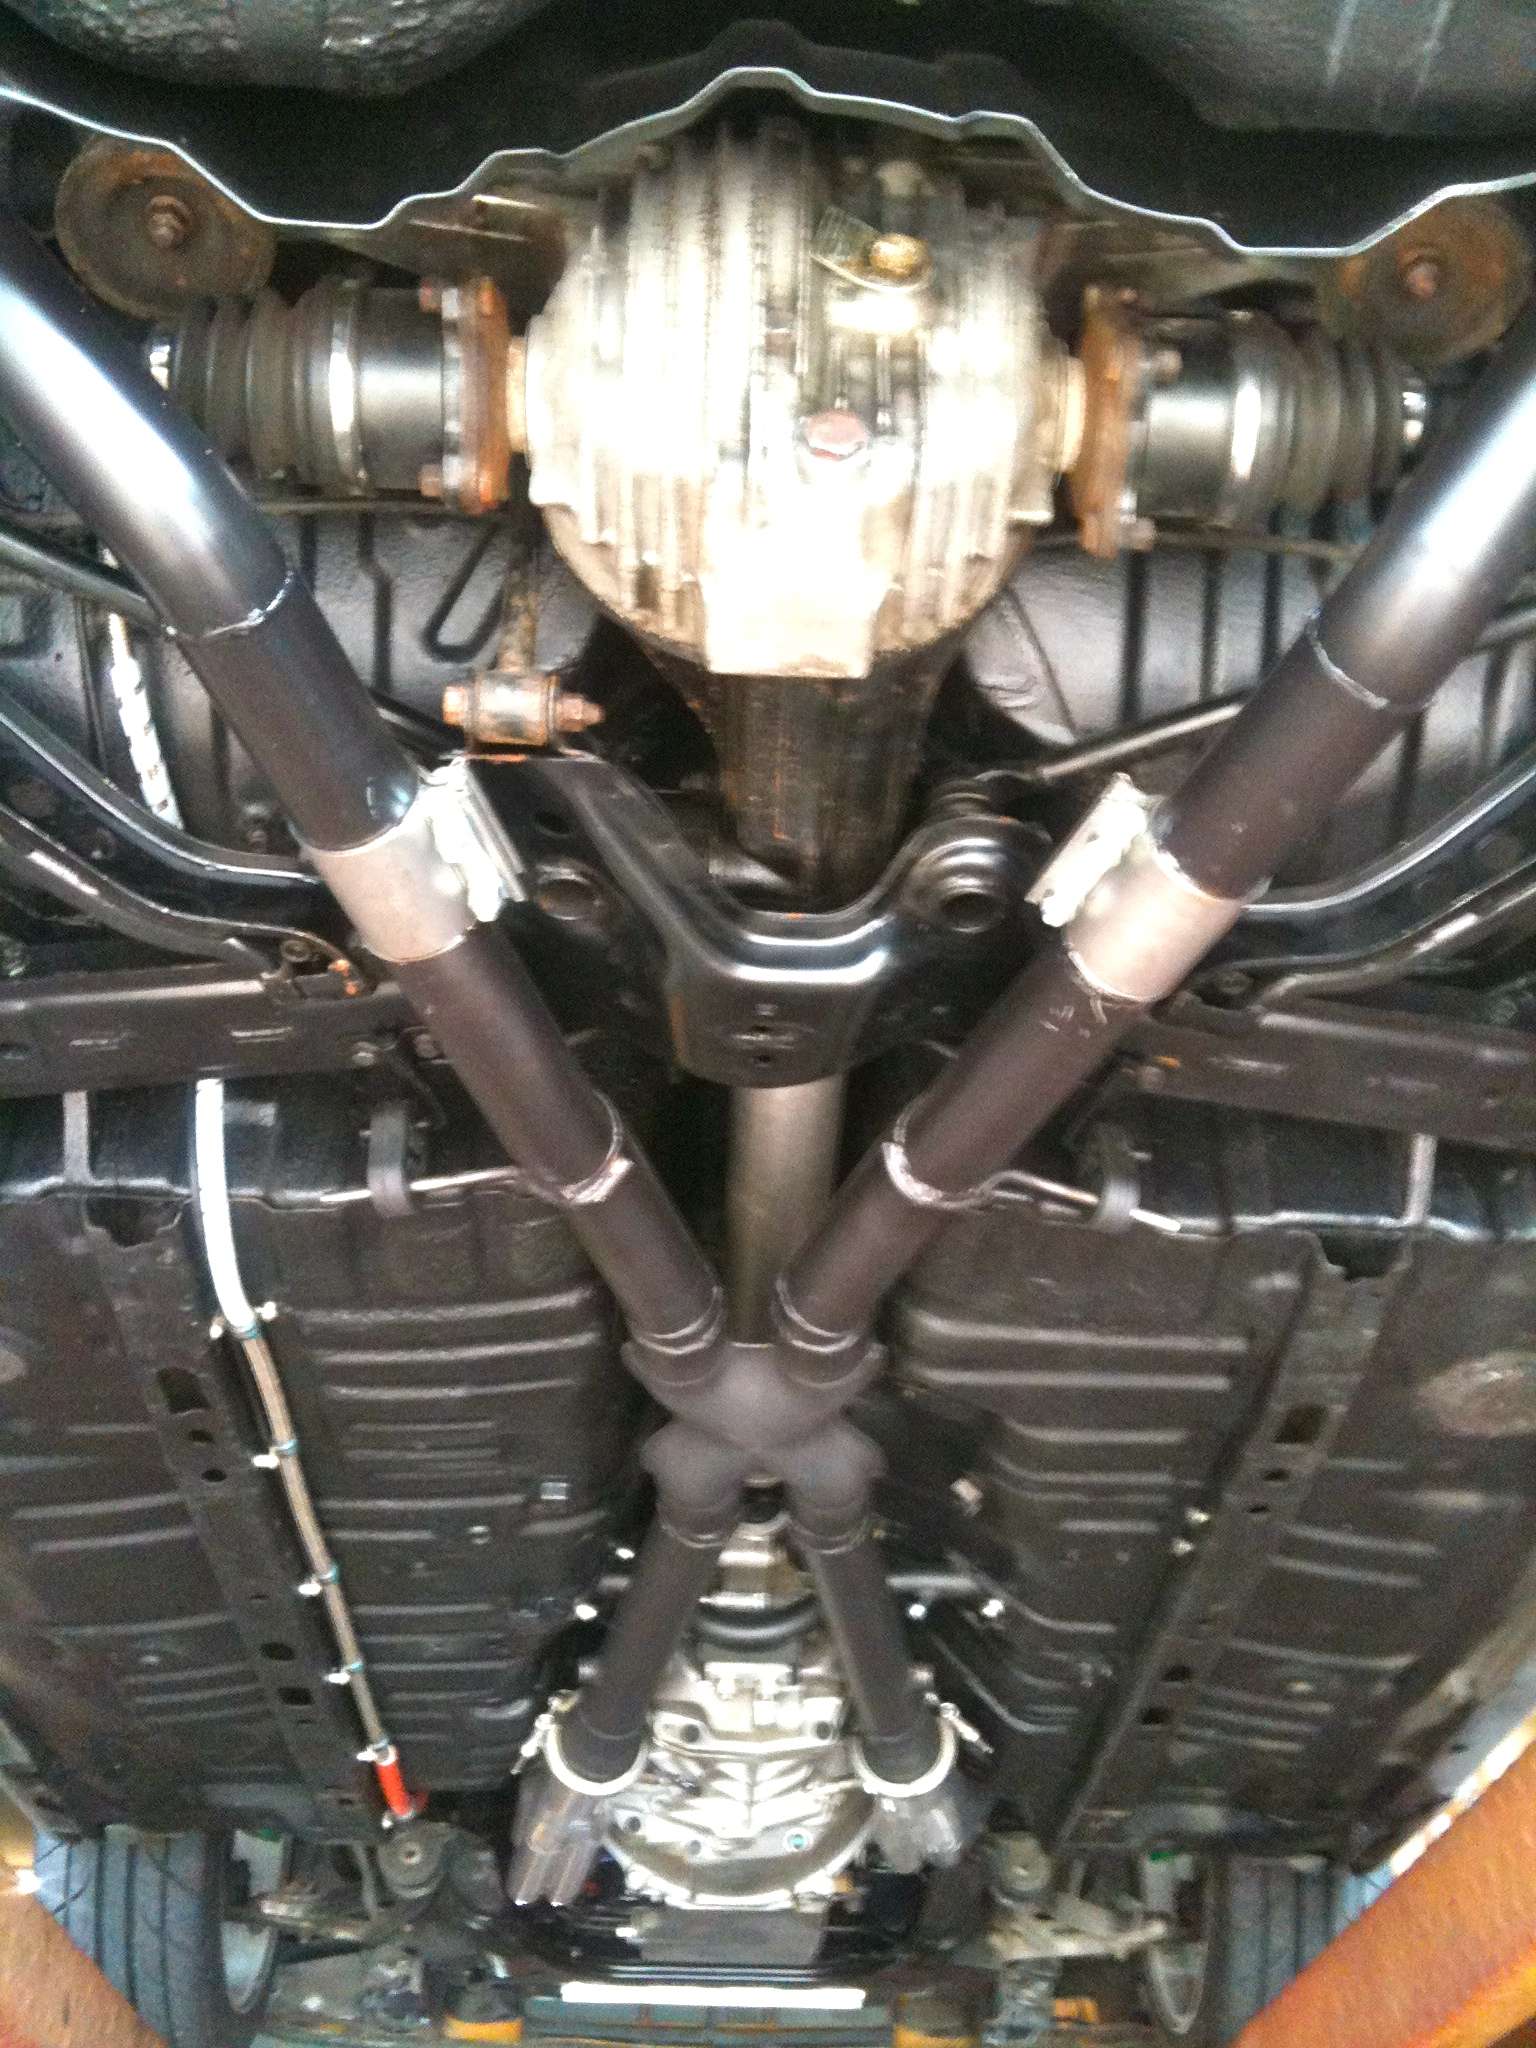
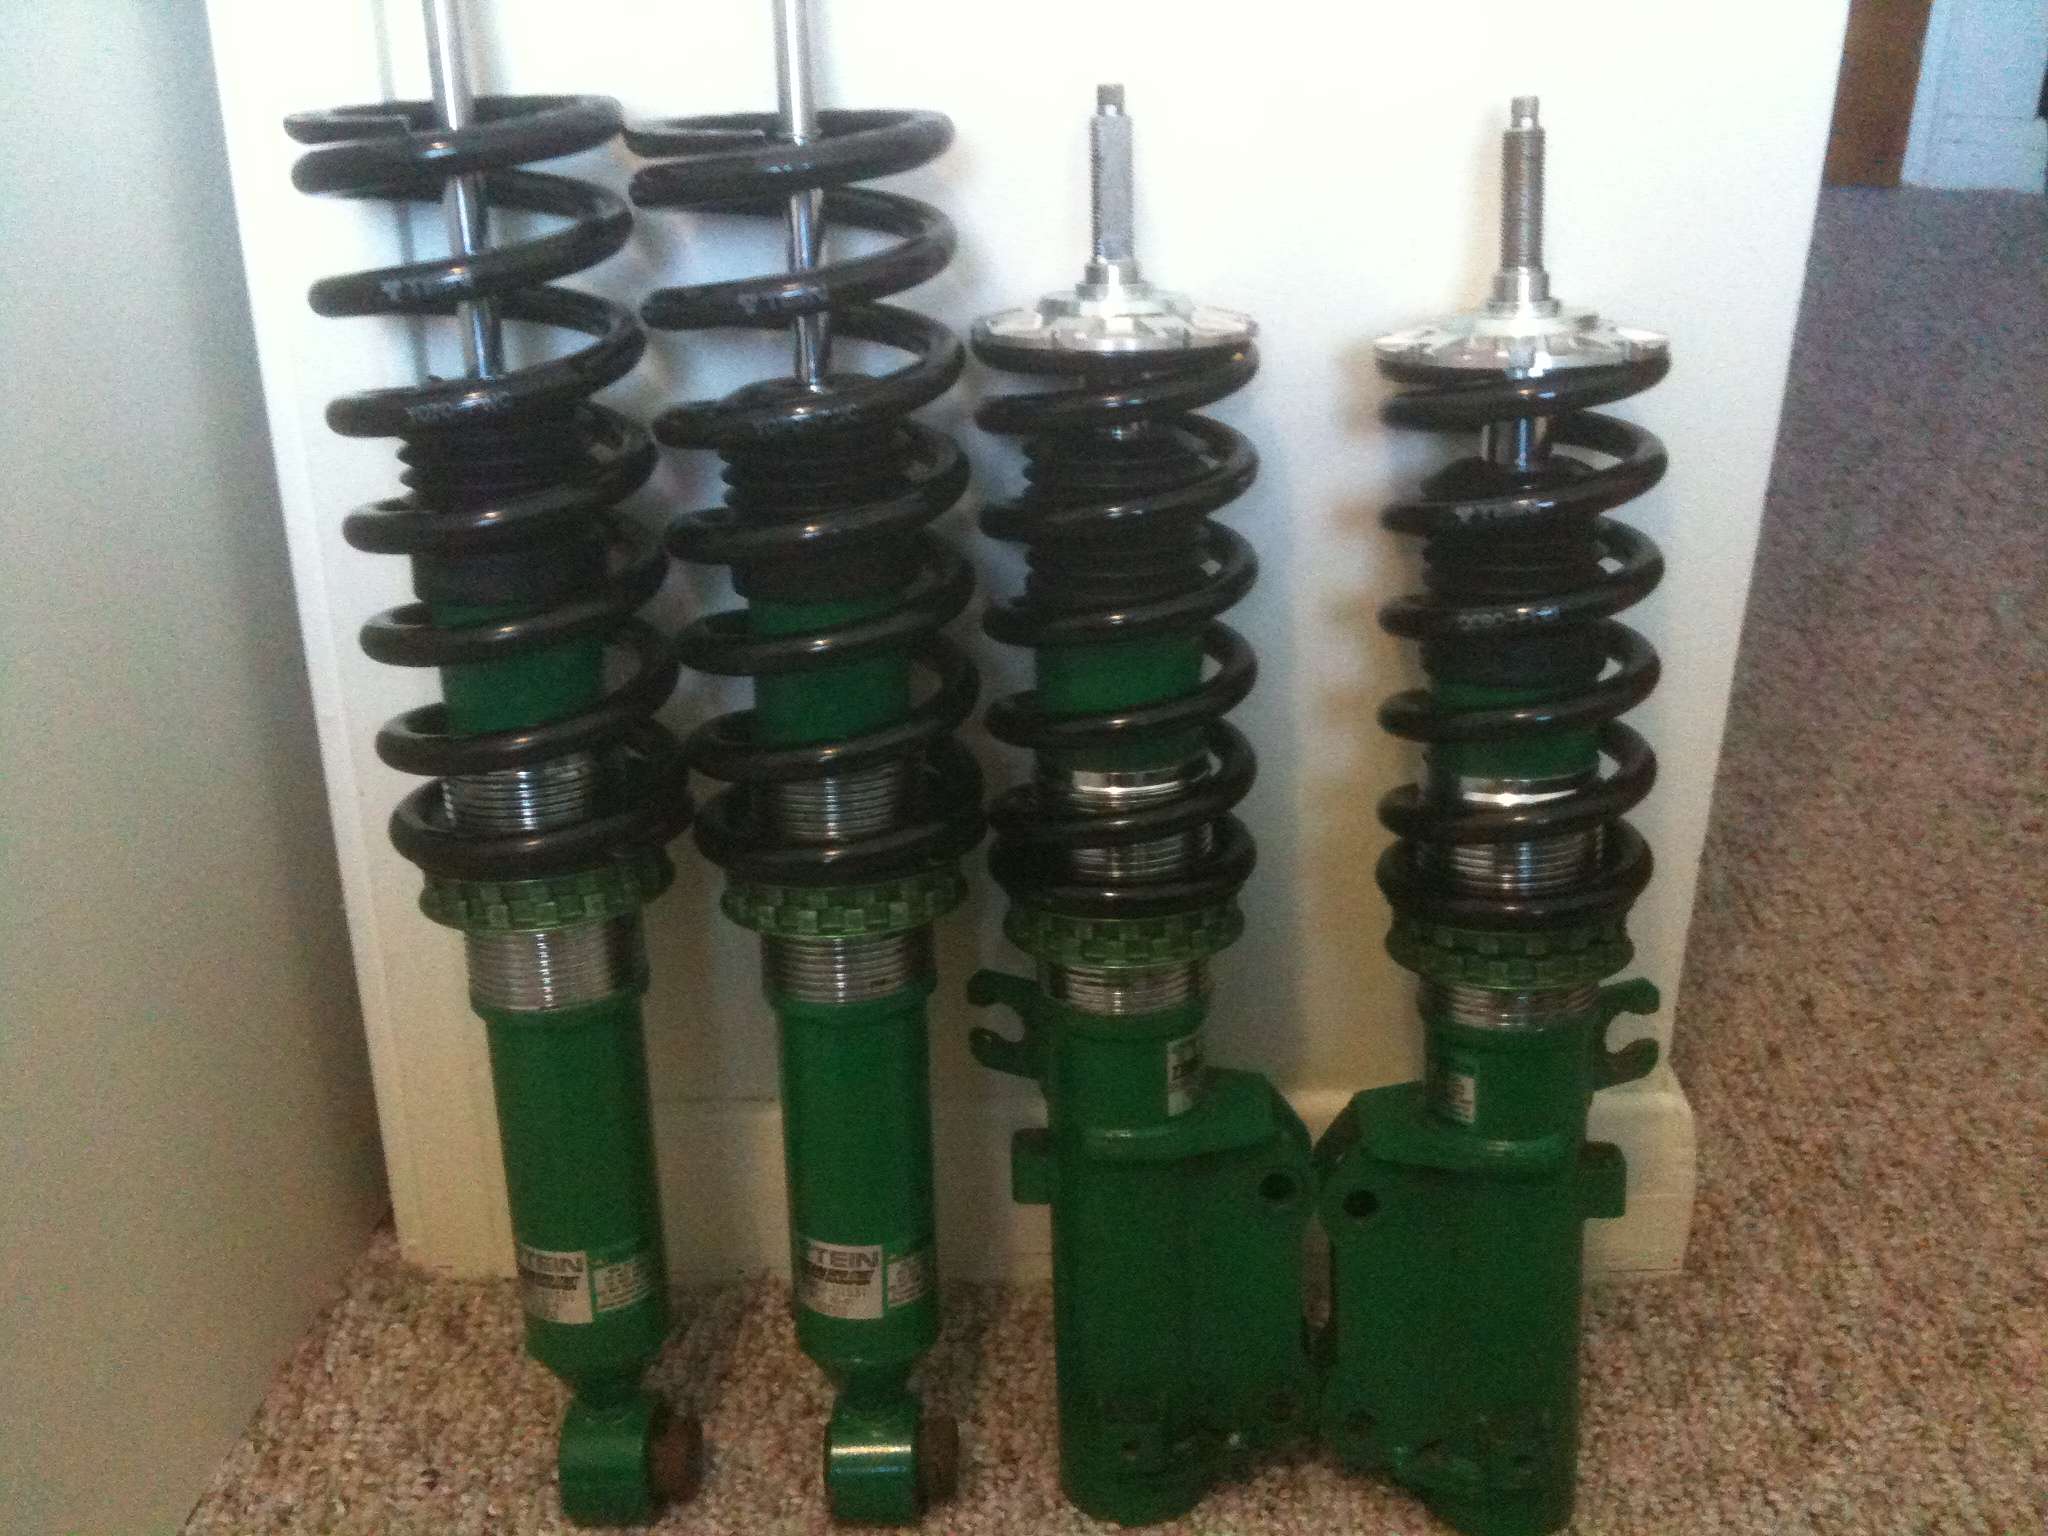
For suspension I went with Tein SS coilovers with 9K springs up front and 7K in the rear.
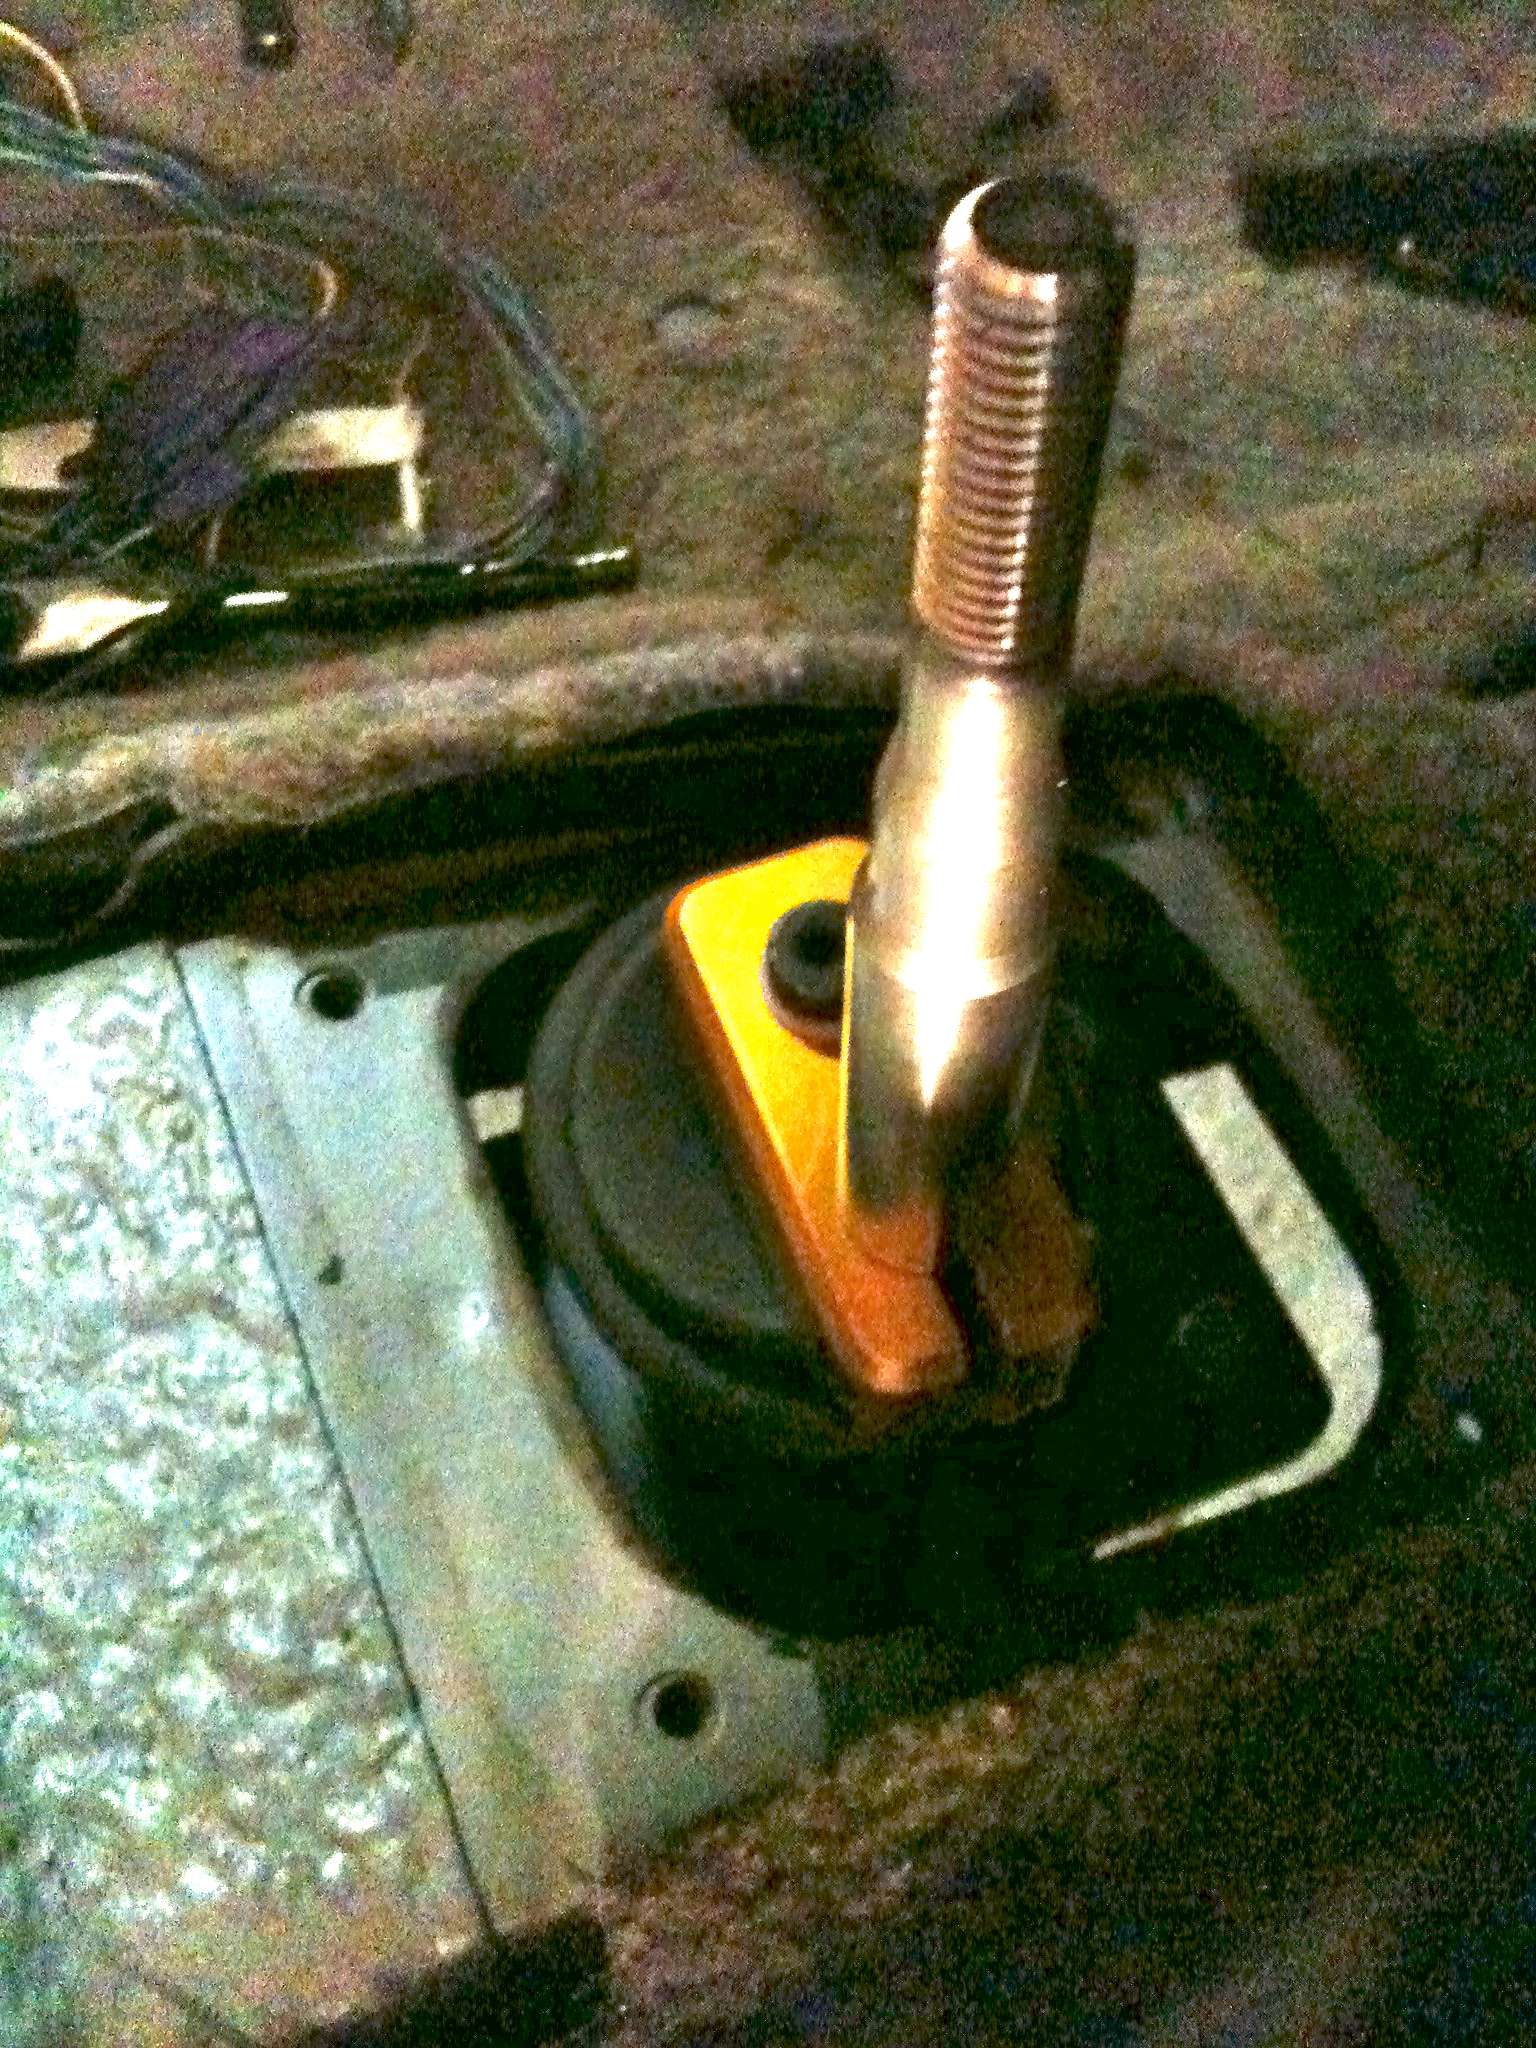
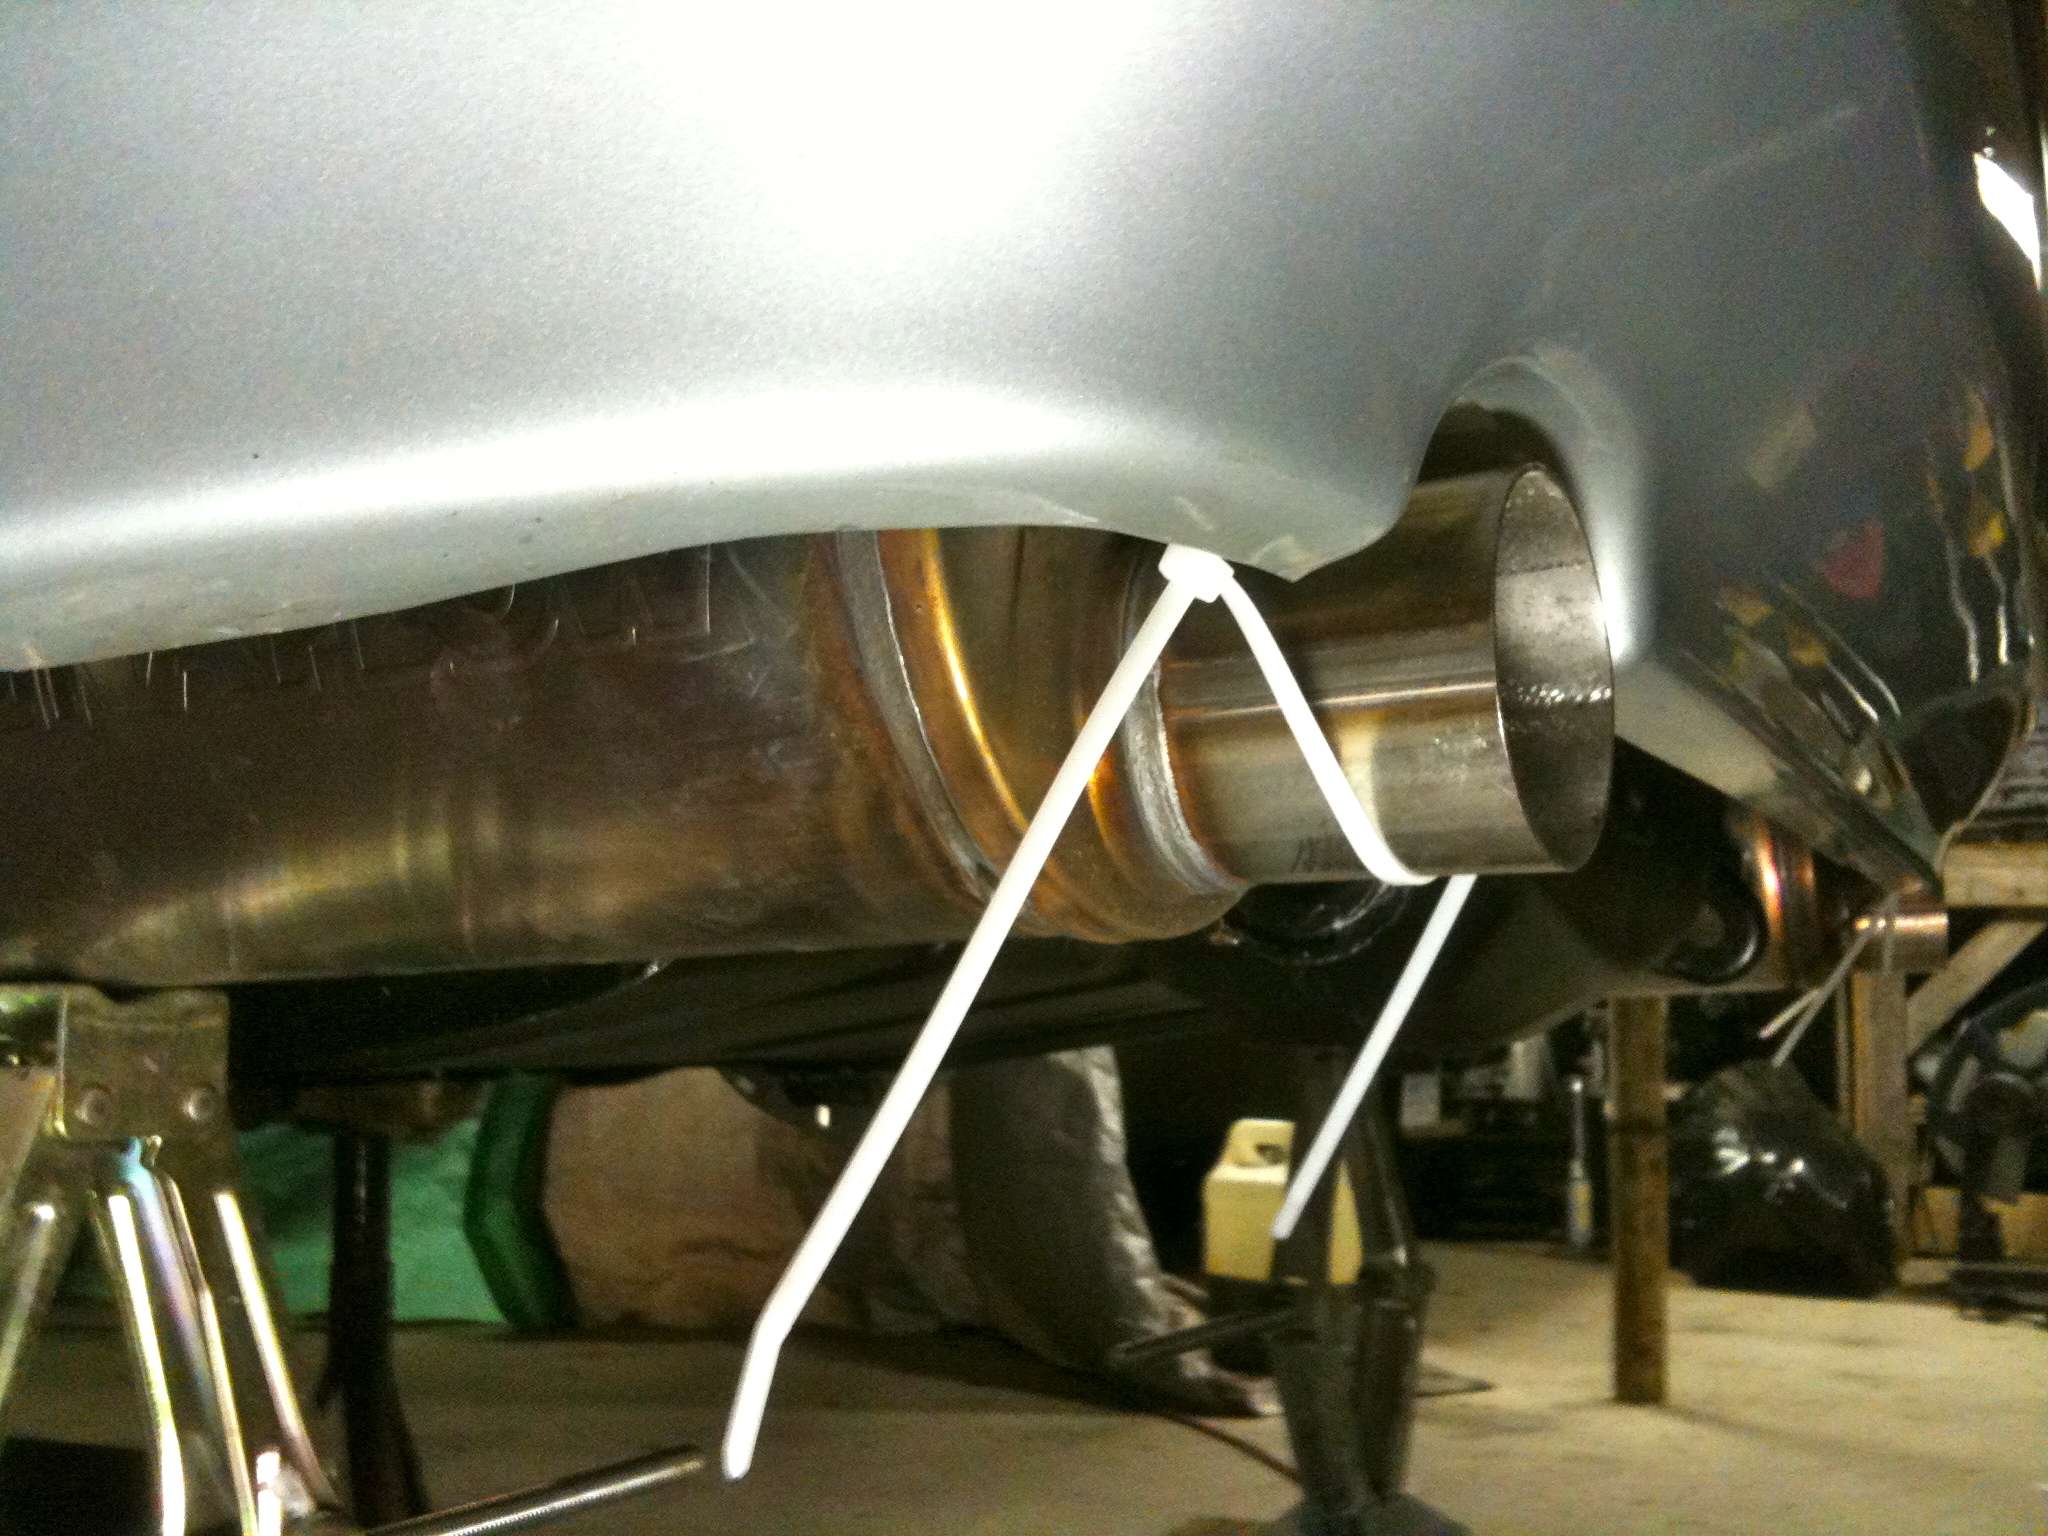
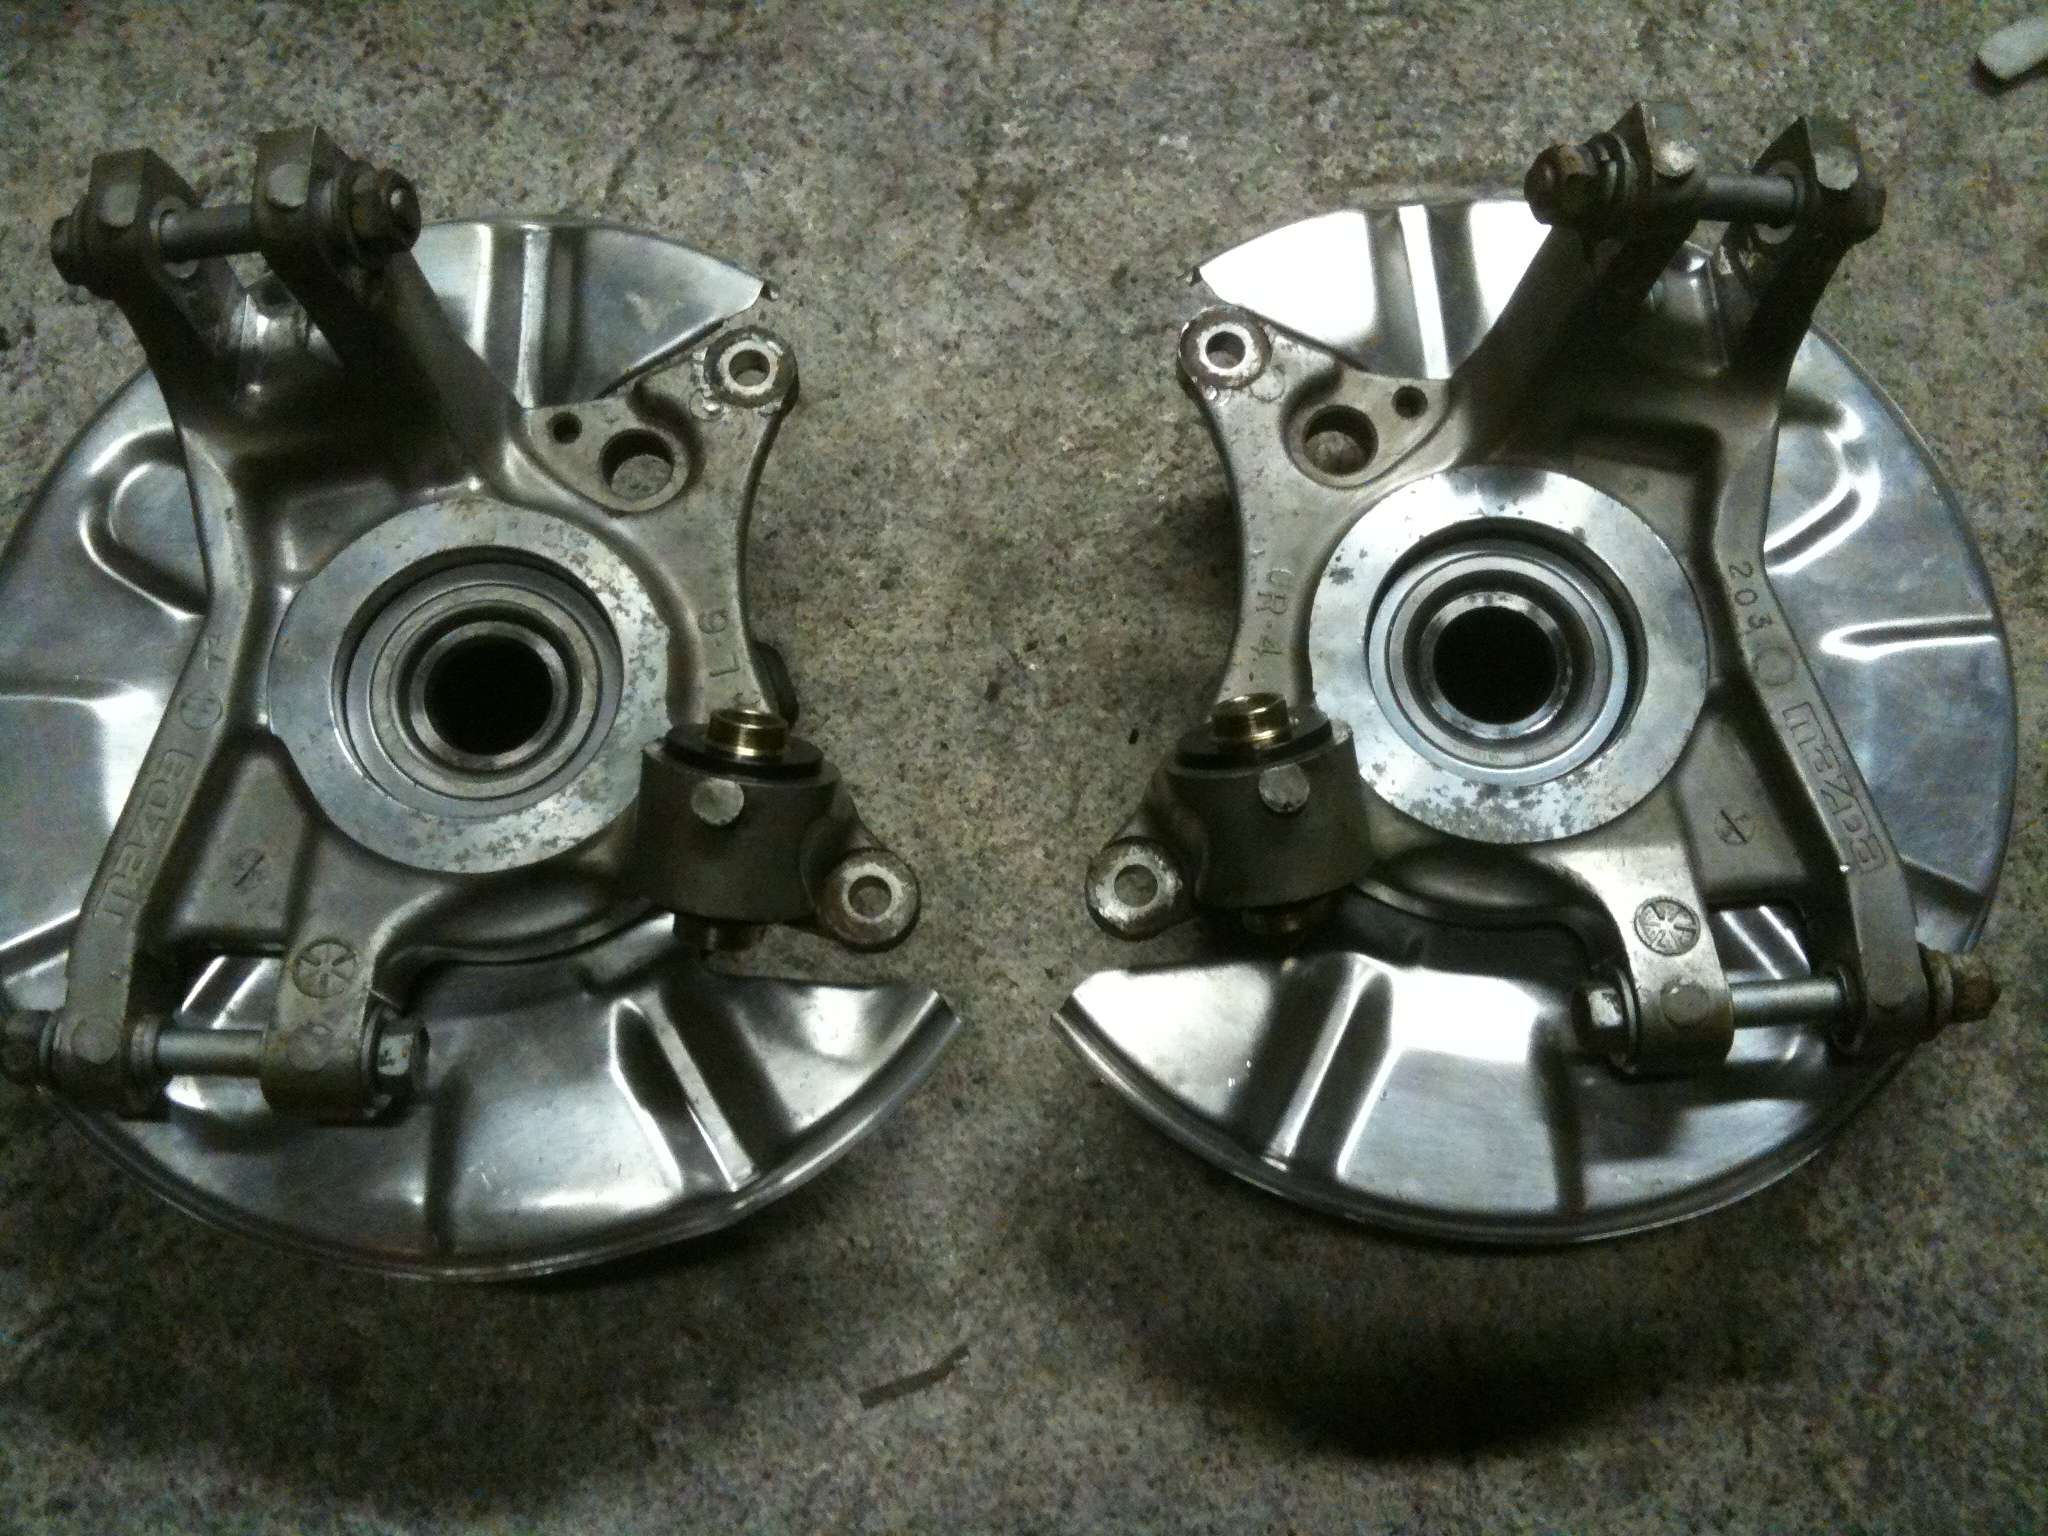
Removed Rear hubs and installed DTSS Elim. bushings.
Back to the drivetrain....I tend to be a little obsessive when it comes to putting "used" parts in my car so although the engine and tranny only had 31,000 miles on it decided that it would be good to give the heads a fresh valve job and some new valve seals to prevent any surprises once the project was complete. The car would also get a brand new LS7 clutch kit including a RAM aluminum flywheel, new slave and release bearing. Because of the front sump oil pan on the GTO's I had to remove that in favour of the rear sump pans found on the F-body cars.
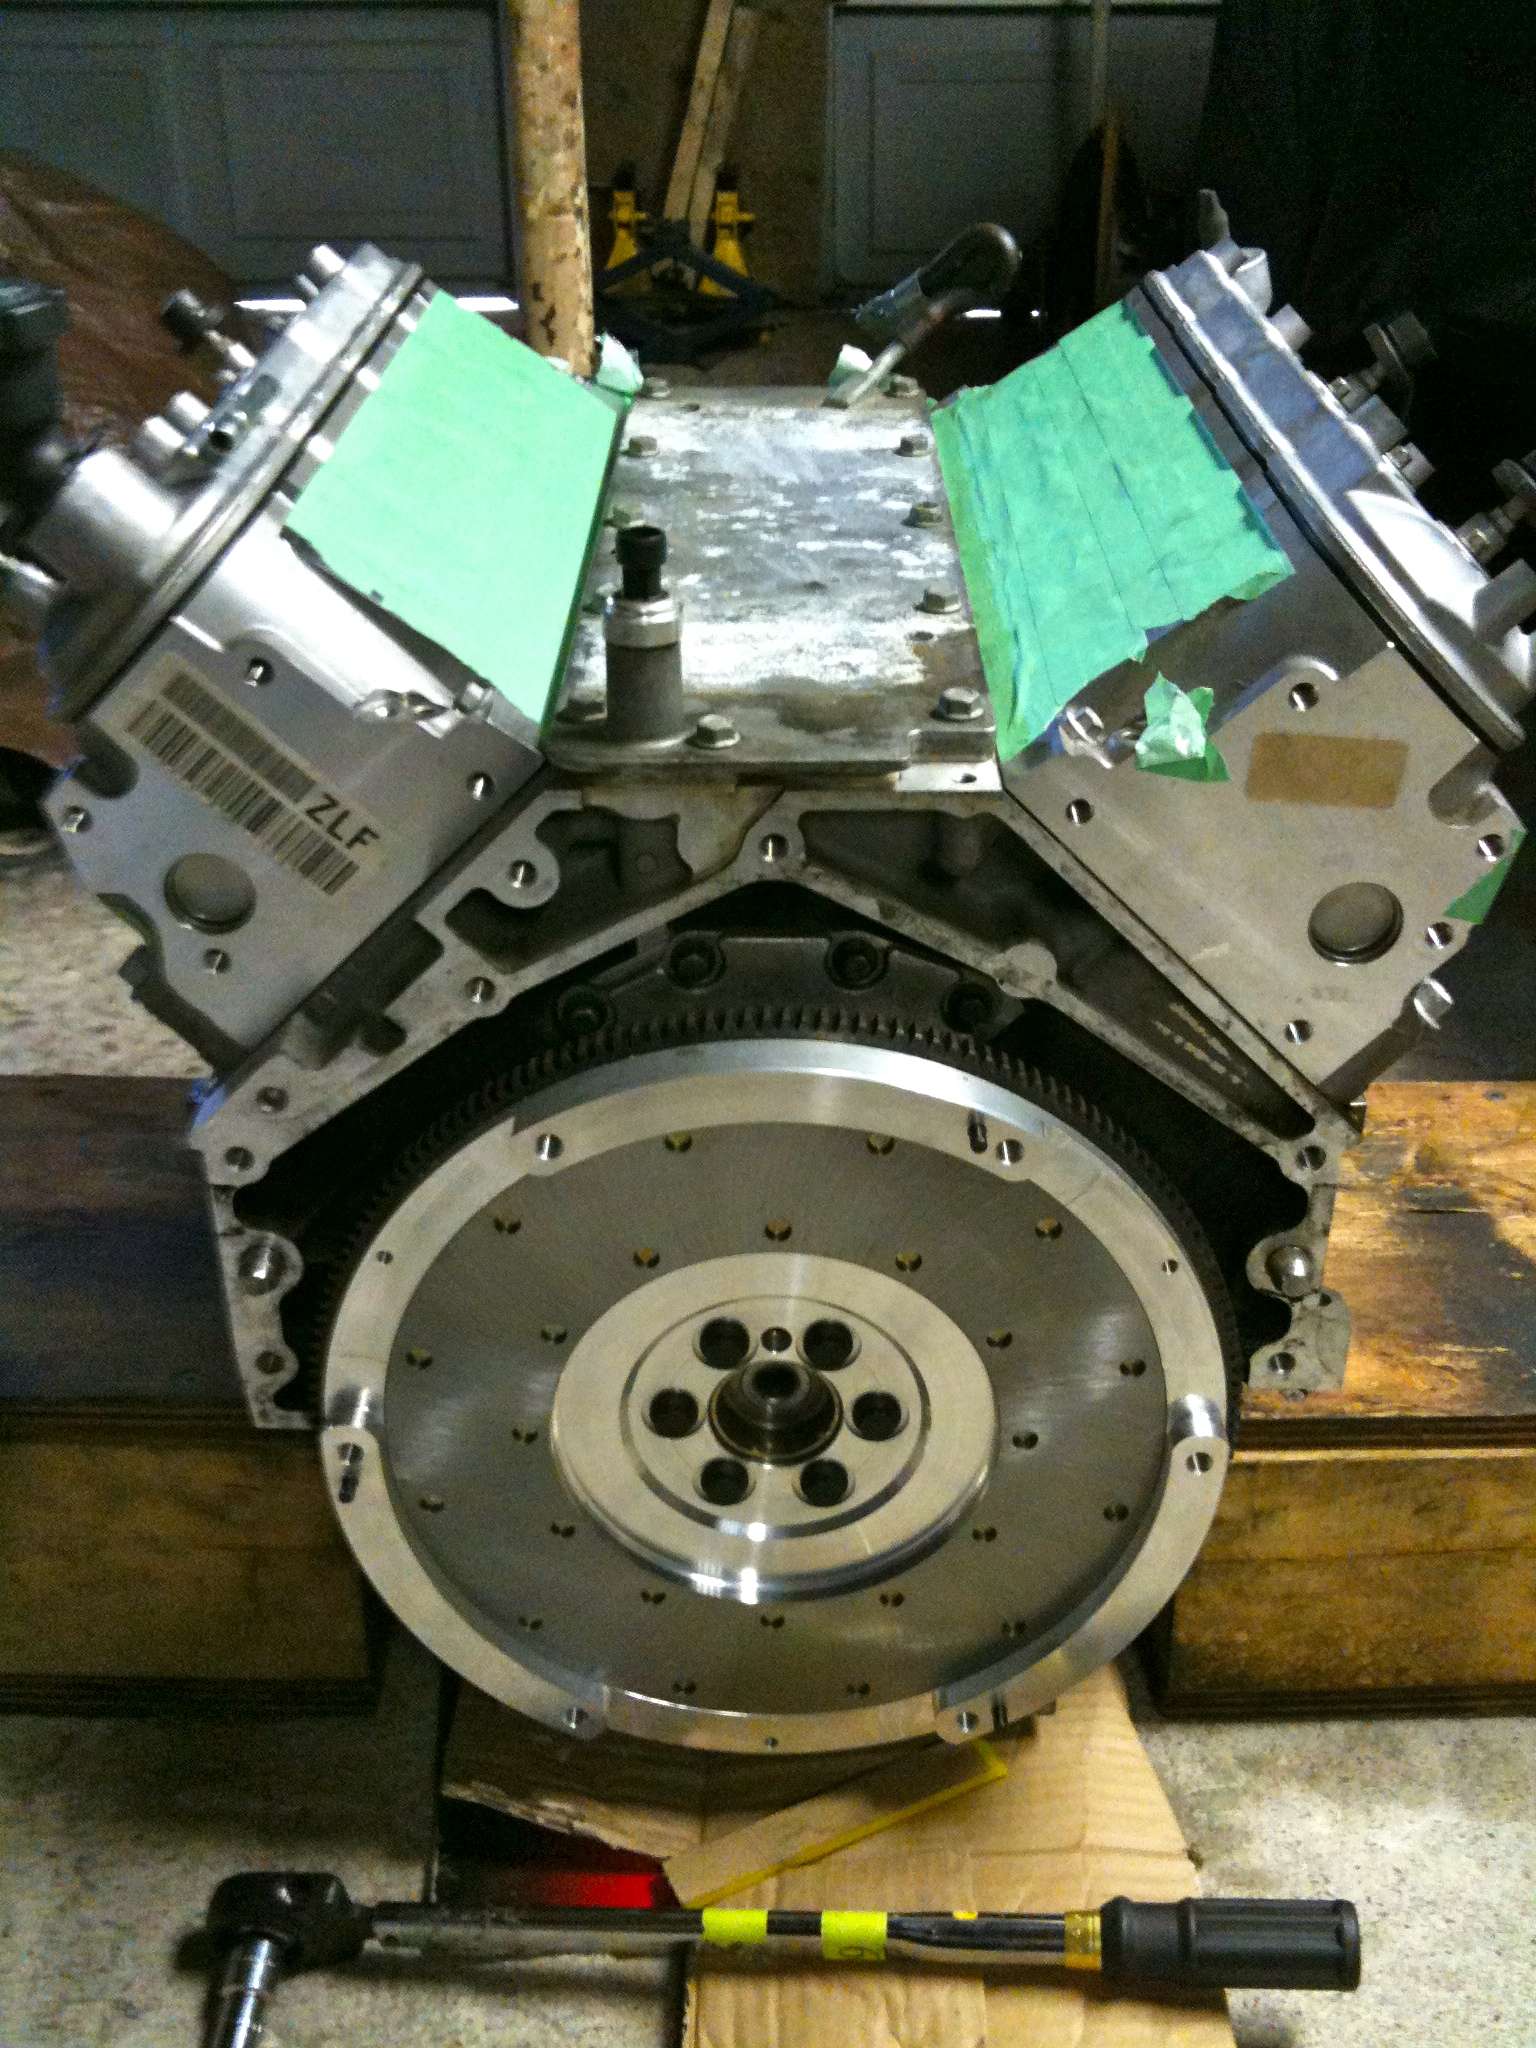
LS2 bottom end ready for LS1 windage tray pickup tube and oil pan

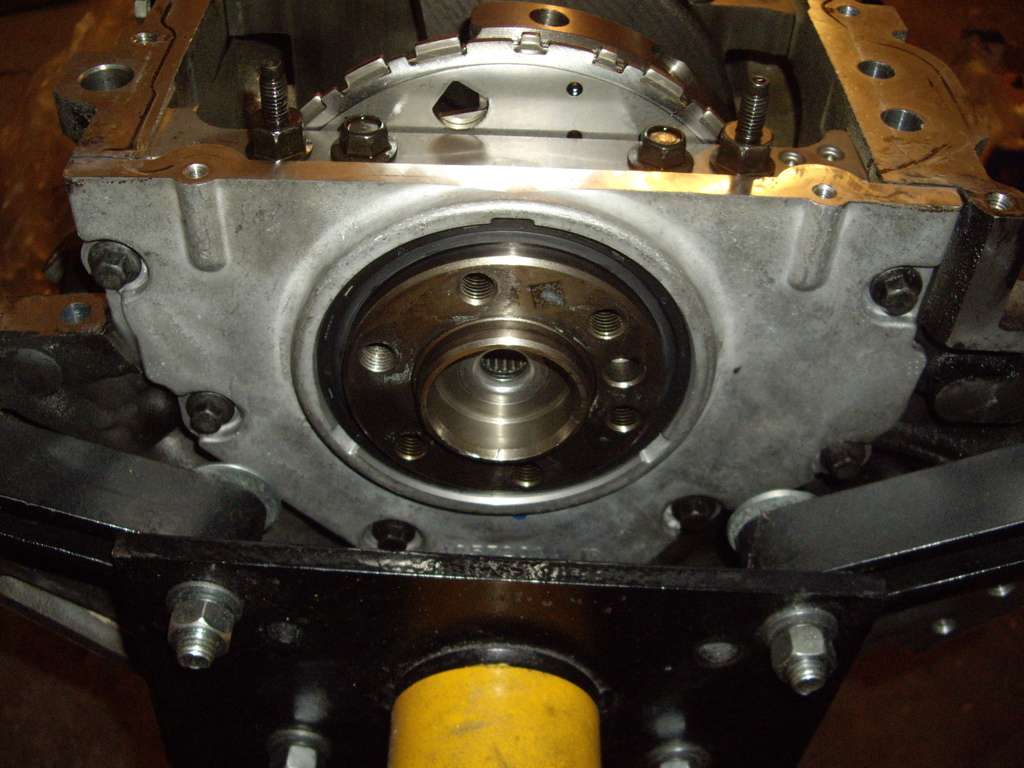
Also installed new rear main seal and pilot bearing.
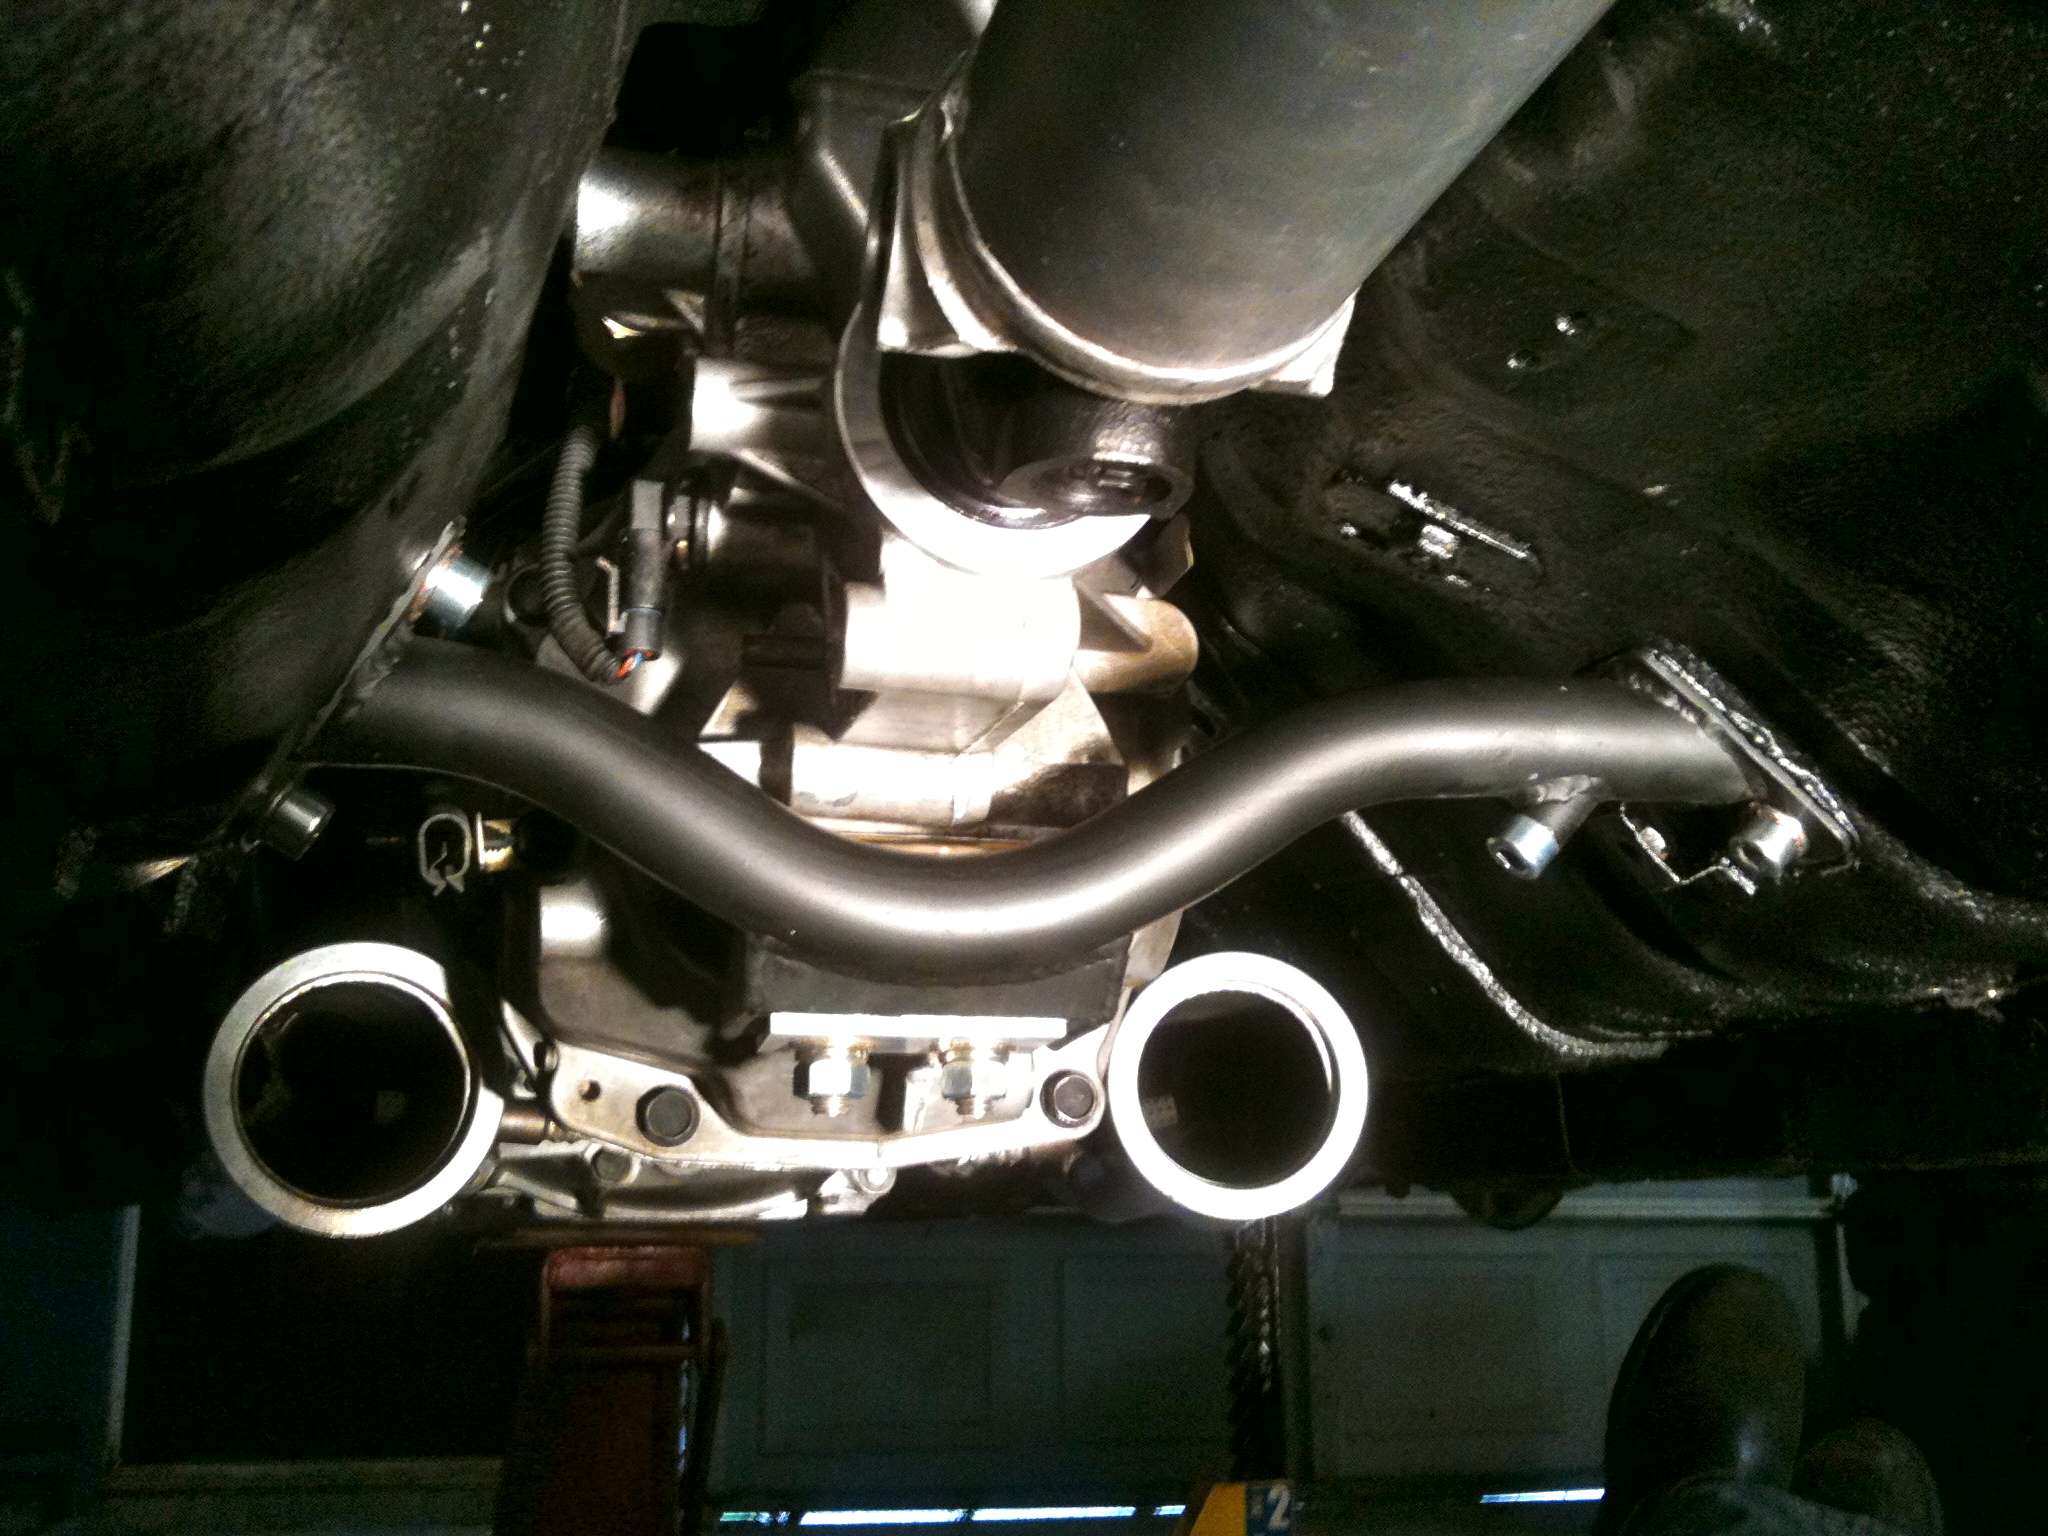
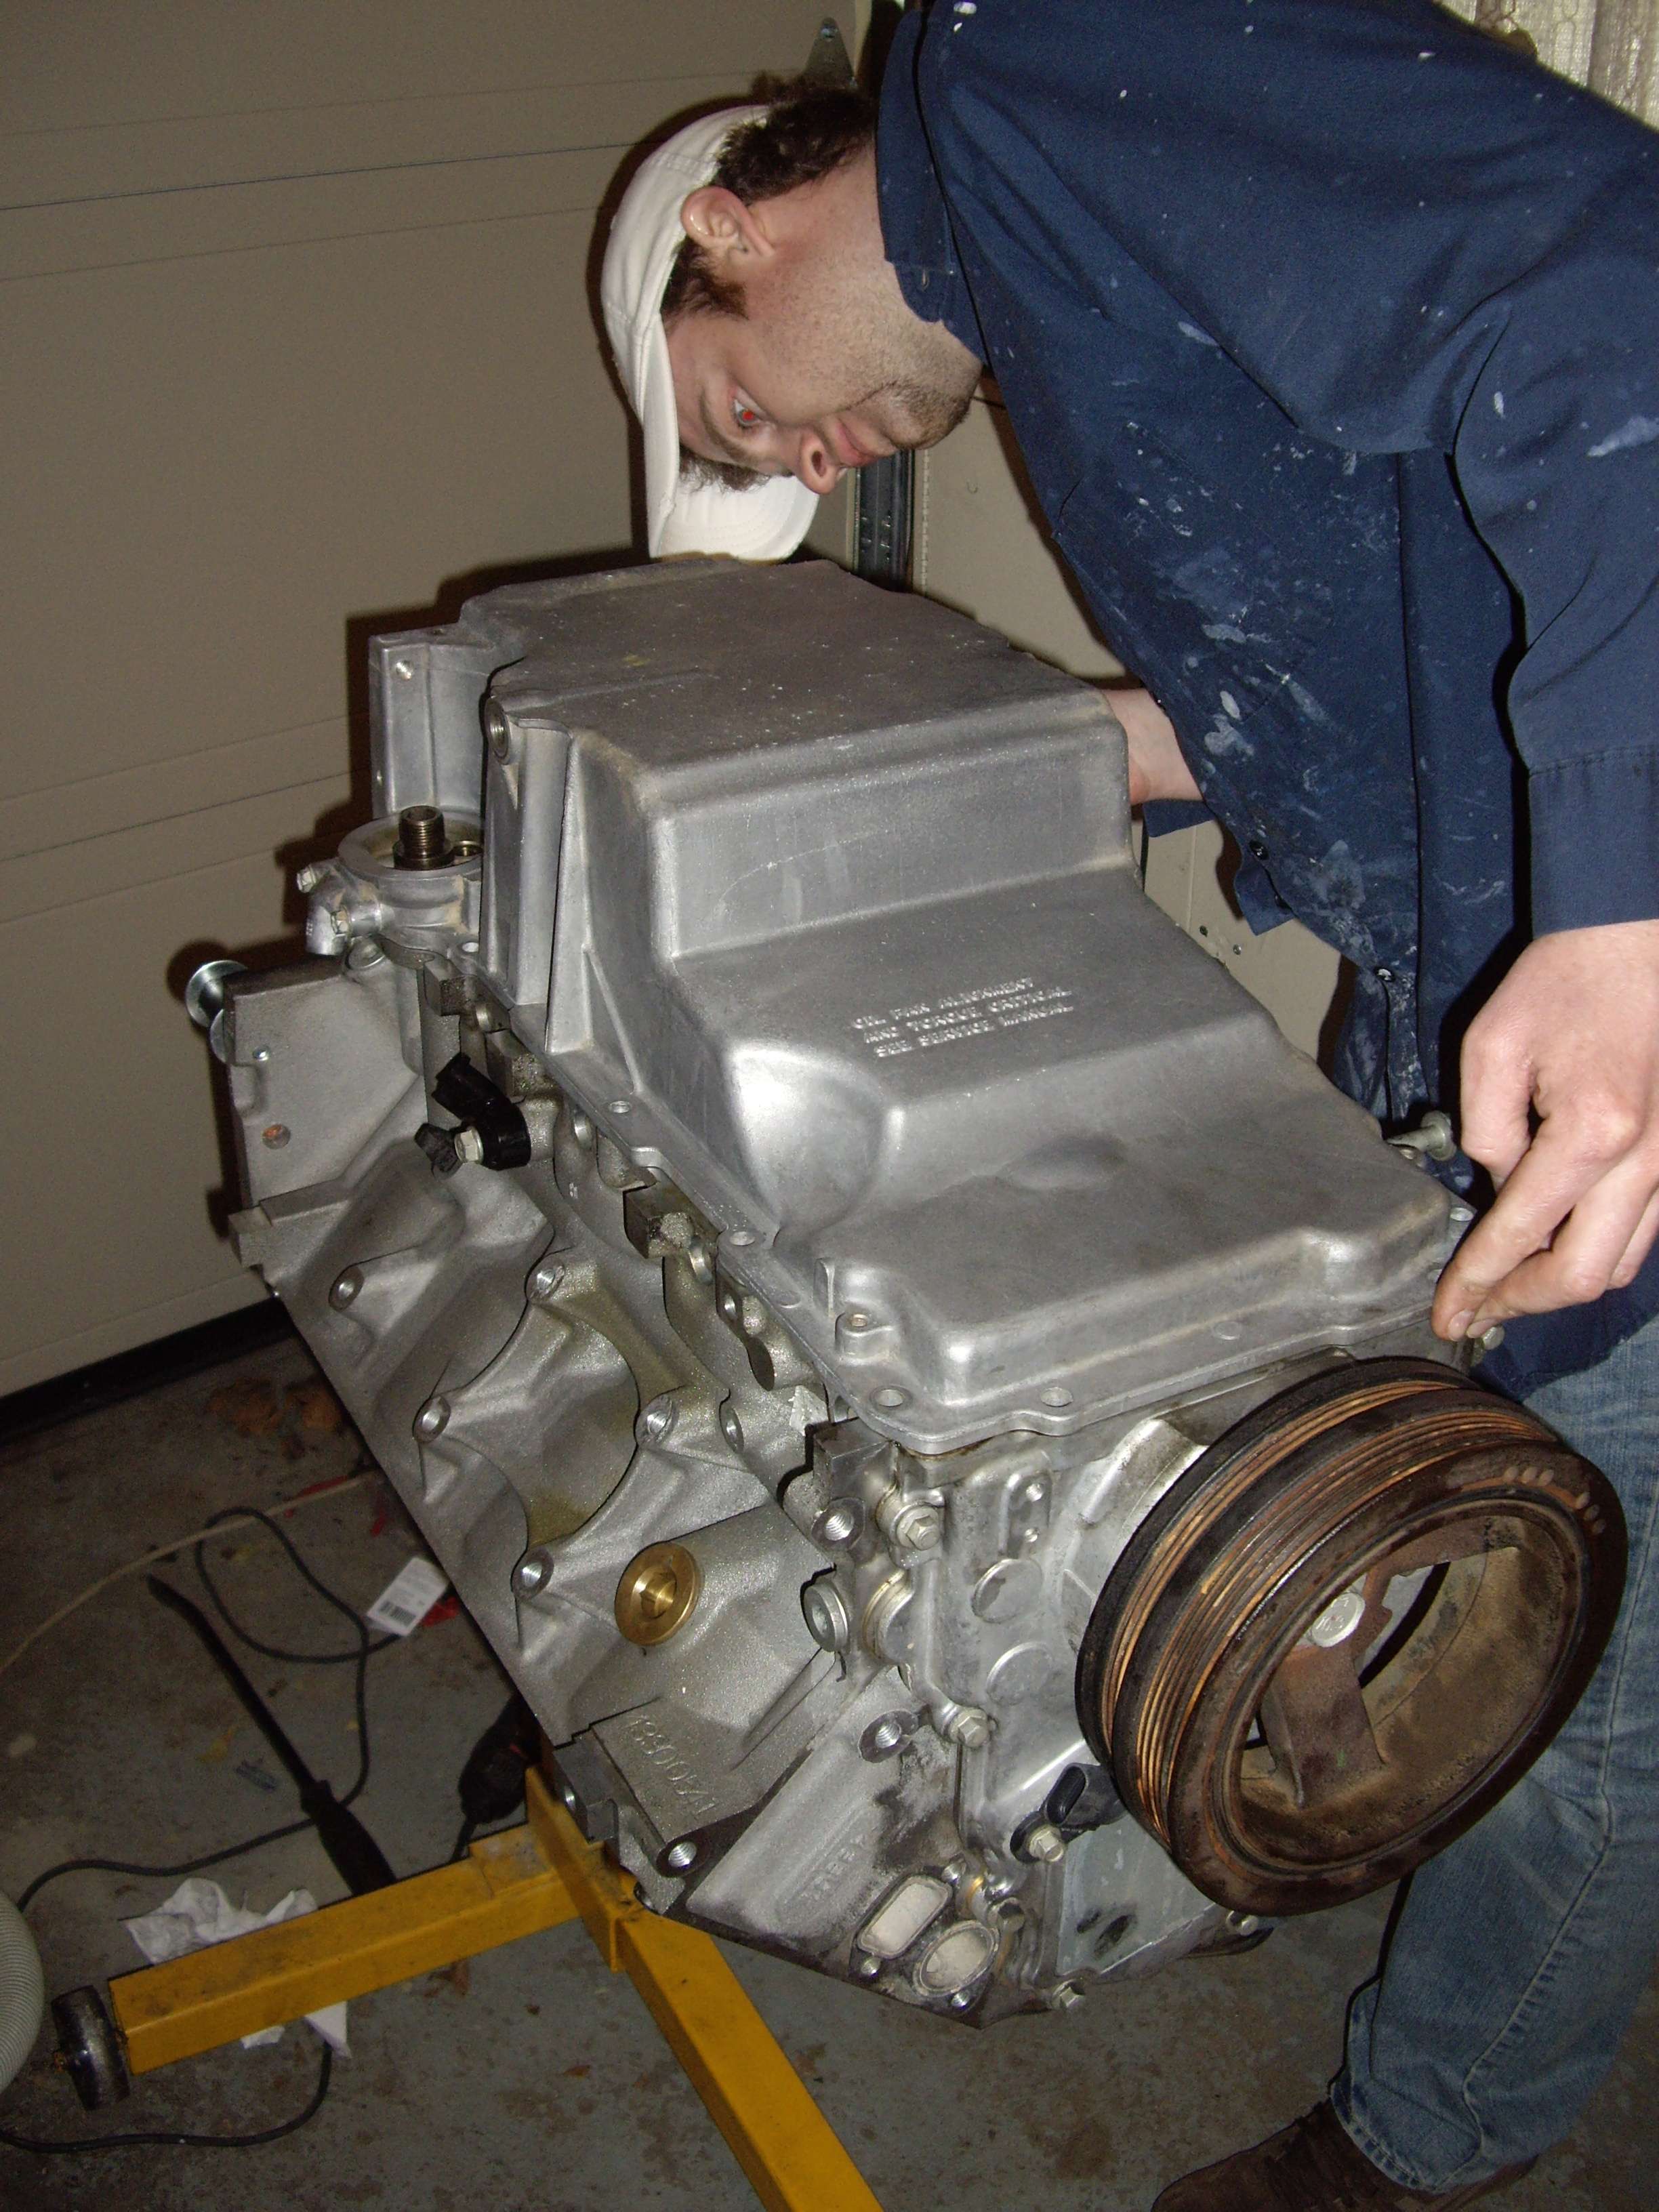
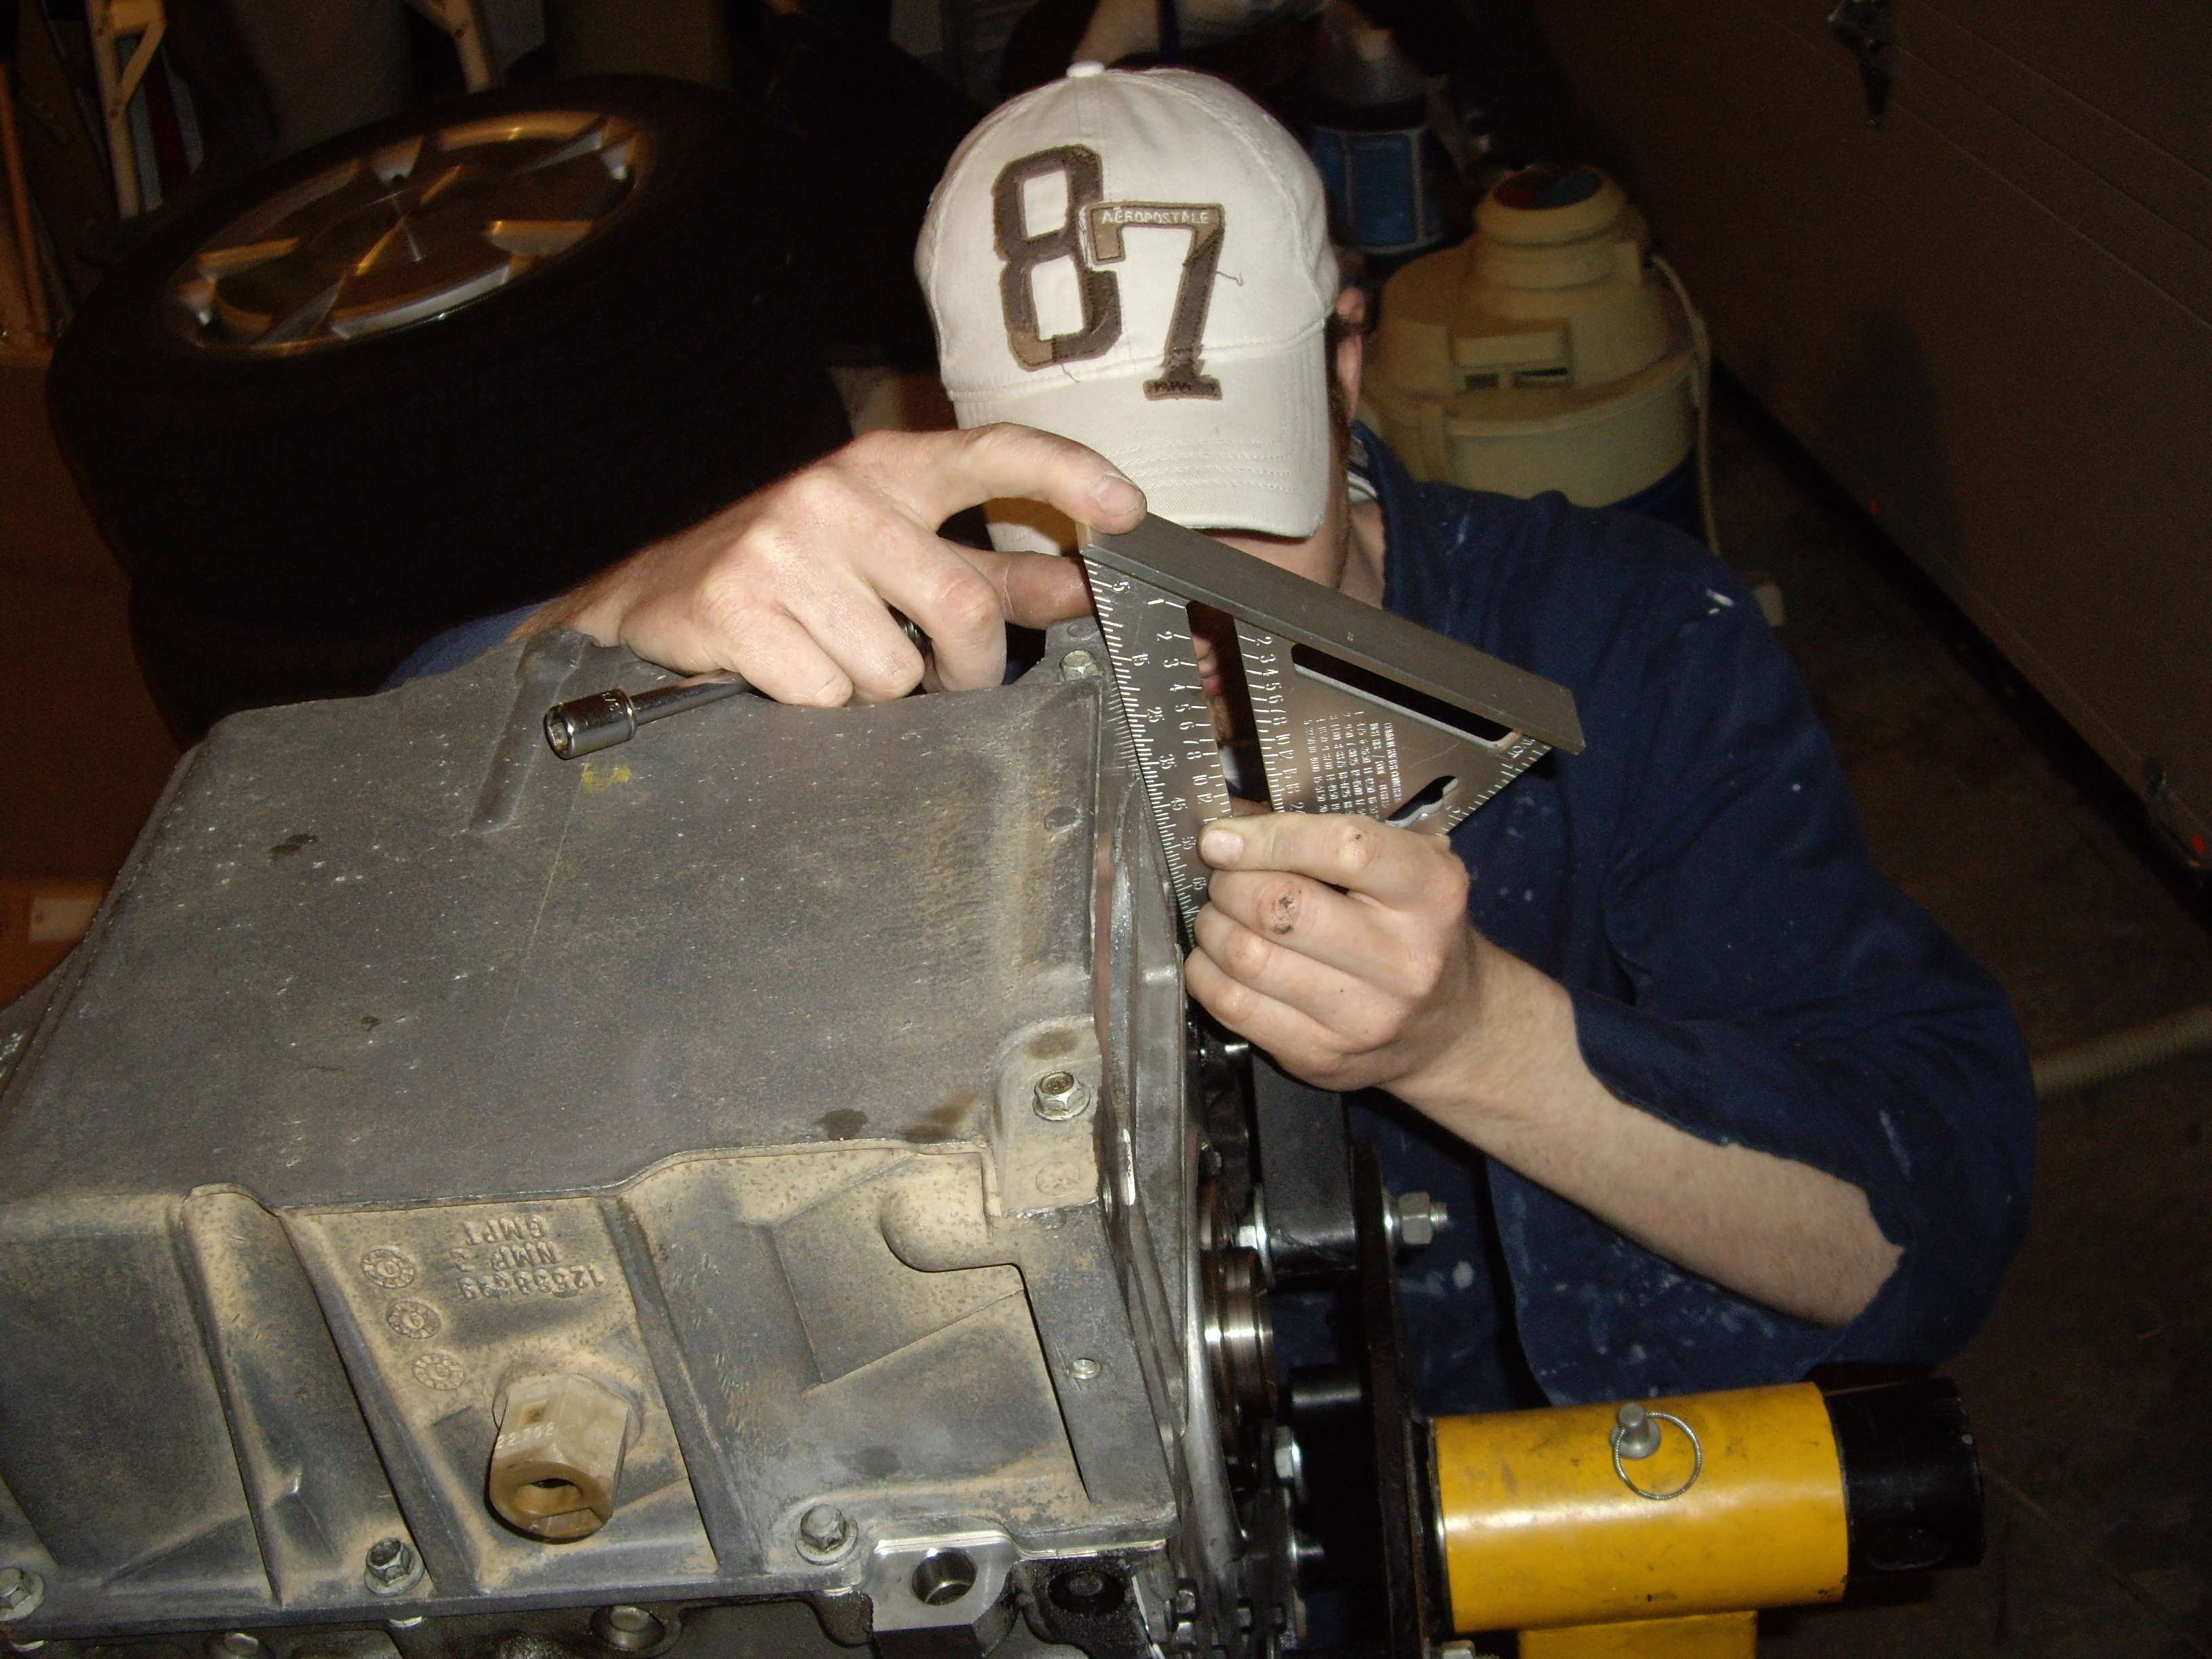
Fitting the LS1 oil pan onto the LS2 block, Alignment of the pan and torque is critical to prevent oil leaks.

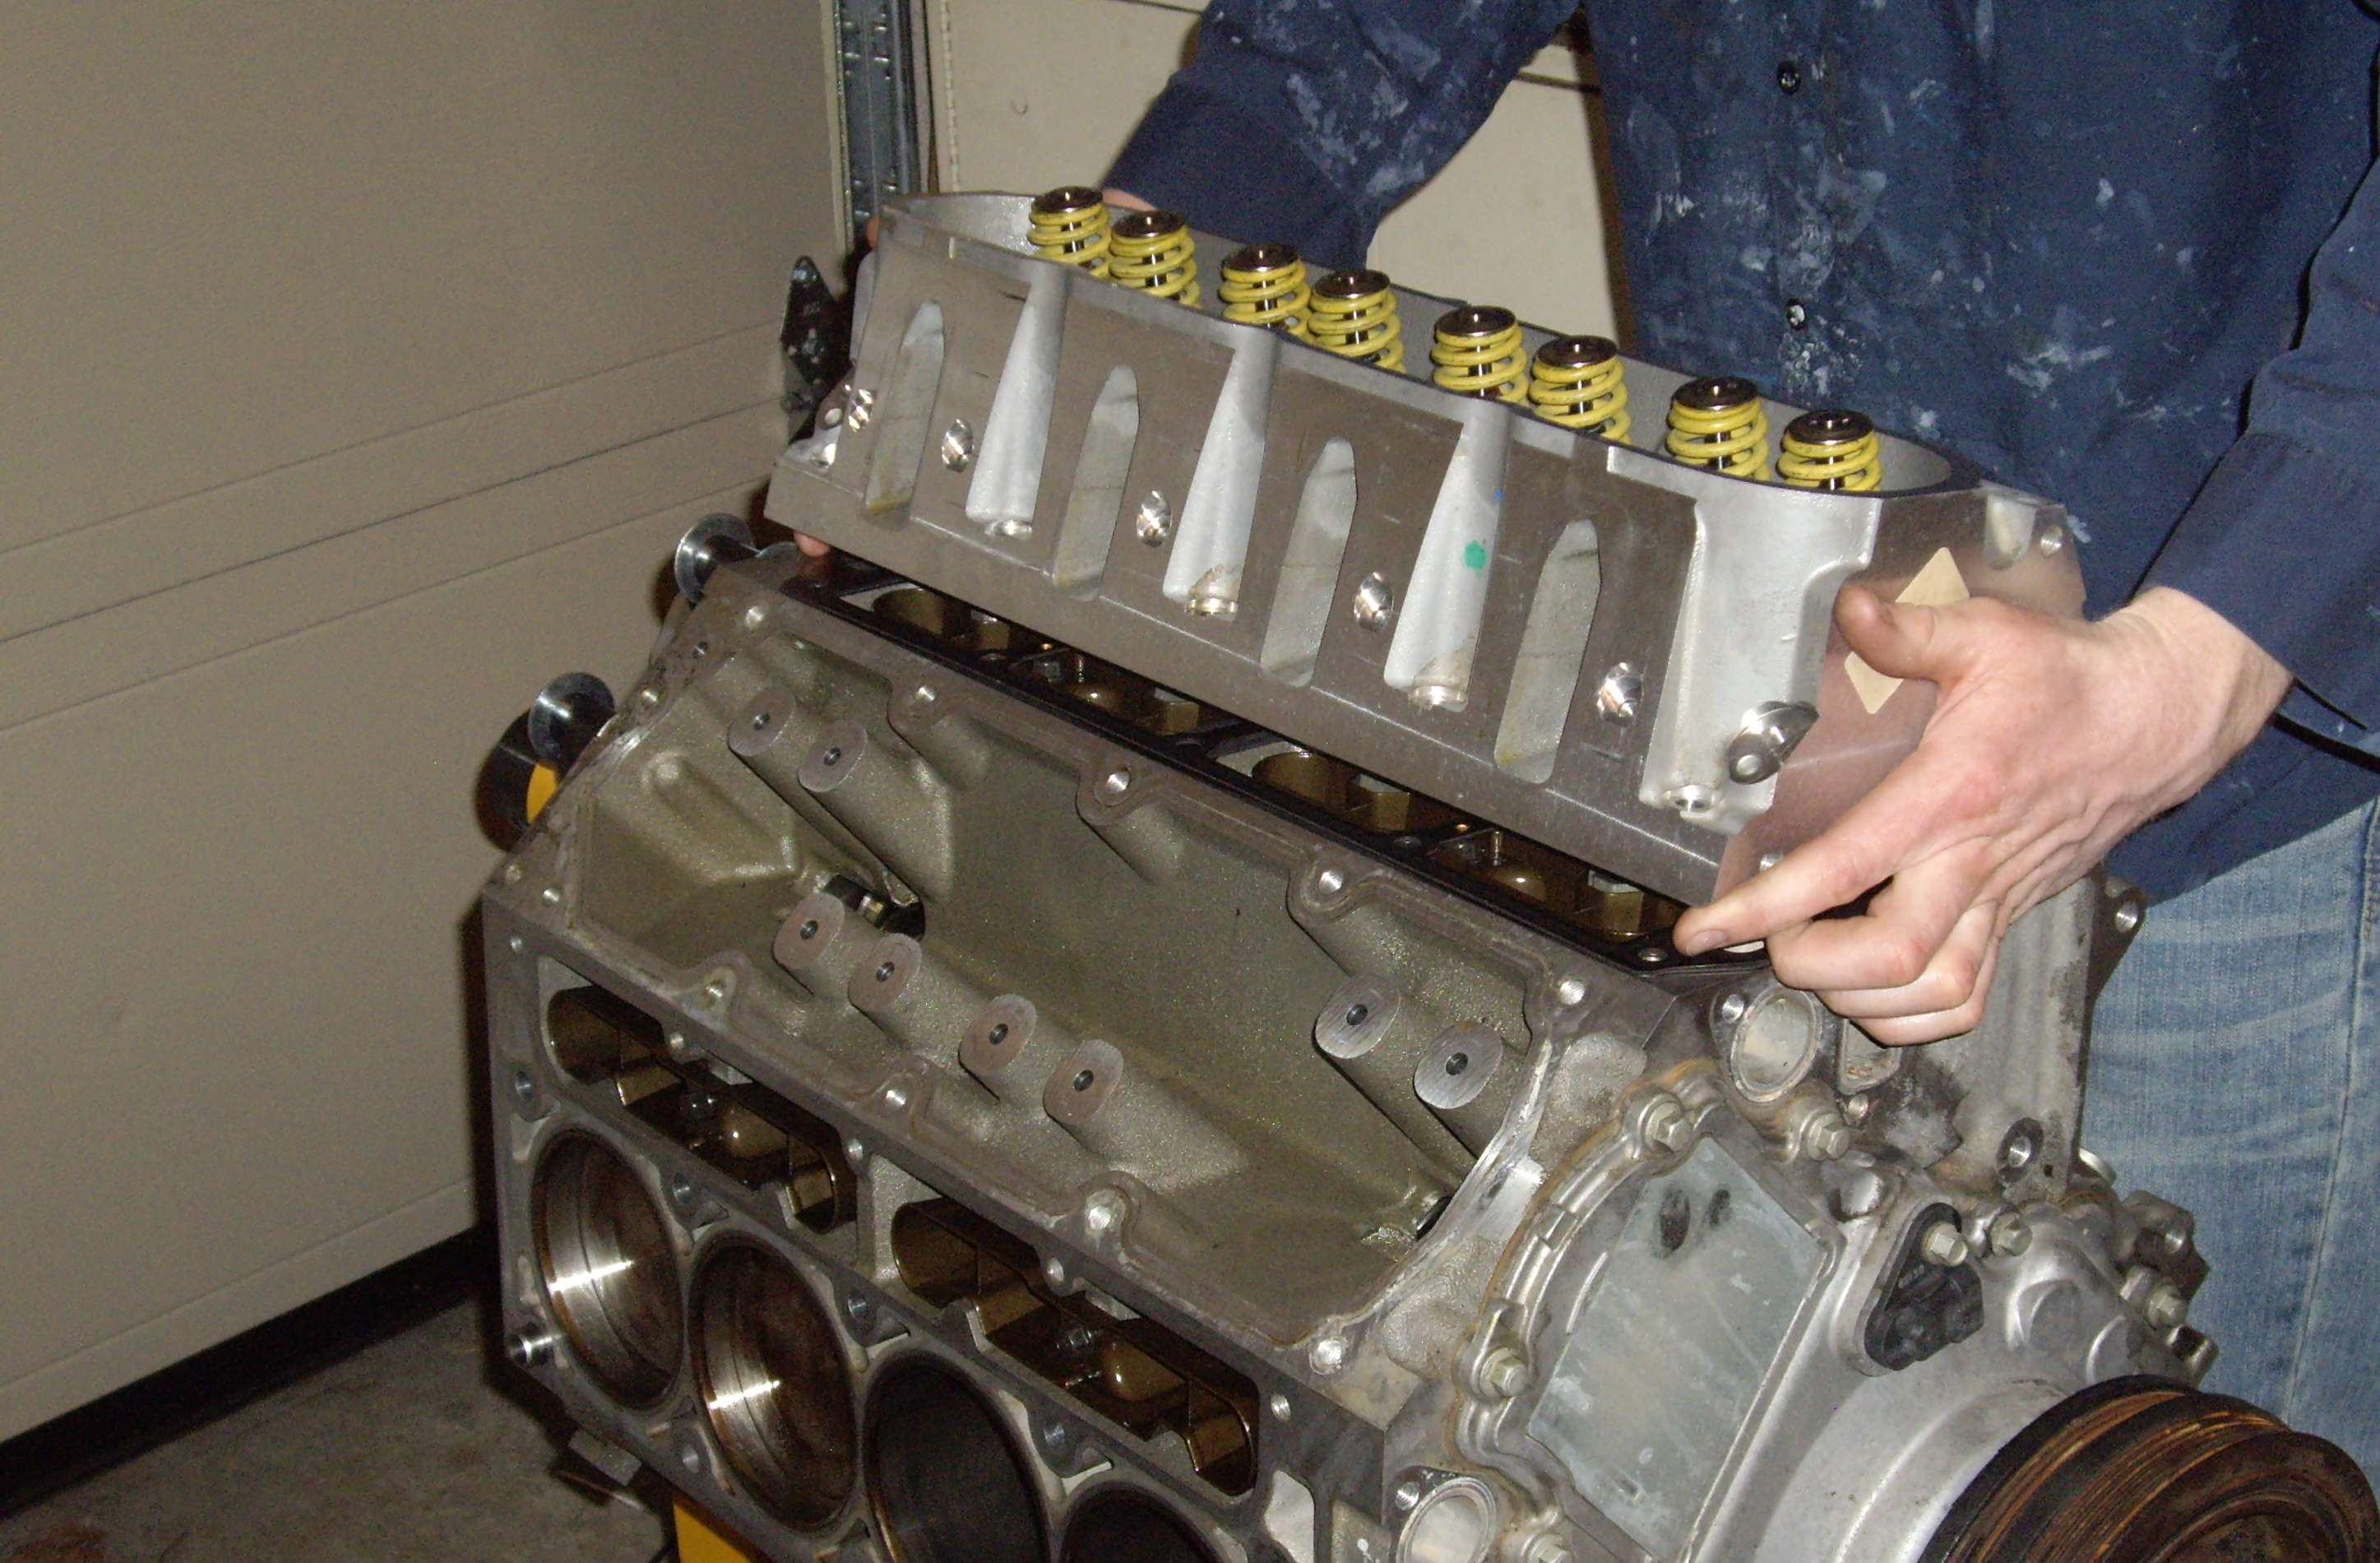
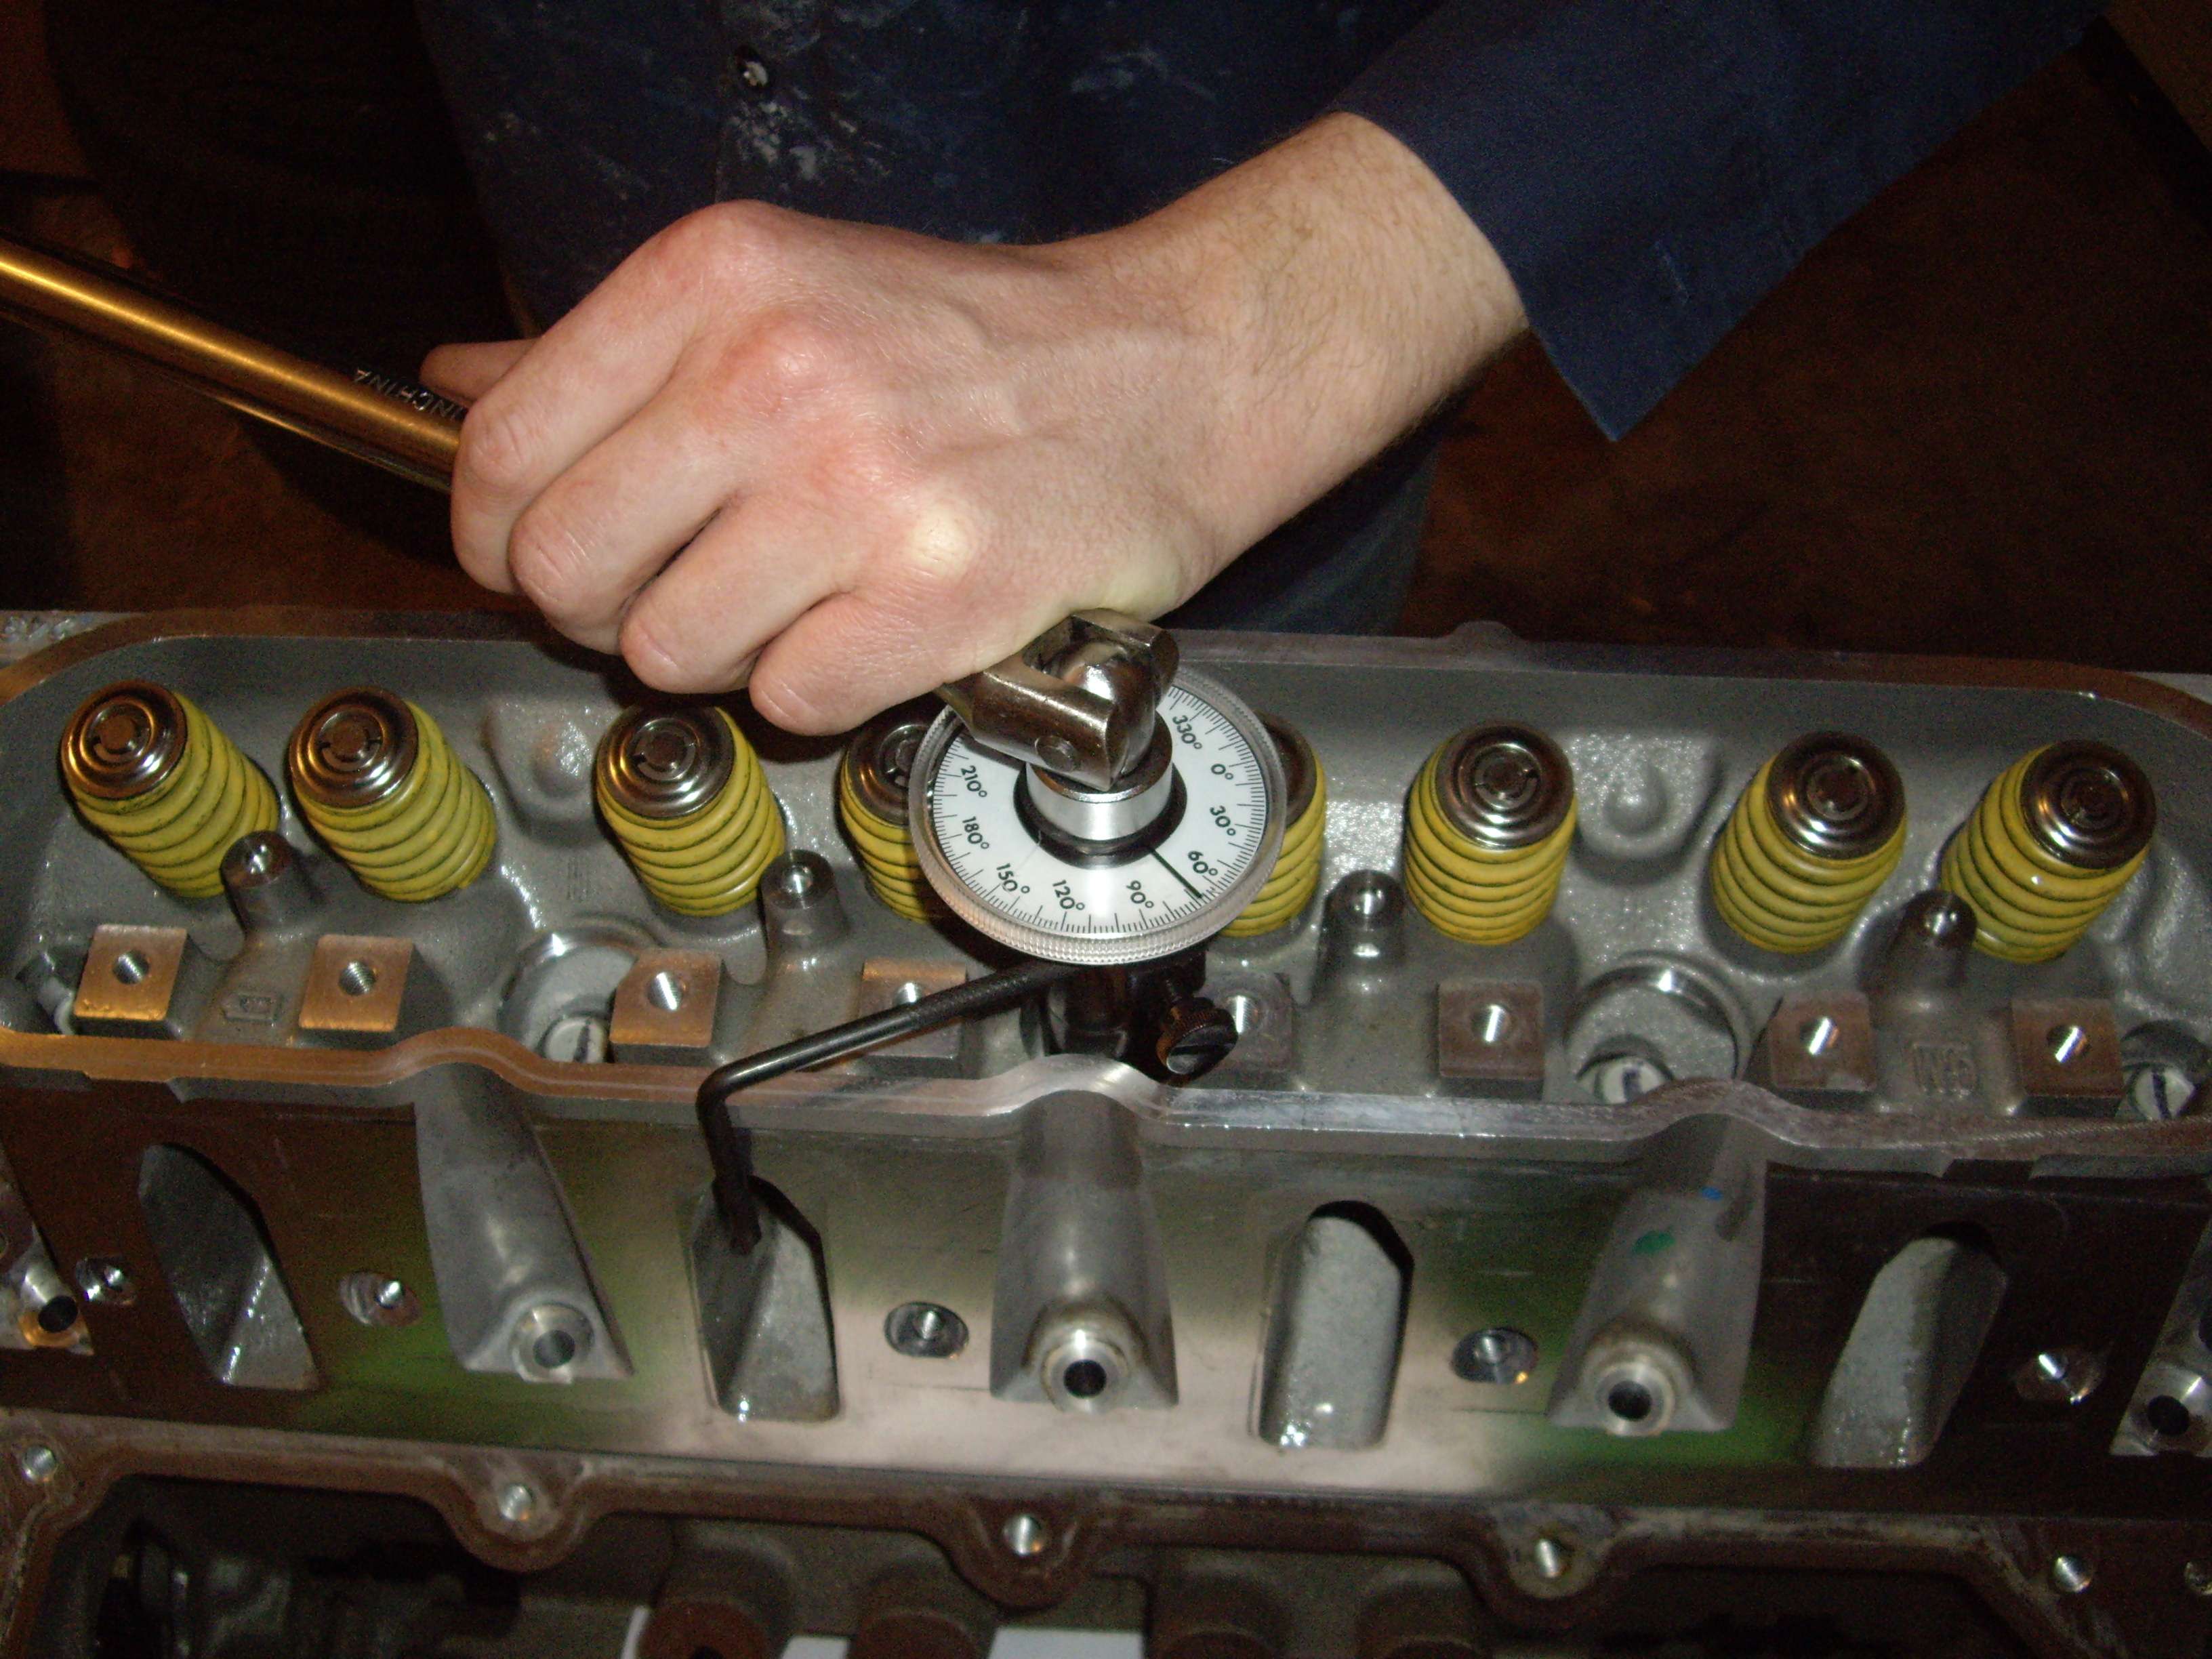
Installing the freshened up heads onto new OEM head gaskets.
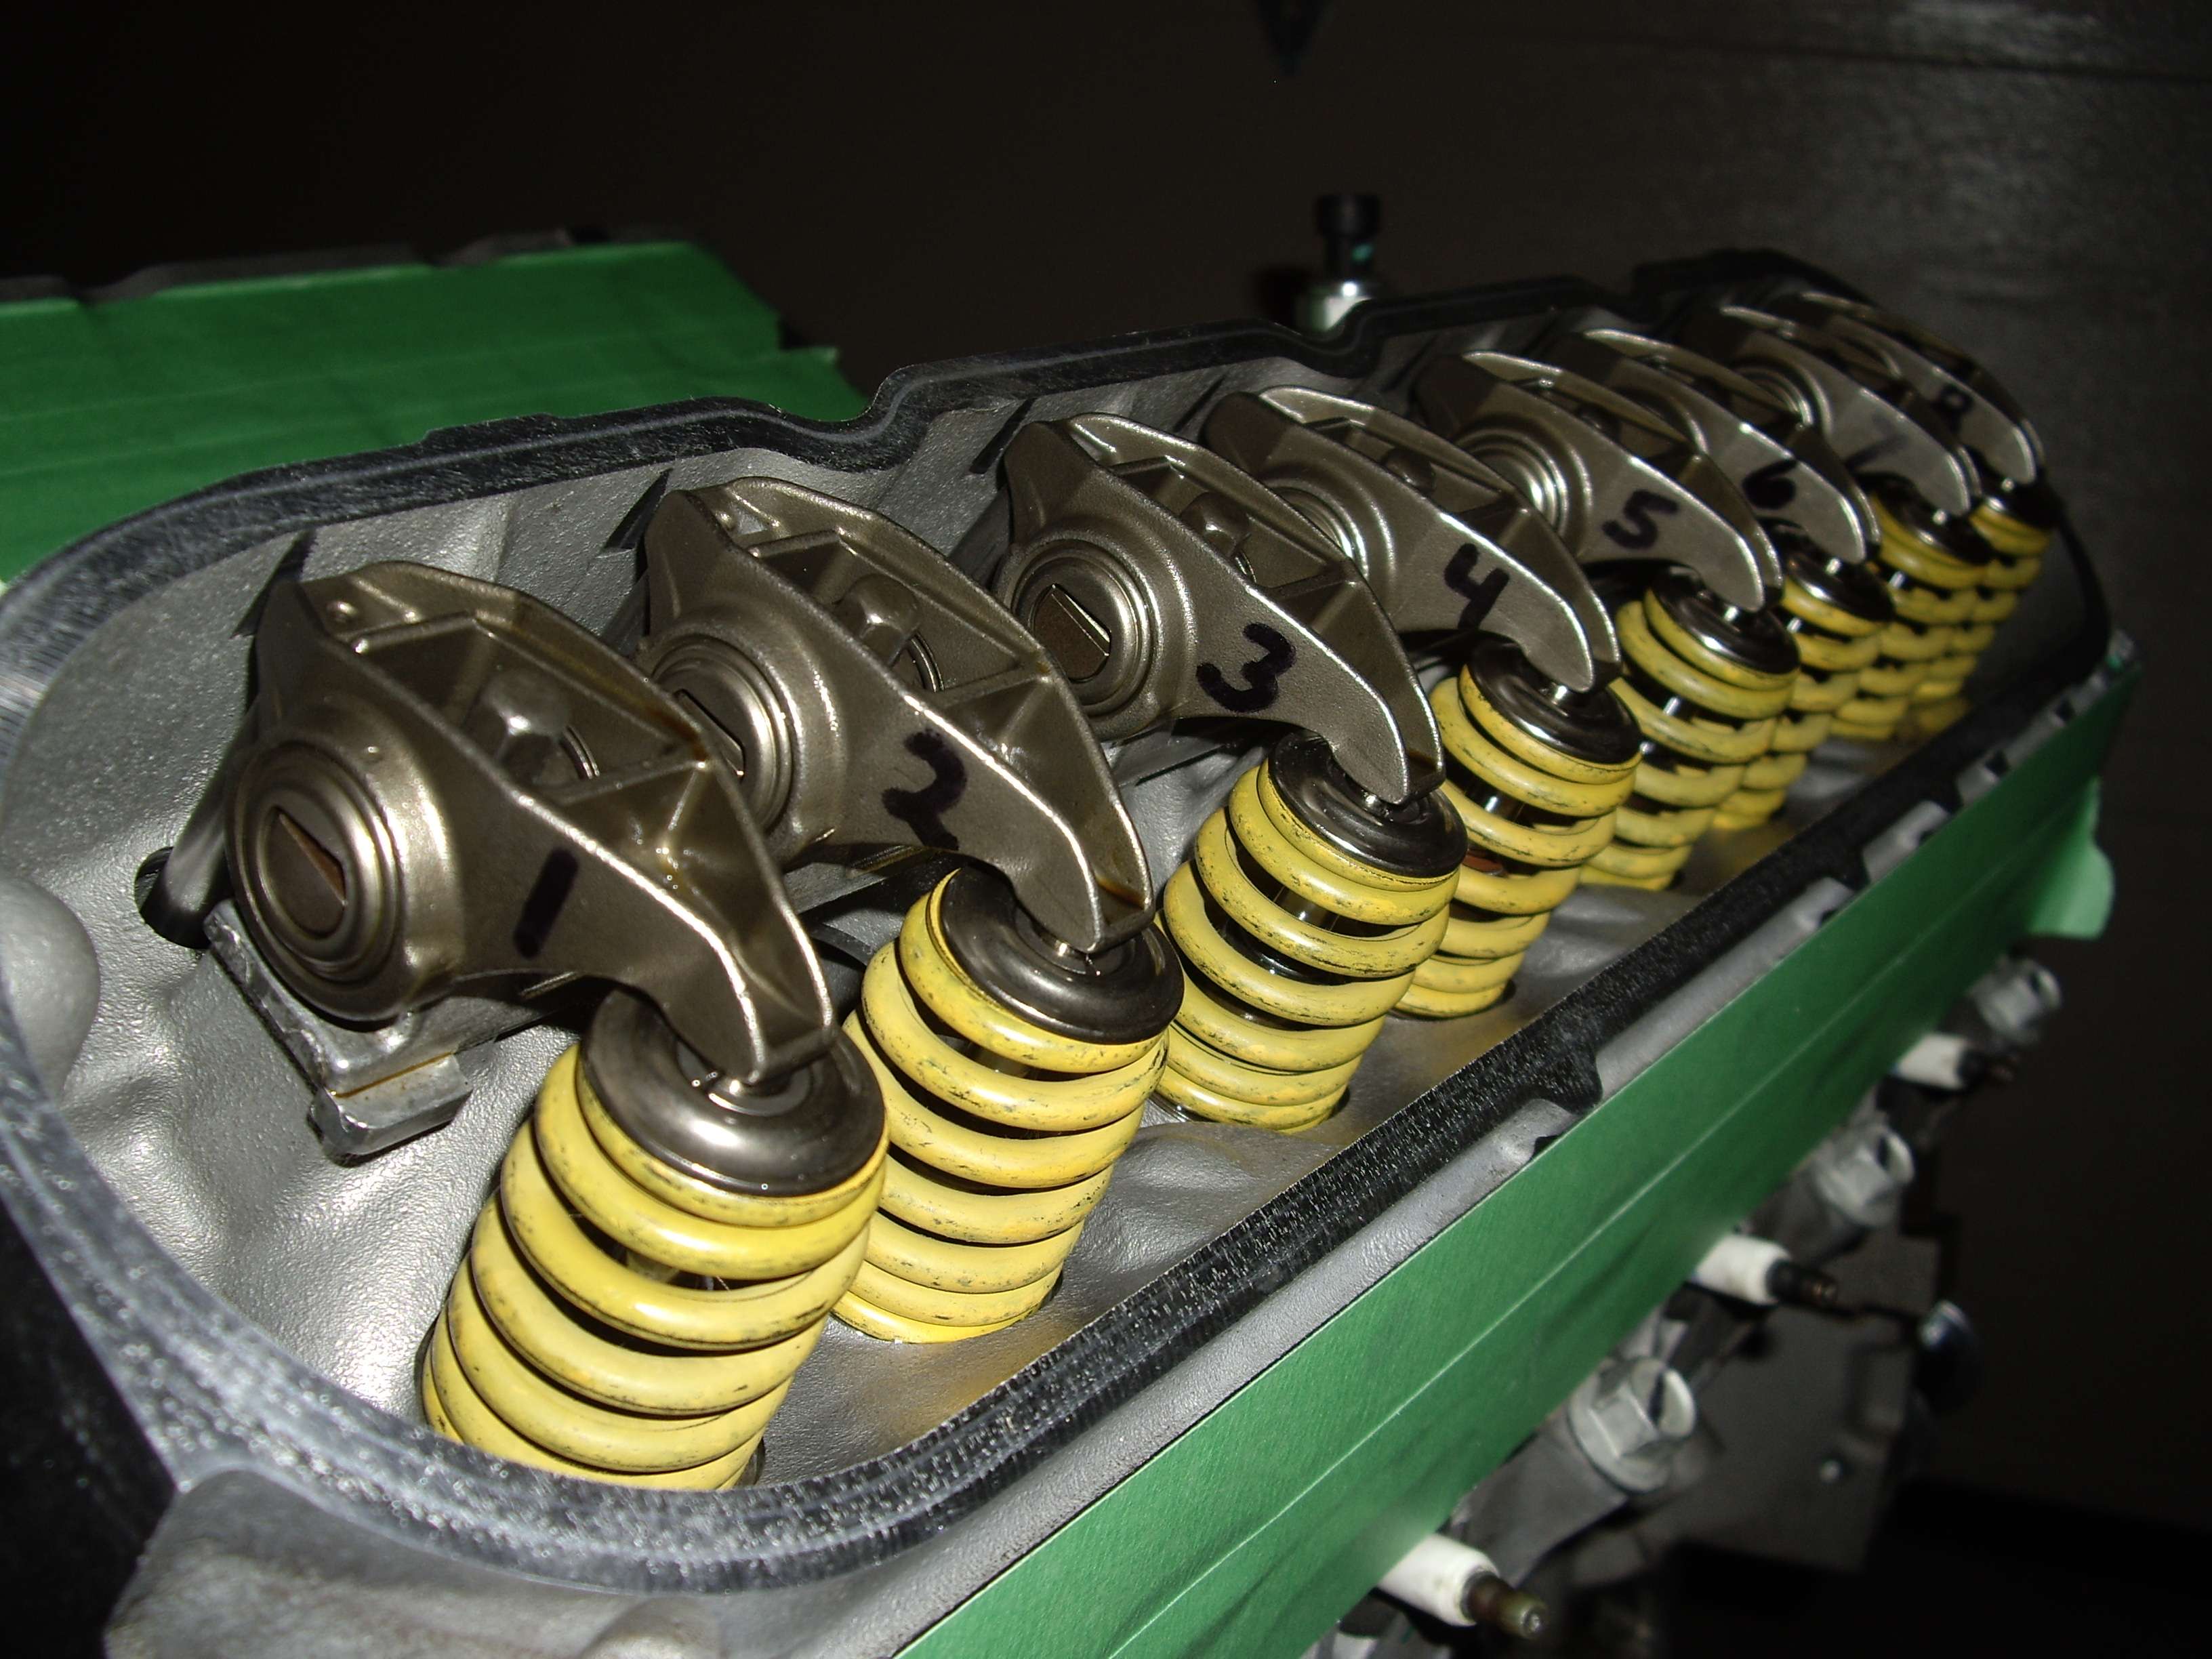
Rockers installed.
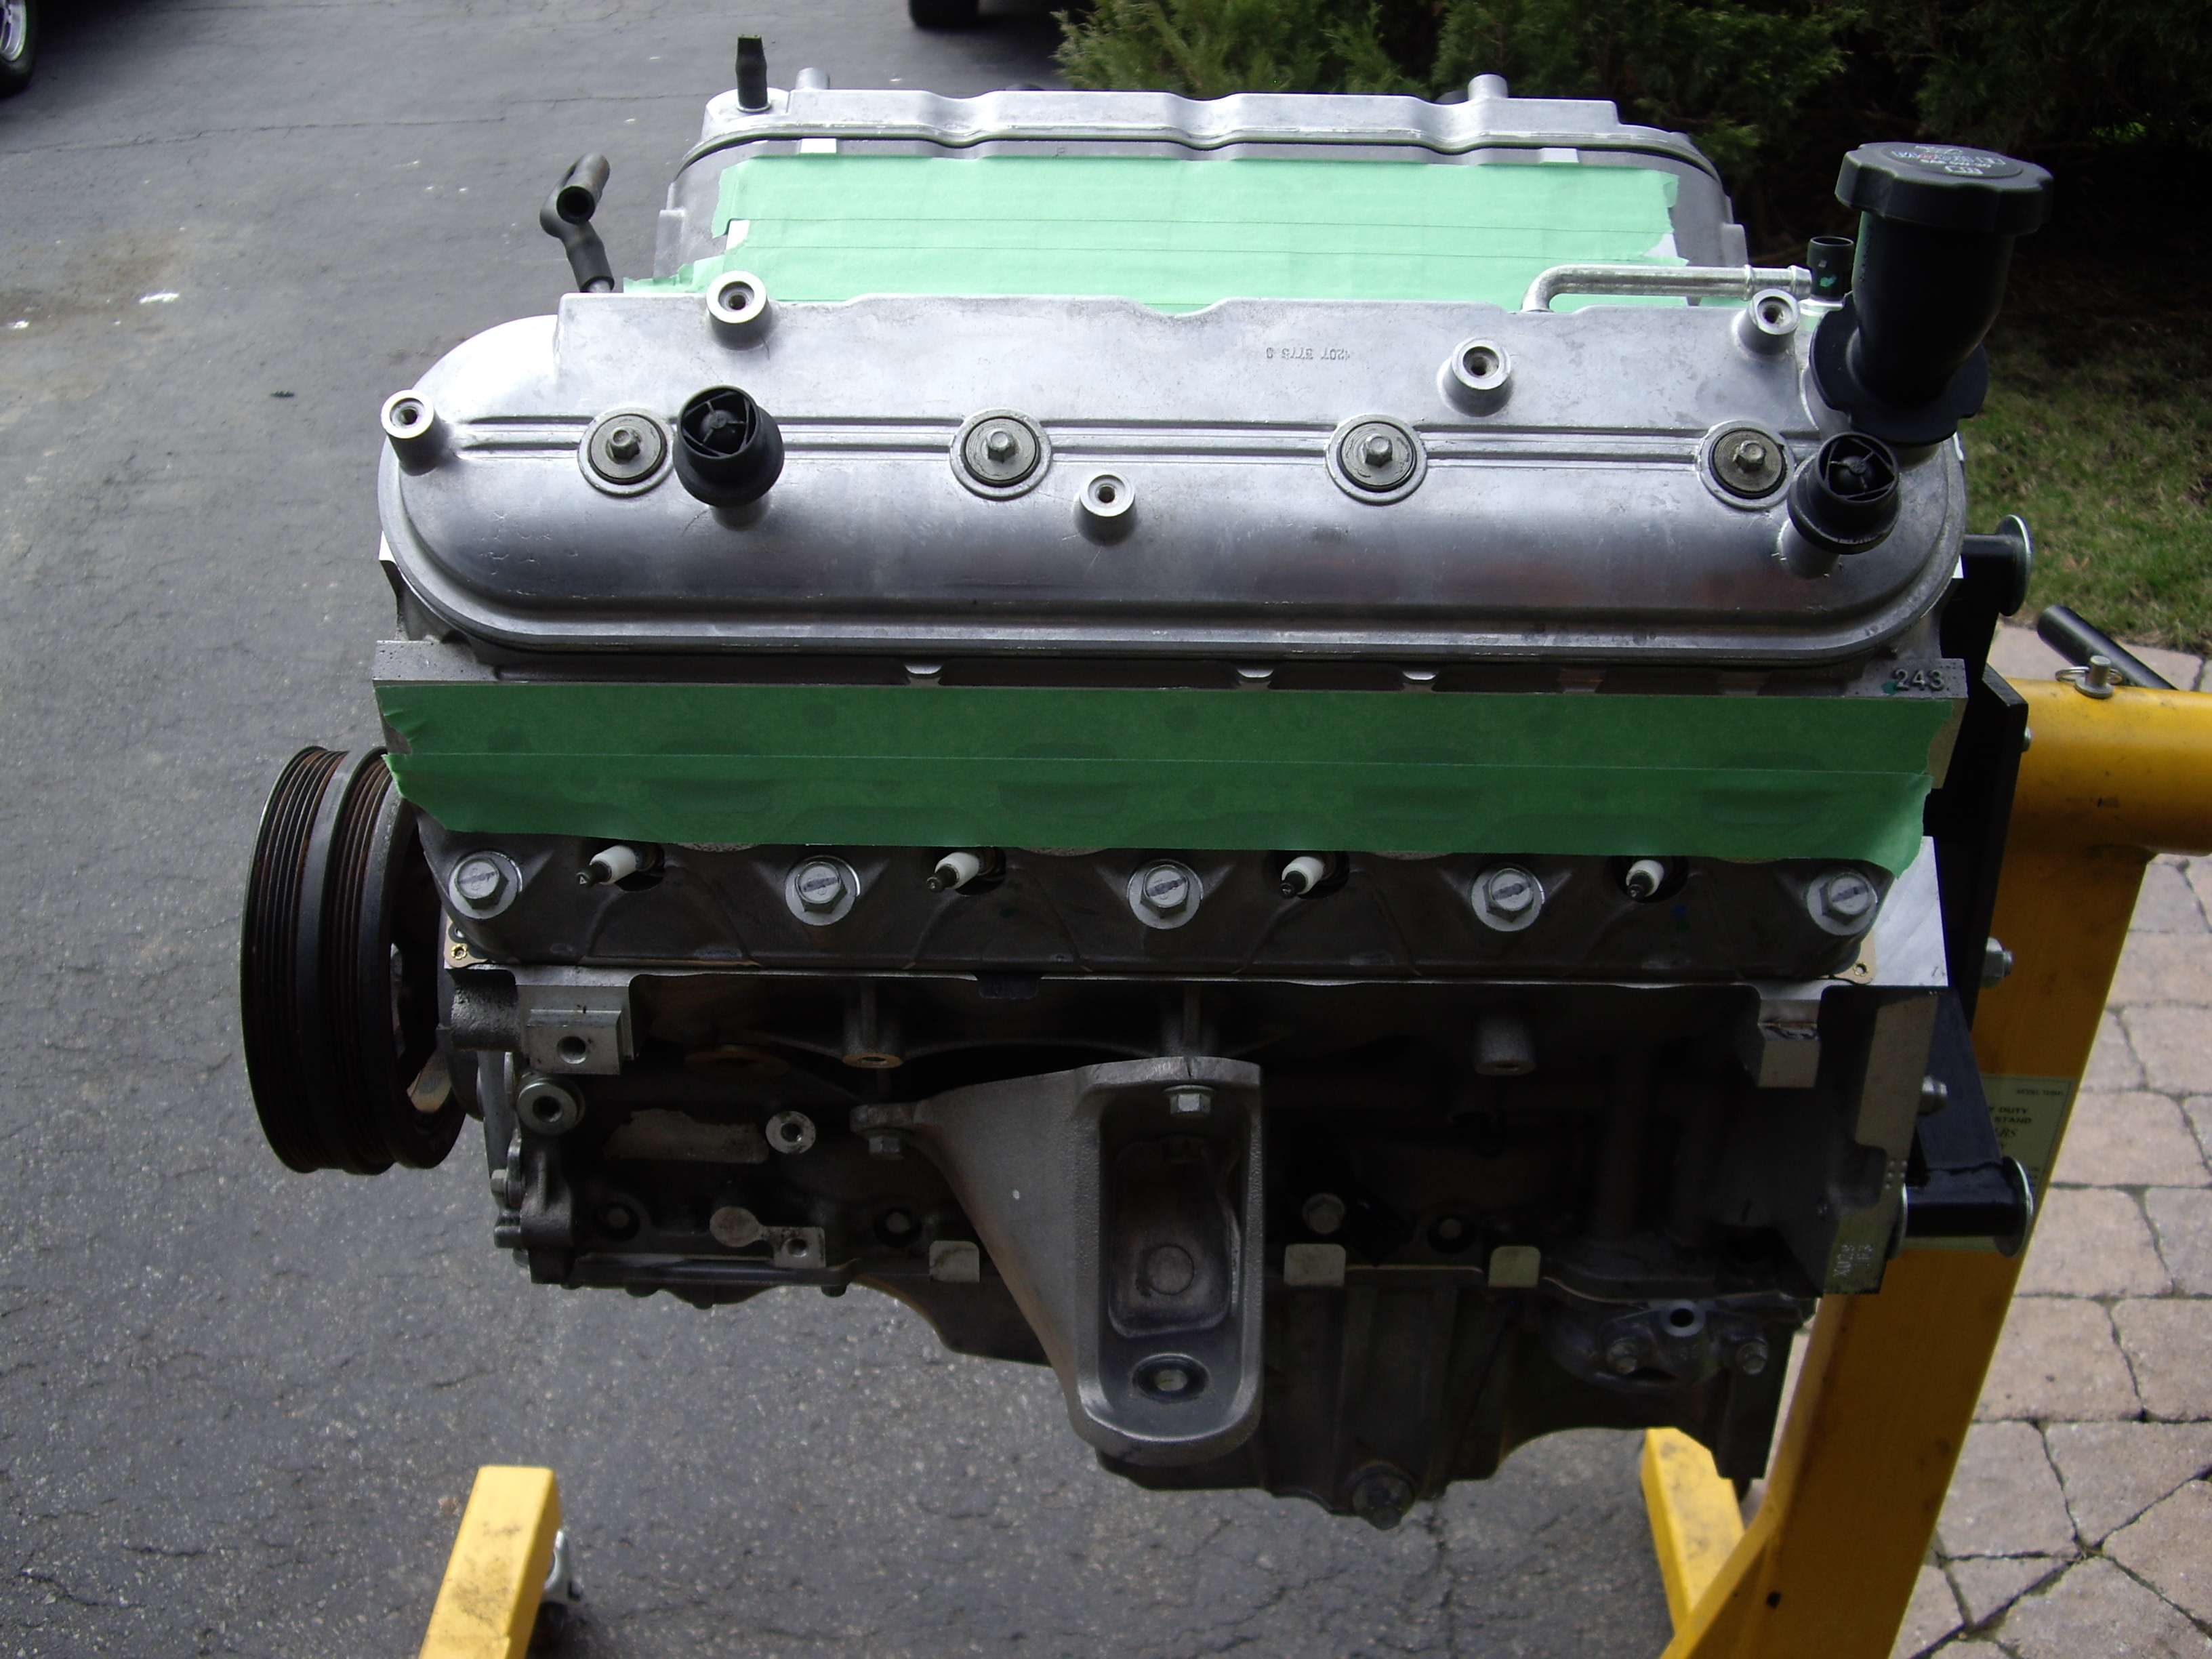
Engine ready.
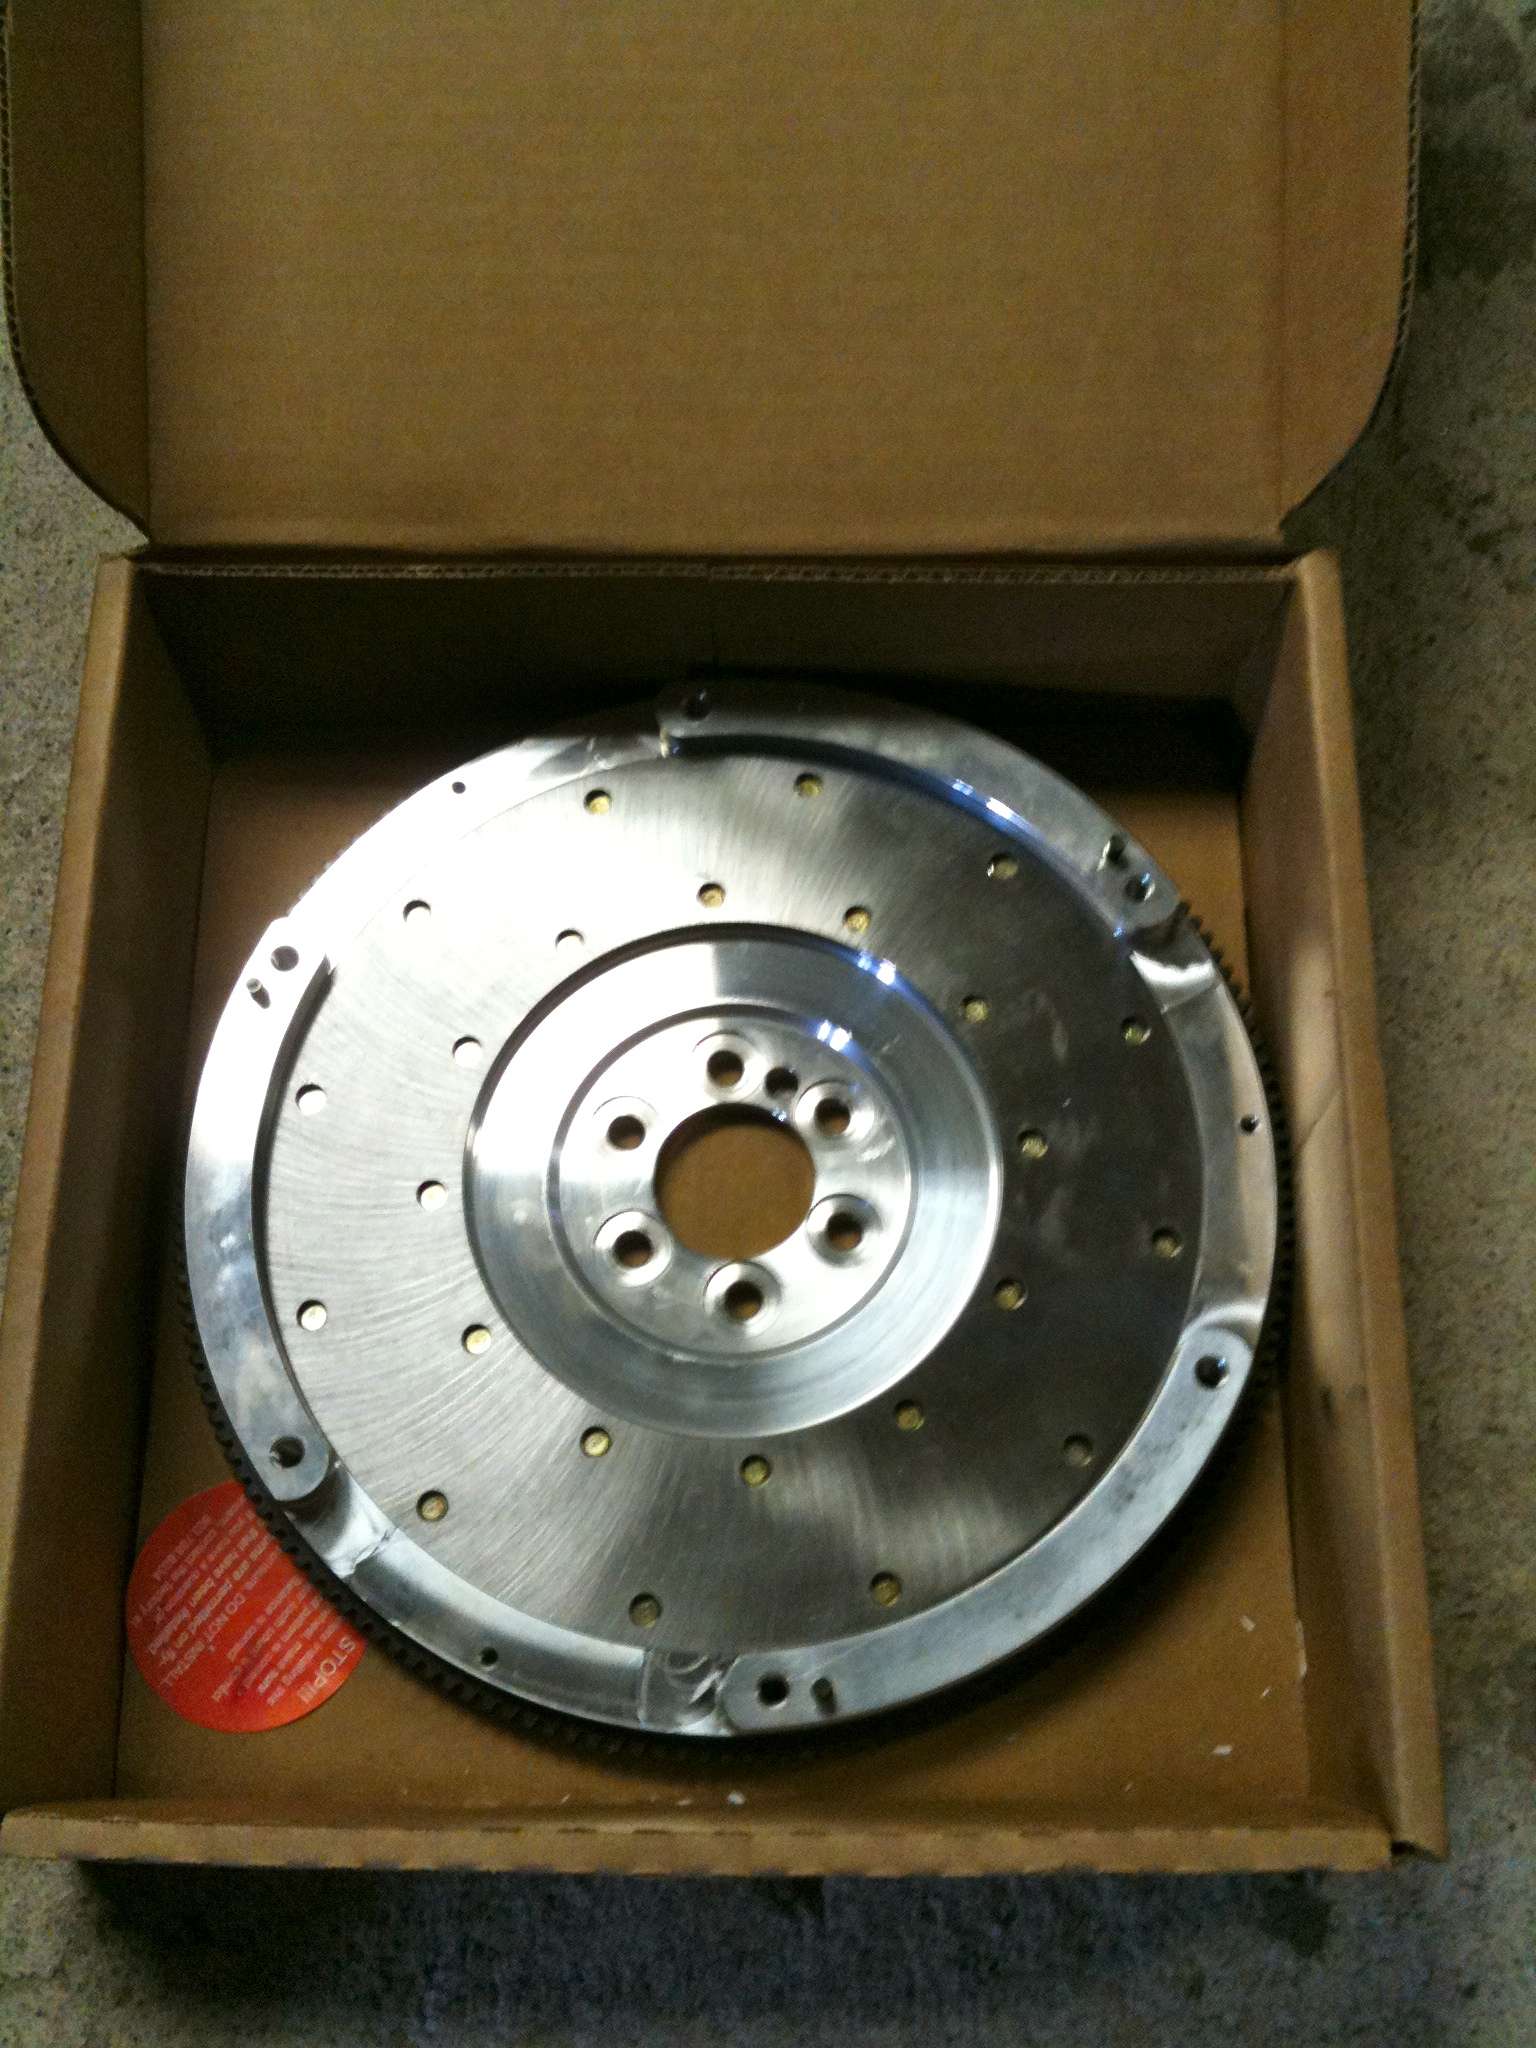
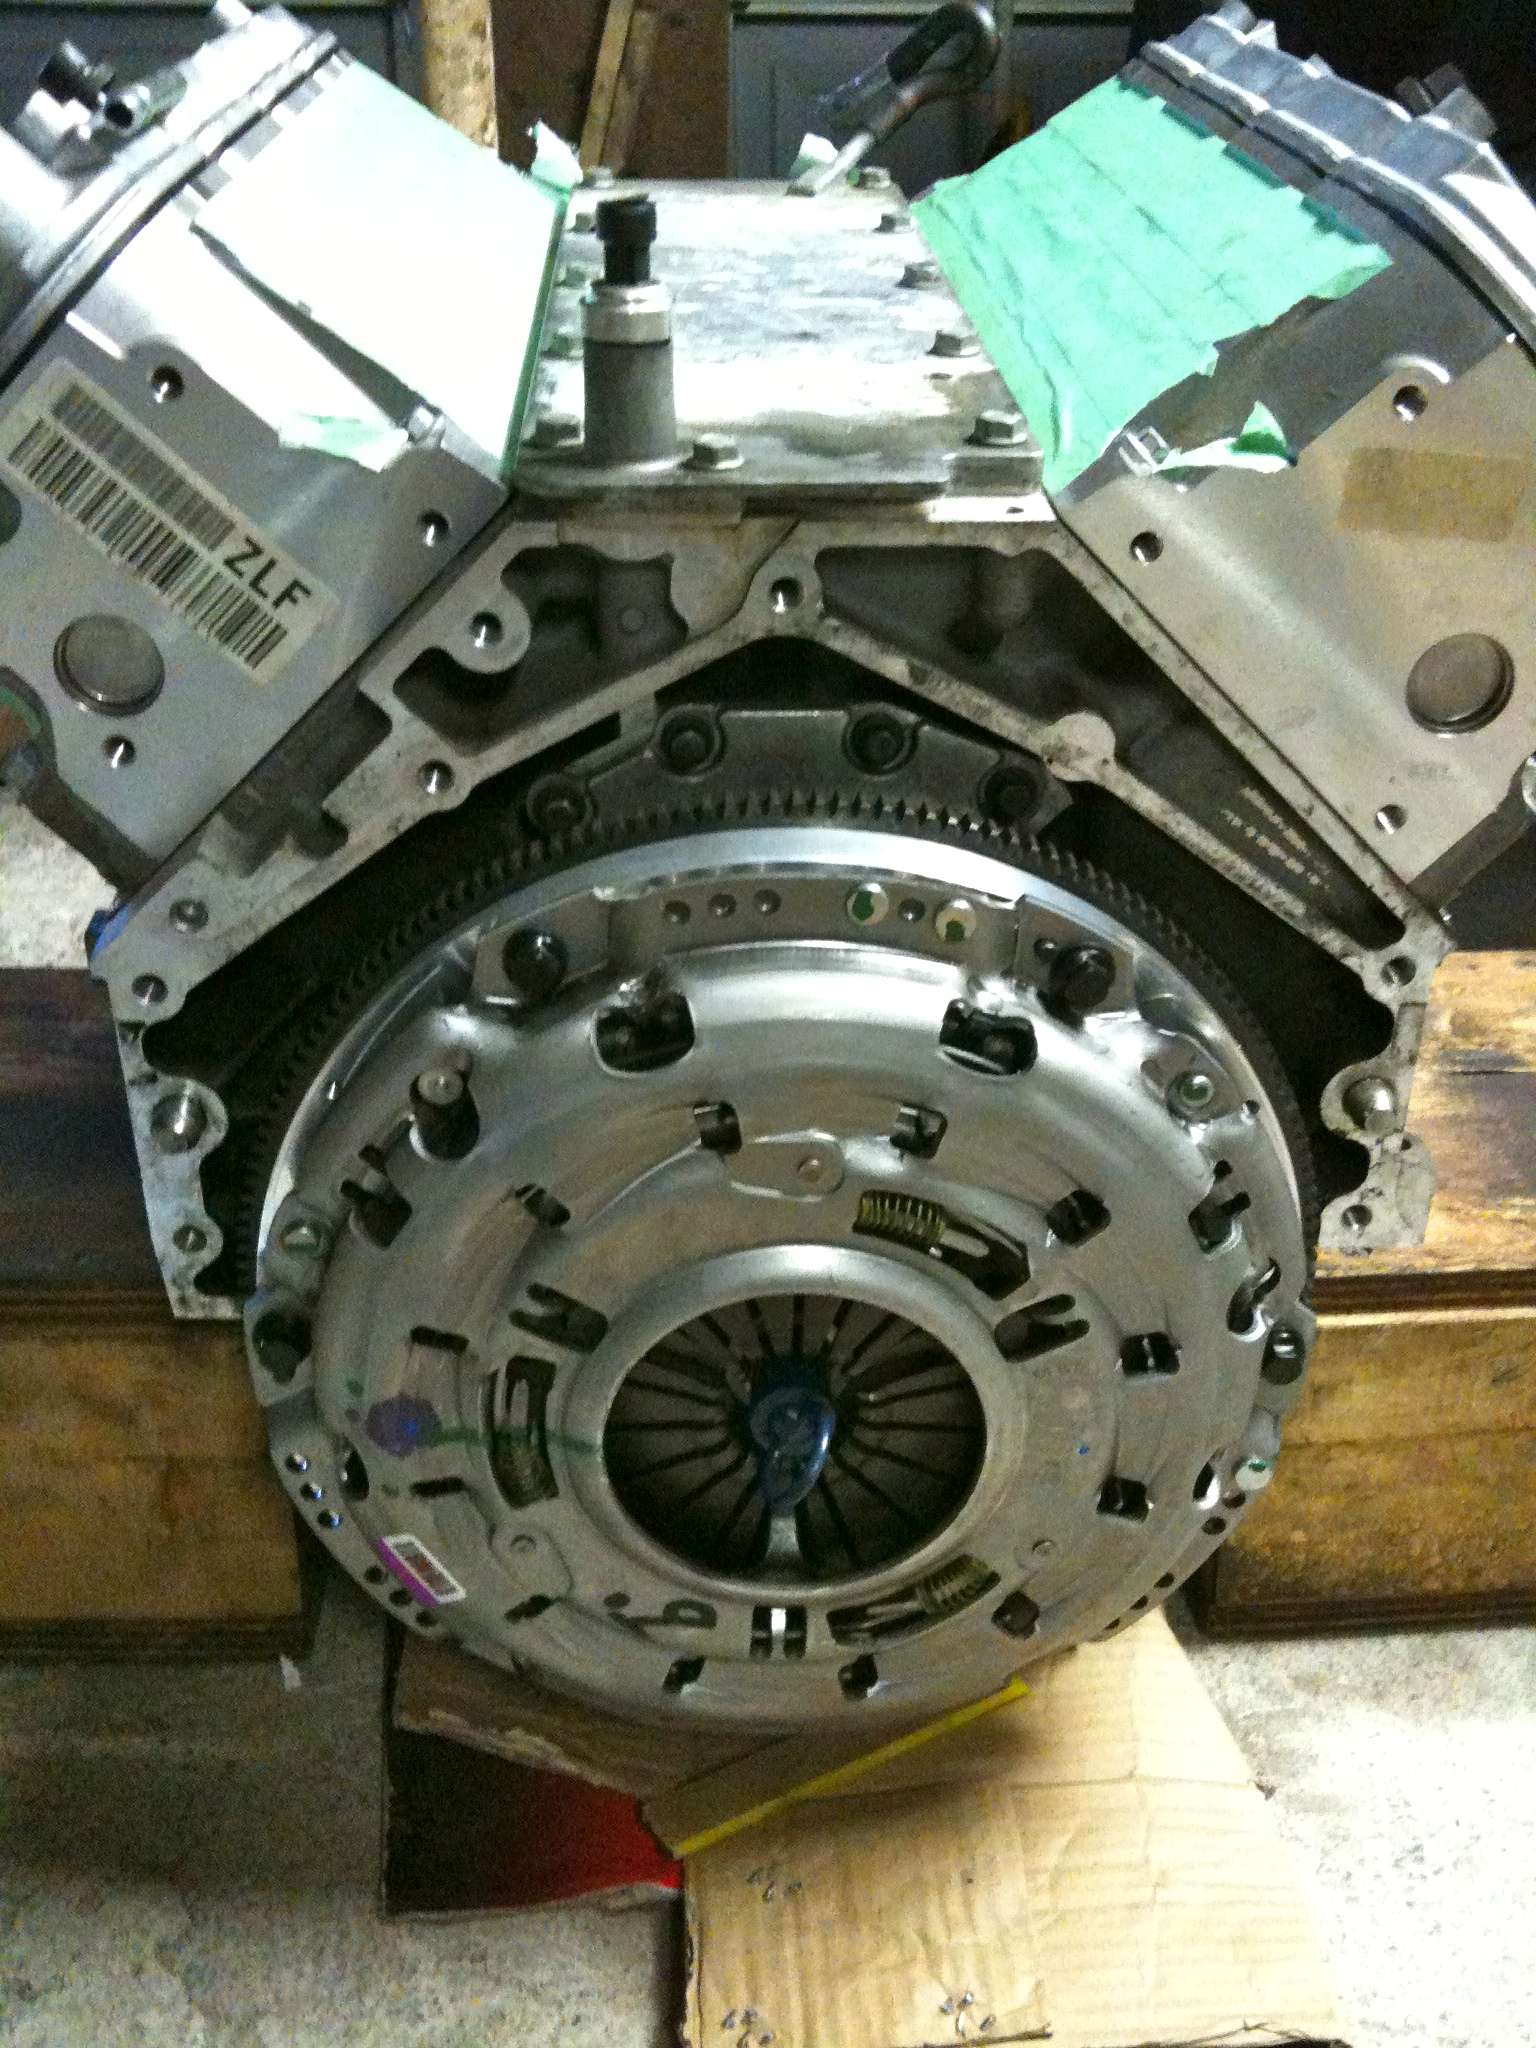
RAM aluminum LS7 flywheel
Flywheel installed with ARP bolts.
Disk installed

Pressure plate installed with ARP bolts.
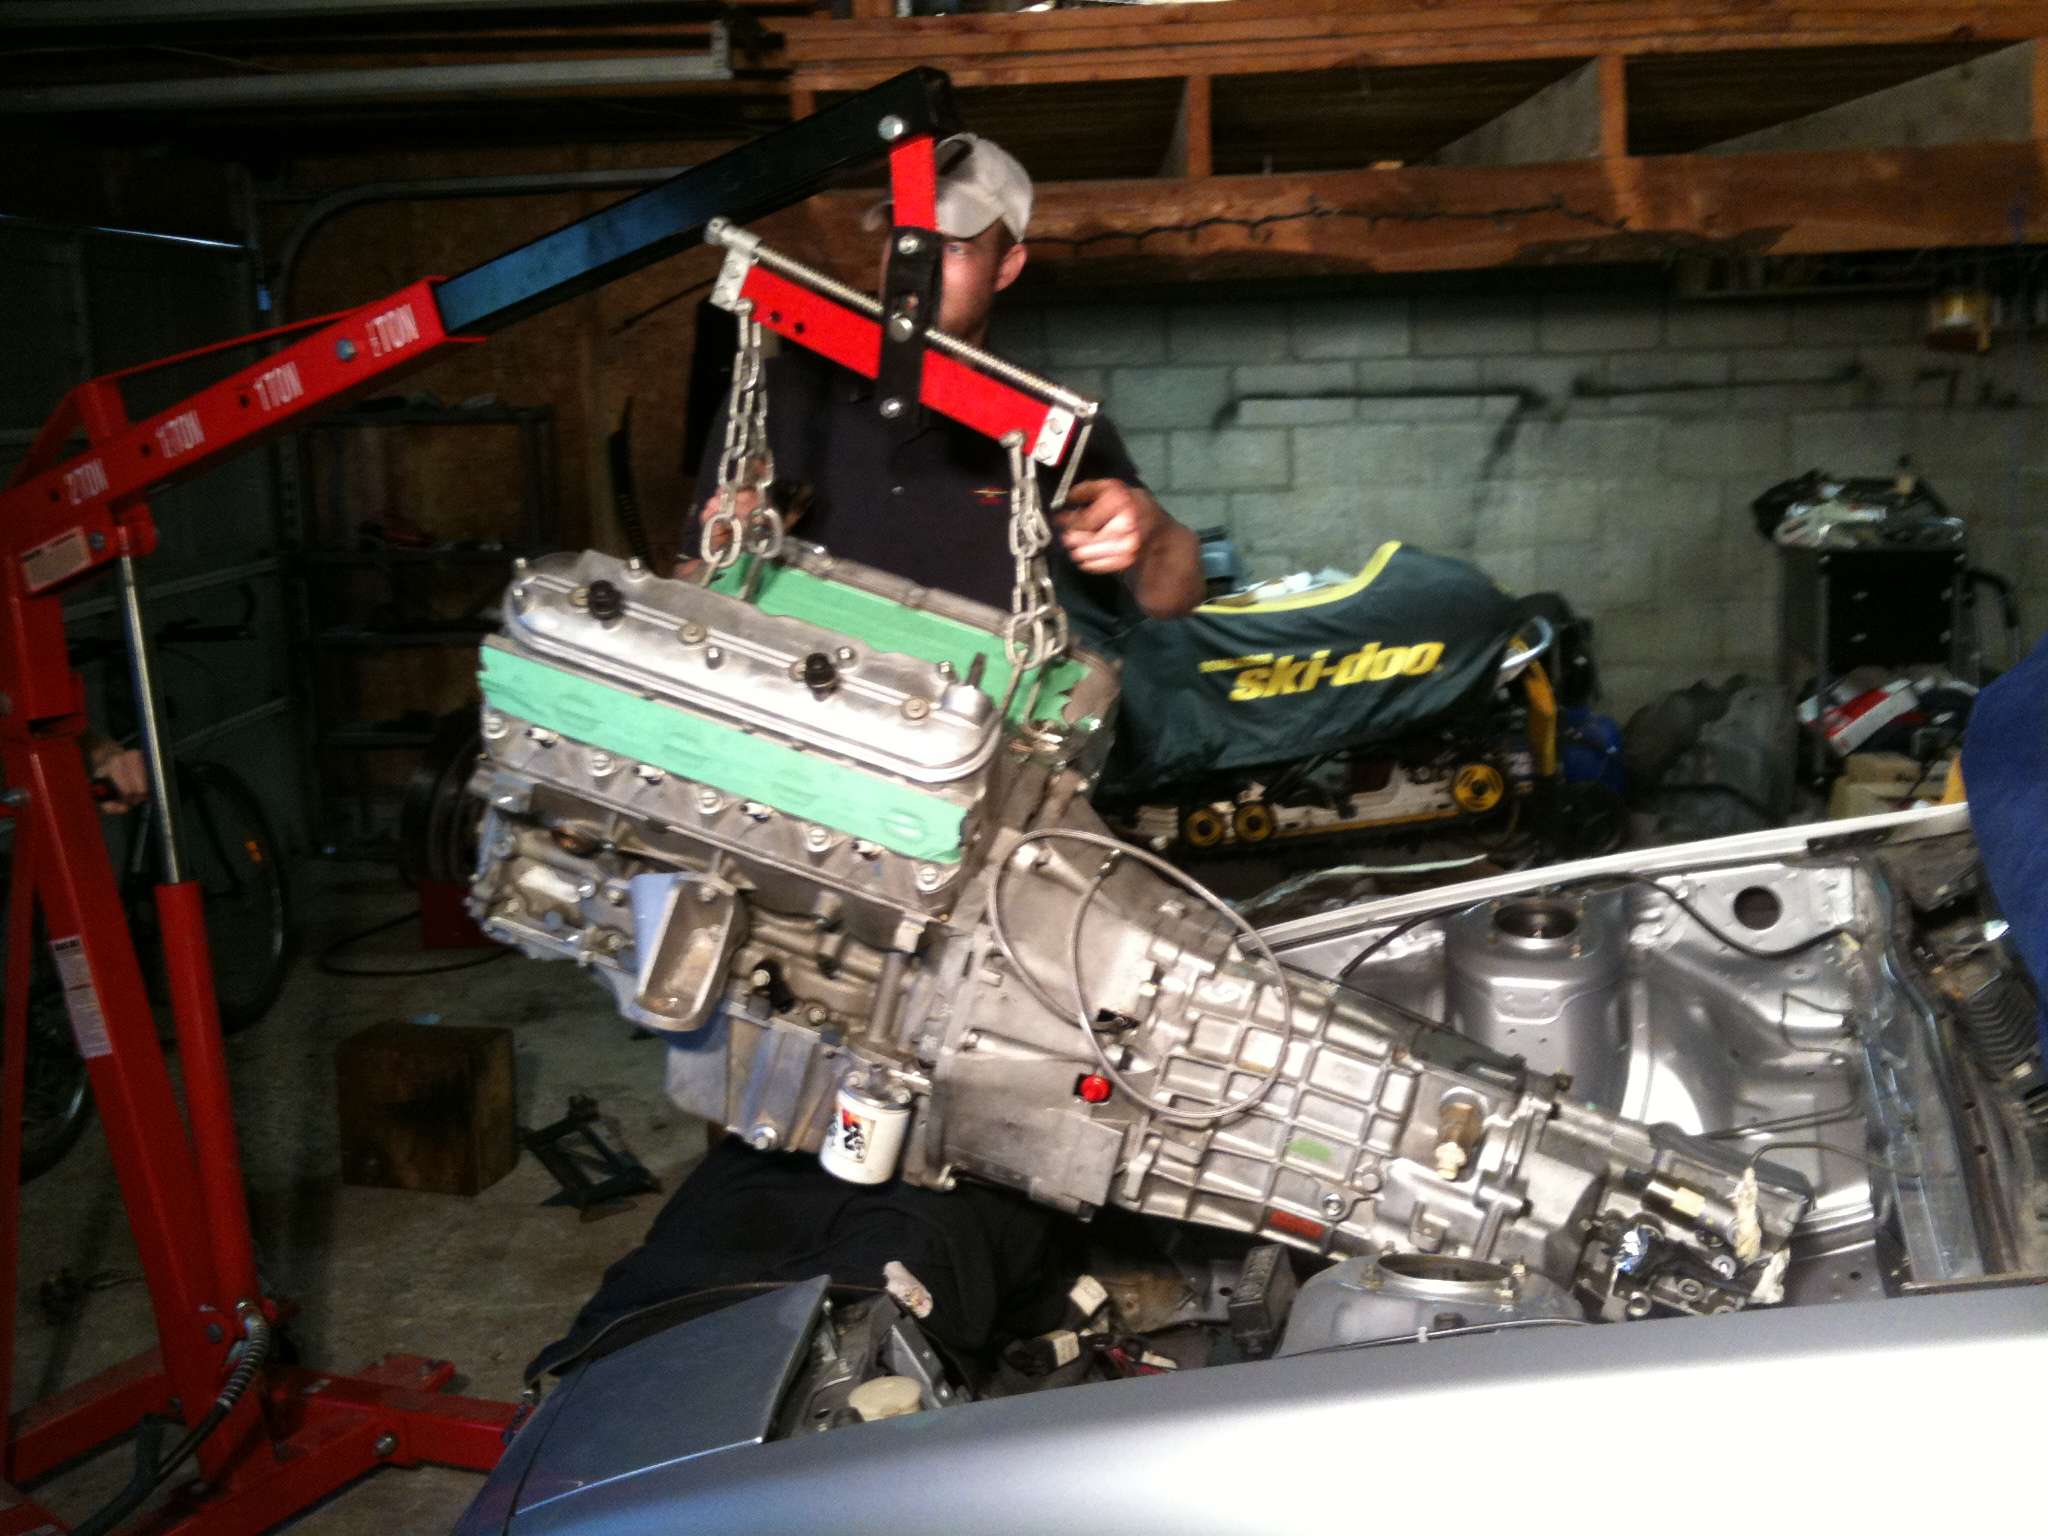
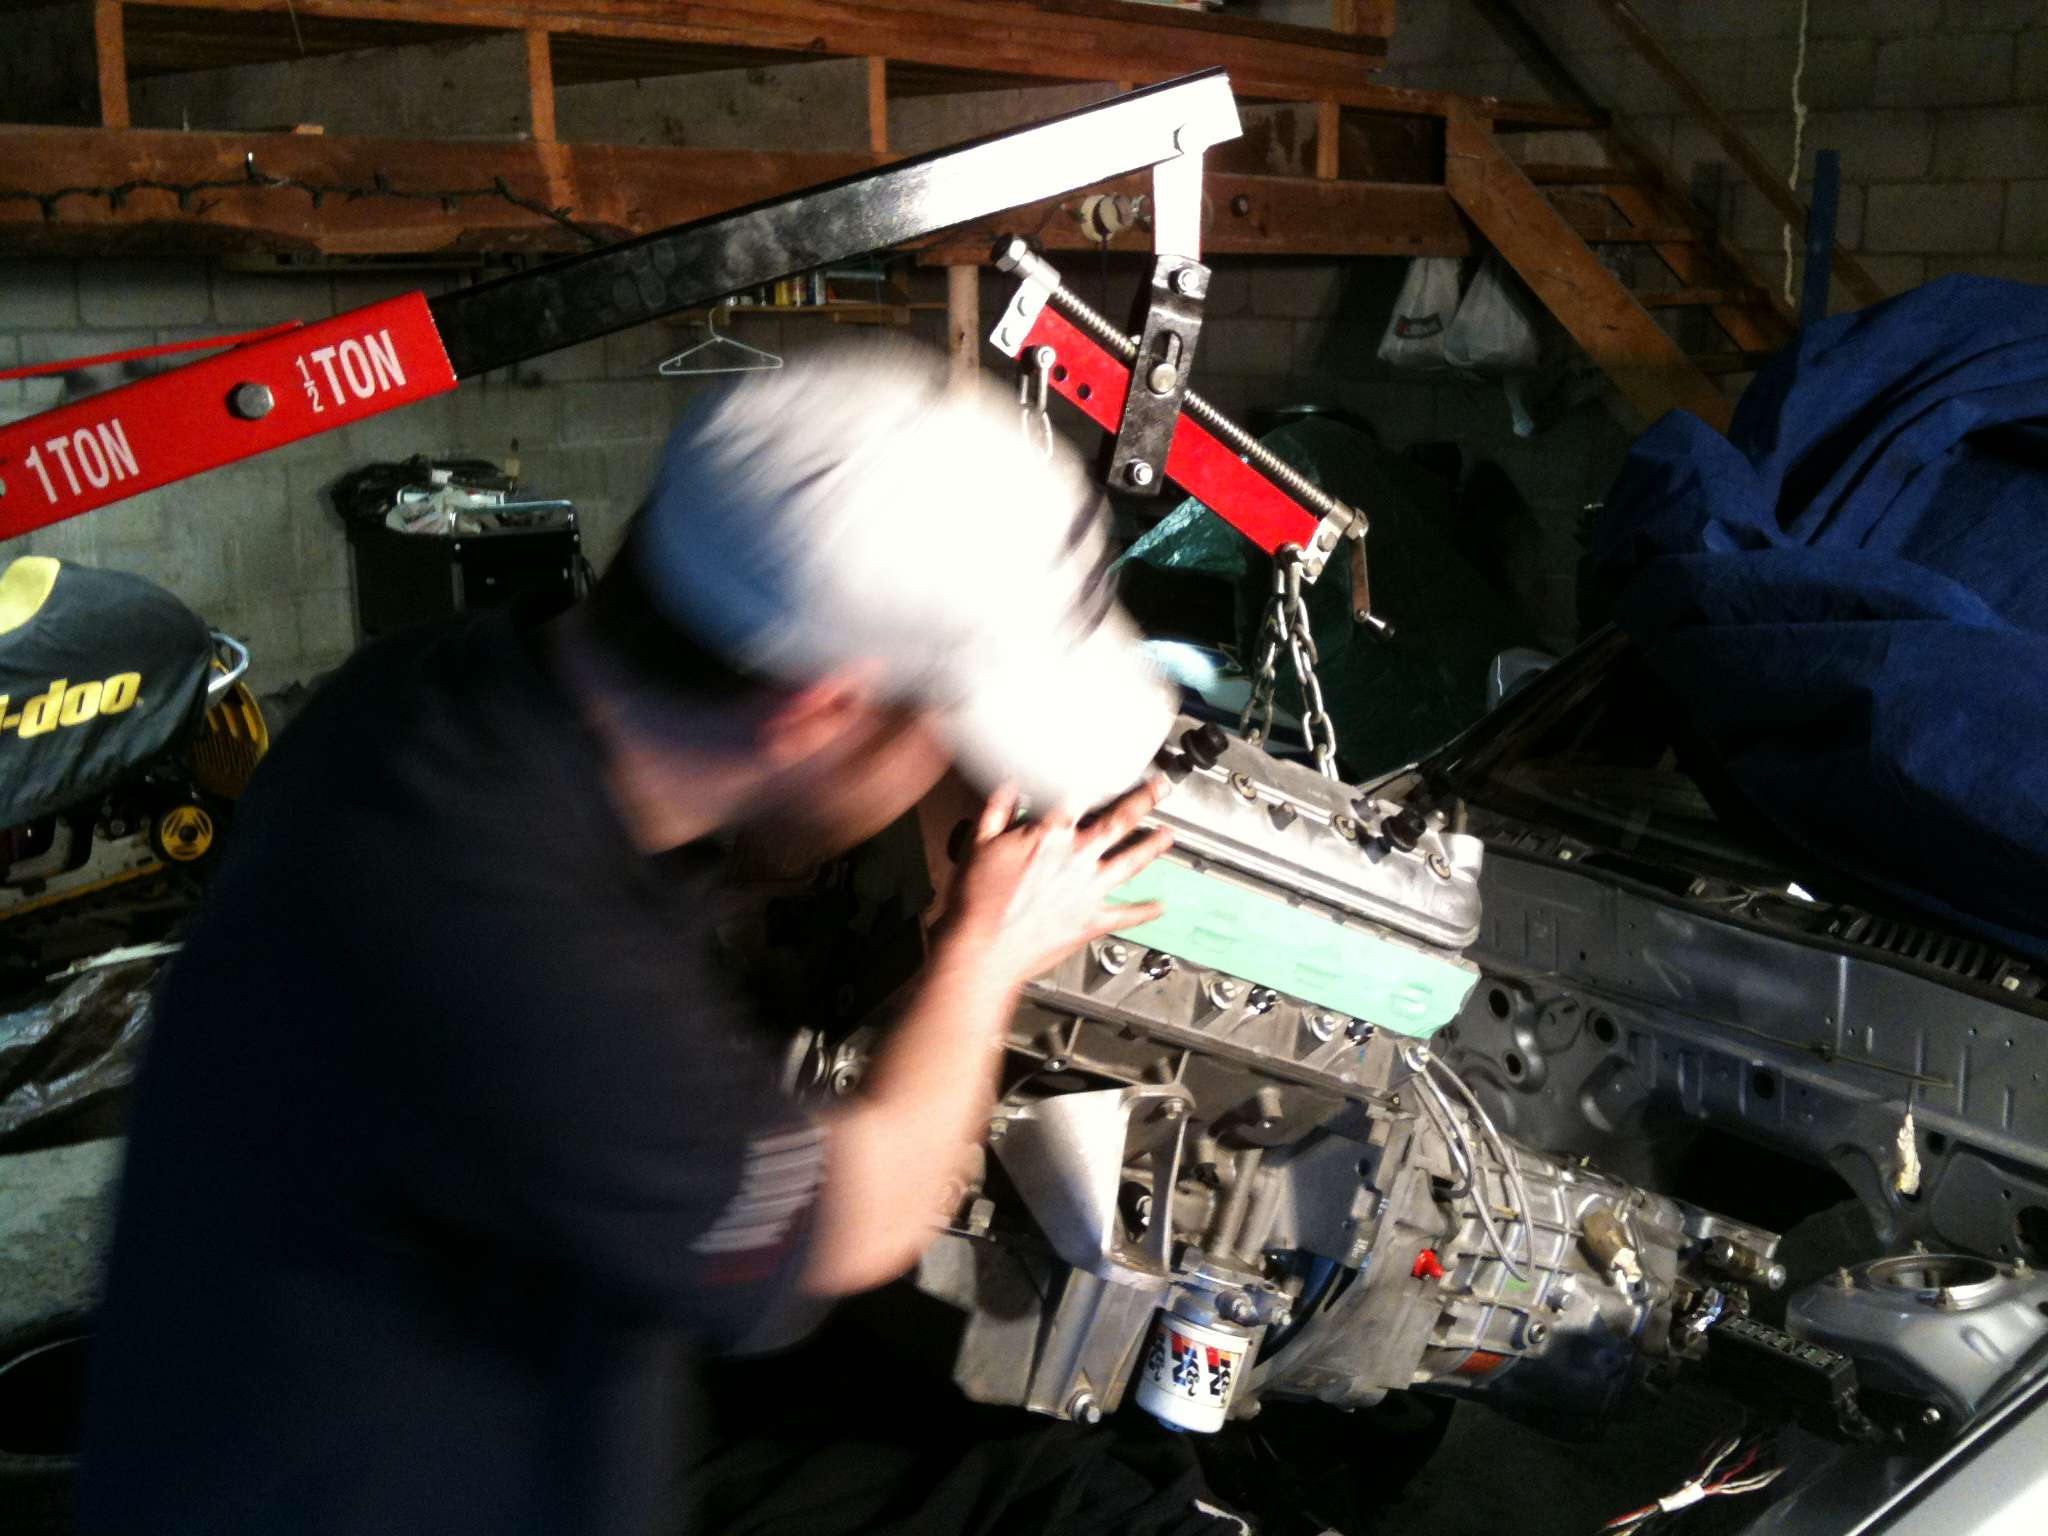
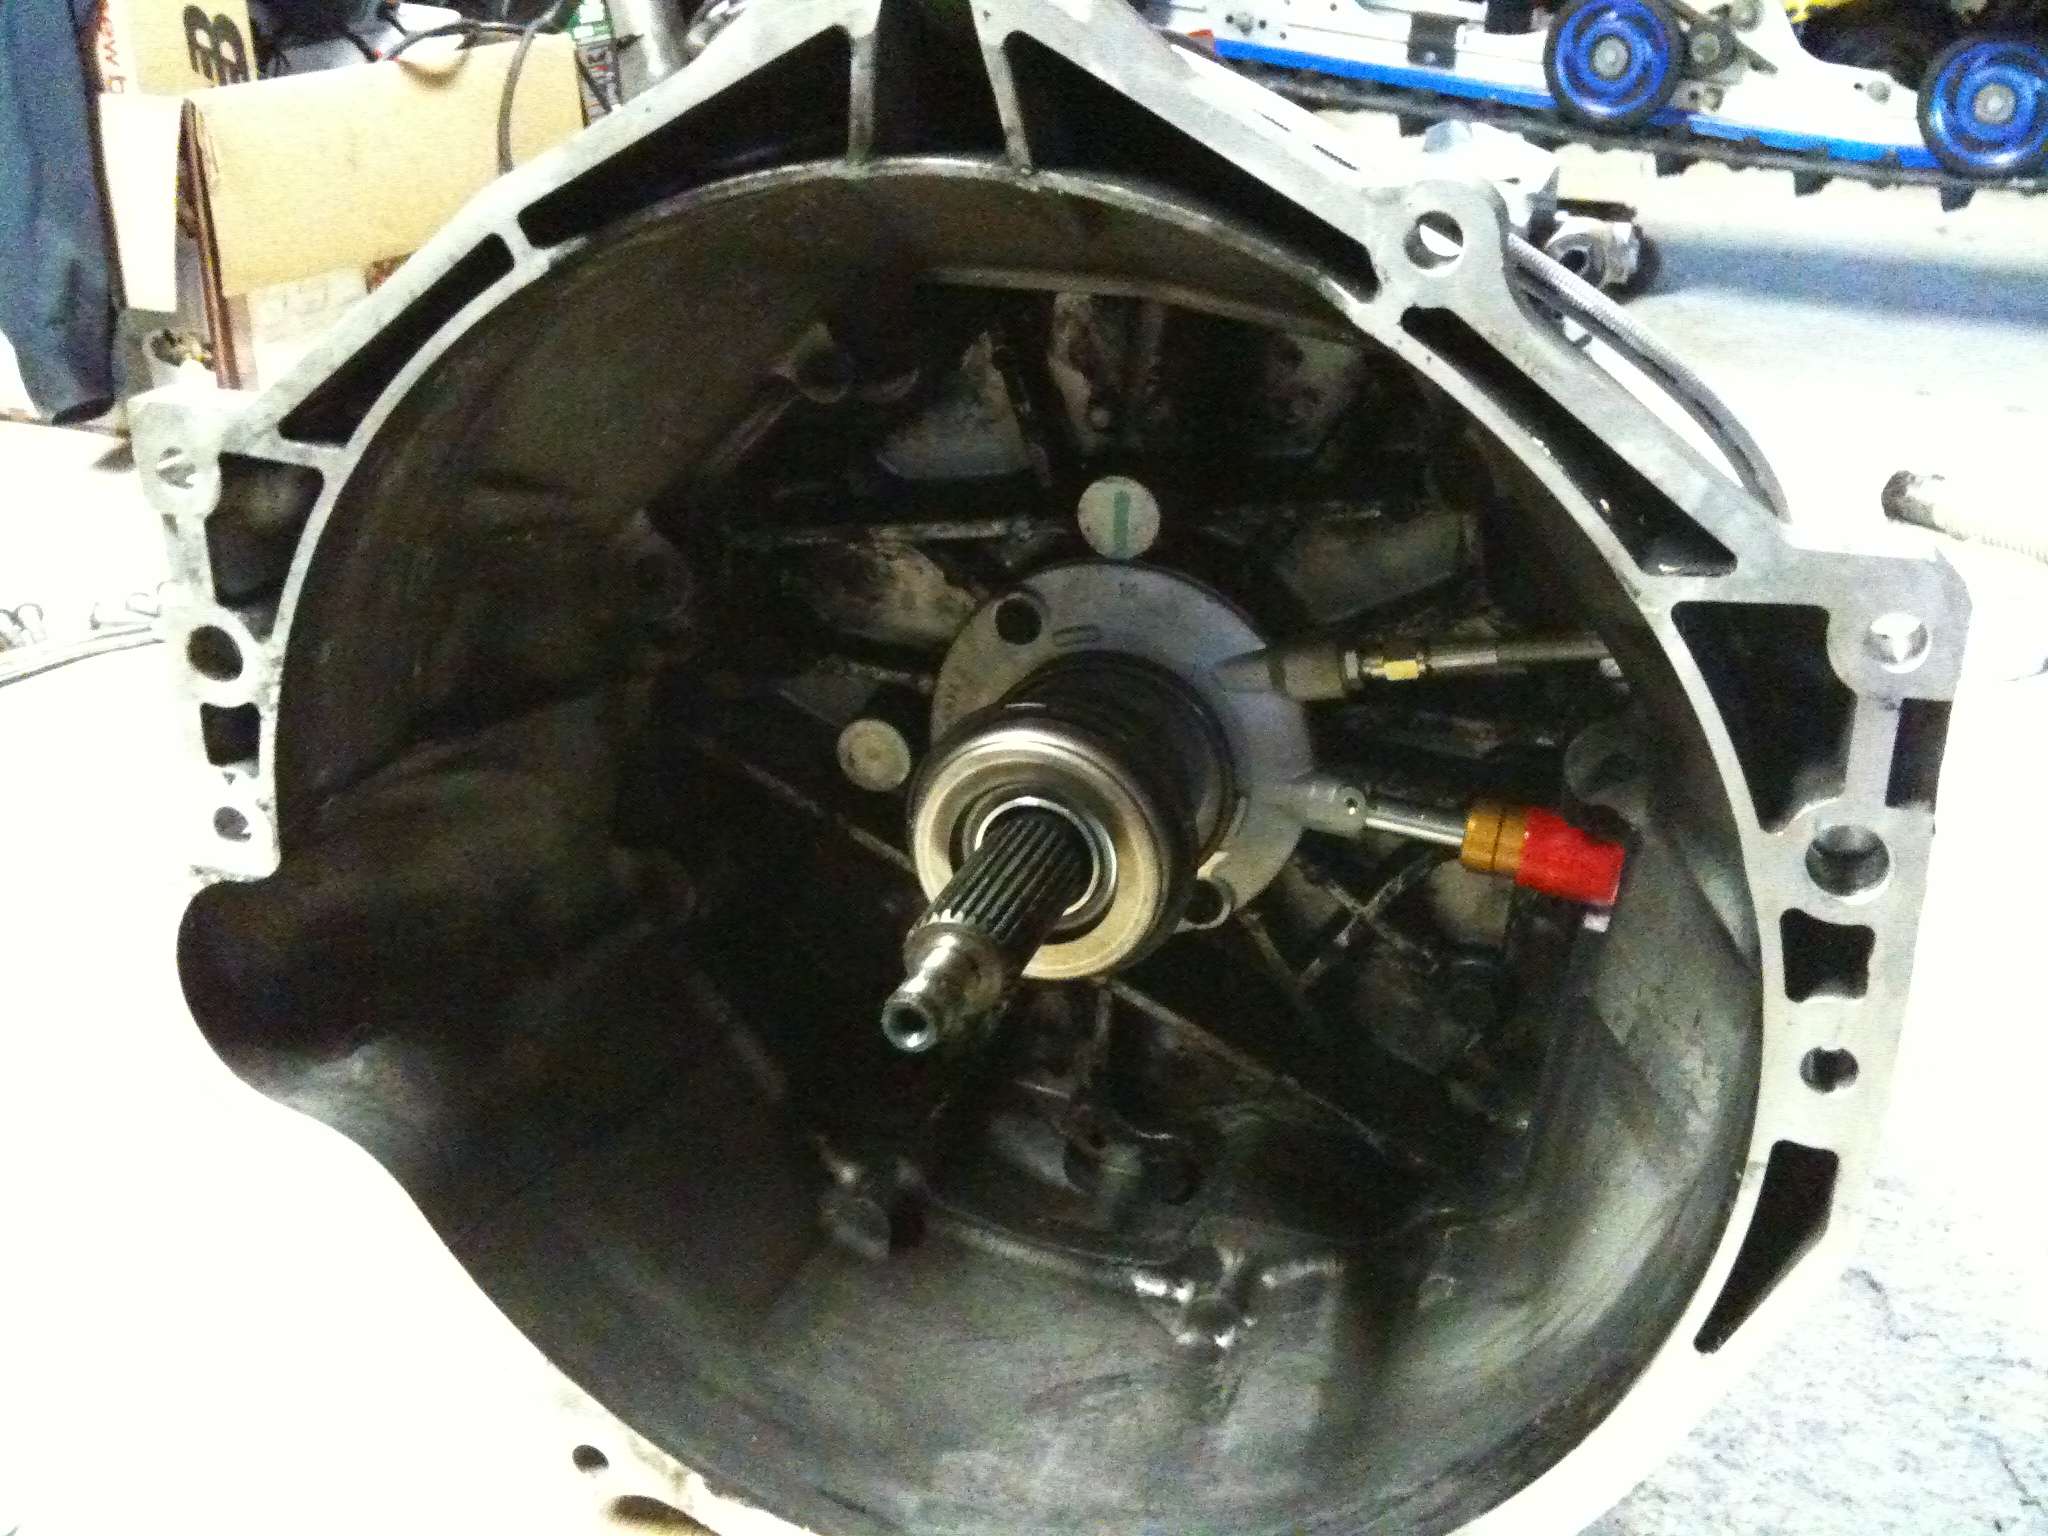
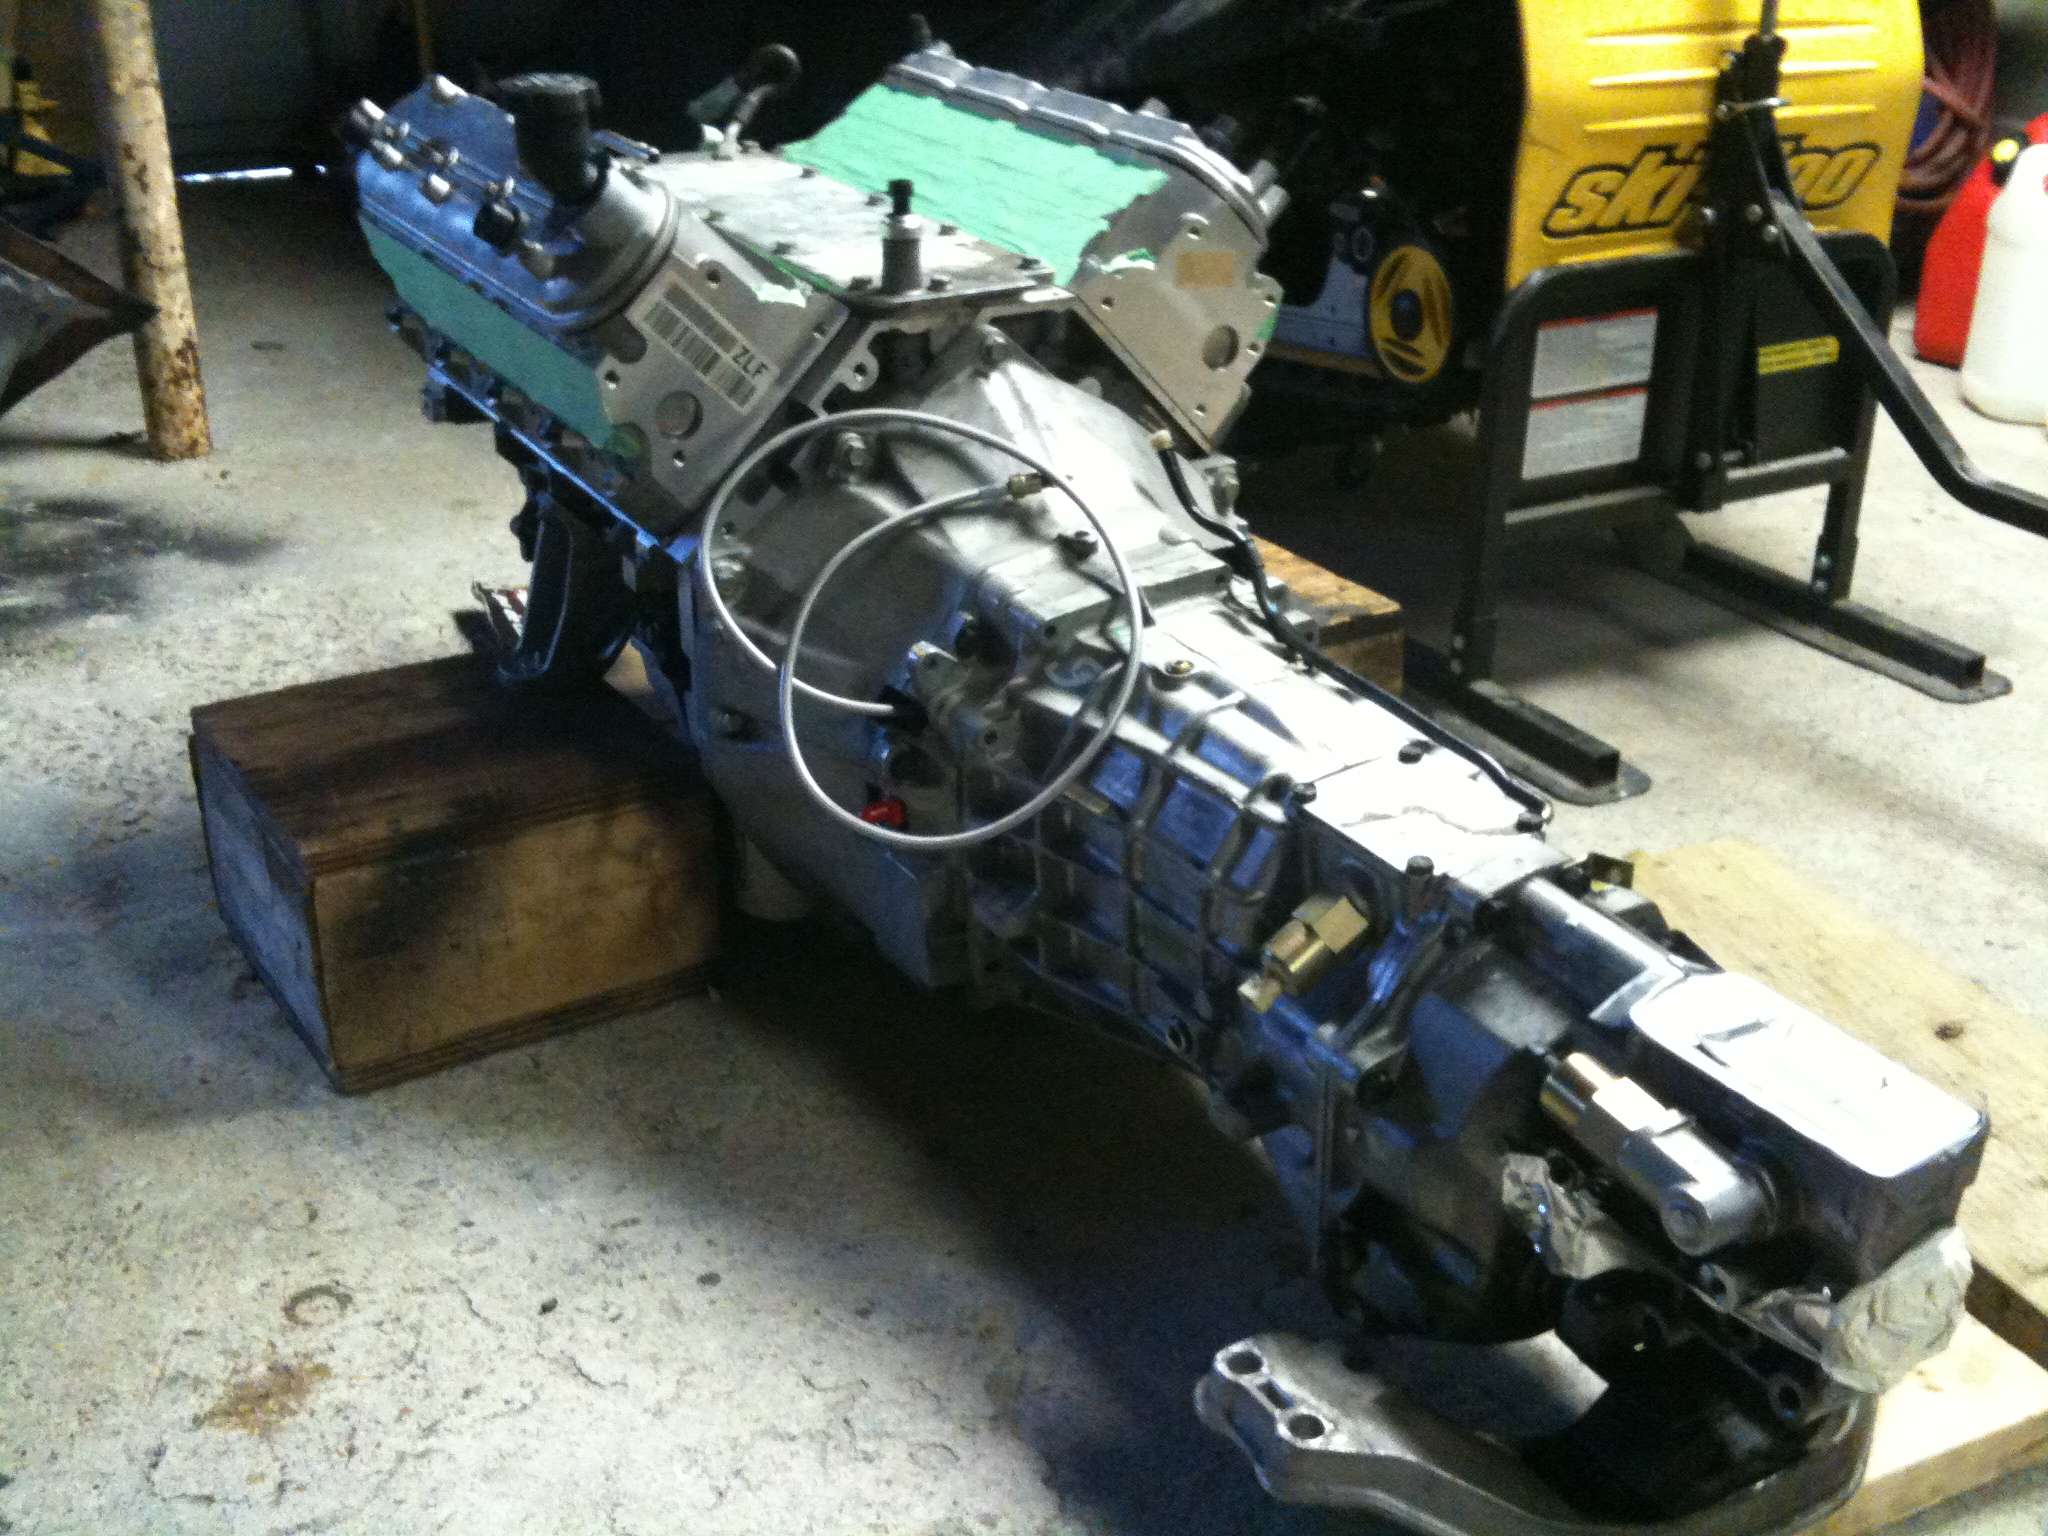
T56 6 Speed tranny ready to bolt to the engine with the new slave and release bearing. I also opted to install a tick performance remote bleeder to make bleeding the clutch a little easier.
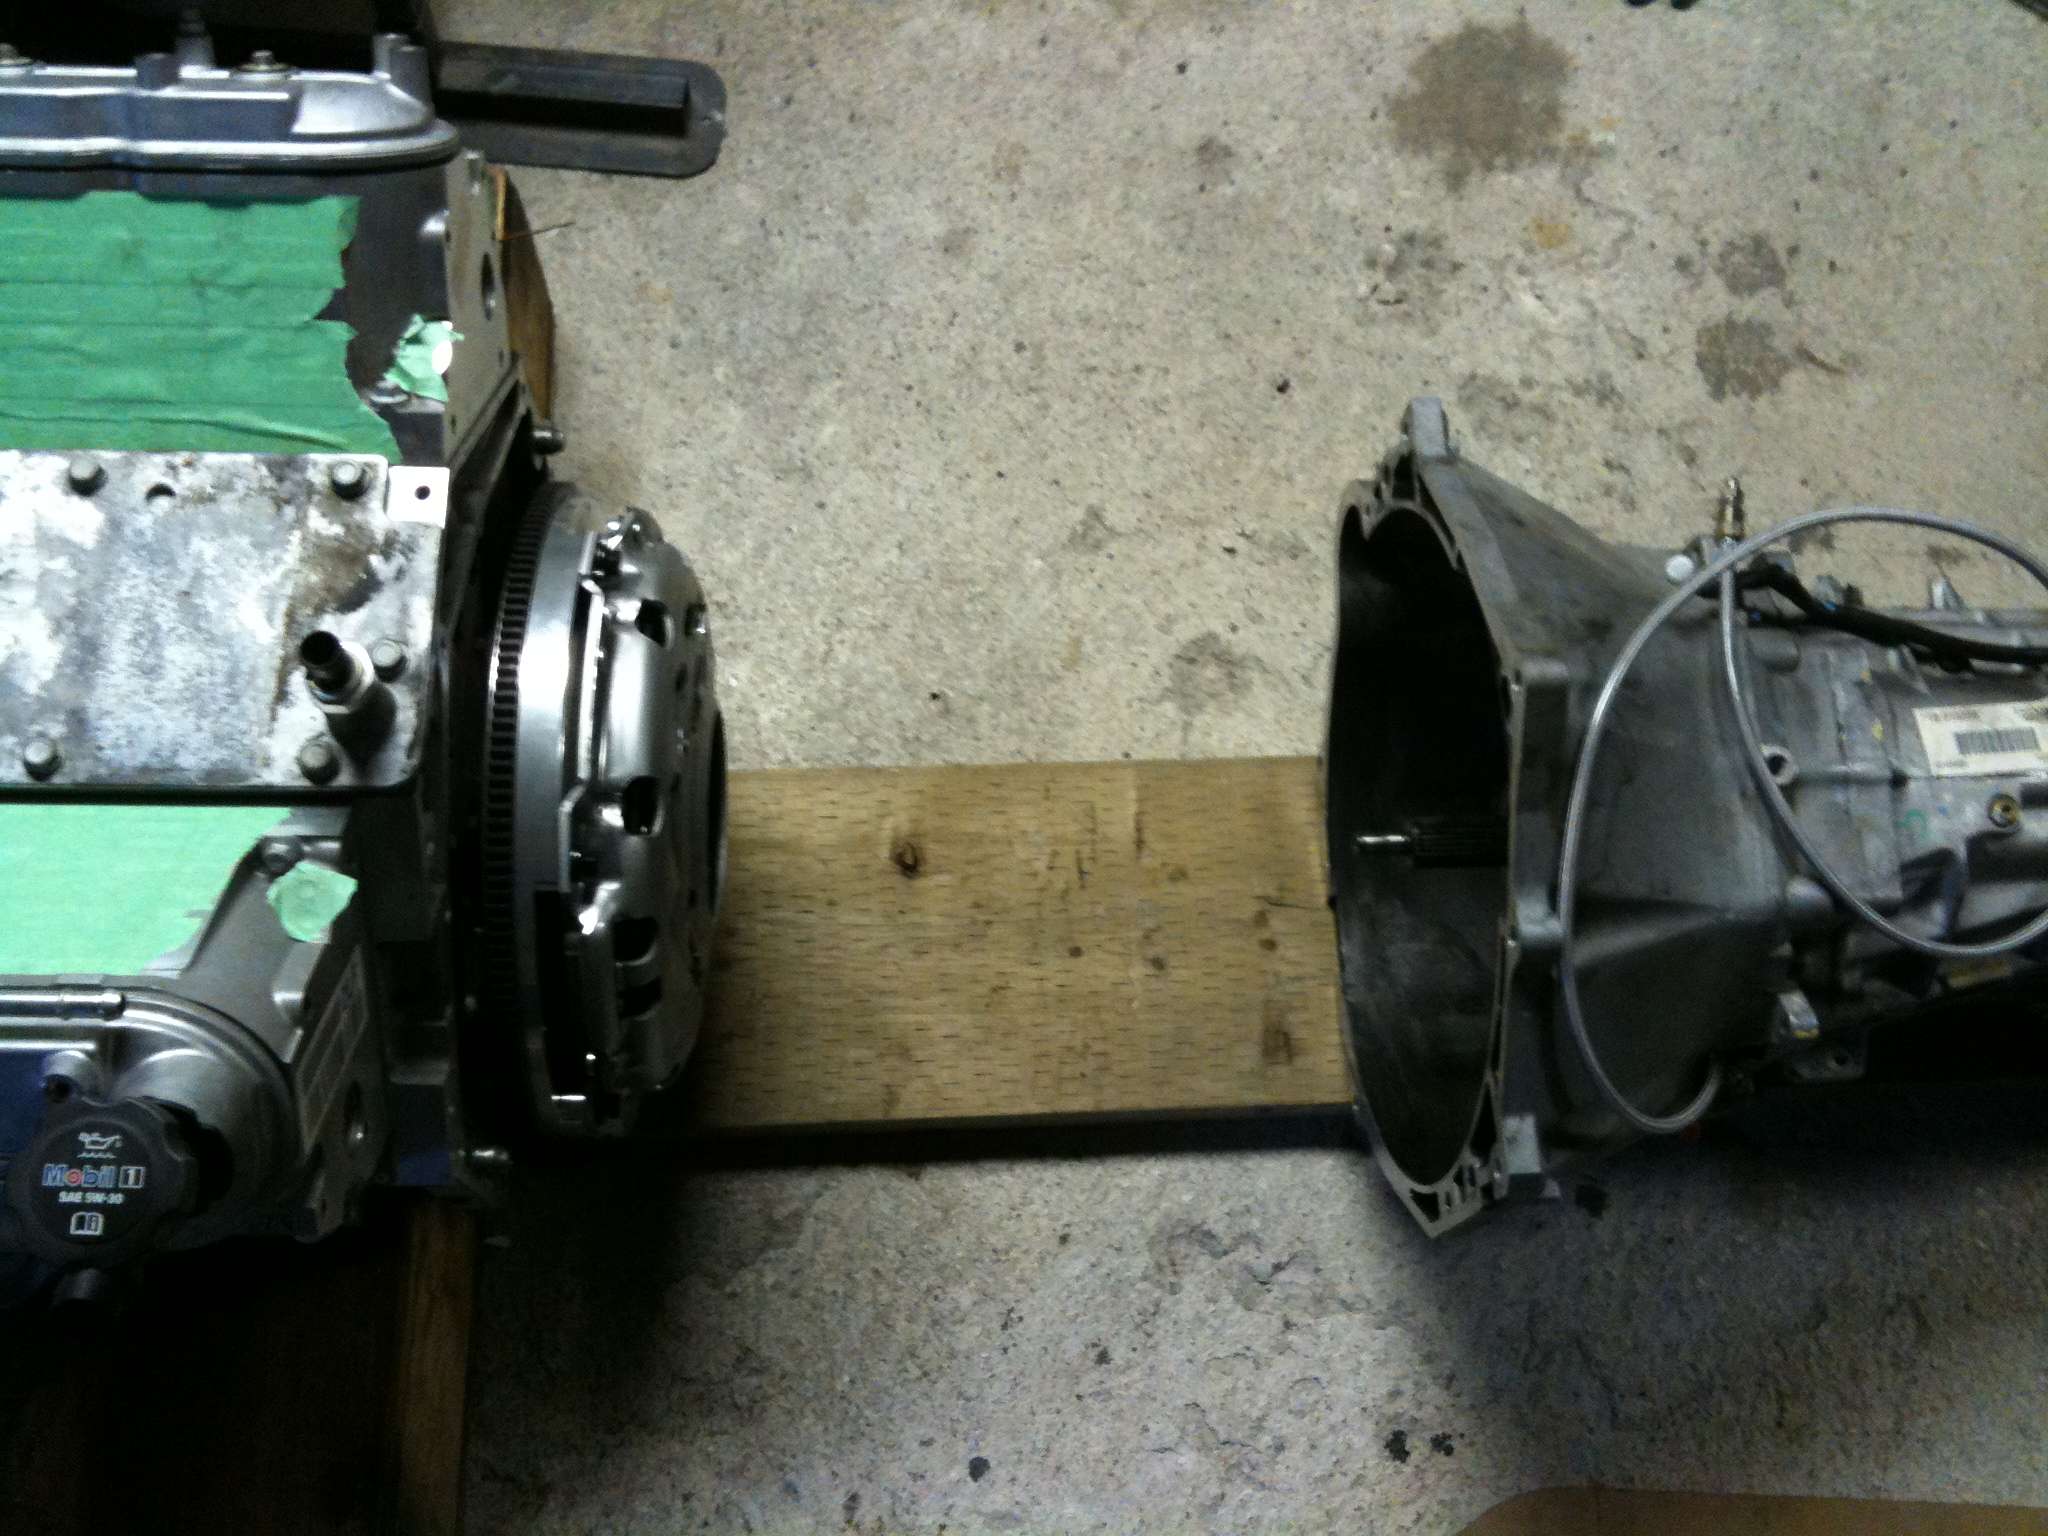
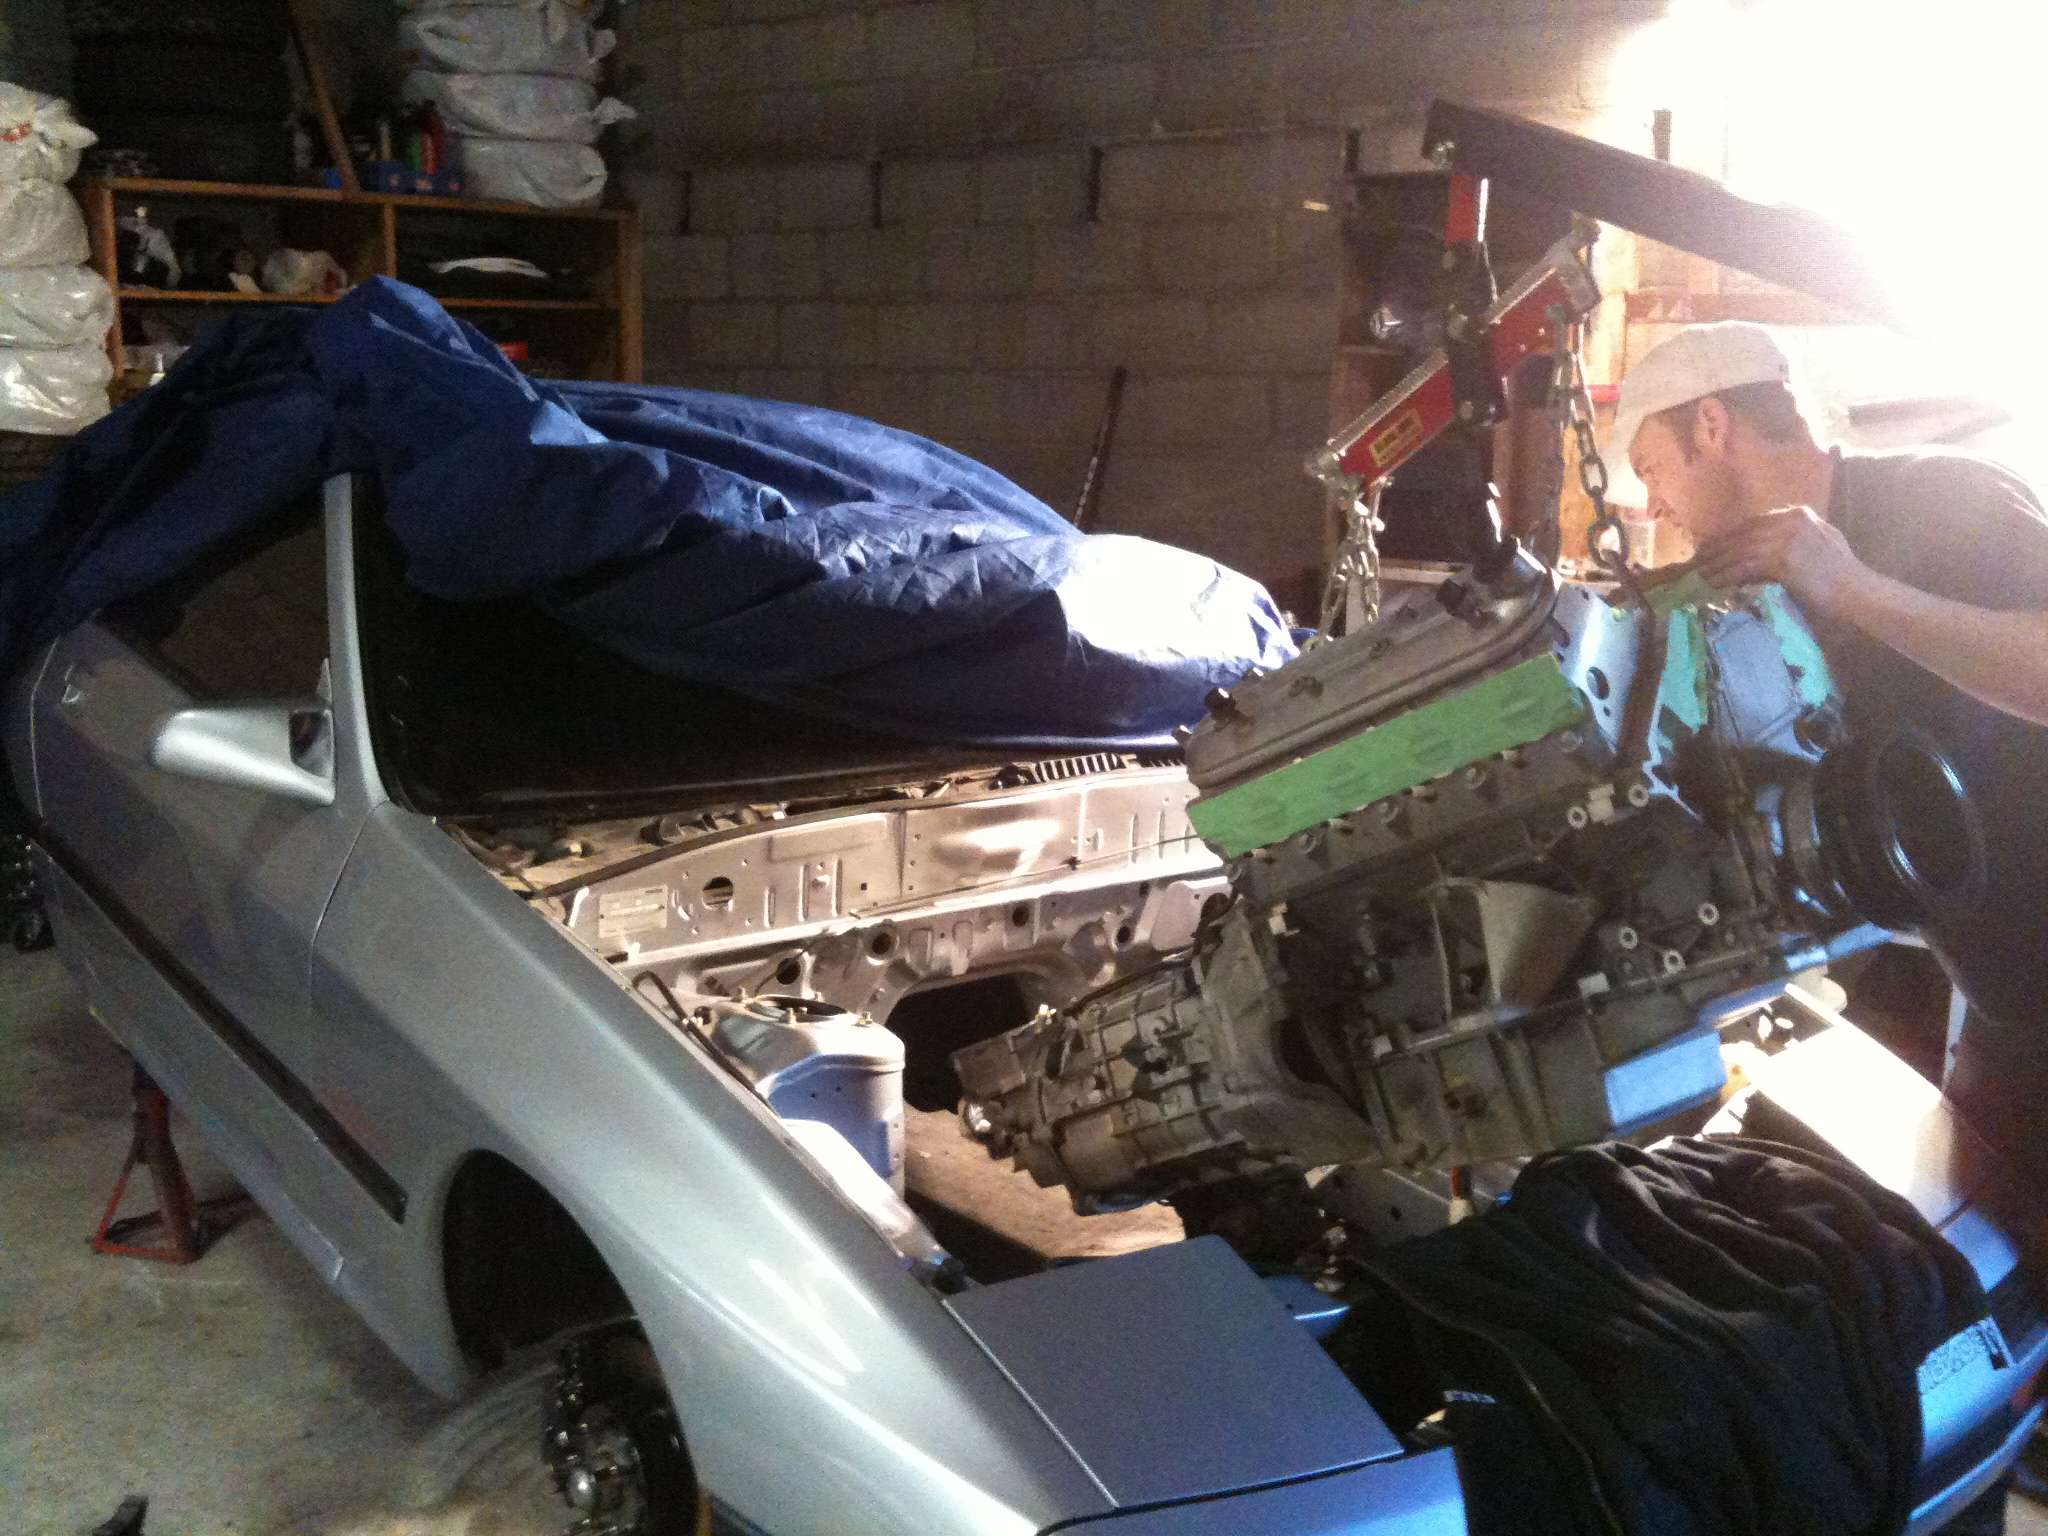
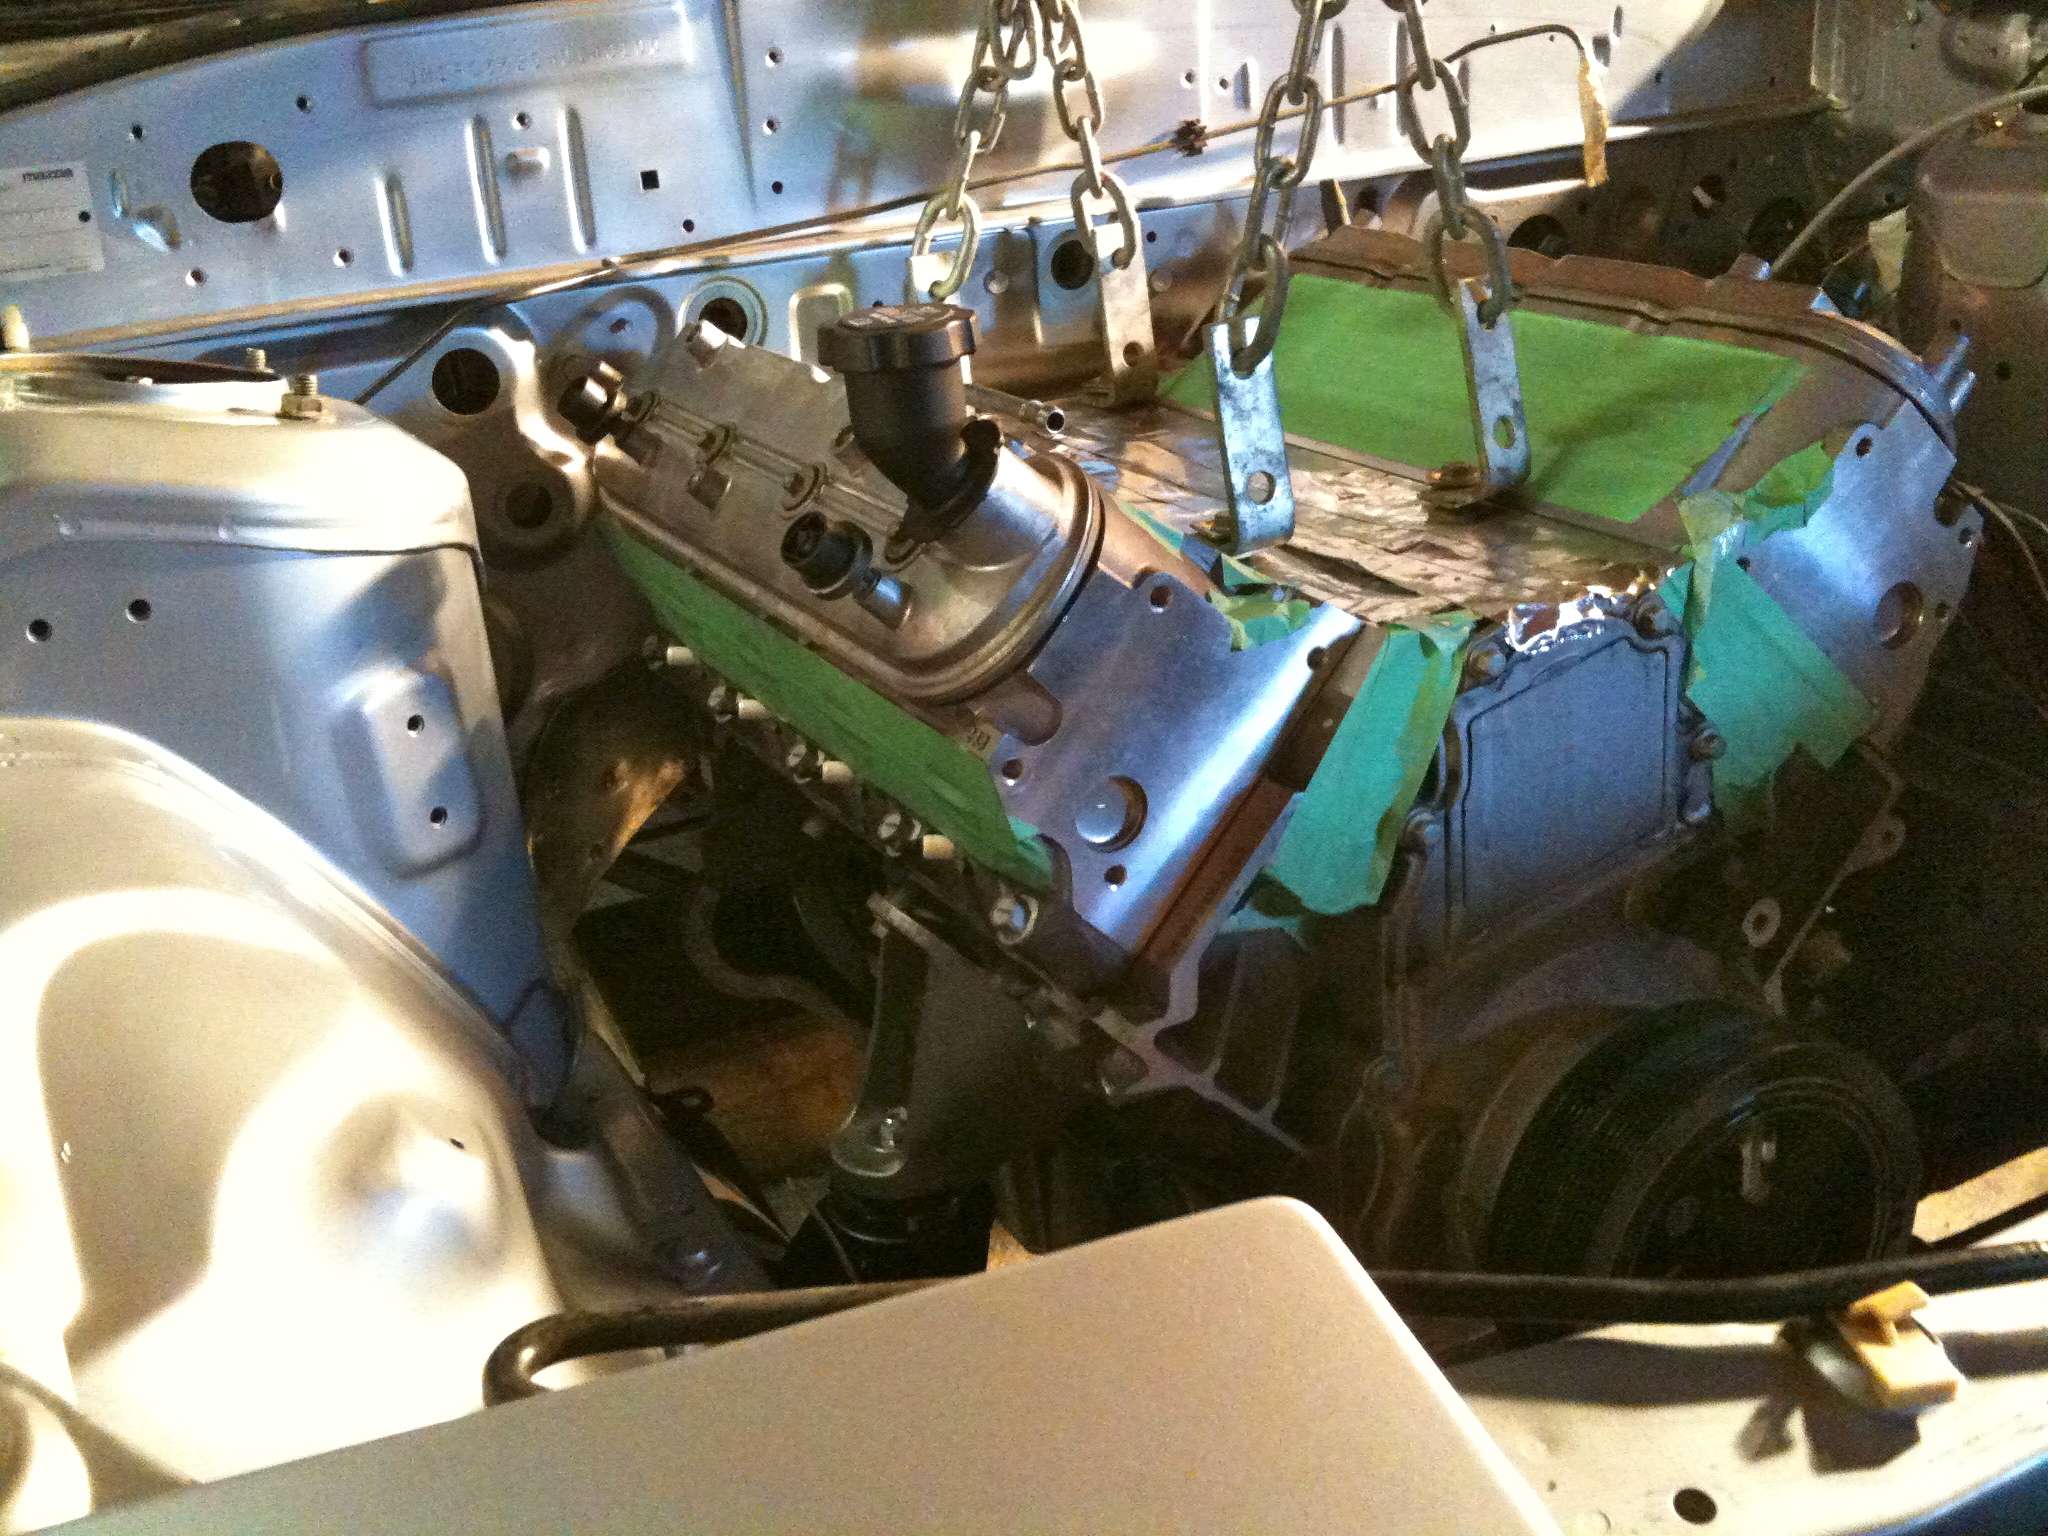
All ready to drop in.
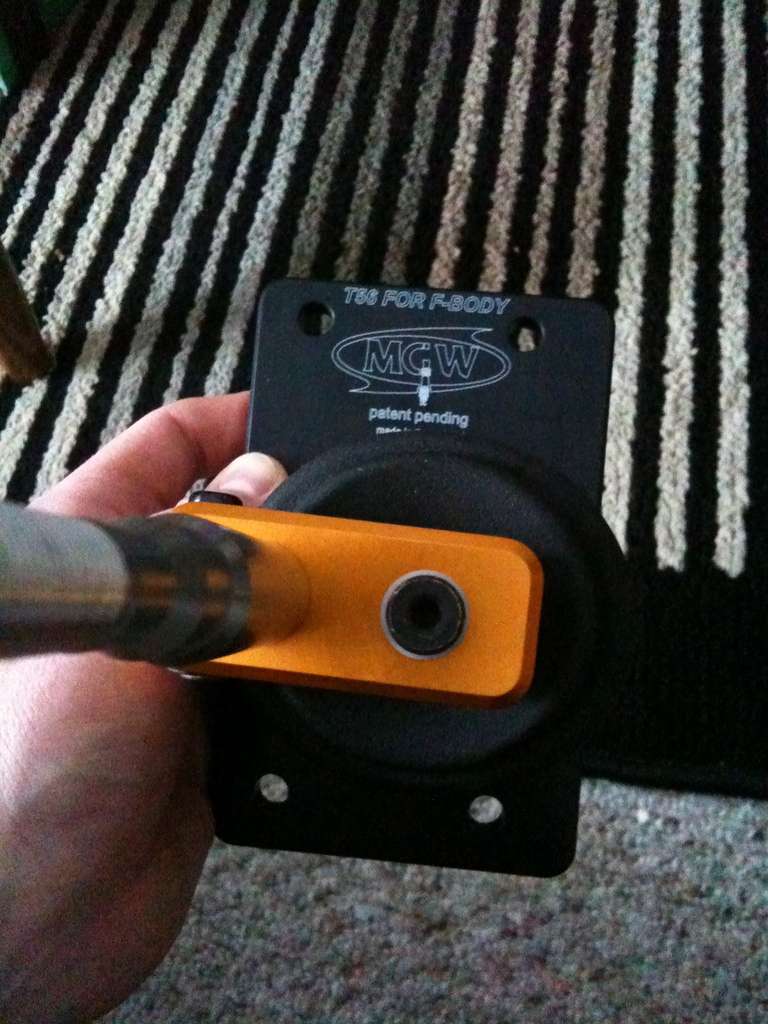
For shifting I went with the MGW F-body T-56 short shifter, Can't say enough about the build quality of this piece.
First order of business was to remove the stock drivetrain and all other parts that wouldn't be needed for the swap.
Engine bay needed some good elbow grease to clean up, then three coats of base and two coats of clear to get it looking brand new again.
I started working on the interior to remove all wires not required for the swap. This meant the dash had to come out for access, also enabling me to access the heater core so that I could reroute where the heater hoses come through the firewall so they wouldn't come out over top of the intake manifold.
I had originally planned on using an LS1 dropout from an F-body but found that it was hard to find a clean one with low milage. I had to start looking at getting one out of the US and having it shipped here. The availability of LS2 dropouts was much better in the US due to the fact that they came in the Pontiac GTO in 2005 and 2006, a car which never made its way north of the border. I ended up finding a nice LS2 dropout from a 2005 GTO with only 31,000 miles on it. Had it shipped from Alabama to a shipping depot in Dorval and then trailered it home. The only added difficulty of using the LS2 over the LS1 is that it is drive by wire which would mean I would have to mount the DBW pedal and do a little extra wiring, small price to pay for the added power right out of the box.
After doing lots of research on tires I decided to try out the Hankook Ventus RS3s. I needed a really grippy tire as I could only get 255's in the back without rolling fenders. Went with 225/45-17 up front and 255/40-17 in the back. I like the look of 2000 Mustang GT wheels and they fit great on the car, they are also pretty light for a 17x8 wheel.
For suspension I went with Tein SS coilovers with 9K springs up front and 7K in the rear.
Removed Rear hubs and installed DTSS Elim. bushings.
Back to the drivetrain....I tend to be a little obsessive when it comes to putting "used" parts in my car so although the engine and tranny only had 31,000 miles on it decided that it would be good to give the heads a fresh valve job and some new valve seals to prevent any surprises once the project was complete. The car would also get a brand new LS7 clutch kit including a RAM aluminum flywheel, new slave and release bearing. Because of the front sump oil pan on the GTO's I had to remove that in favour of the rear sump pans found on the F-body cars.
LS2 bottom end ready for LS1 windage tray pickup tube and oil pan
Also installed new rear main seal and pilot bearing.
Fitting the LS1 oil pan onto the LS2 block, Alignment of the pan and torque is critical to prevent oil leaks.
Installing the freshened up heads onto new OEM head gaskets.
Rockers installed.
Engine ready.
RAM aluminum LS7 flywheel
Flywheel installed with ARP bolts.
Disk installed
Pressure plate installed with ARP bolts.
T56 6 Speed tranny ready to bolt to the engine with the new slave and release bearing. I also opted to install a tick performance remote bleeder to make bleeding the clutch a little easier.
All ready to drop in.
For shifting I went with the MGW F-body T-56 short shifter, Can't say enough about the build quality of this piece.
Last edited: