silvertsi
New member
**UPDATE**
Today I finally got around to polishing my cluster, it's something that has been bothering me since the day I got the car and I am very pleased with the results. Here's a step by step detail of how I did the job.
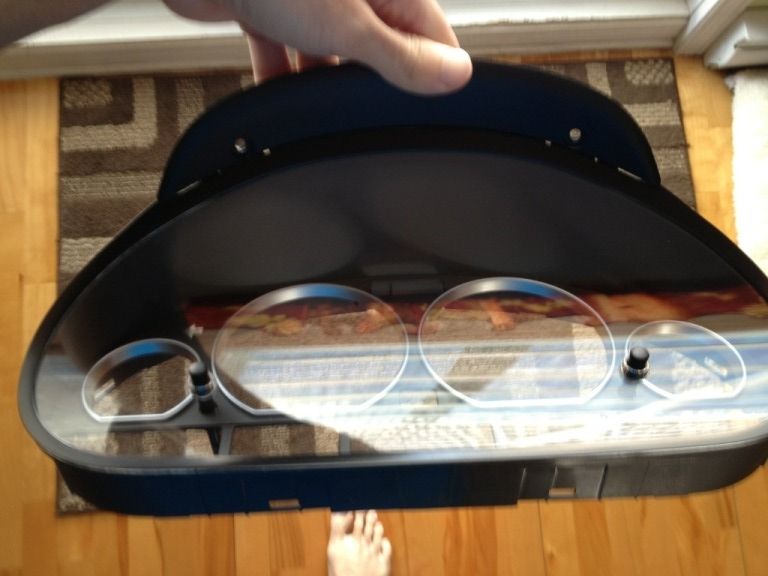
I first removed the cluster and I must say BMW makes it very easy, it is the simplest cluster I have ever removed and I have removed quite a few different brands.
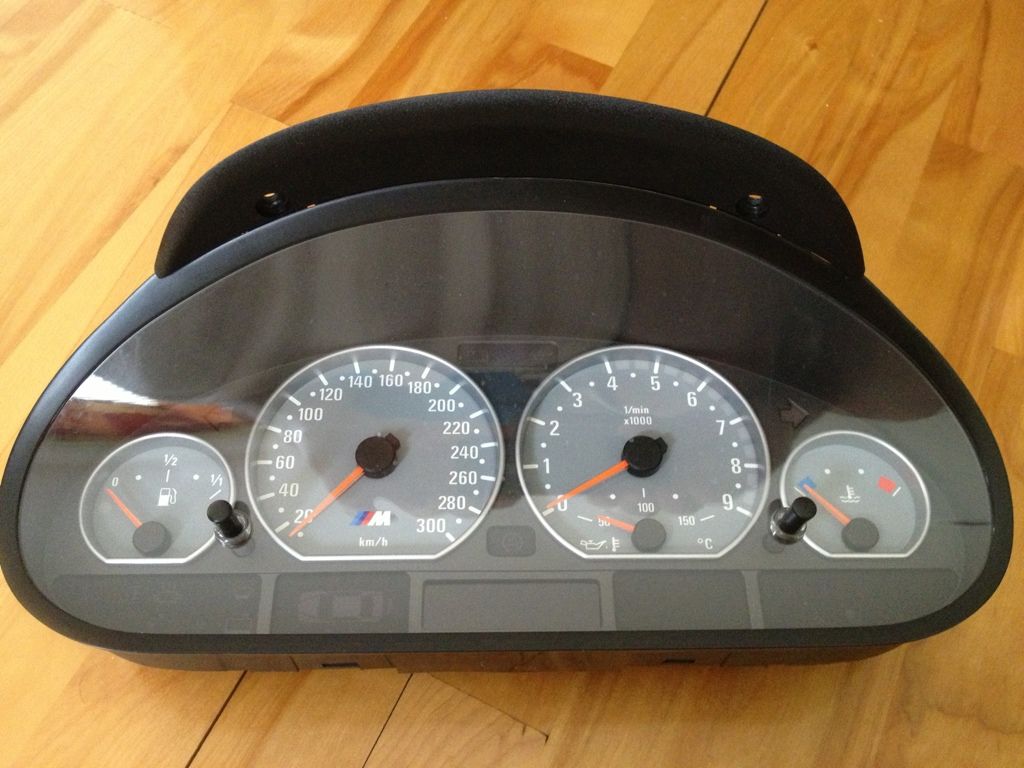
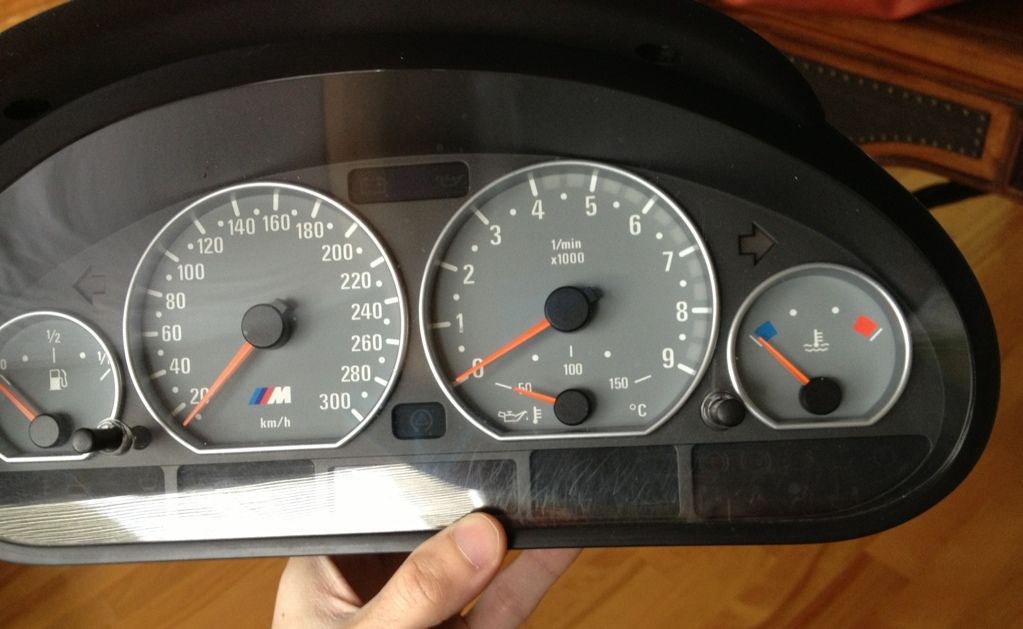
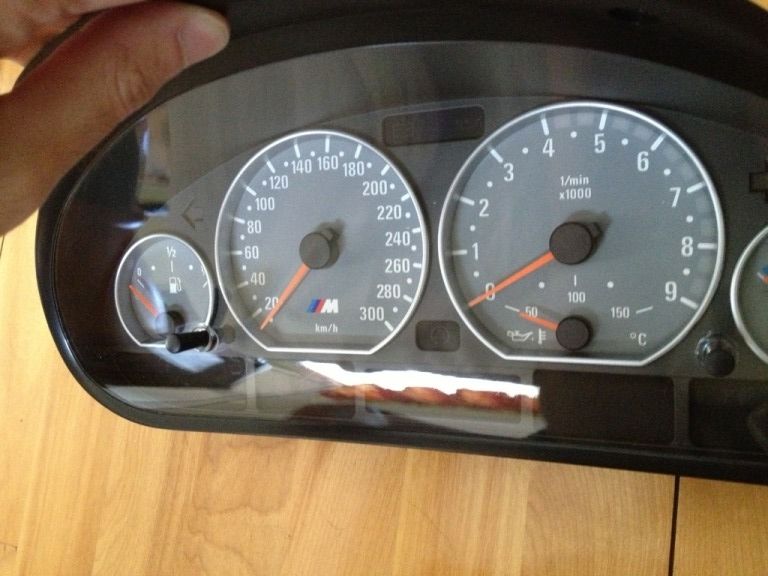
Looking at this image you can see the damage on the surface of the cluster, it looks bad but can look even worse in the car depending on the angle of the light. There are deep scratches along the bottom and swirls all over the face, I believe this is the result of the first owner using the cluster shelf to place something while driving. The plastic on clusters is very soft and they scratch easily so you should never place anything on them.

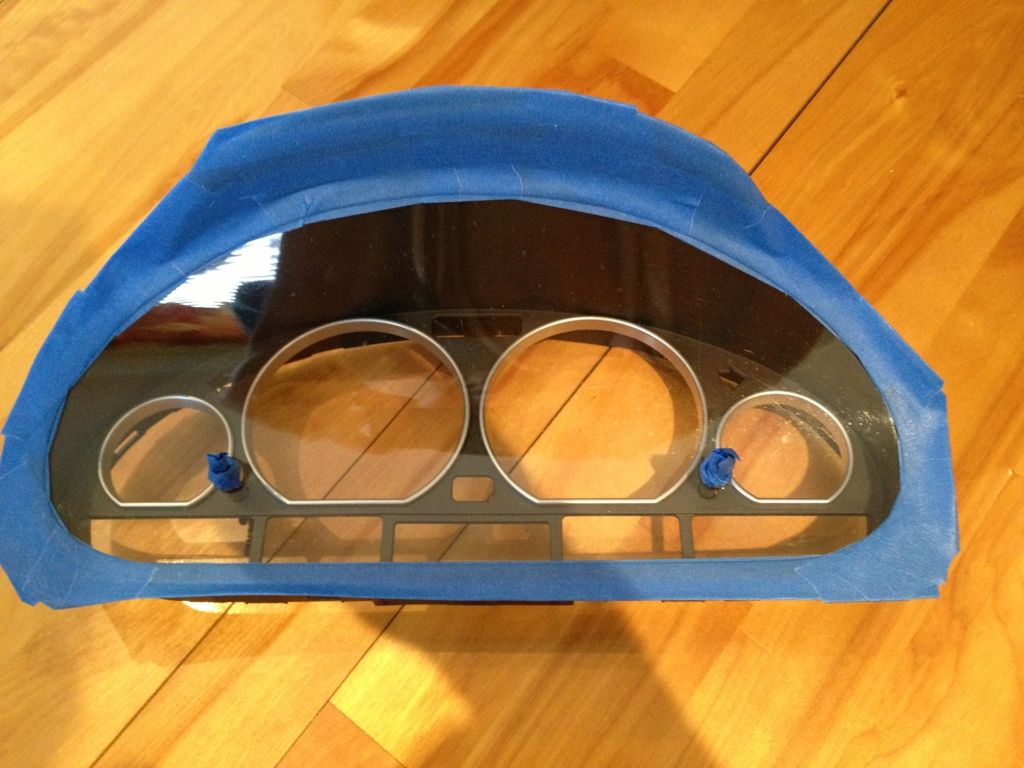
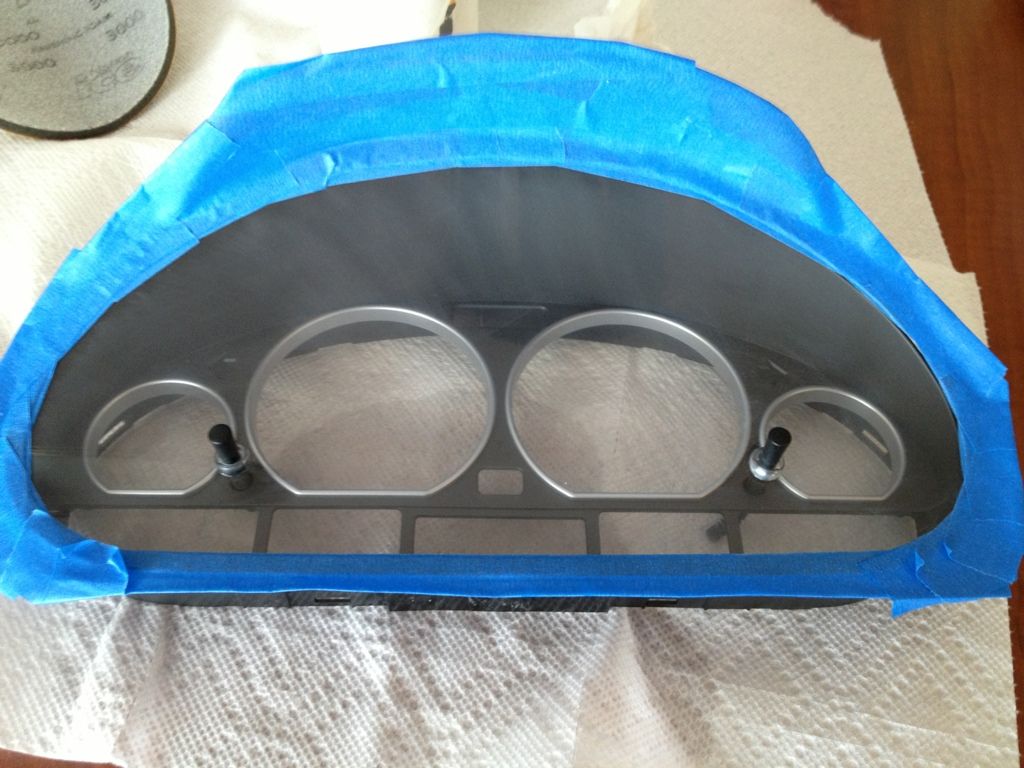
I removed the innards of the cluster and taped of the plastic trim, the plastic face is part of the bezel and trim as one piece, some clusters allow you to remove only the plastic face.
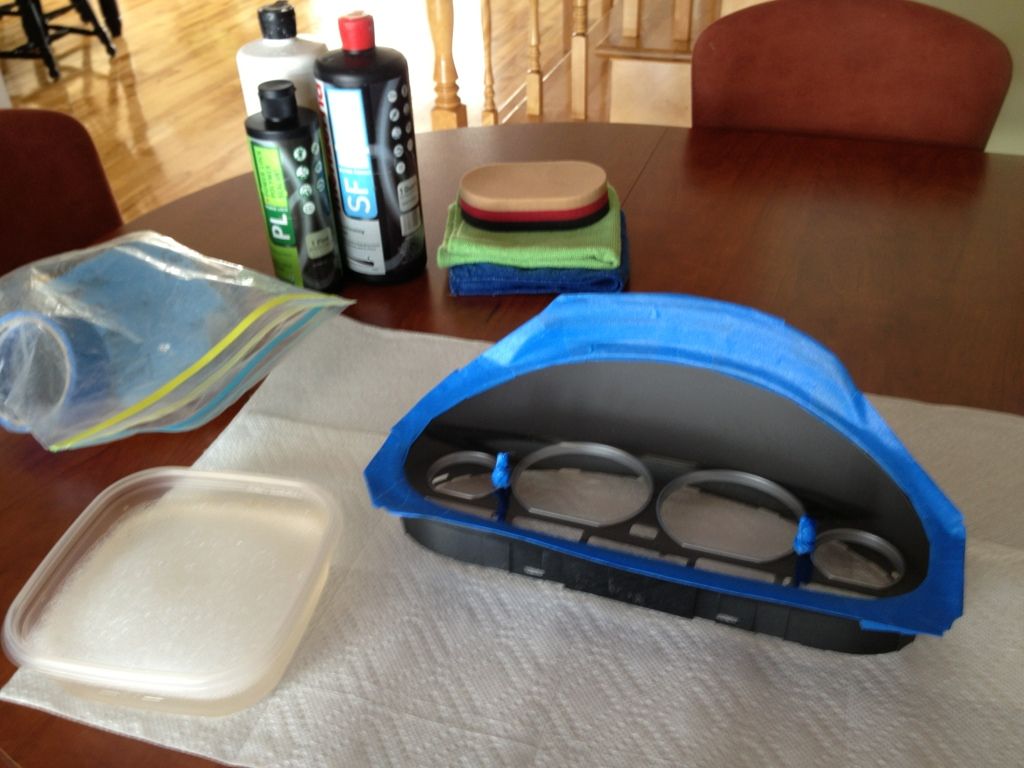
Because some of the scratches were very deep I decided to wet sand the surface, I used soapy water to soak the paper and lubricate the surface. Here are the steps I used.
- 2000 grit sanding
- 3000 grit sanding
- Menzerna Power Gloss compound
- Menzerna Super Finish Polish
- Menzerna Powerlock to protect
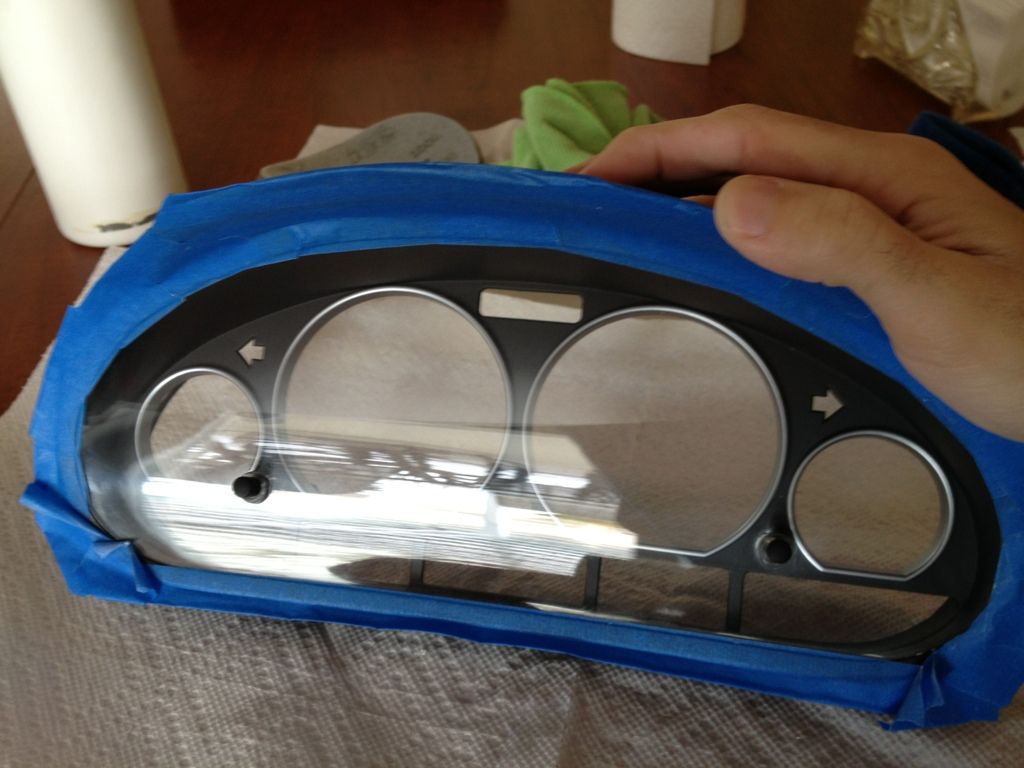
Here is the surface after both sanding steps, it is quite hazy but the scratches have been cut through.
This is after the Menzerna Power Gloss which I applied by hand and repeated multiple times, I used microfibres as well as an orange hand held pad to buff the surface. I'm using the angle of the light to show the part that was most damaged.
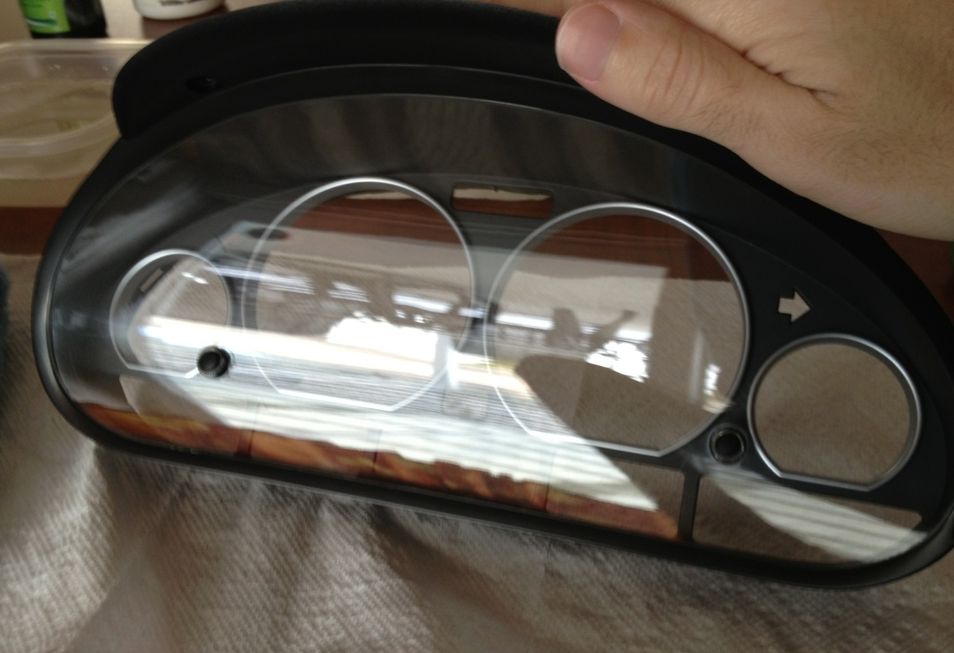
These images are after the Menzerna Super Finish which I applied by hand and multiple times as well, I also used microfibres and a black hand held pad to buff the surface. The imperfections are completely gone.
I then put a nice coat of Menzerna Powerlock, this will protect the surface and help with easier cleaning of dust with minimal scratching. I let it cure and buffed it off.
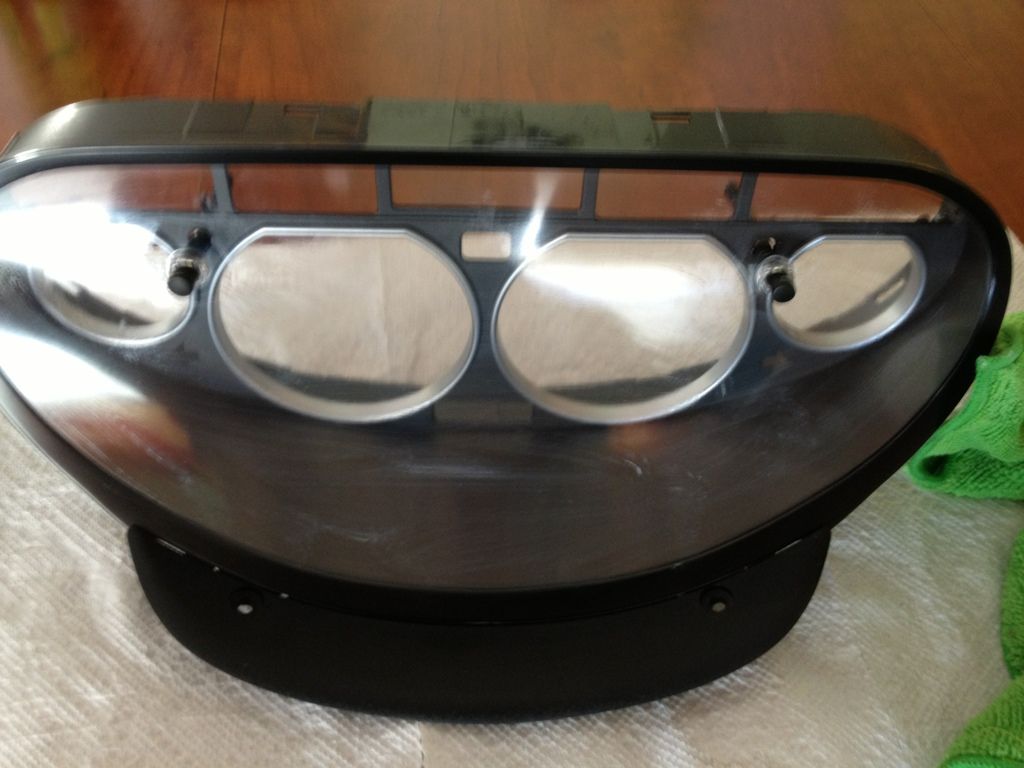
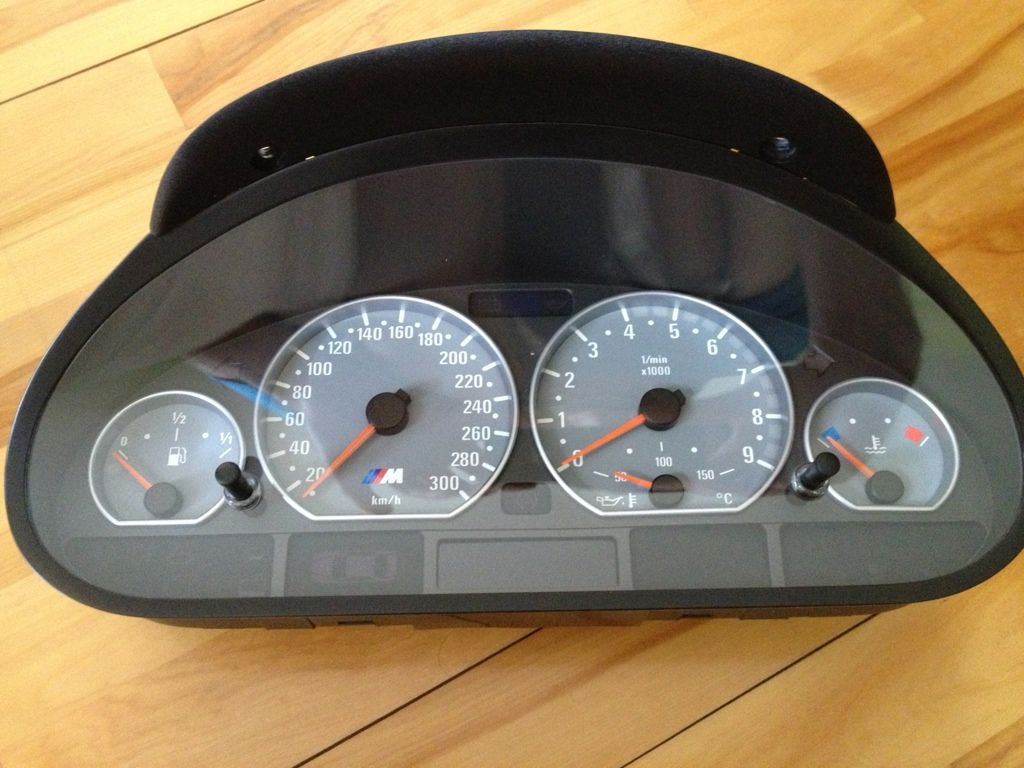
A good cleaning inside and out, then I reinstalled all the components of the cluster. Looks better than new :bigup:
The same steps can be applied to any gauge cluster if you need to repair damage on your own.
Thanks for looking I hope you enjoyed :victory:
Today I finally got around to polishing my cluster, it's something that has been bothering me since the day I got the car and I am very pleased with the results. Here's a step by step detail of how I did the job.
I first removed the cluster and I must say BMW makes it very easy, it is the simplest cluster I have ever removed and I have removed quite a few different brands.
Looking at this image you can see the damage on the surface of the cluster, it looks bad but can look even worse in the car depending on the angle of the light. There are deep scratches along the bottom and swirls all over the face, I believe this is the result of the first owner using the cluster shelf to place something while driving. The plastic on clusters is very soft and they scratch easily so you should never place anything on them.
I removed the innards of the cluster and taped of the plastic trim, the plastic face is part of the bezel and trim as one piece, some clusters allow you to remove only the plastic face.
Because some of the scratches were very deep I decided to wet sand the surface, I used soapy water to soak the paper and lubricate the surface. Here are the steps I used.
- 2000 grit sanding
- 3000 grit sanding
- Menzerna Power Gloss compound
- Menzerna Super Finish Polish
- Menzerna Powerlock to protect
Here is the surface after both sanding steps, it is quite hazy but the scratches have been cut through.
This is after the Menzerna Power Gloss which I applied by hand and repeated multiple times, I used microfibres as well as an orange hand held pad to buff the surface. I'm using the angle of the light to show the part that was most damaged.
These images are after the Menzerna Super Finish which I applied by hand and multiple times as well, I also used microfibres and a black hand held pad to buff the surface. The imperfections are completely gone.
I then put a nice coat of Menzerna Powerlock, this will protect the surface and help with easier cleaning of dust with minimal scratching. I let it cure and buffed it off.
A good cleaning inside and out, then I reinstalled all the components of the cluster. Looks better than new :bigup:
The same steps can be applied to any gauge cluster if you need to repair damage on your own.
Thanks for looking I hope you enjoyed :victory:
Last edited: