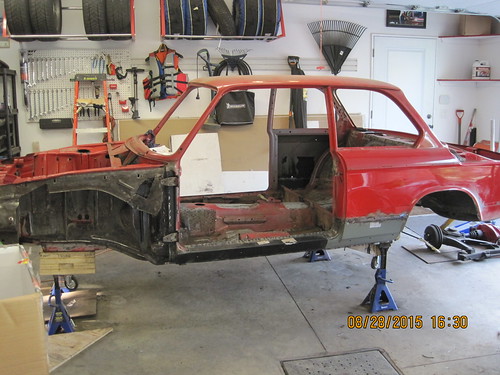
Day ~25 to 28 (~3 days of work), Driver Rocker Panel Install + Por15 - July 10th, 2015
As I previously mentioned, at the end of the last post, Kosta was going to be swinging by following the resignation of my welder (Benjamin). At that point I thought his referral wouldn’t amount to anything but luckily he came through and his friend (Justin) showed up to start some welding on July 29th. I guess I should have given him more credit than I did, Benjamin does have a lot of work (farming) to do at home in the summer.
I’ve had Justin (the welder) over 3 days now and I’m pretty happy with his work. If any of you guys need some work done, inexpensively send me a PM and I’ll provide you his contact details.
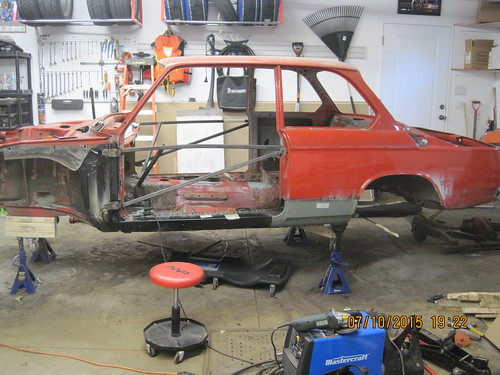
I’m finally starting to accept that I won’t be able to drive the car before the season ends... it’s sad but it also gives me a lot more time to complete it

.
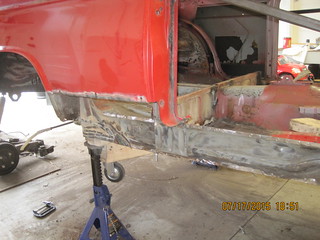
Driver, Rocker Panel Install
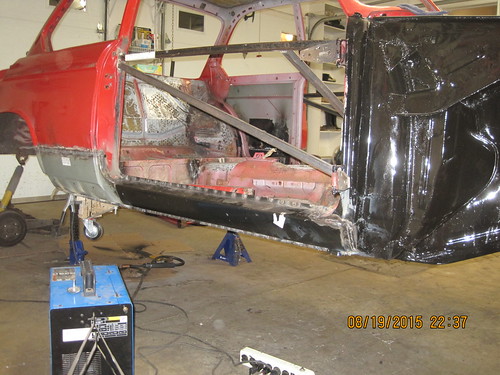
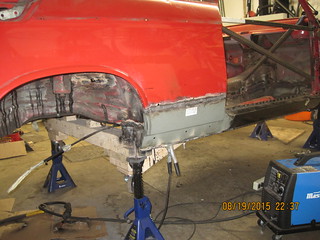
The last item Benjamin welded before signing-off was the rocker panel, it was to be spot welded in. He only had time to spot weld the upper portion, after he left I noticed a lot of the welds hadn’t caught, I was going to ask him to fix it up but he never returned... enter Kosta. Kosta fixed up the spot welds and secured the driver rocker panel. We then tack welded in the ¾ panel patch (which I picked up from
http://www.restoration-design.com/, I think they just get their BMW stuff from
http://www.wallothnesch.com/, so if you’re not in a rush, you could save a few dollar and get it directly from wallothnesch.com...live and learn.)
Kosta workin’ it.

I had cut out the panel patch section before receiving the patches, which turned out to be a bad idea because I removed a section which wasn’t part of the patch, the bottom right of door opening (in photo). I fixed that up with Justin and didn’t make the same mistake on the other side.
 Passenger, Rocker Panel Removal
Removed the rocker panel, was easier 2nd time around. I learnt the lesson to leave that little tab in place (2nd photo).
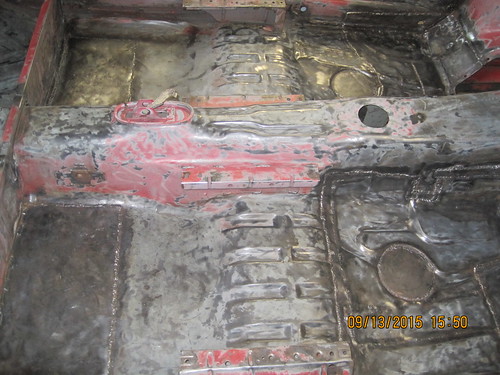
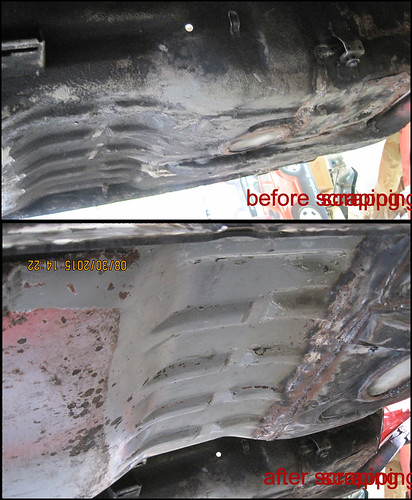
Lots of rot

Cleaned-up the rust and had Kosta weld in some patches (BTW, this is the day Ernest took his photos for his “Behind The Scenes” post)
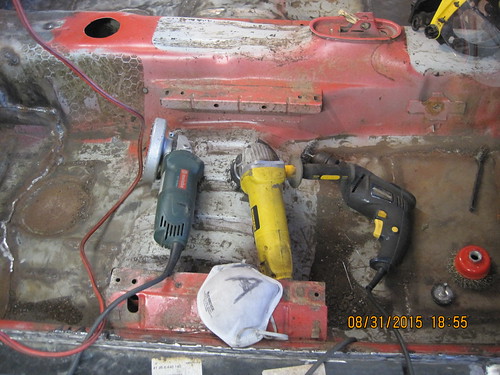
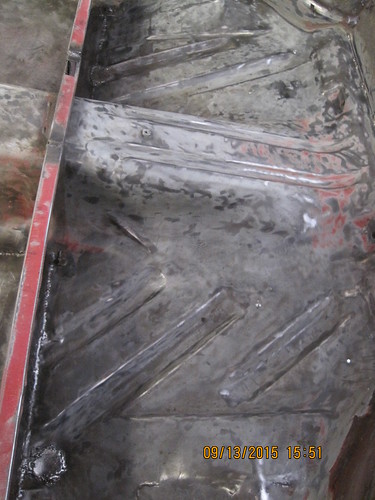
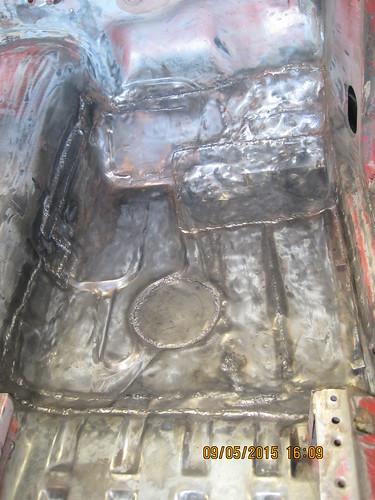
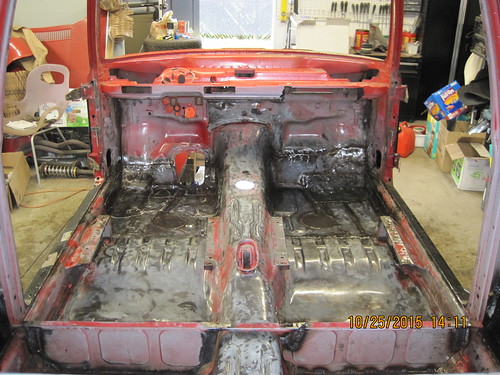
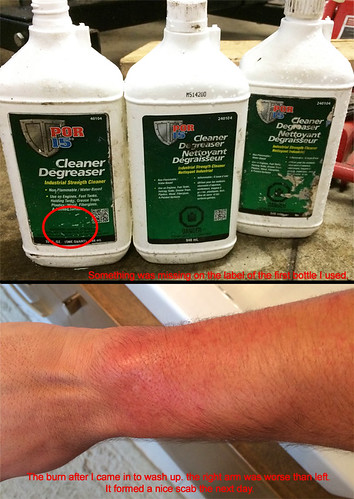
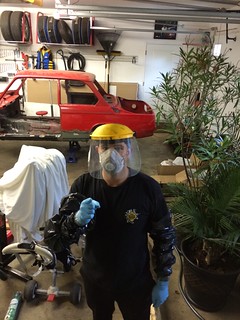
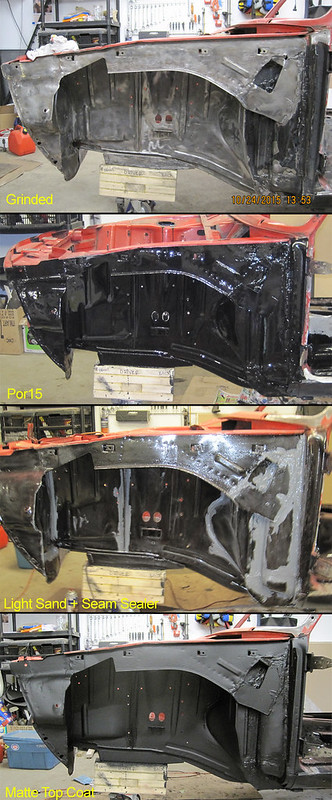
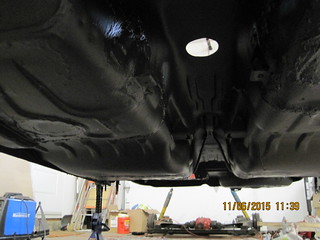
Next I degreased it and prepped the metal with the Por15 kit.
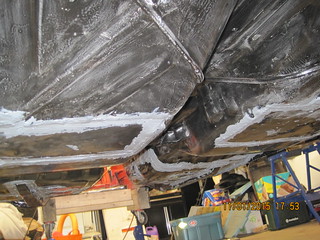
I wanted to do the inner rocker and at the same time the inner front fender as well. It took a lot of elbow grease to remove the paint, road grime and seam sealer but after a few hours... it was ready for work. My plan is to strip the 4 wheel wells (and front inner fenders) to put por 15 and then some new seam sealer before sending it to paint. I also plan on doing some cleaning on the underside of the car. Haven’t decided how far I’ll go yet, 1 thing at a time.
Here’s some photos of the Por15 process (I should have taken a before photo to show how much grime was on there).

Fyi, the wood was painted because I’m a banana.
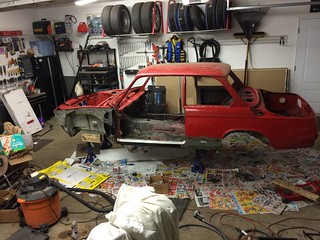
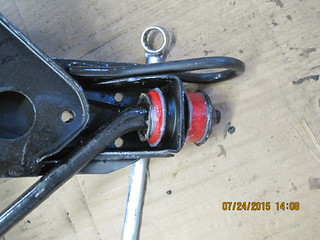
Front Sub-Frame Re-assembly
As seen in one of my previous posts... I had completely disassembled the front sub-frame, grinded it all the components down and followed the por15 process. I figured it was time to start reassembling mostly because parts were thrown a little bit everywhere and I wanted to do something other than make patches.
I had already placed my order when I discovered that urethane bushings are apparently loud (squeaky) and on top of that I also heard there’s not a noticeable difference between the stock rubber bushings and the urethane bushings. Although I should say, I’ve read posts on how difficult it is to reinsert new rubber bushings and I’m very happy I don’t have to go through that.
In order to
try to avoid the squeaks, I ordered some extra urethane lubricant from the manufacturer, I guess I’ll see how that works out when the cars running again.
Lube
 ...more photos on the Sub-frame reassembly to follow.
#hatethiscar
...more photos on the Sub-frame reassembly to follow.
#hatethiscar