MildSeven
Legacy Member
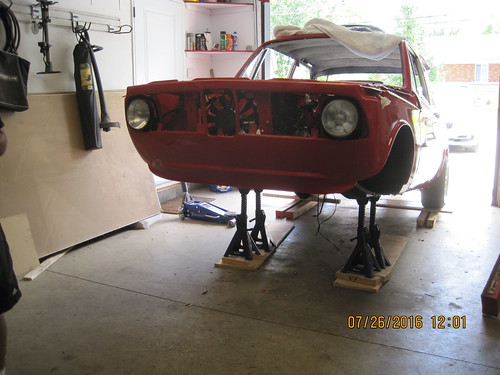
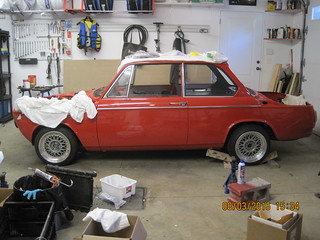
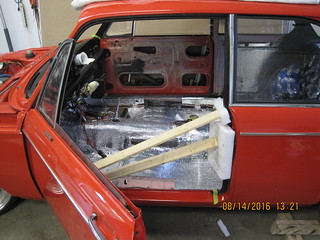
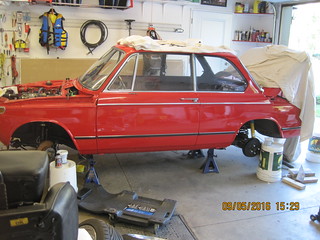
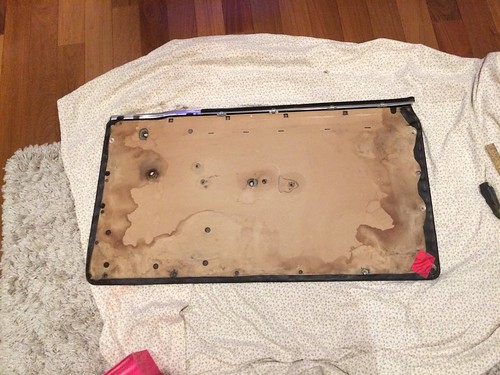
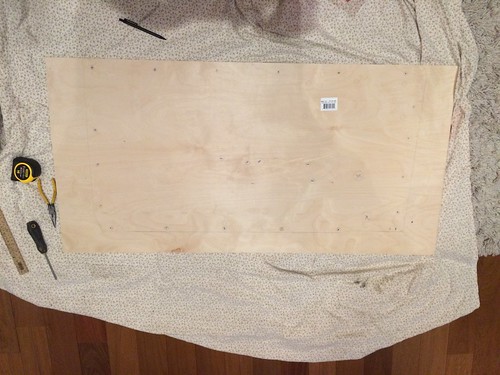
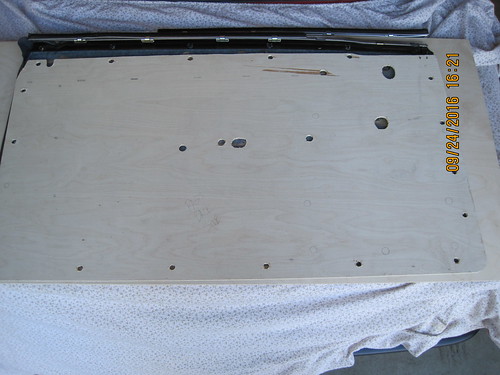
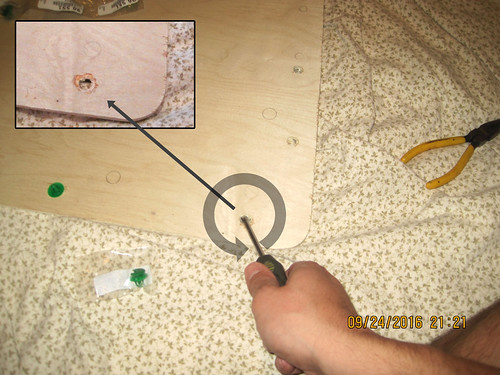
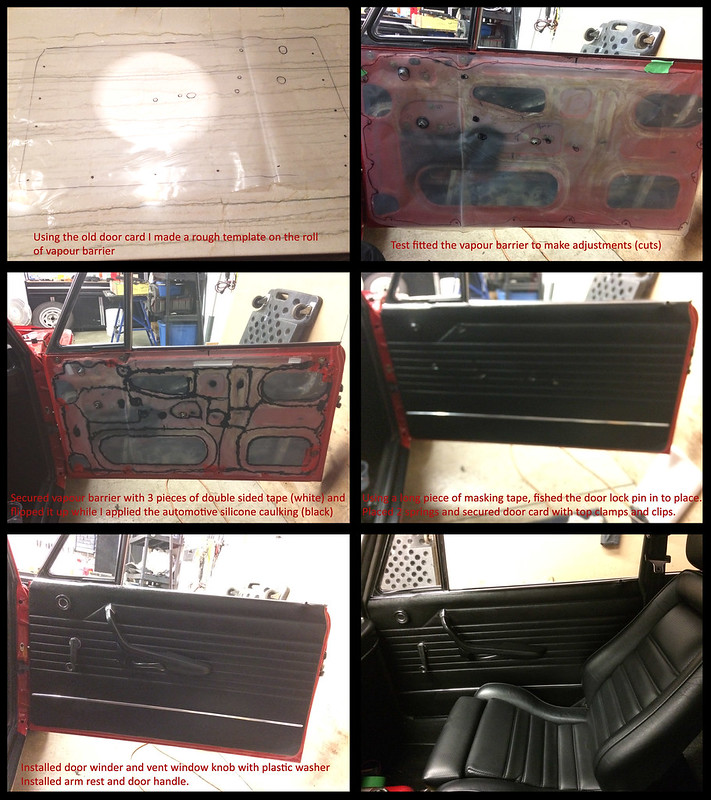
Day ~56 – 58 About 3 days of work, excluding waiting for glue to dry.
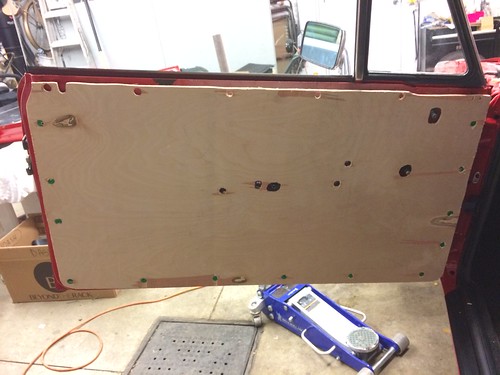
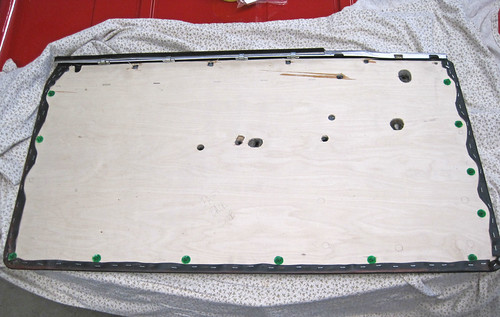
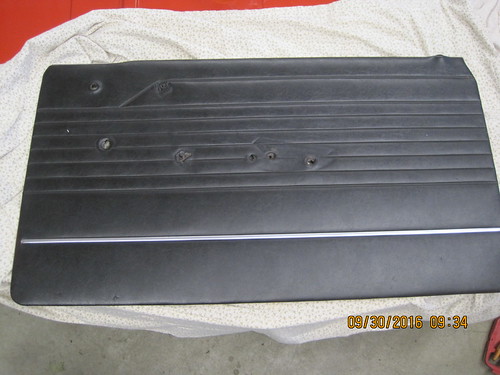
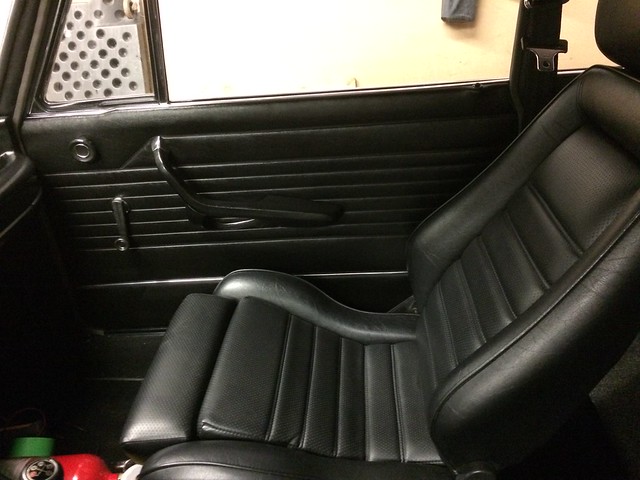
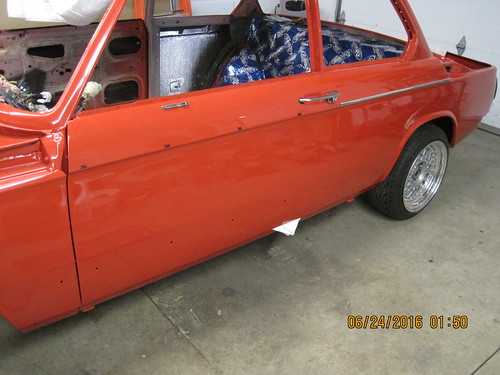
Trim & Finishers
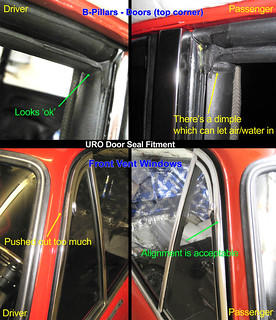
Front Vent & Driver Windows
Heater Box
New Headliner
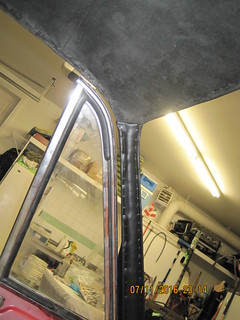
New A-Pillar Vinyl
Sun Visors
Dash
Trim & Finishers
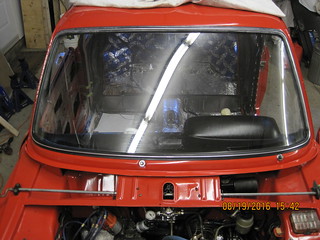
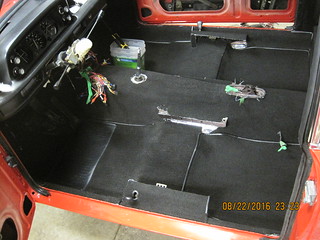
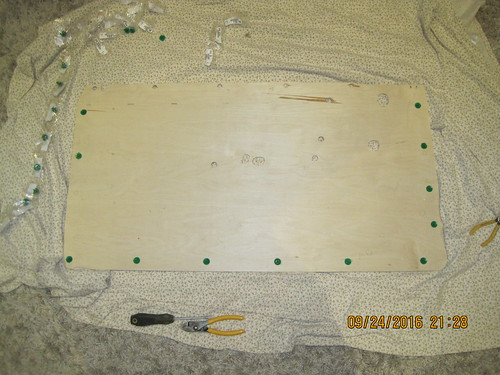
I riveted up some new b-pillar finishers, along with the old rear window finishers. I also installed some new belt line trim pieces, just waiting on 2 new fasteners because the old ones were stripped. I put in the new rear window seals as well (after the headliner). Installing the rear window vent seal wasn’t straight forward at first but after the first 5 mins I figured it out, the passenger window went much quicker than the first one. I started at the corner kink (even though people say to start at the bottom front), I think it was the better decision since trimming was required, although the bottom didn’t need much, maybe more “shaping” than trimming.
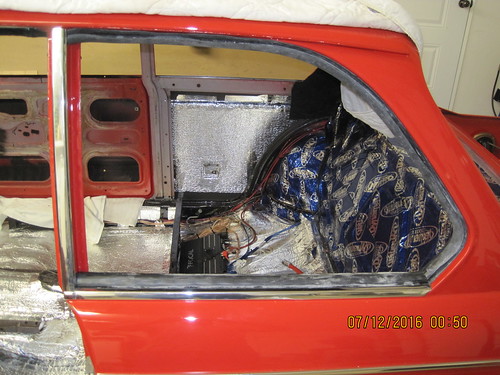
Front Vent & Driver Windows
I utilized Kosta one evening (before soccer) to aid with the installation of the front vent and door windows. It would definitely have been very hard to try that on my own, you need a 2nd set of hands to lower the window and hold it up while bolting stuff in. Will need to do a lot of adjustment on this after putting the seals in.

Heater Box
I disassembled the heater box, cleaned everything all up and let a radiator cleaning solution sit in the heater core for a few days before reassembling it all. I had to use some epoxy to fix a couple of small cracks which occurred during the 2002 tear down. Put the cables back in
Before

I didn’t even know the fan blades were silver
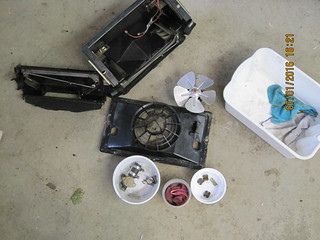
Before
I didn’t even know the fan blades were silver
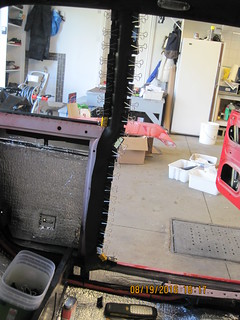
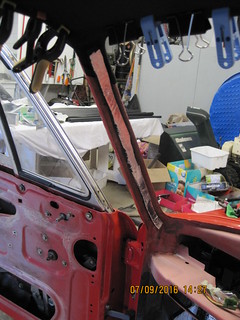
New Headliner
My new headliner was sitting in an unopened box since February 2015, I obviously was not great at gauging the schedule of my project. The headliner I decided to go with is the “black suede type” from www.dtechparts.com. I wanted black but wasn’t too keen on vinyl.
Before the installation I went through ClayW’s BMW2002FAQ article a few times. I thought it was going to be difficult to get it right but it wasn’t, it’s just time consuming.
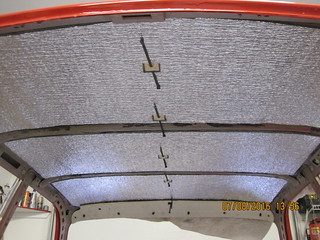

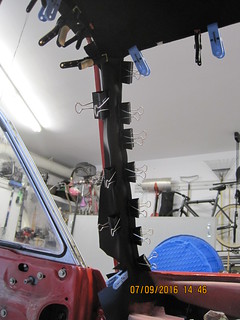
Unfortunately the binder clips I “borrowed” from the office were not enough to cover as much as necessary so I resorted to other clamps I had and clothes pins. I also requested some extra material to cover the sun visors, I’ll eventually get to that.

Final Product
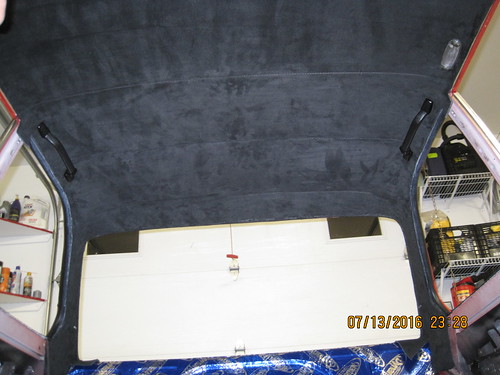
Quick product review 4/5: The material does not feel like suede but I don’t care about that, it’s more of like a micro fiber material. It has a foam backing which makes covering the C-Pillar “nicer.” One of the bow “hoops” might have been slightly off which makes the seam a little more pronounced but I’m just being critical. I’m very happy and would definitely recommend it to others.
Before the installation I went through ClayW’s BMW2002FAQ article a few times. I thought it was going to be difficult to get it right but it wasn’t, it’s just time consuming.
Unfortunately the binder clips I “borrowed” from the office were not enough to cover as much as necessary so I resorted to other clamps I had and clothes pins. I also requested some extra material to cover the sun visors, I’ll eventually get to that.
Final Product
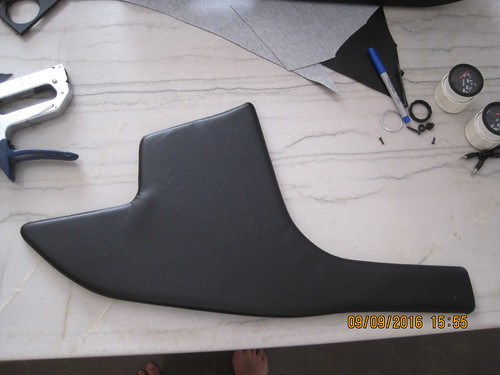
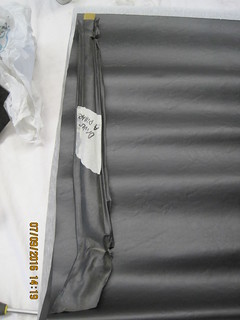
New A-Pillar Vinyl
The vinyl I removed from the A and B pillars looked a little faded so I decided to replace it with some new vinyl. Had I thought about it before, I would have asked for more “black suede type” material to do the pillars (at least the A-pillars), I think it would have been nicer than the black vinyl. I basically installed the vinyl the same way I did the headliner, except I added some of the sound deadening foam as a backing to give it a nicer shape (replacing the old foam).
Sun Visors
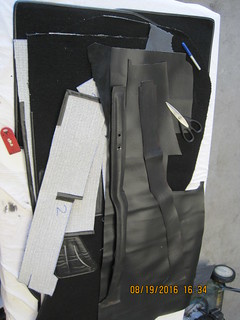
I reupholstered the old sun visors with the same fabric as the headliner. I cut open the old sun visor and glued on the new fabric, I put a stitch in by hand, originally I only wanted to put a couple of stitches to hold it but I then got out of hand.
I’m not so sure I like it, for 1 I think it might be too “matchy-matchy” with the headliner in the same material, and also I don’t like the seam I stiched by hand.

I’m not so sure I like it, for 1 I think it might be too “matchy-matchy” with the headliner in the same material, and also I don’t like the seam I stiched by hand.
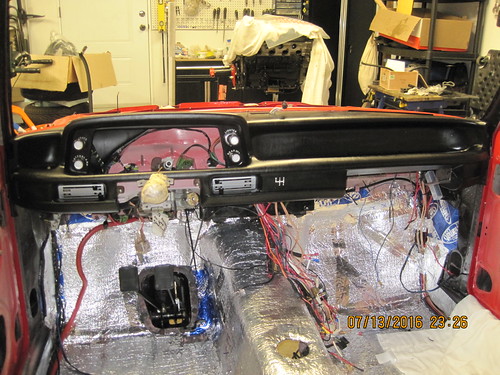
Dash
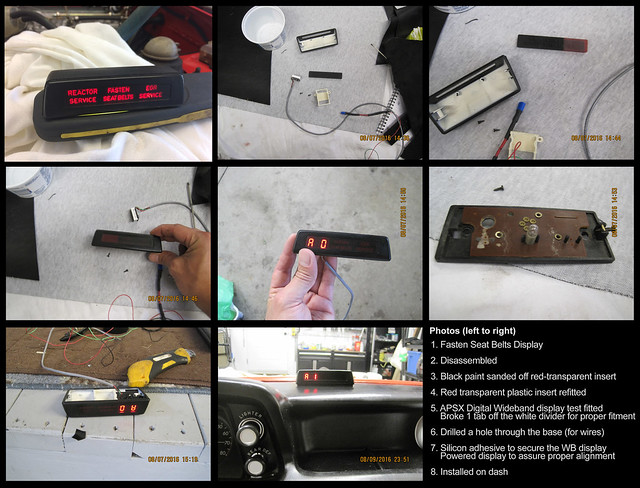
I slid the dash right in and started connecting stuff. Heater controls and other wiring, then I noticed I had to move some wires around a bit to do a cleaner job. I will be adding the wideband digital display in the “fasten seat belt” dash display area later. It’s finally starting to feel like an interior
Last edited: