
Okay here’s a very interesting story; Car got detailed twice at the dealership. It then went to a performance shop where, as you might imagine, got damaged, mostly on the front-end of the car but because of all the dust and stuff, you just need to touch the car to induce micro-swirls and stuff.
Car finally got detailed and bumper got painted twice because the job wasn’t nice at a body shop that I won’t name not to get into the bashing sh*t we saw lately. The owner said I was his last resort, if I can’t do it right, he’s repainting the whole car! So here I come.. to finally show him that a good detailer can actually give a second life to his 23k km bmw.
Process:
This is a showroom correction. This means that cost is not a factor, we simply do the best we can, no matter what times it takes and cost.
I started by doing a 5-step polishing (from compound to jewelling) and I put the car in the sun and…. Welllllll I wasn’t happy! Boys! So many RIDS! I had to redo a 3-step polishing but this time I tried the MF system and it did well to really remove another couples of microns to level these deep scratches to show a nice finish.
So basically, I did a 8-step polishing whatsoever. I also had to wet-sand the roof.
1 coat of Swissvax Cleaner fluid
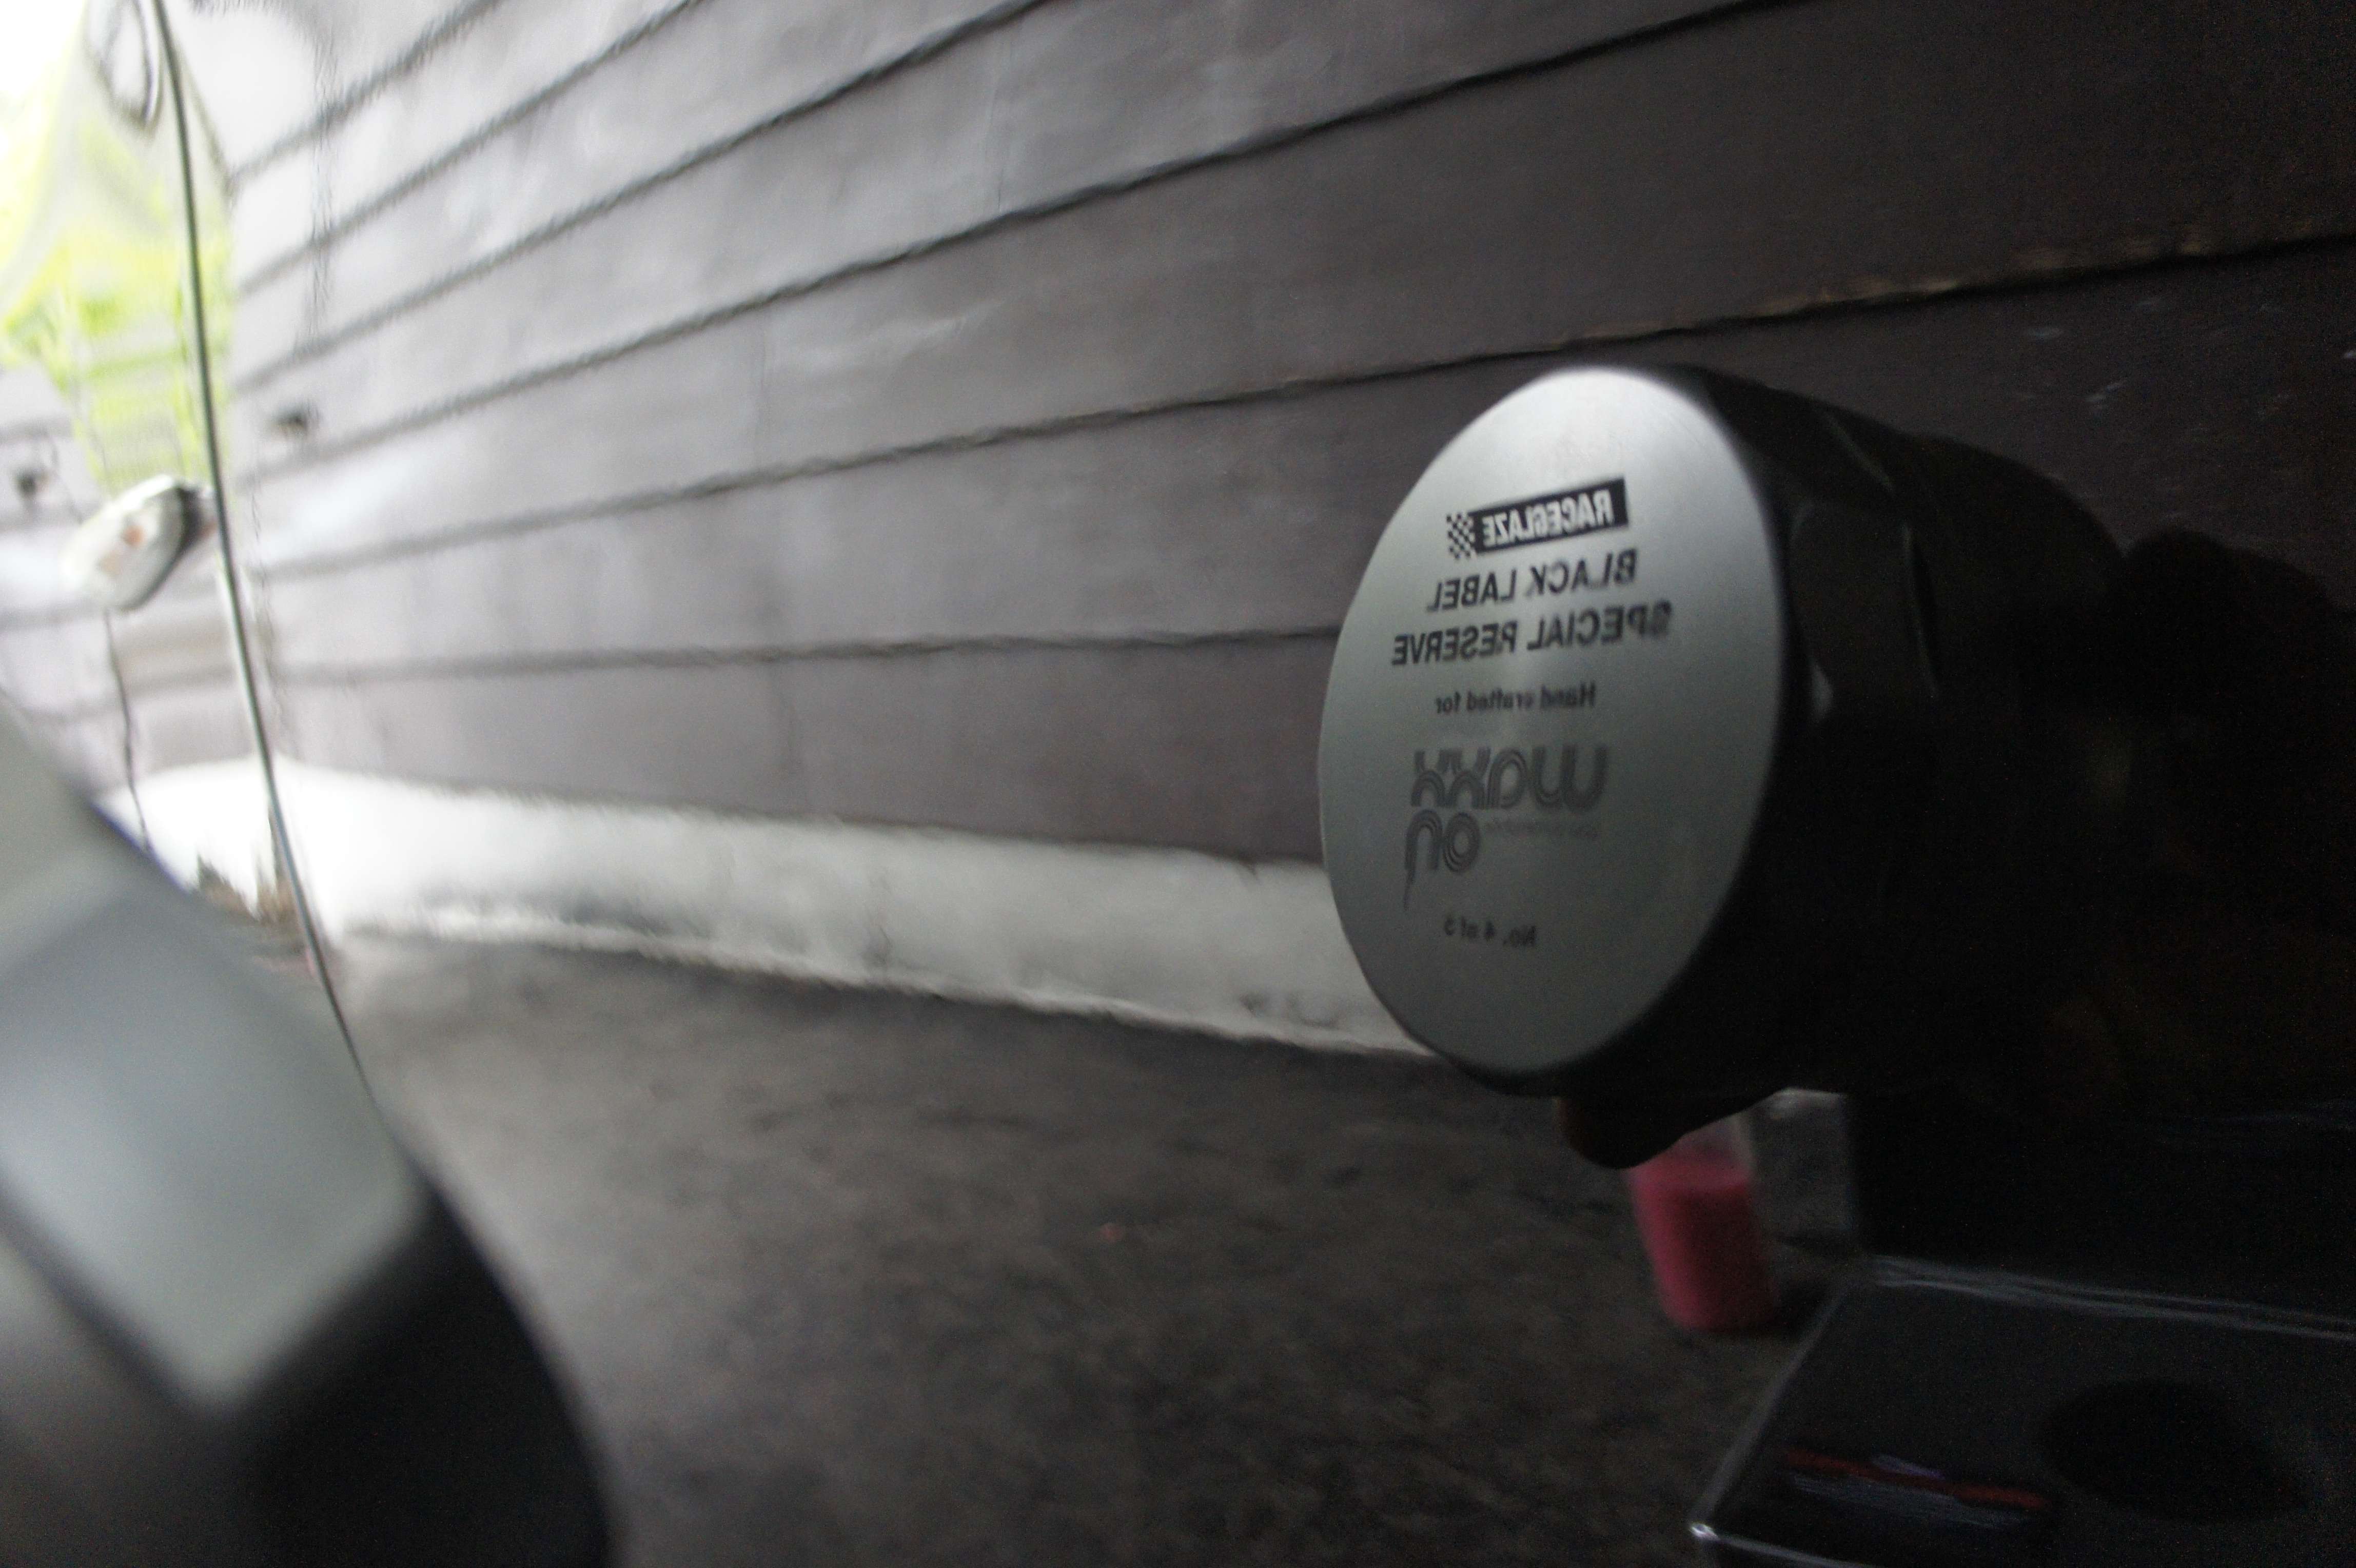
And 4 coat of Raceglaze Special reserve made for me, Waxxon Spa automobile.
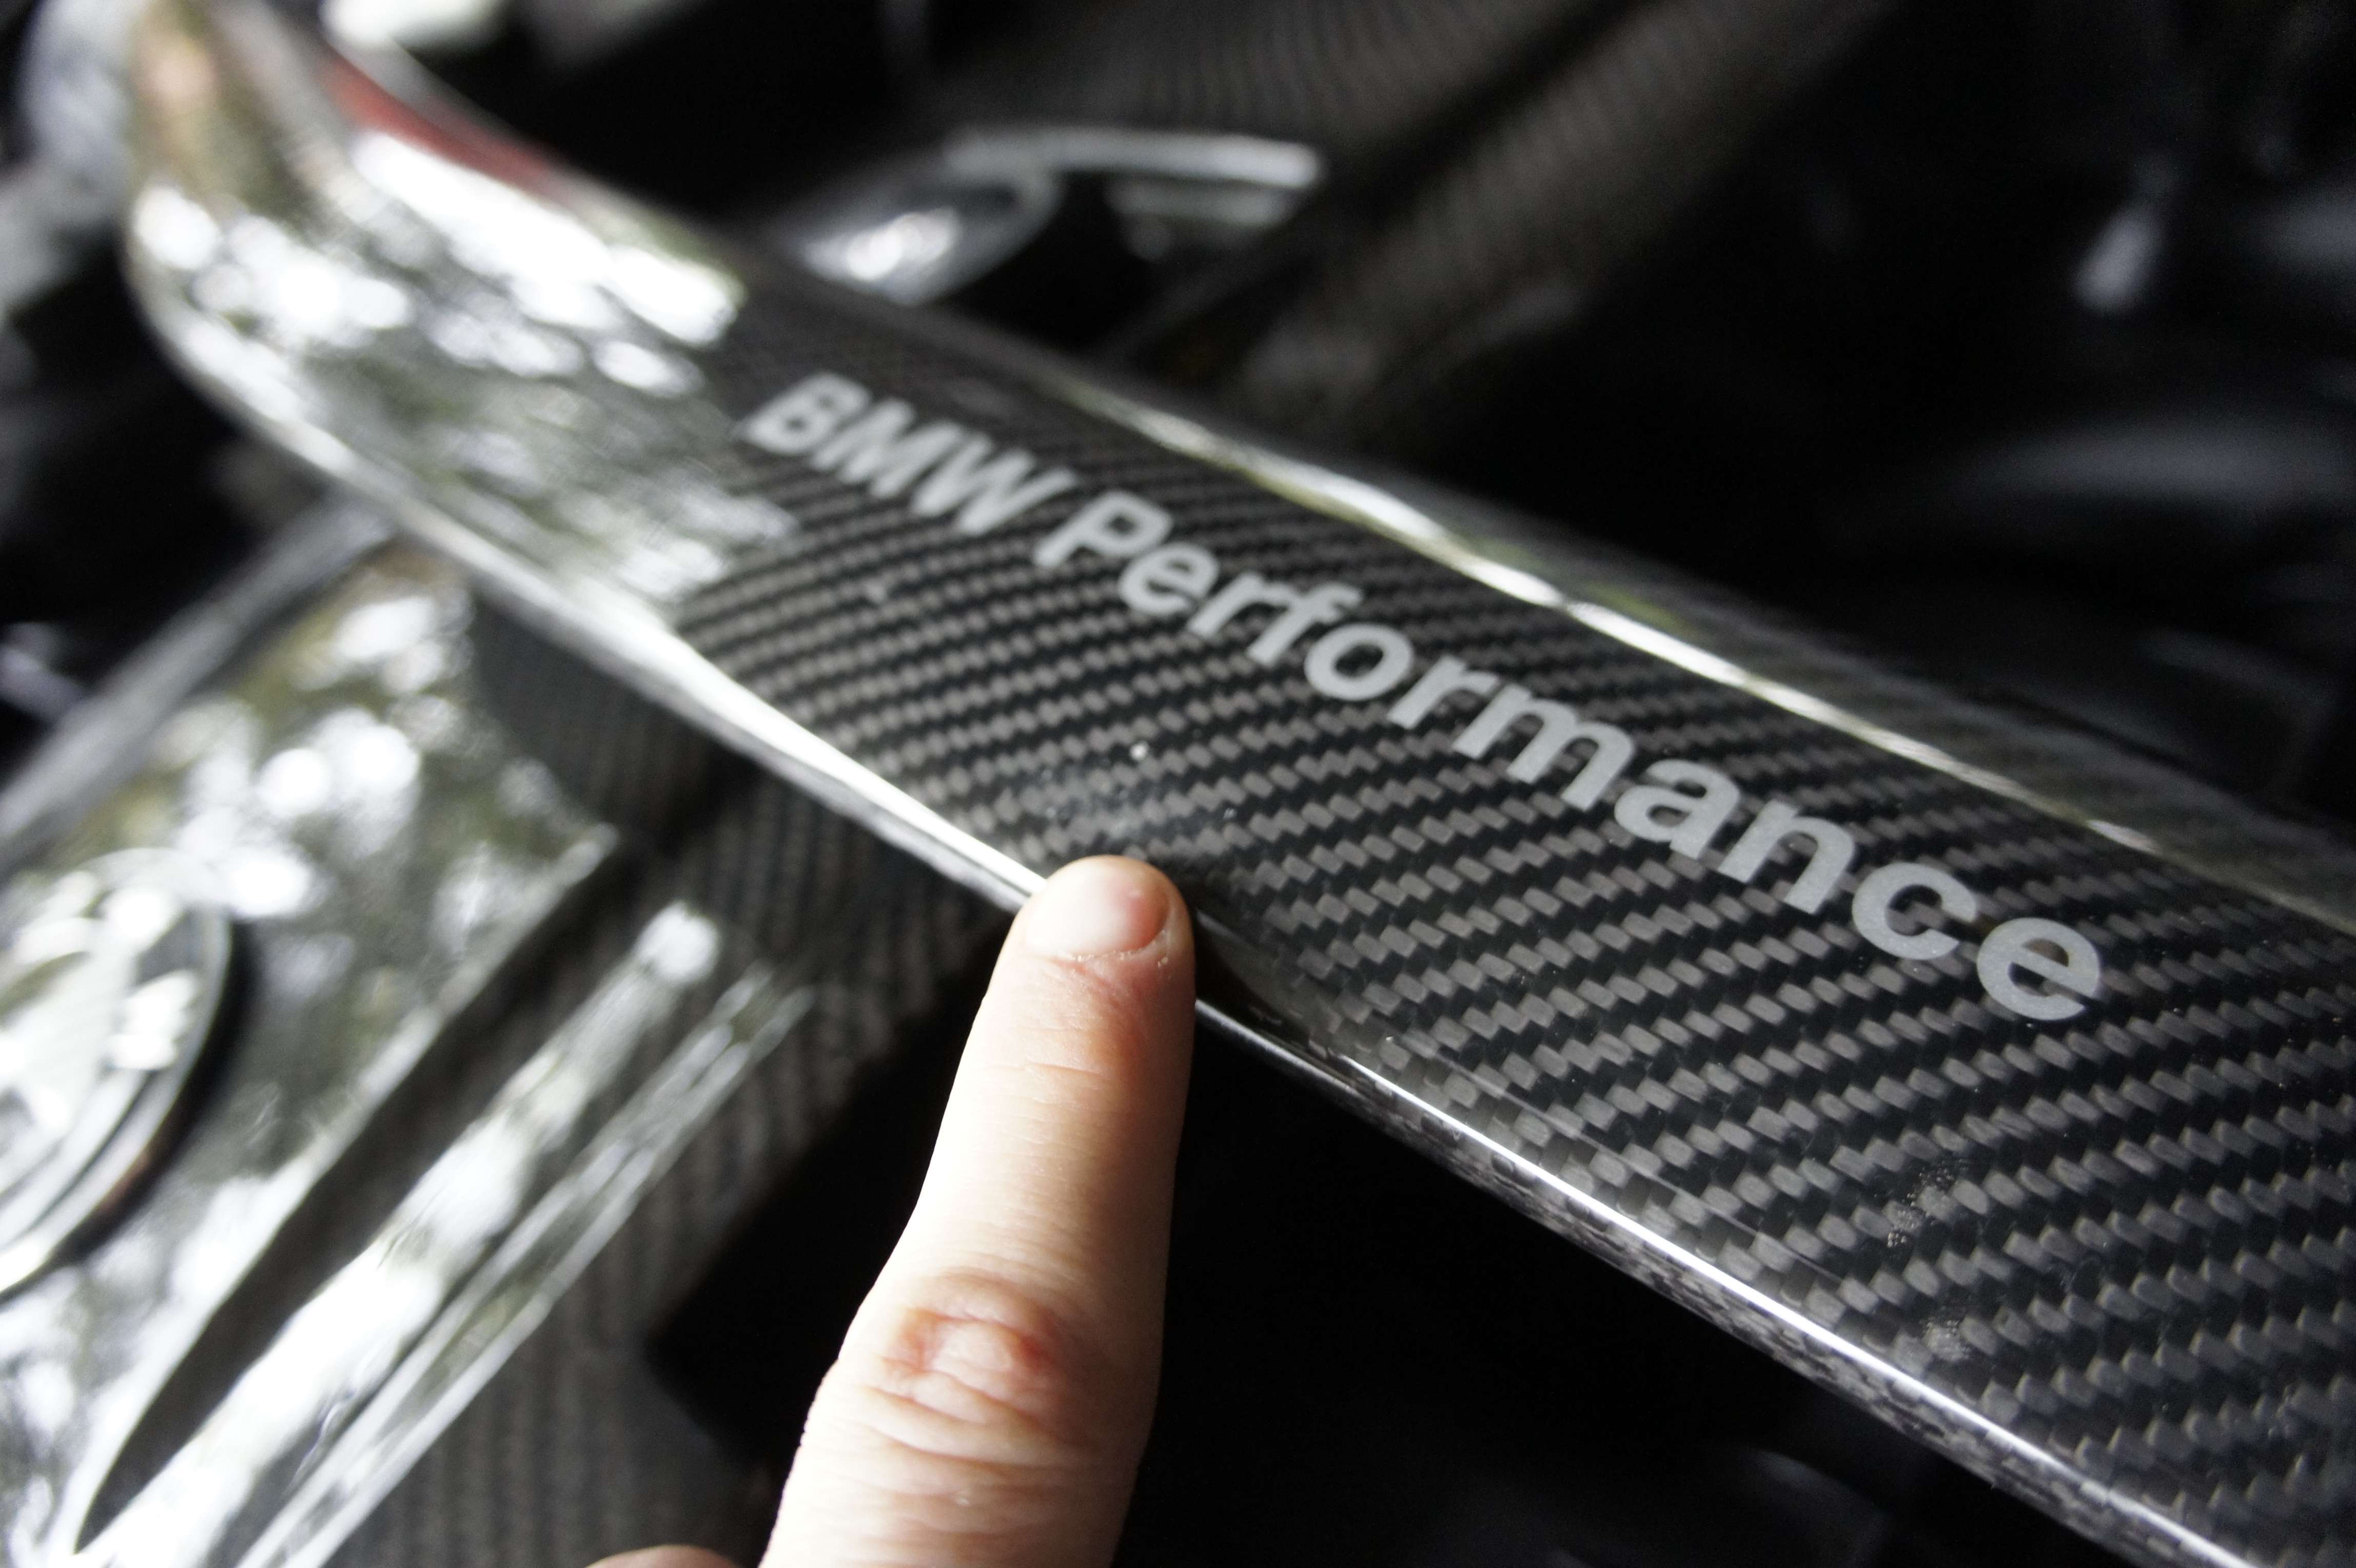
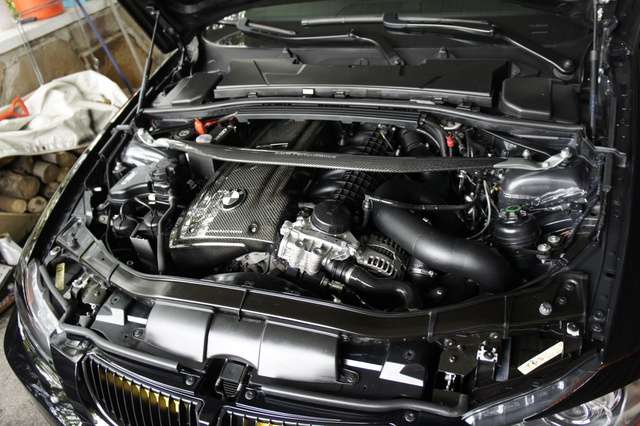
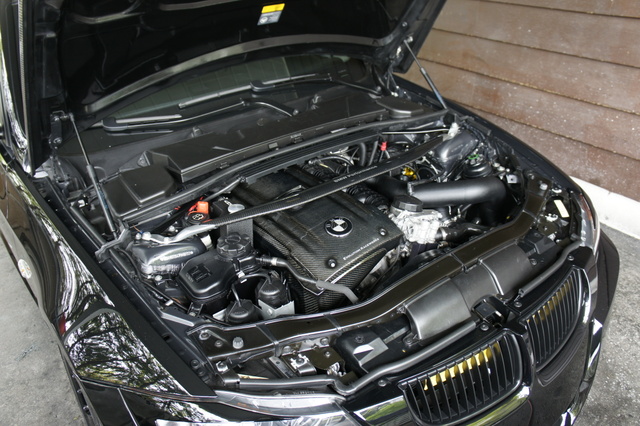
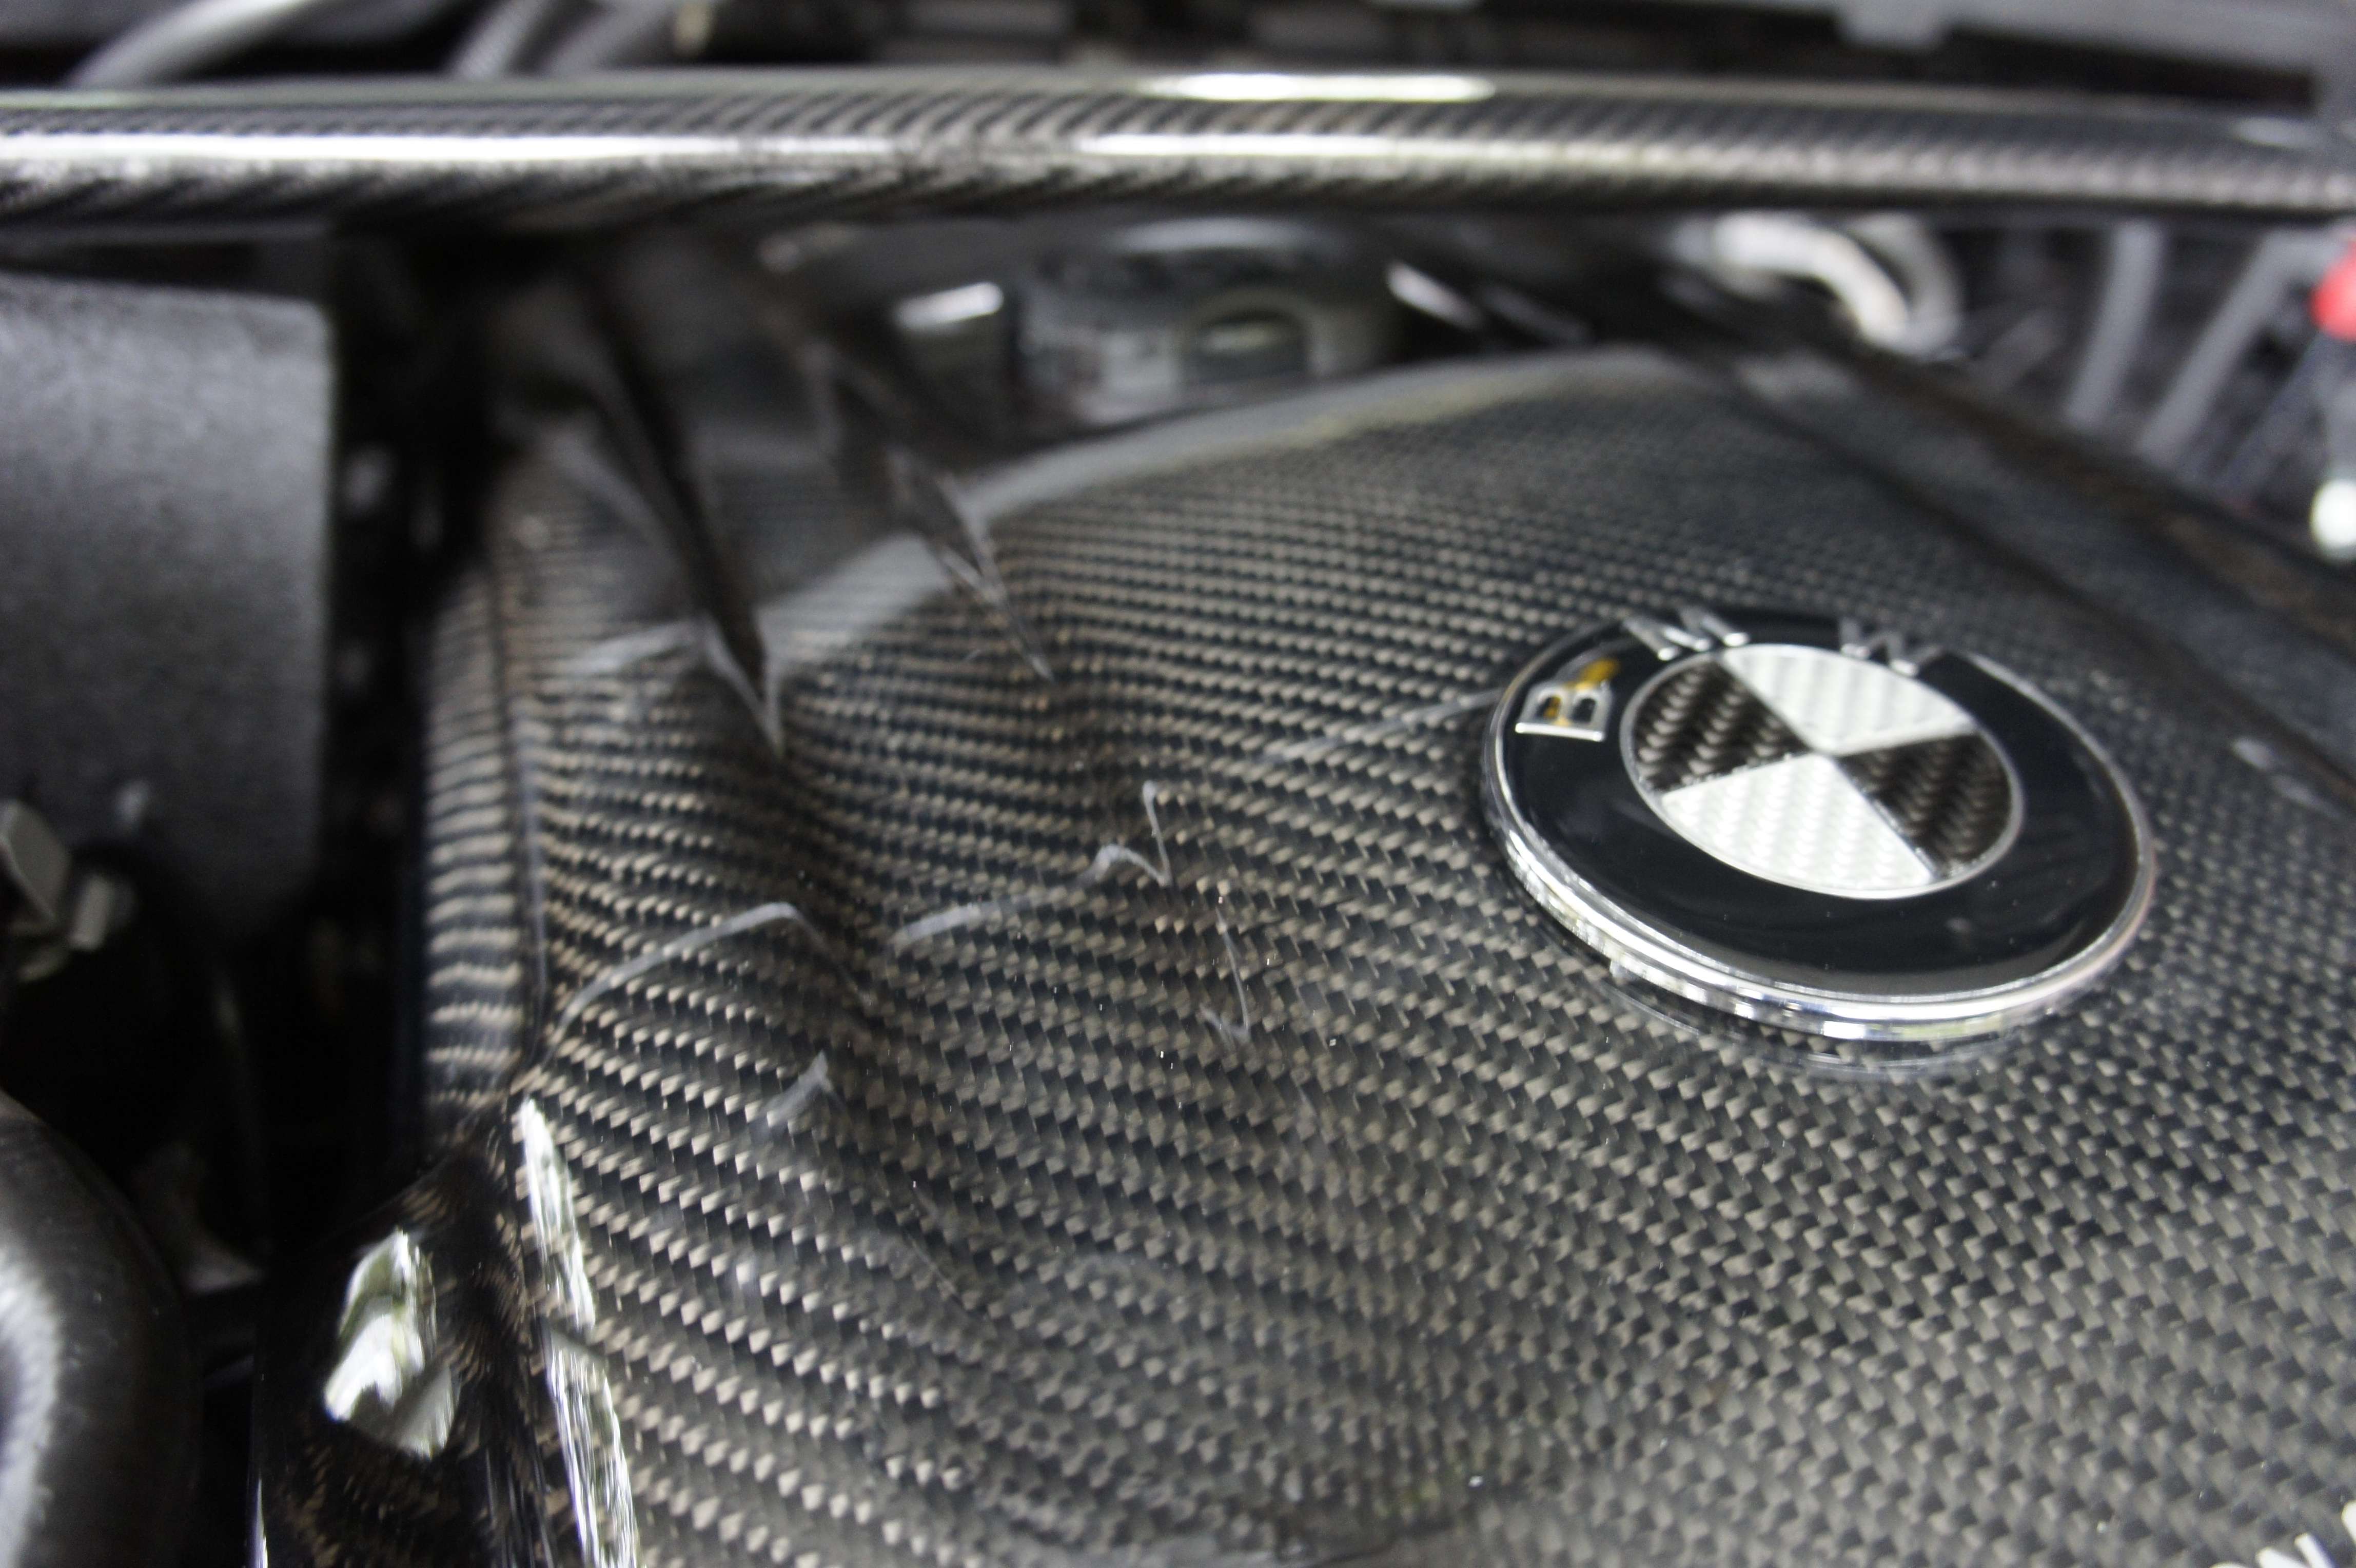
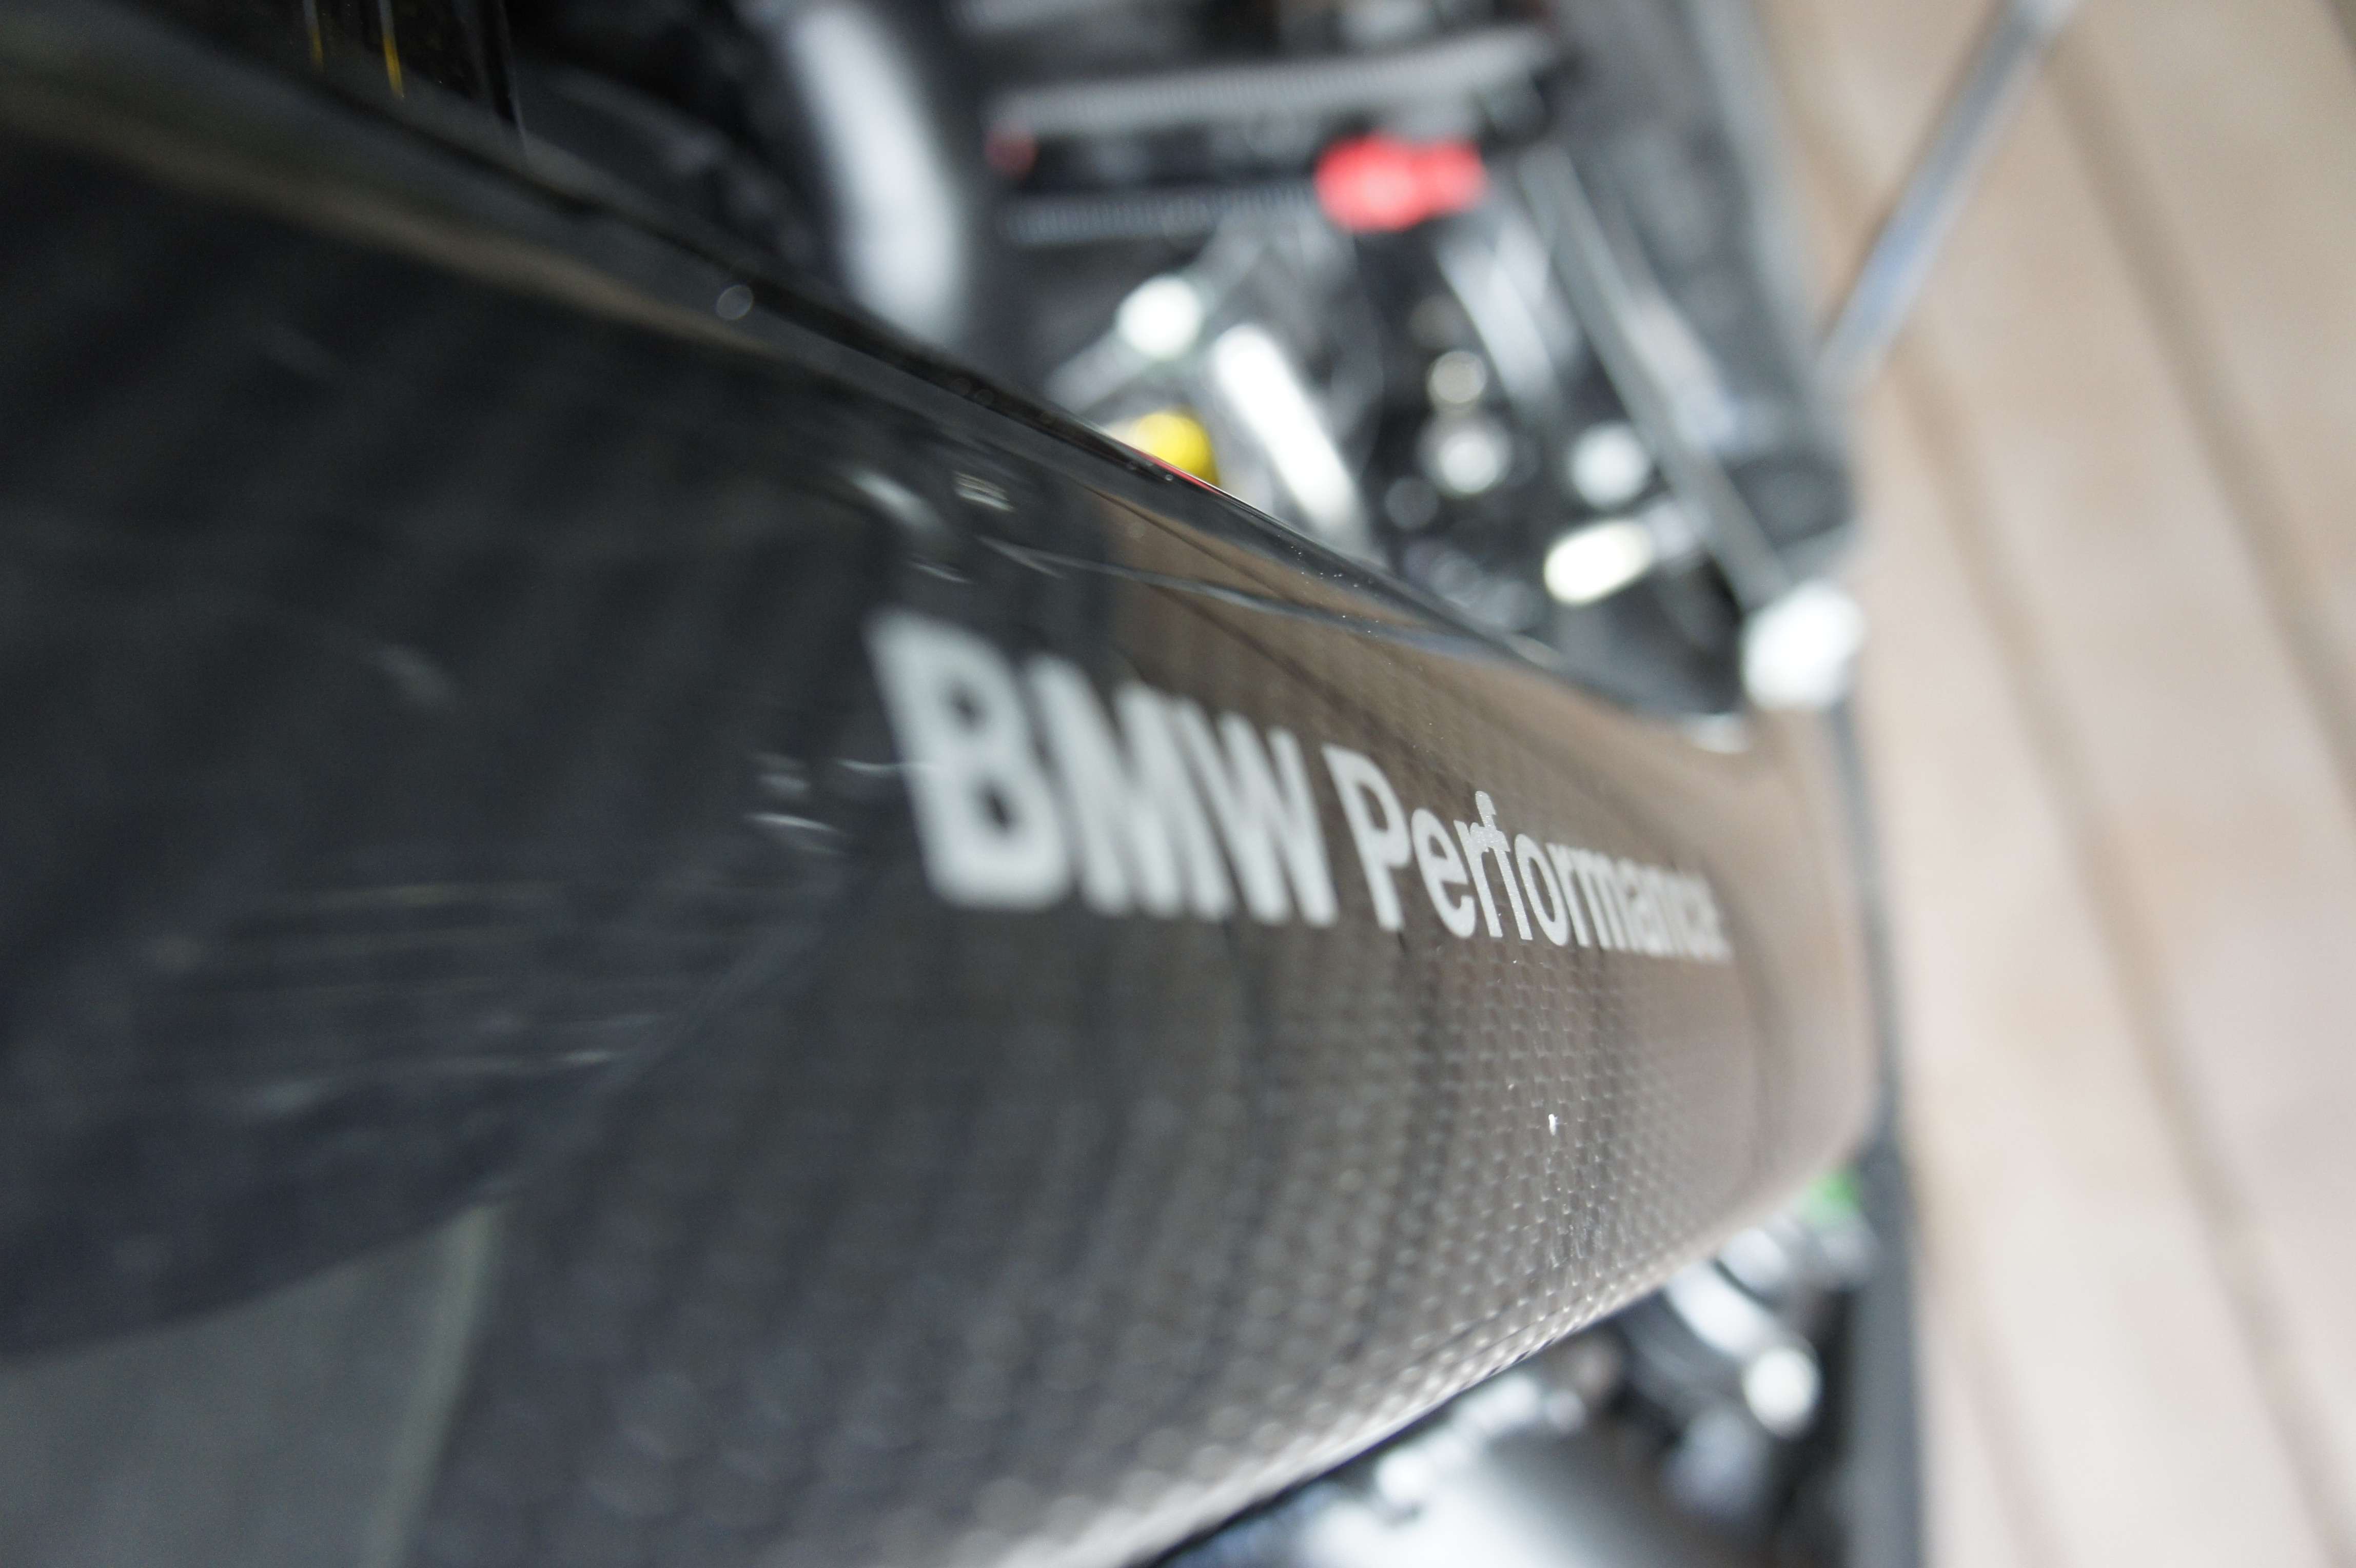
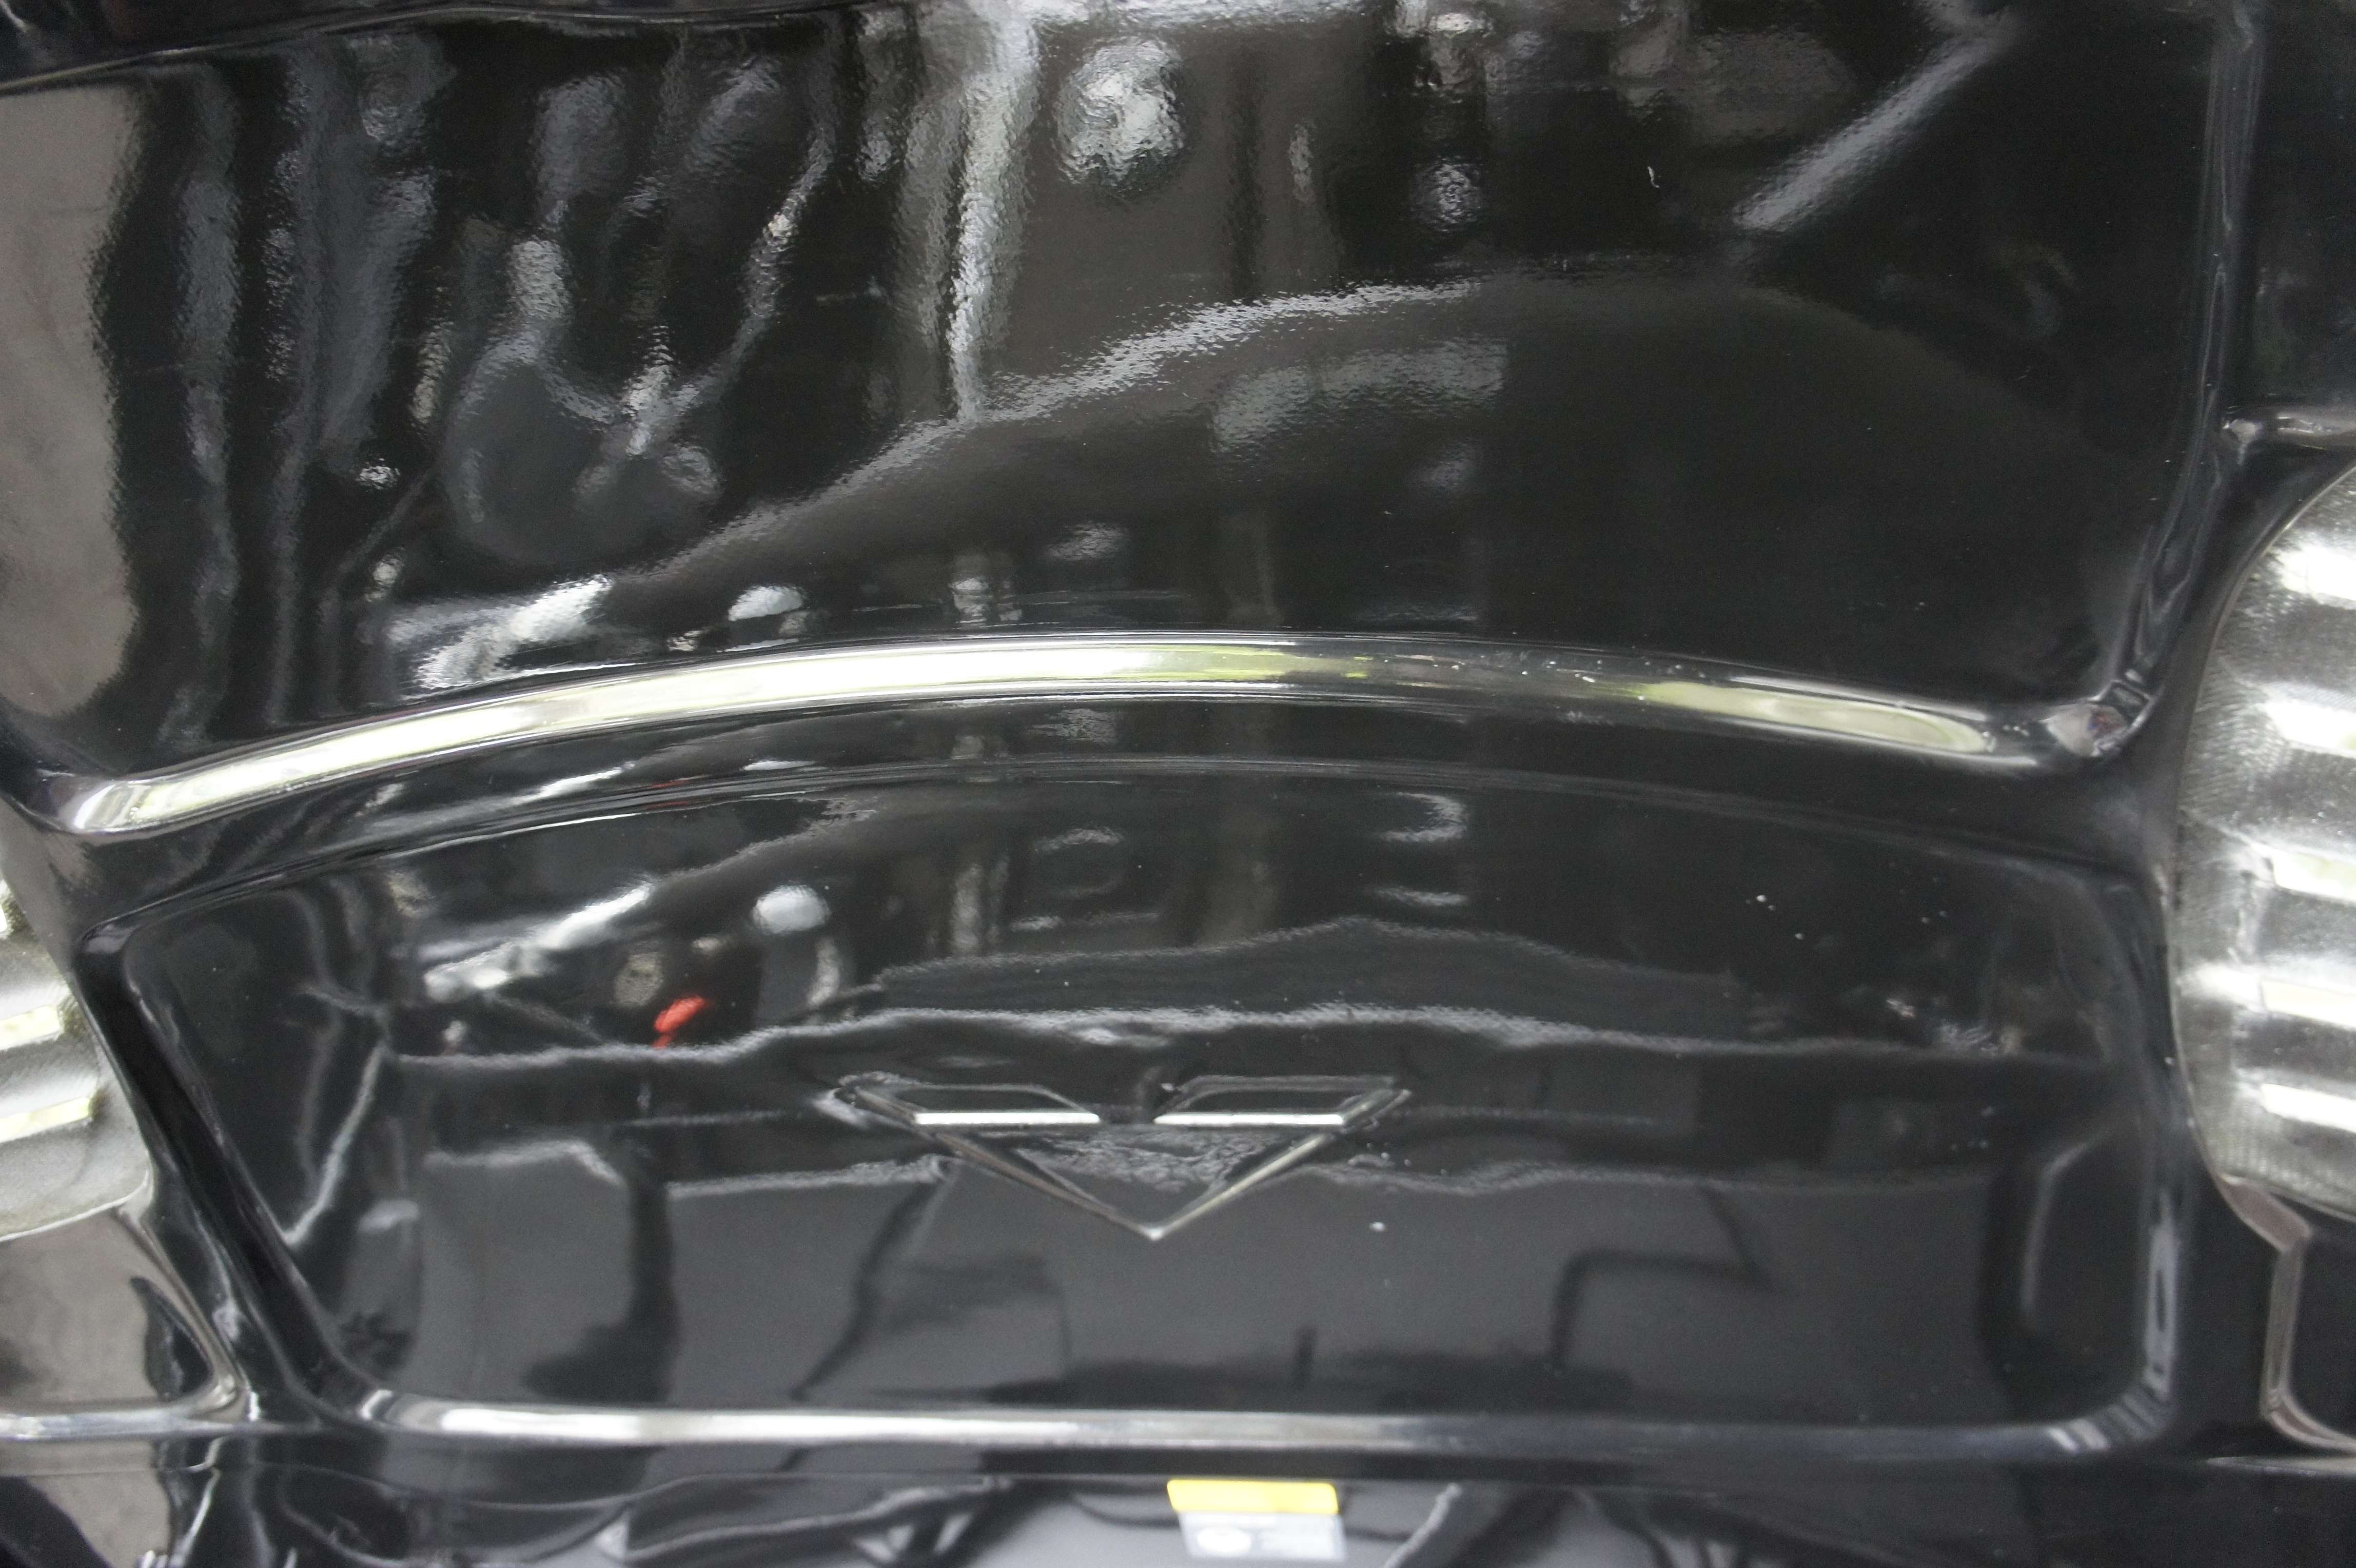
1) Engine bay:
These items are suppose to be brand new but for some reasons, I guess they were left on the floor without microfiber to protect the finish:
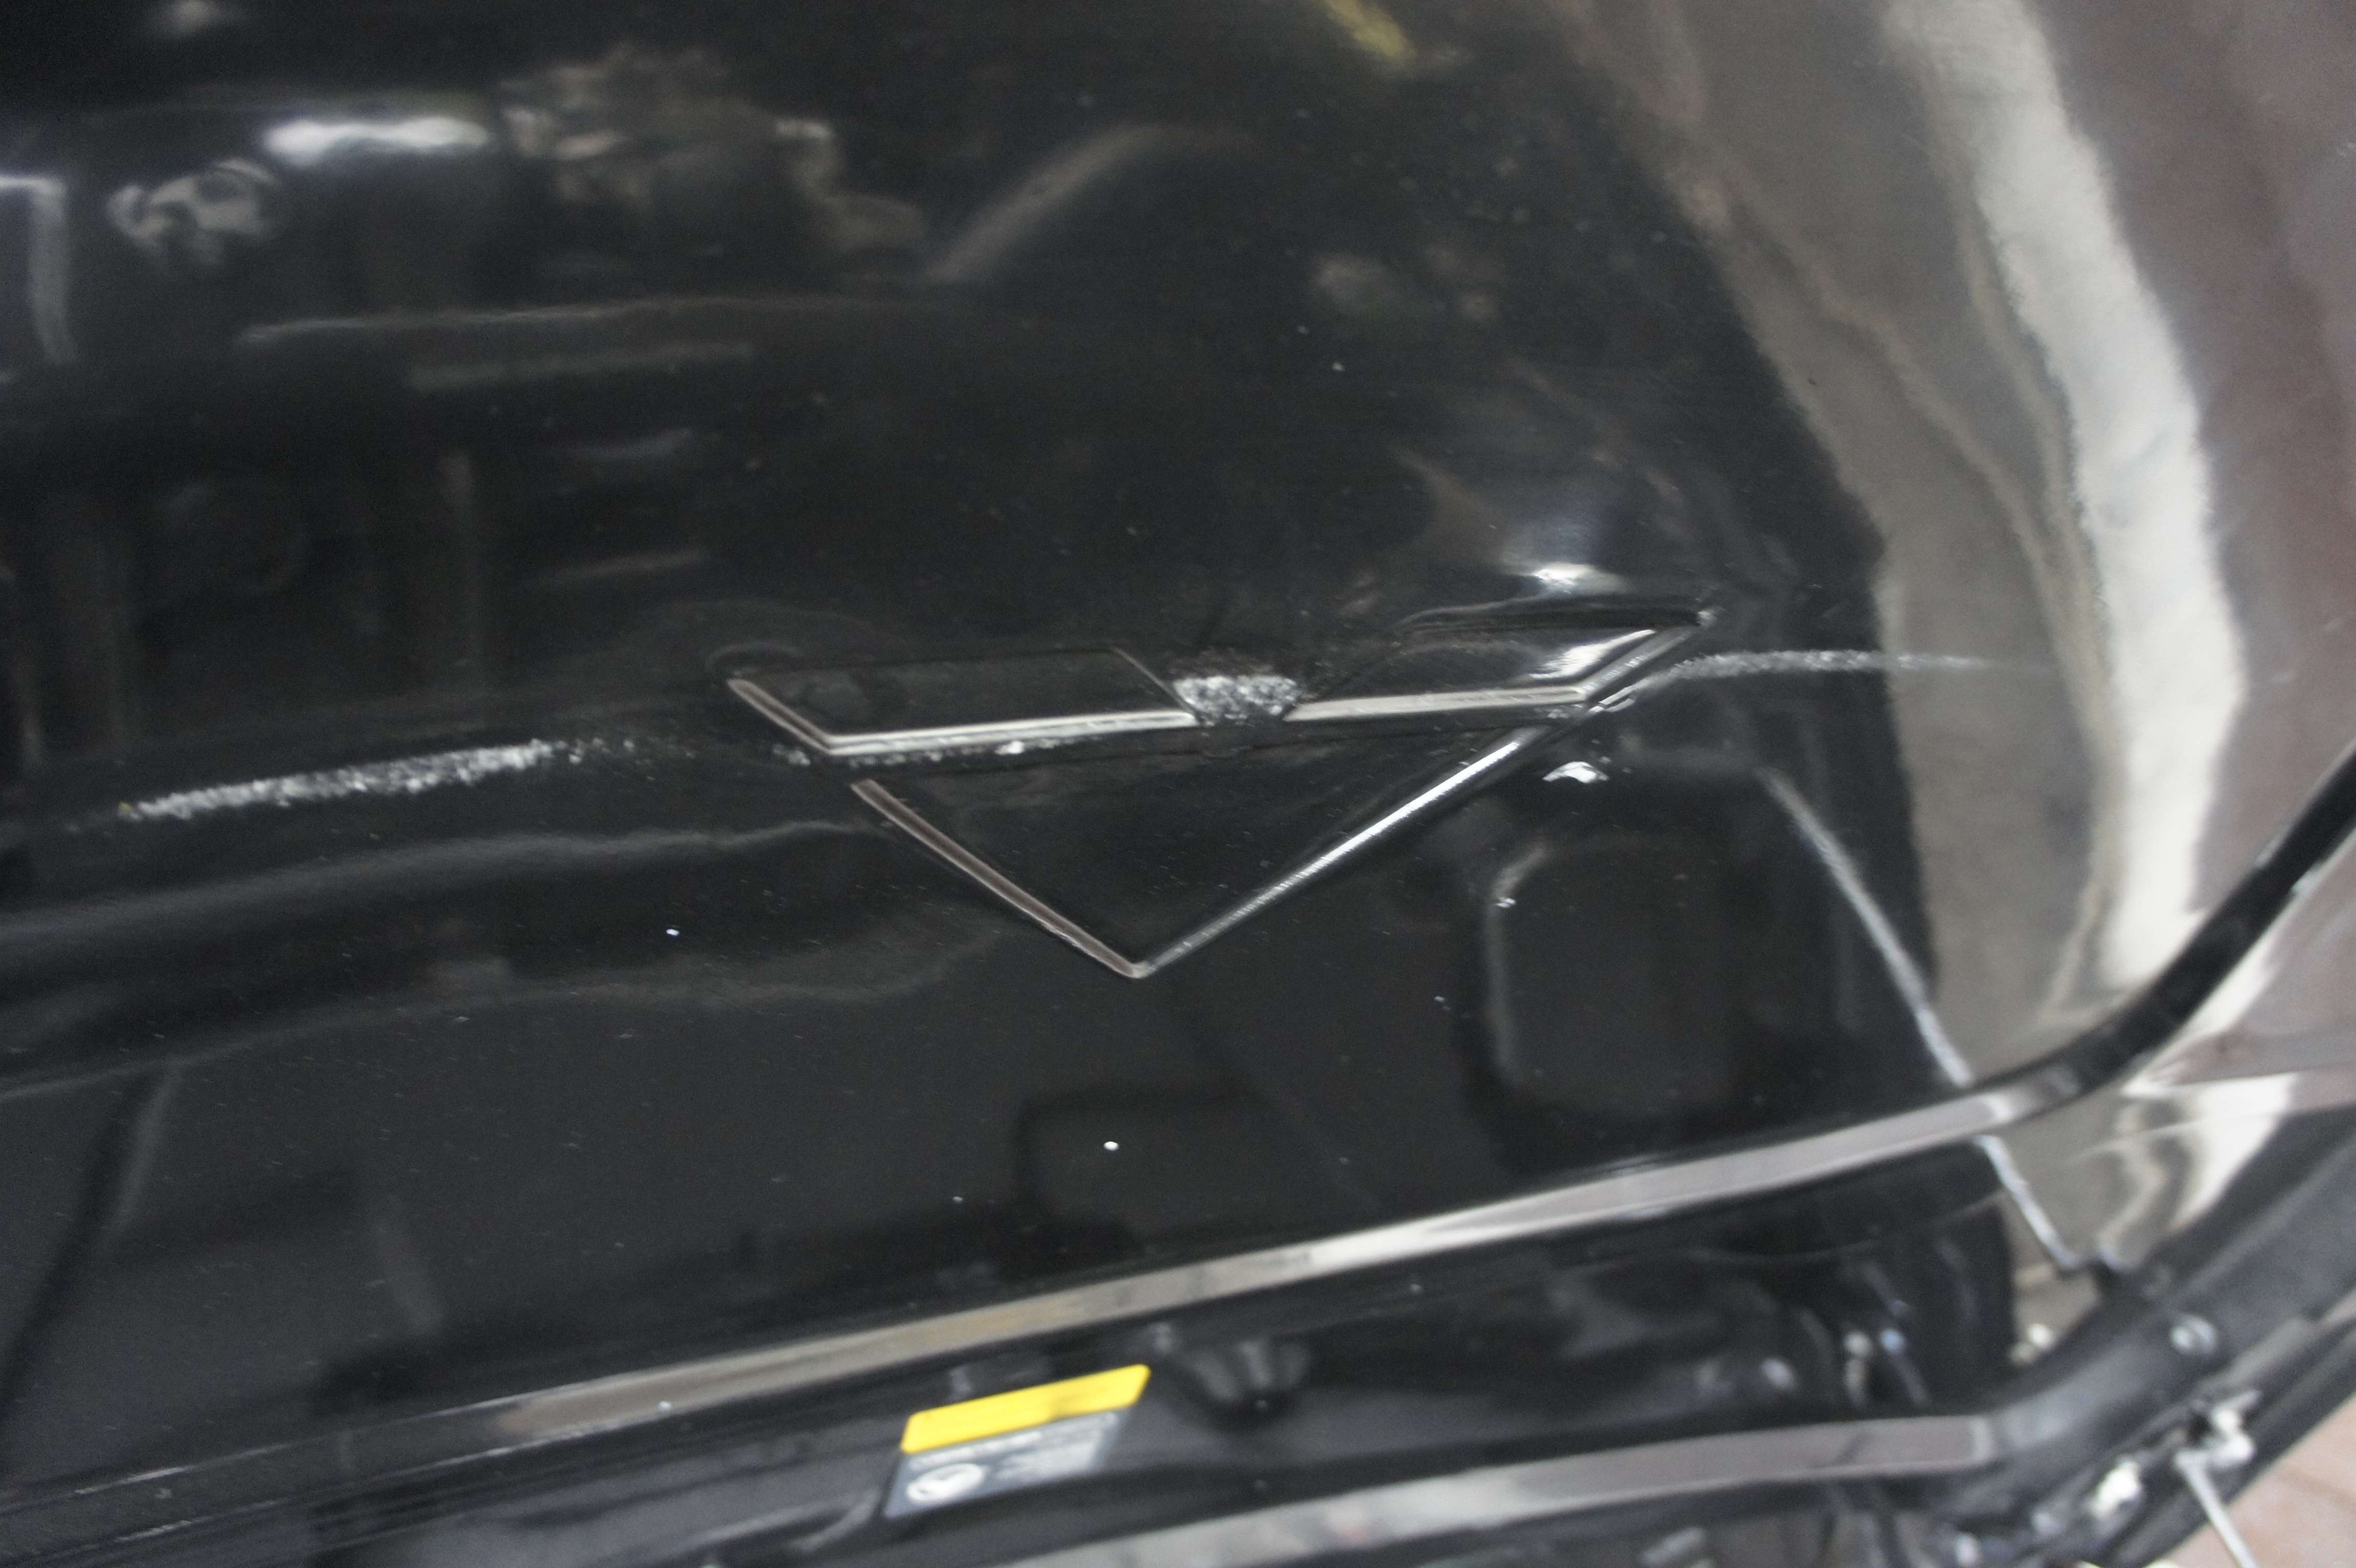
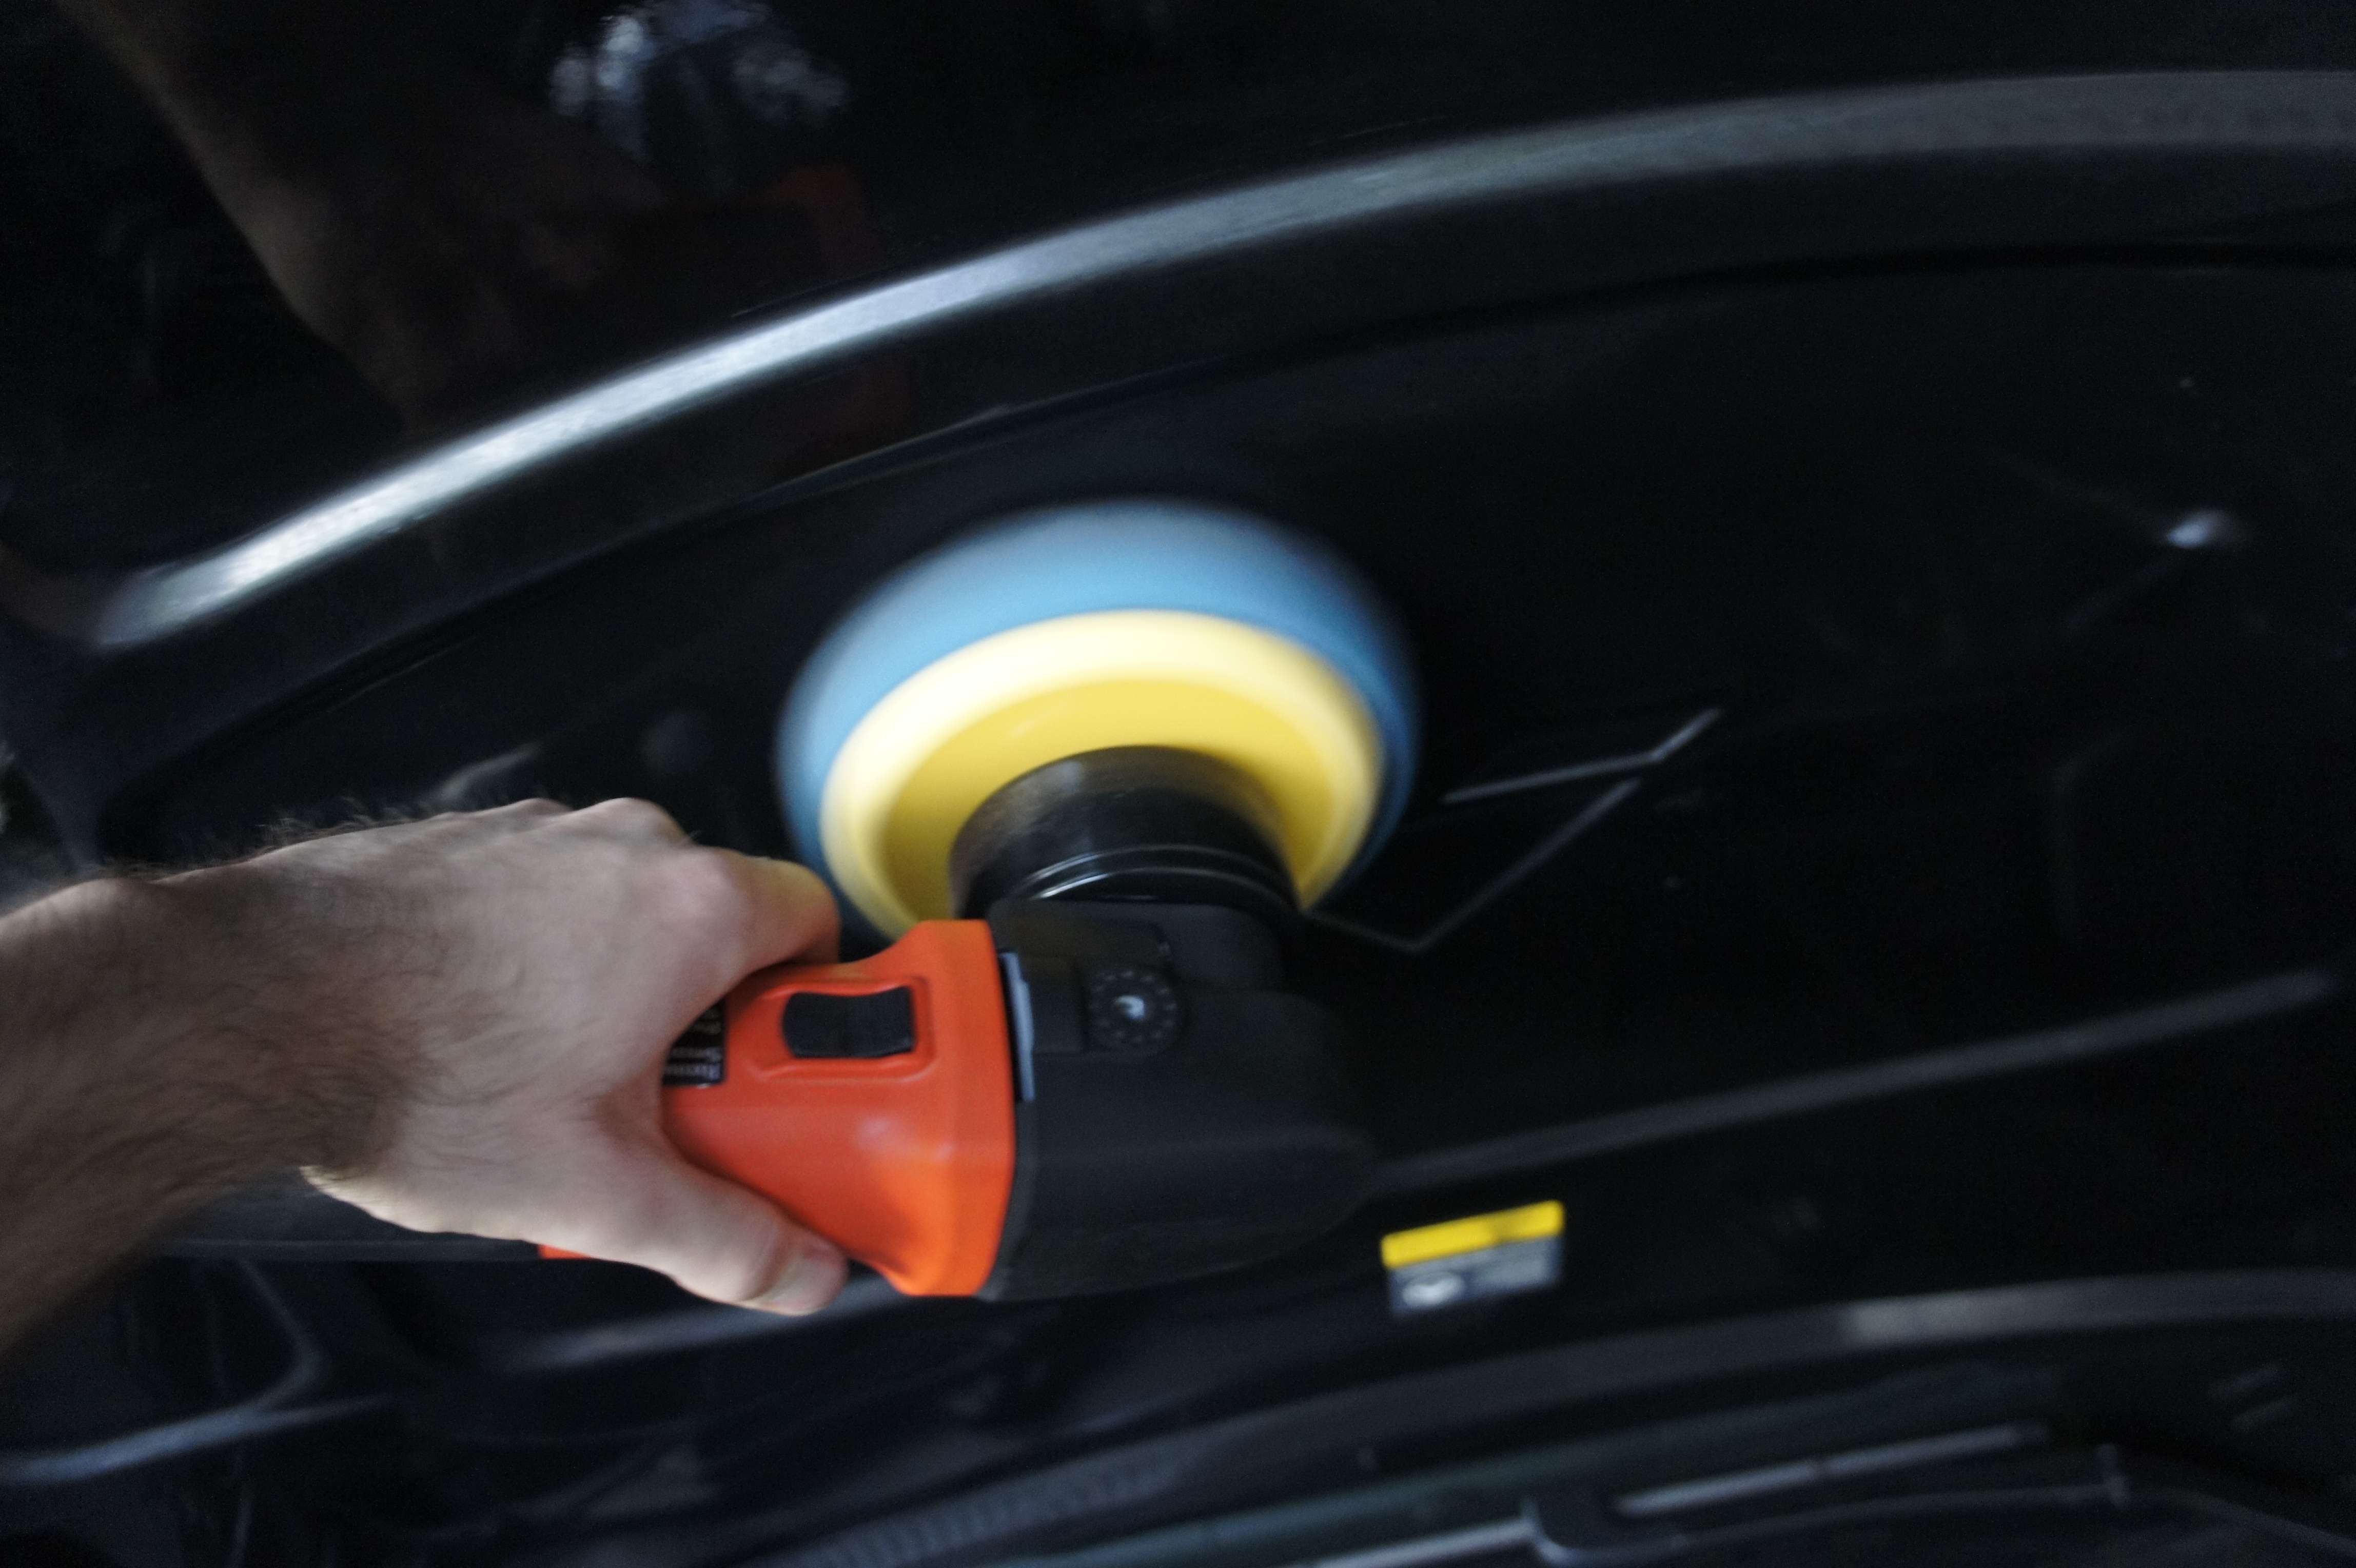
Polishing the scratch on both the strut bar, engine cover and under the hood:
Waxing with Hi-temp wax + black label

Trim were treated for a darker look:
Also waxed:
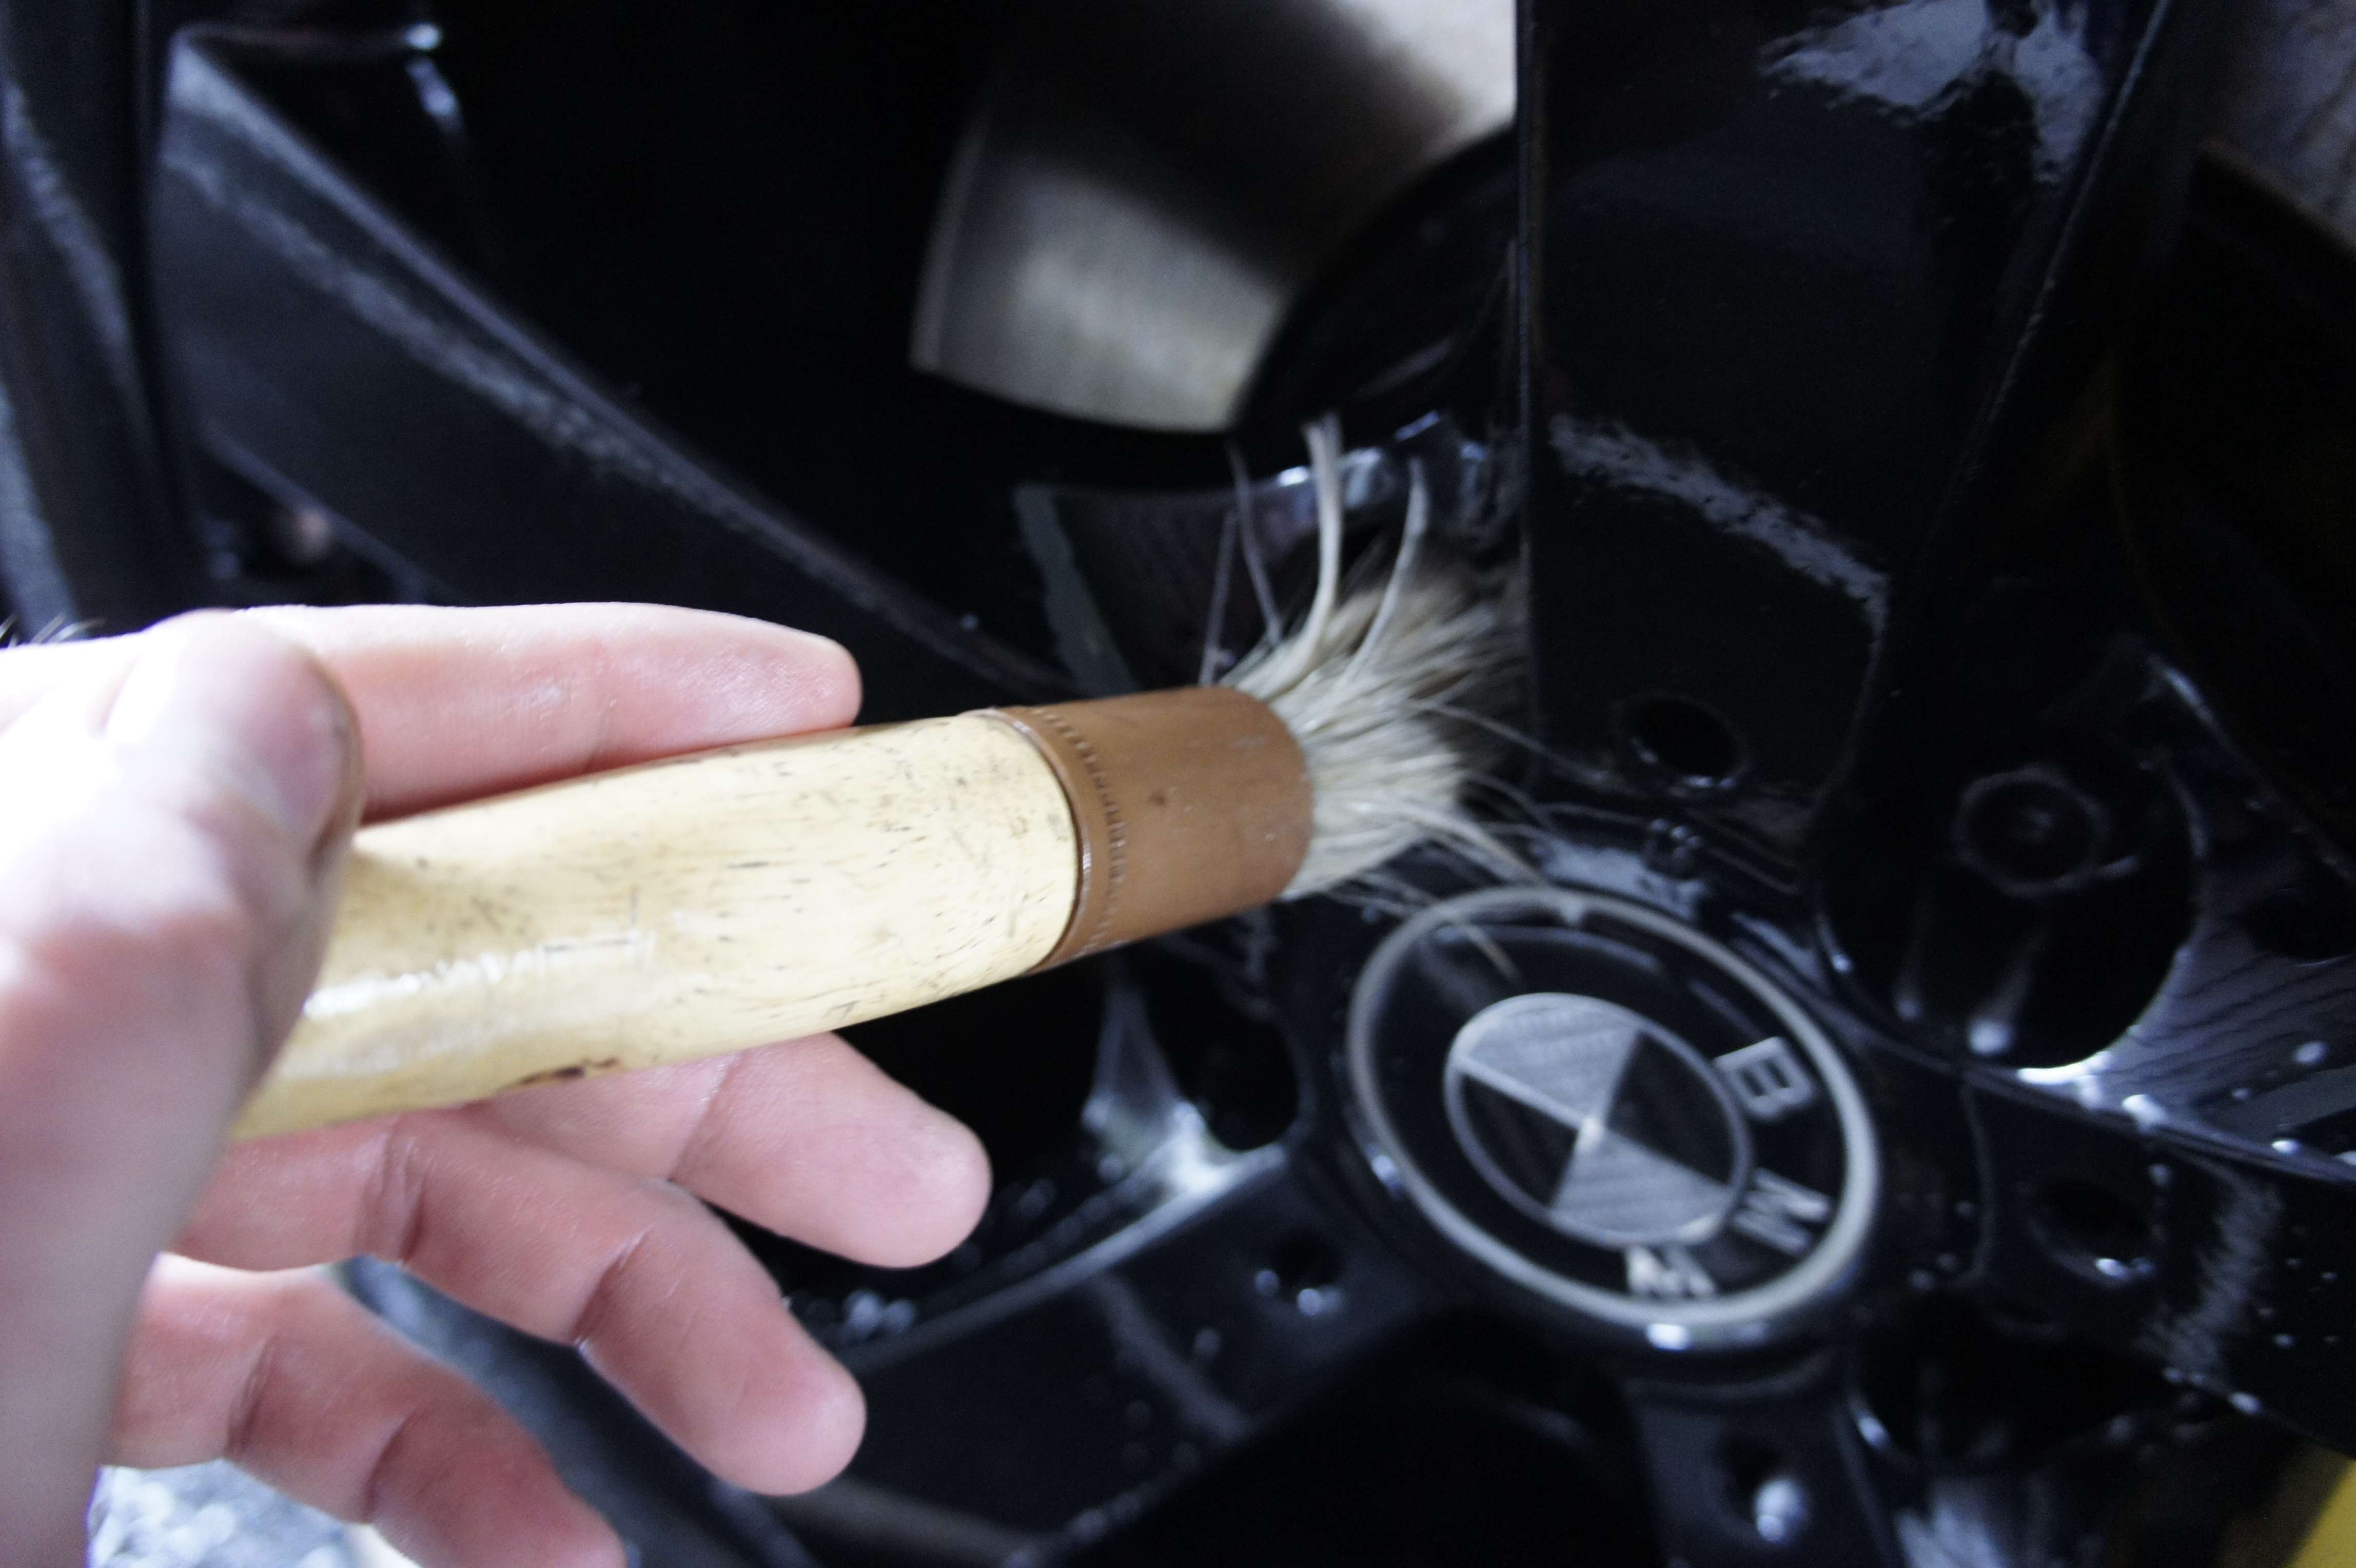
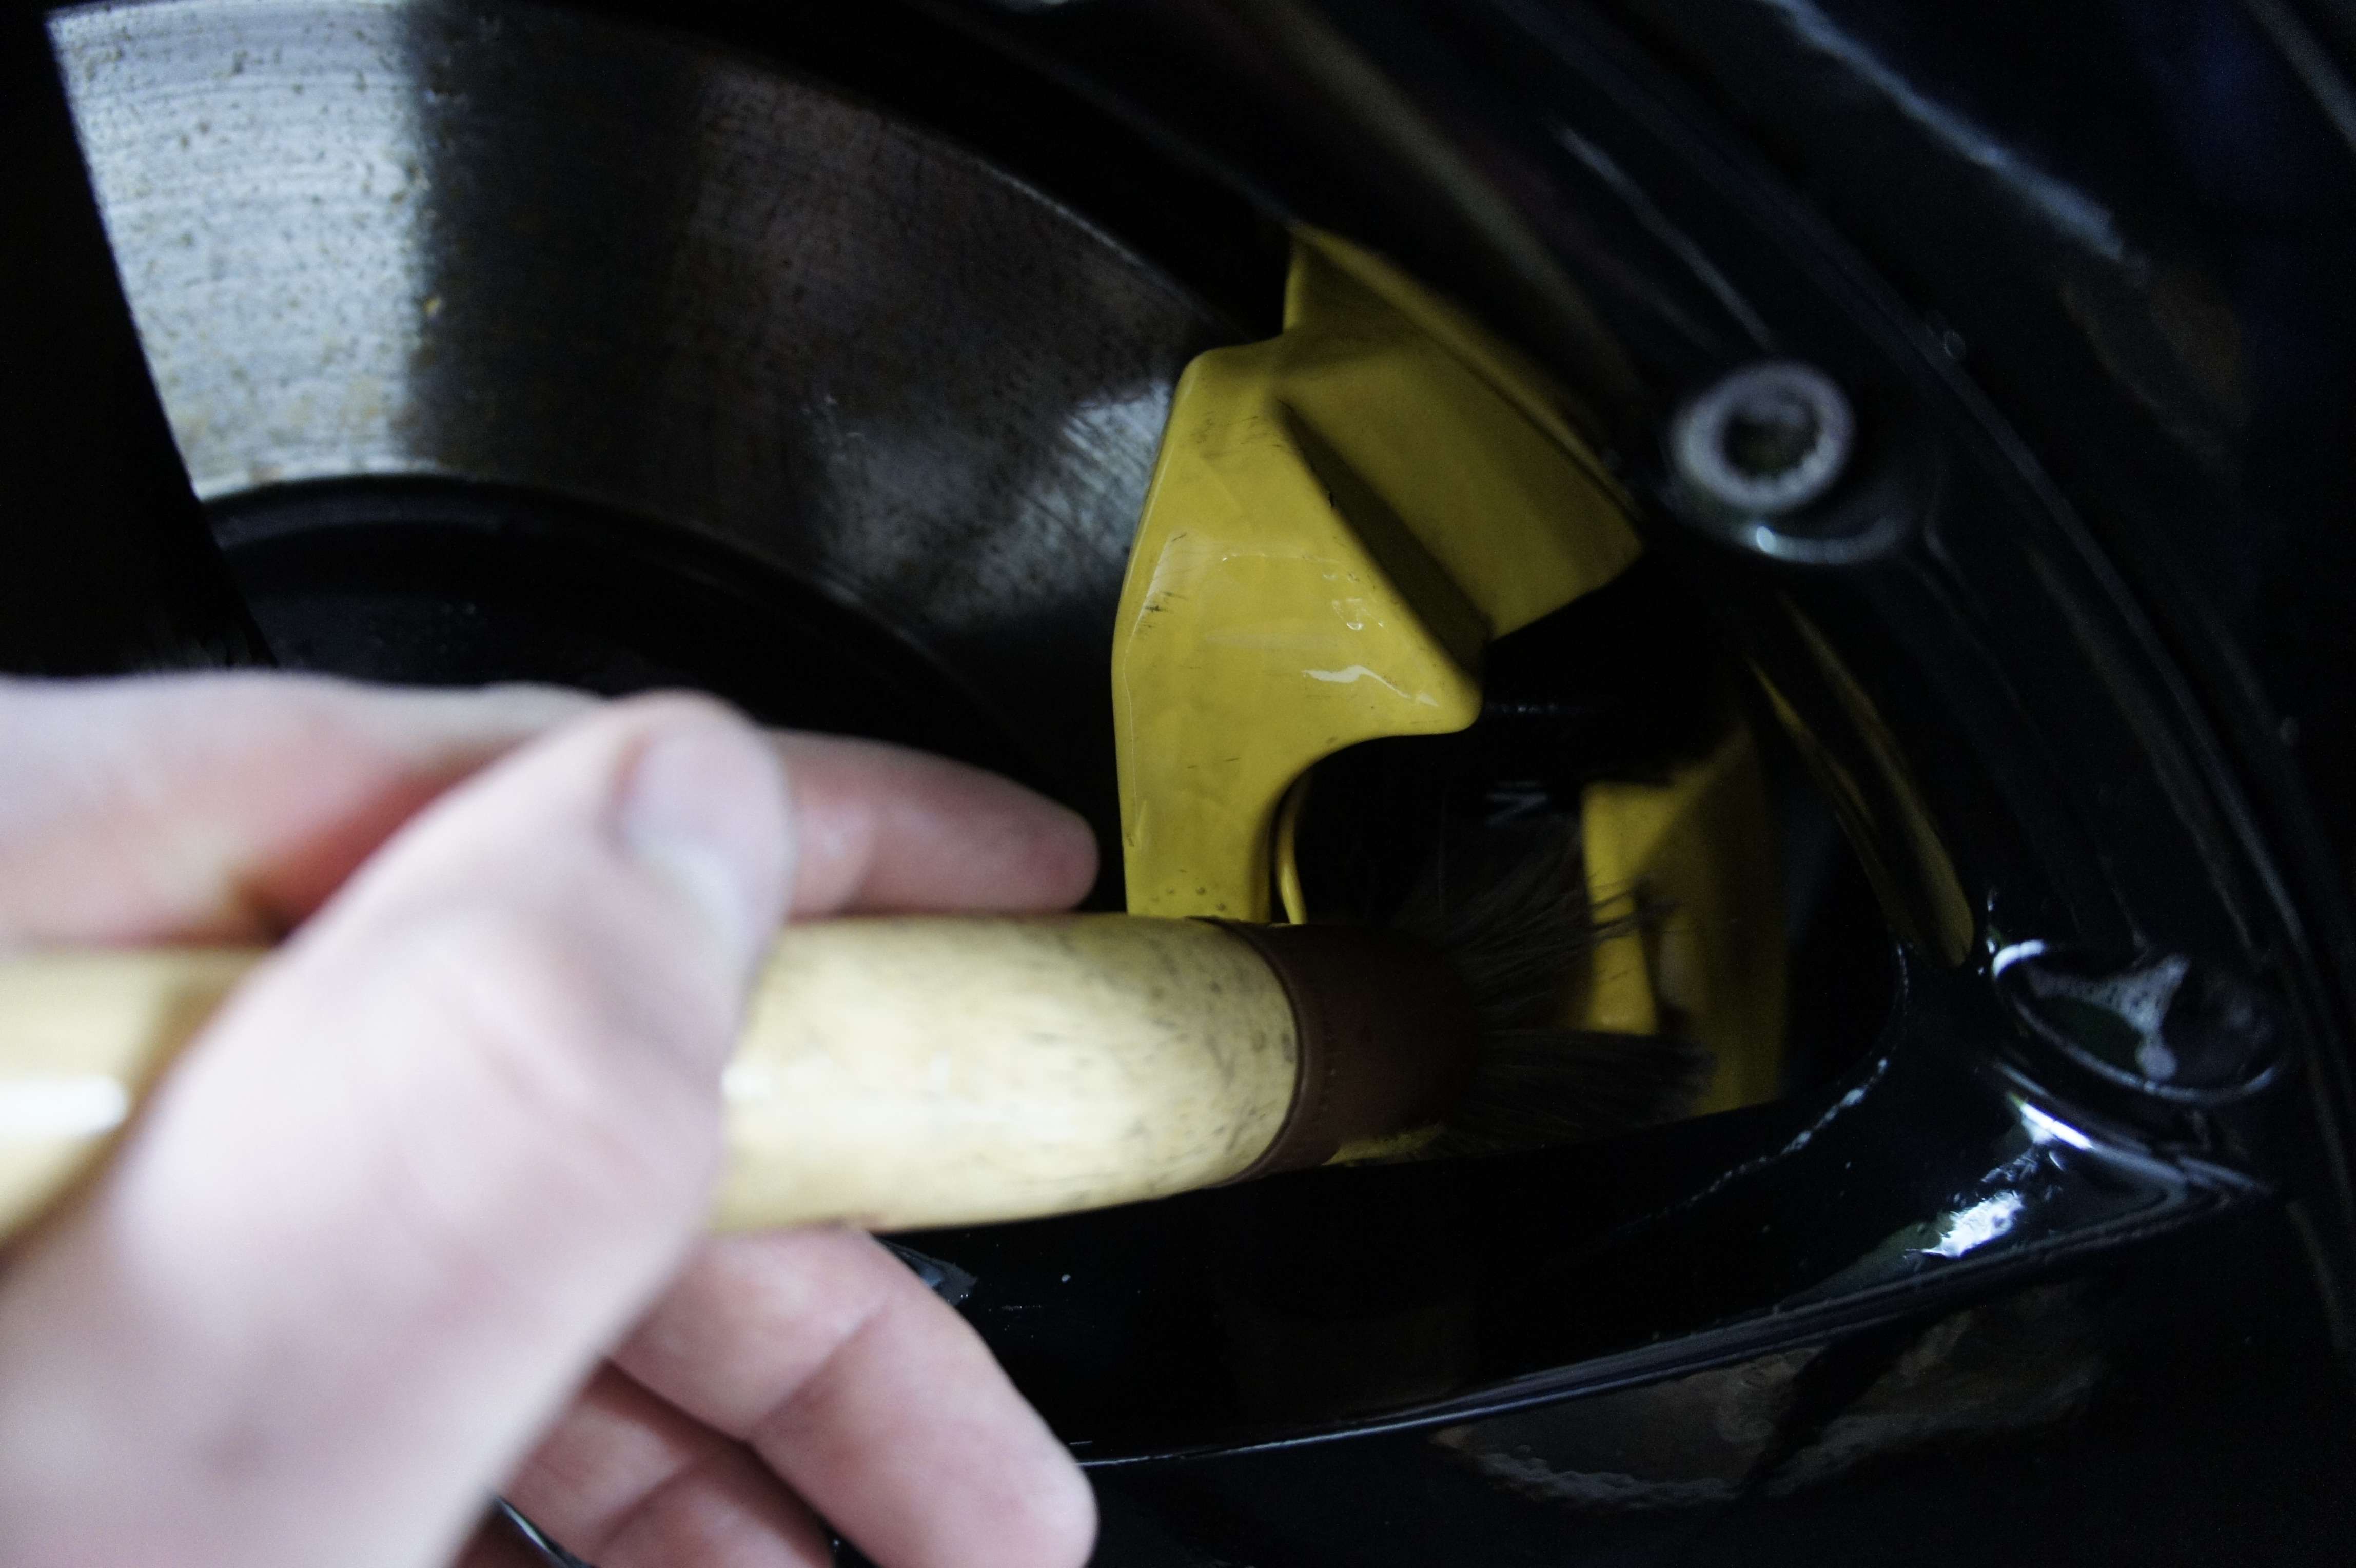
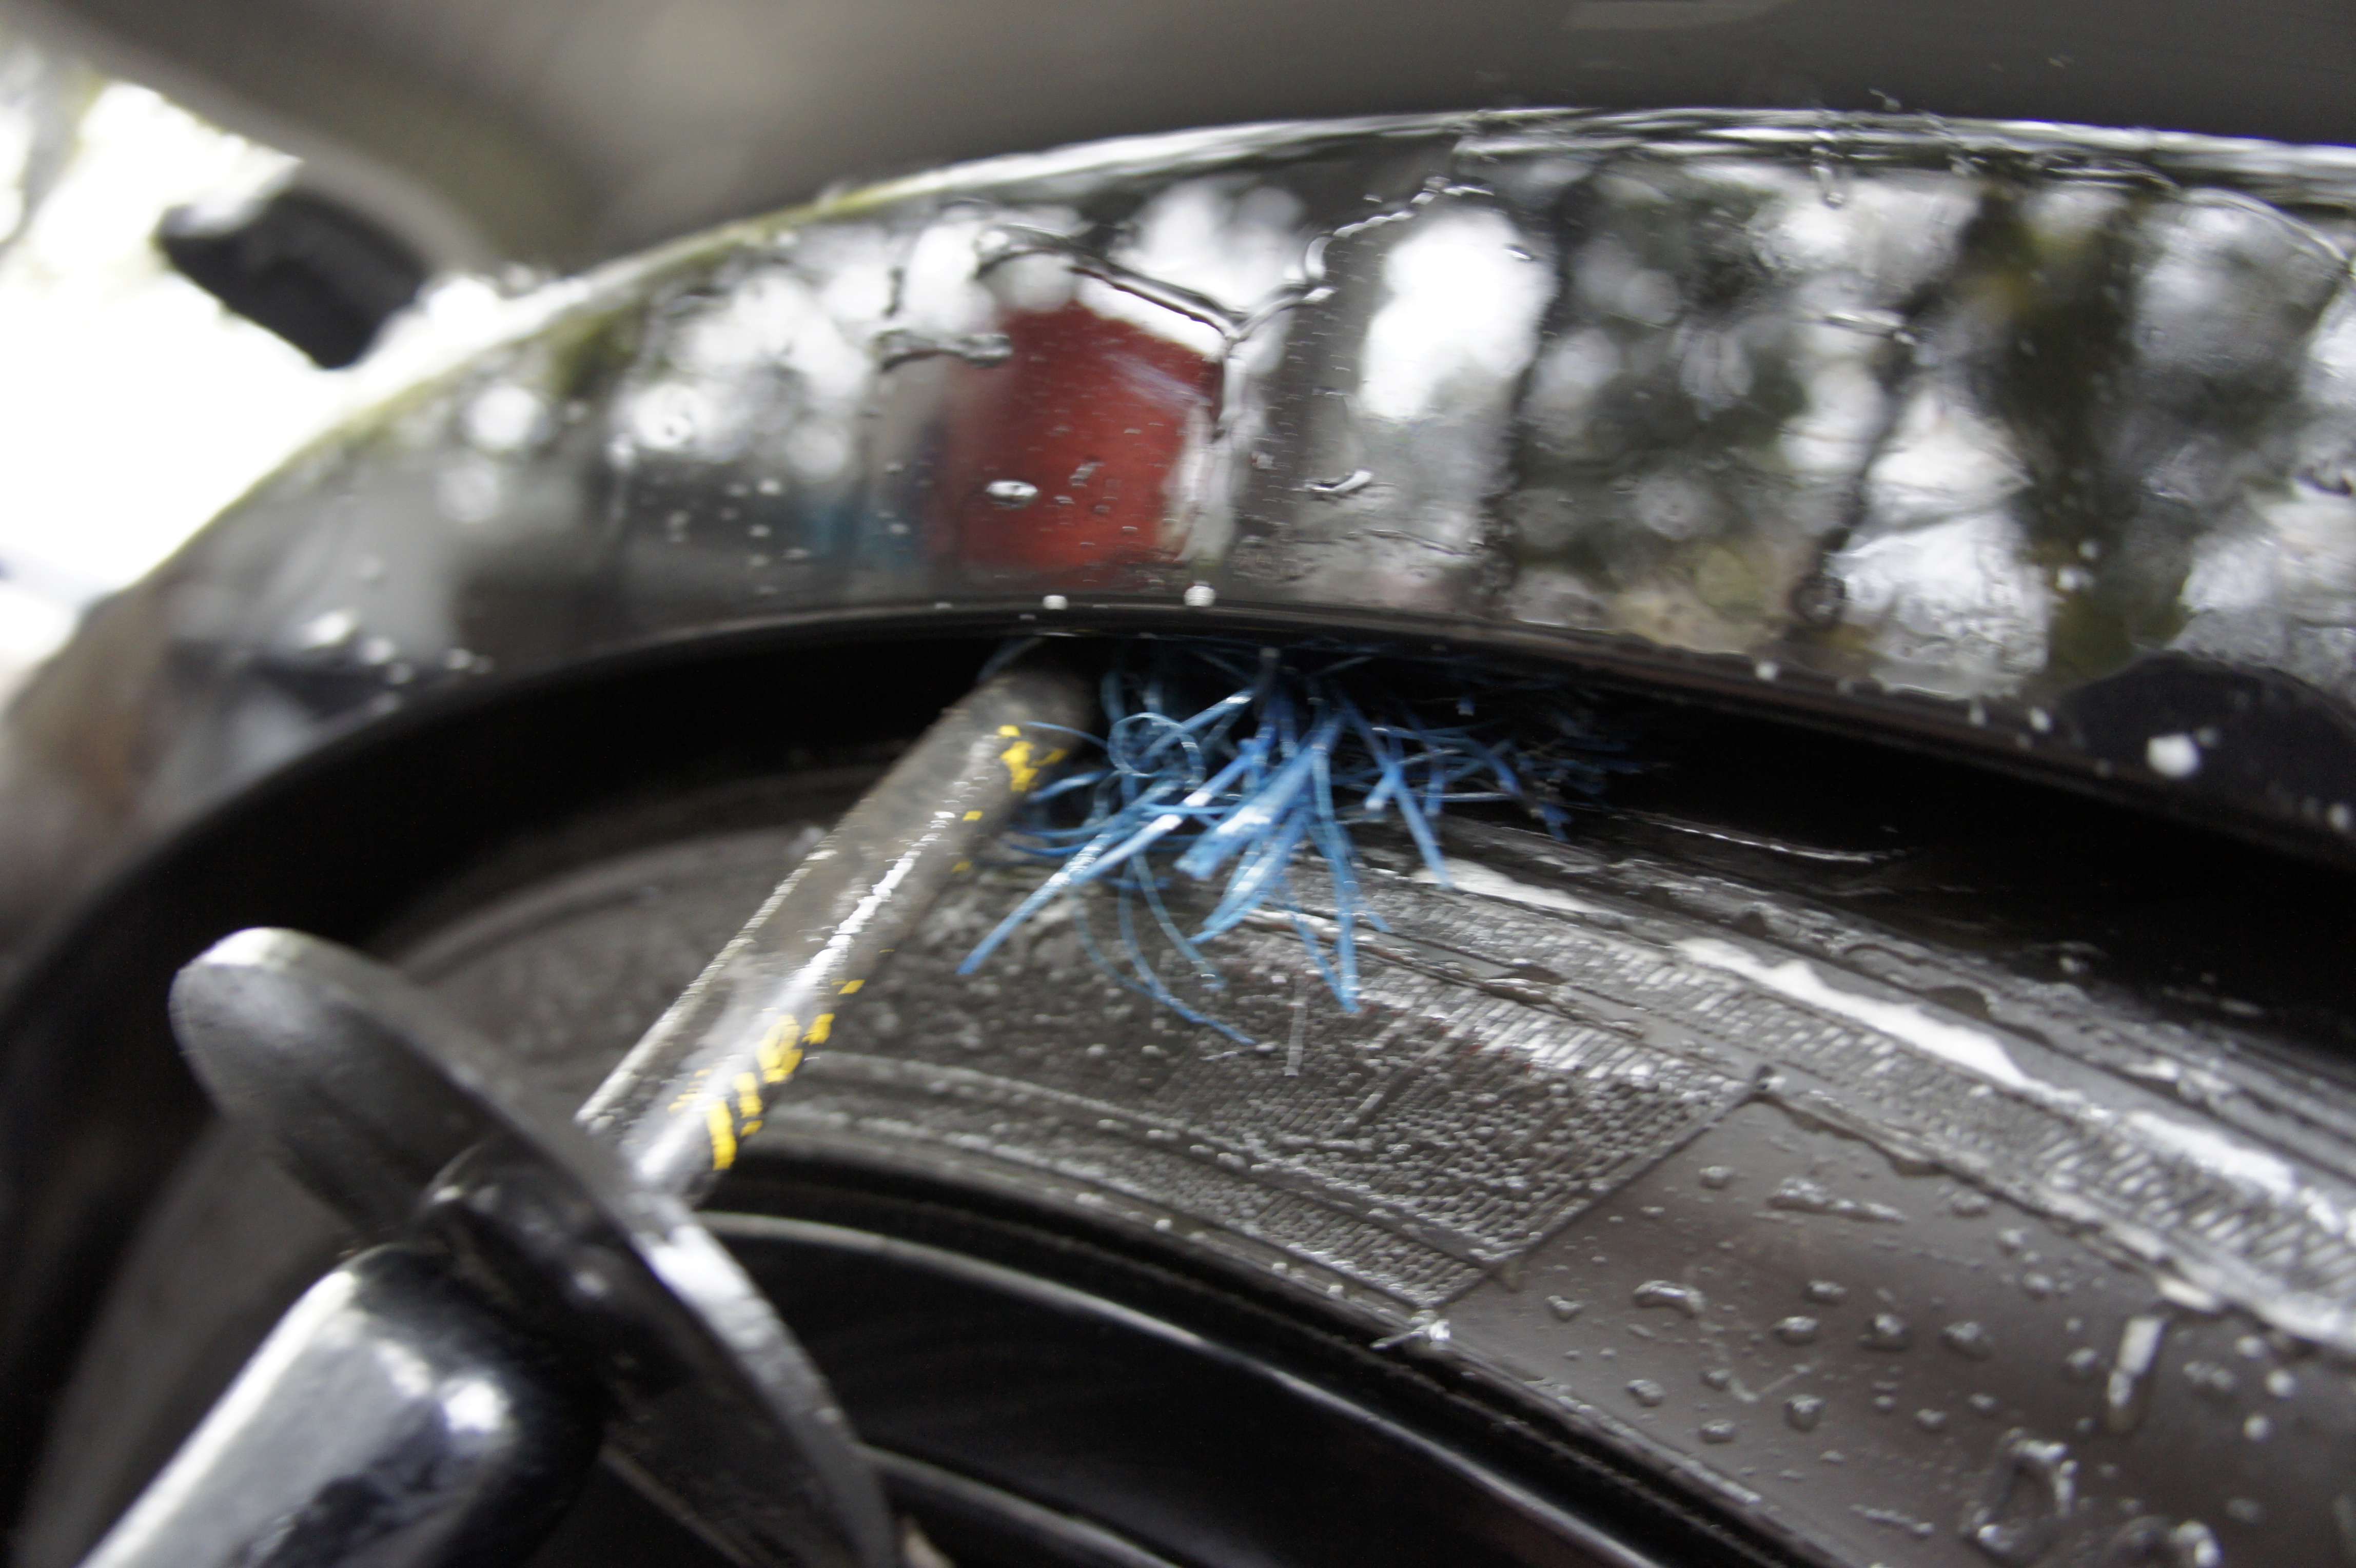
2) Some random pictures of me cleaning the car, see how important theses brushes are for a complete clean-up.


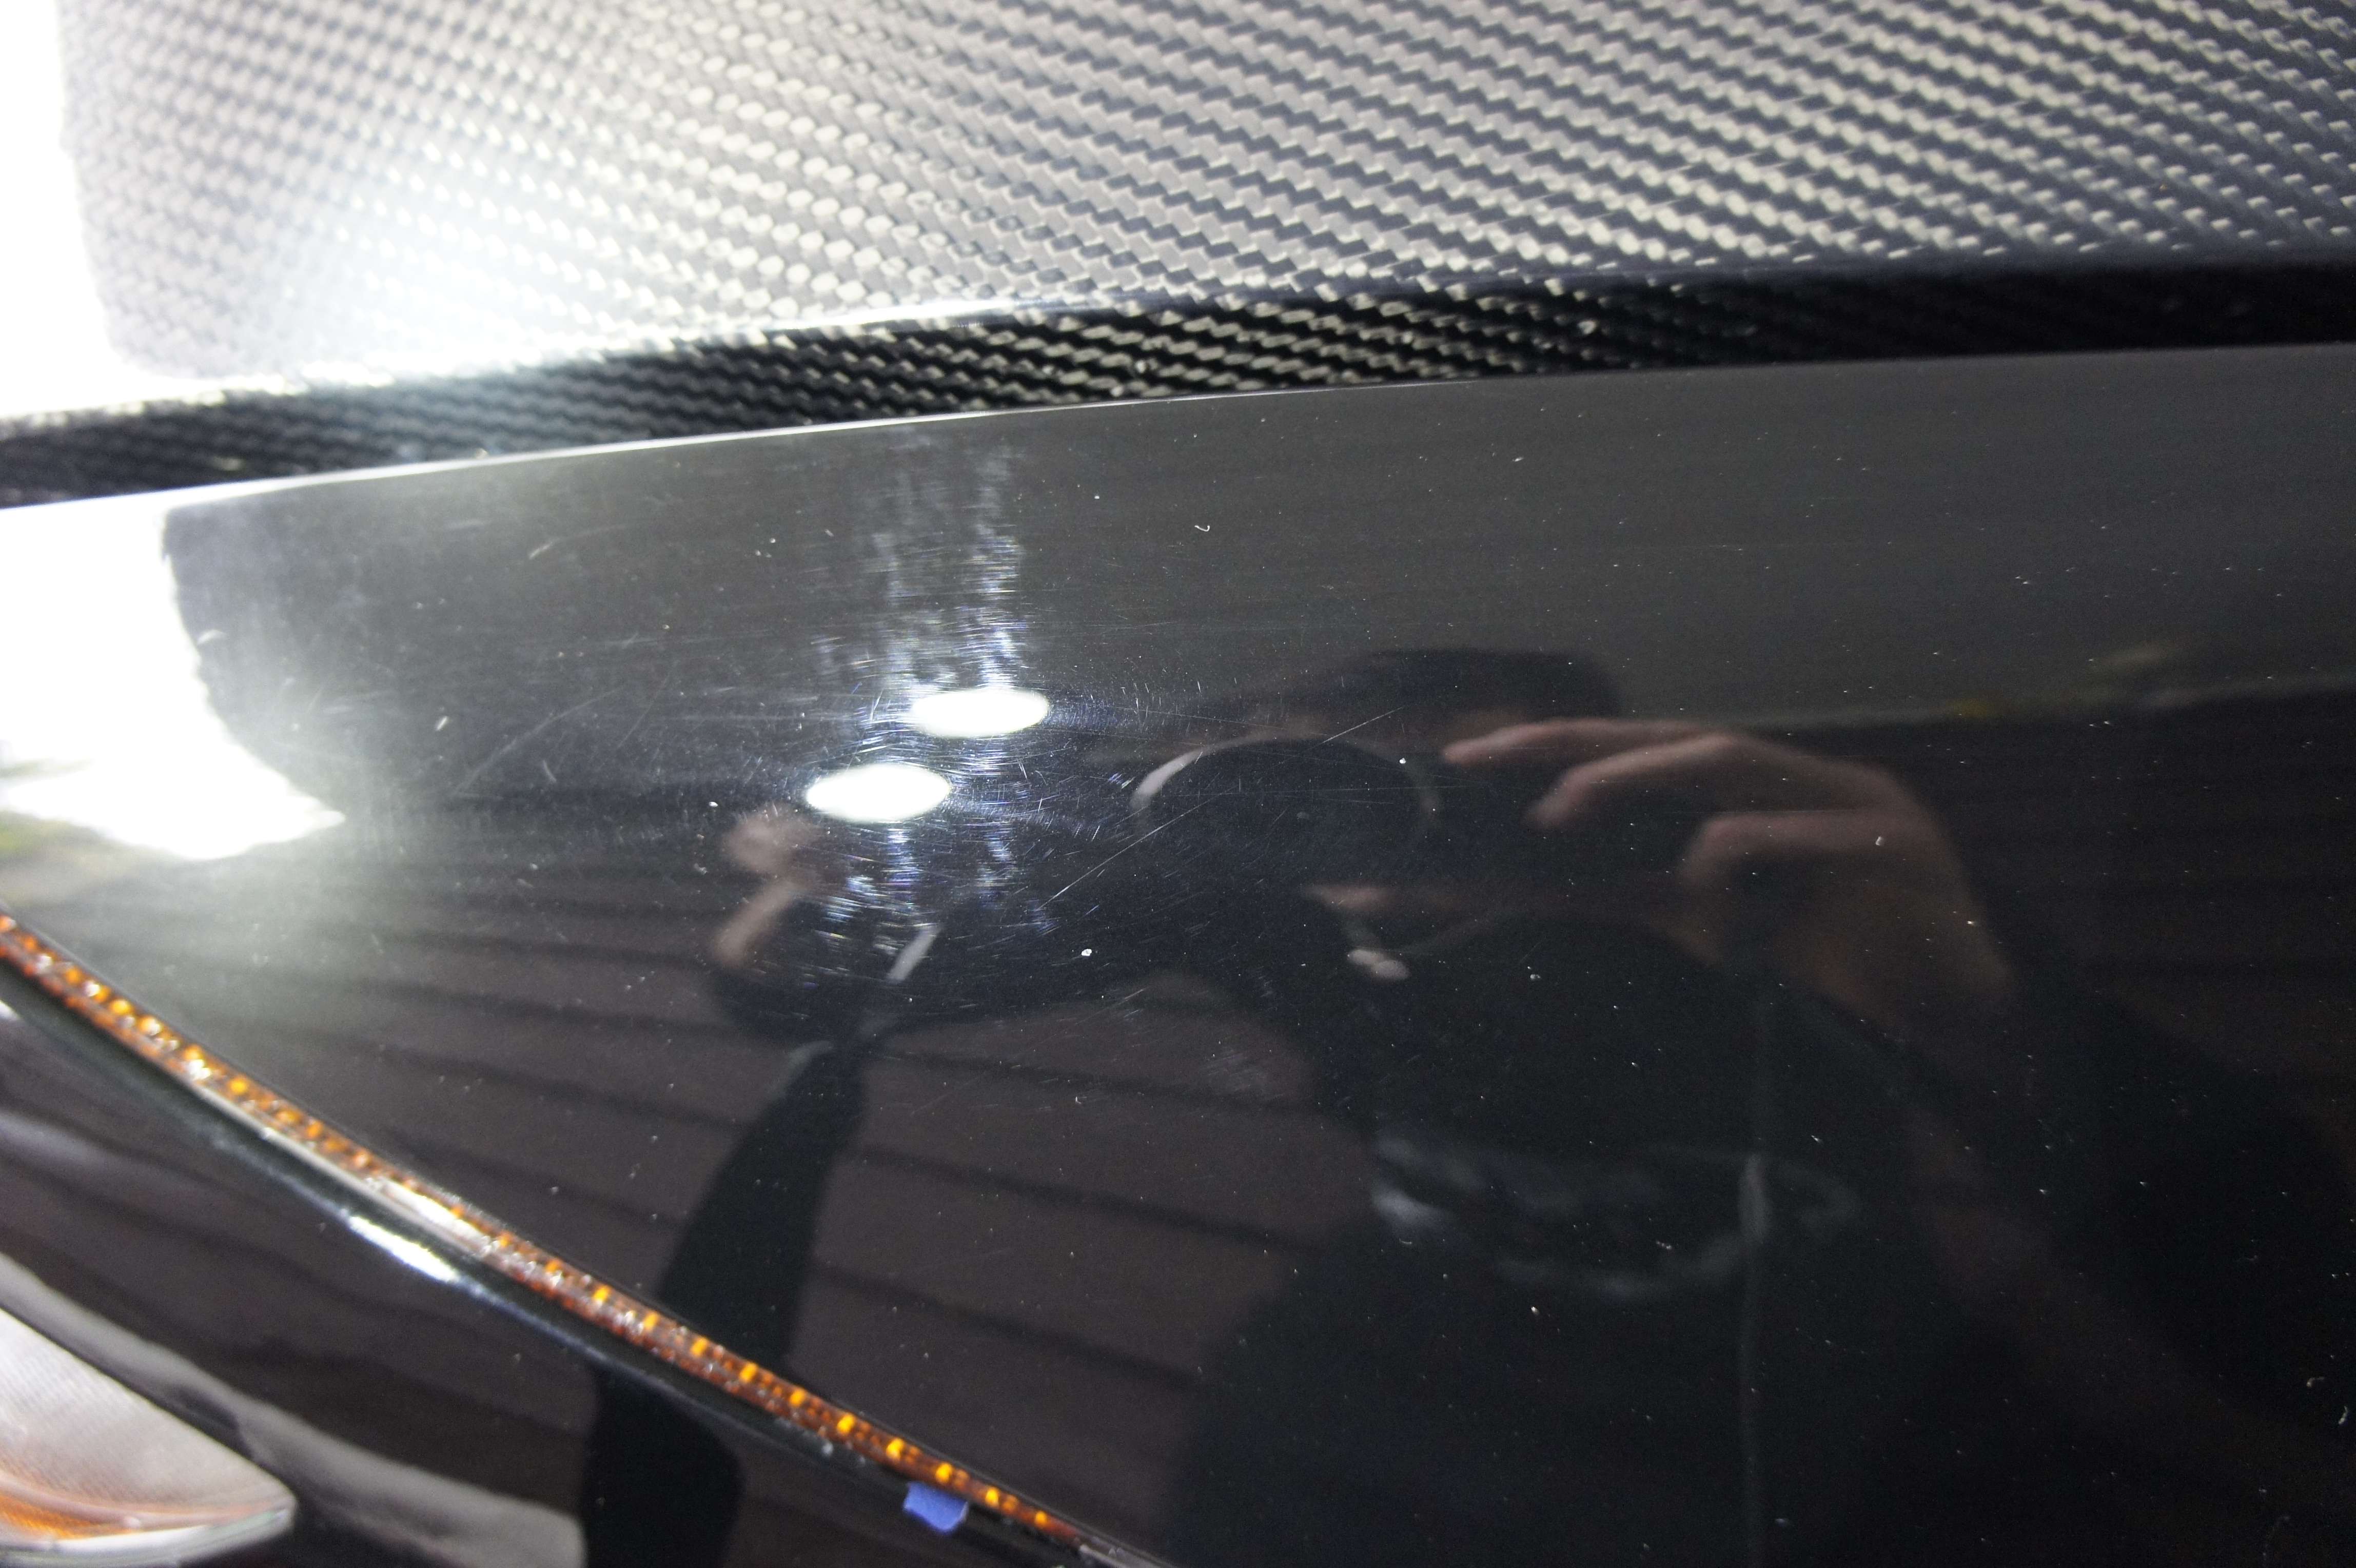
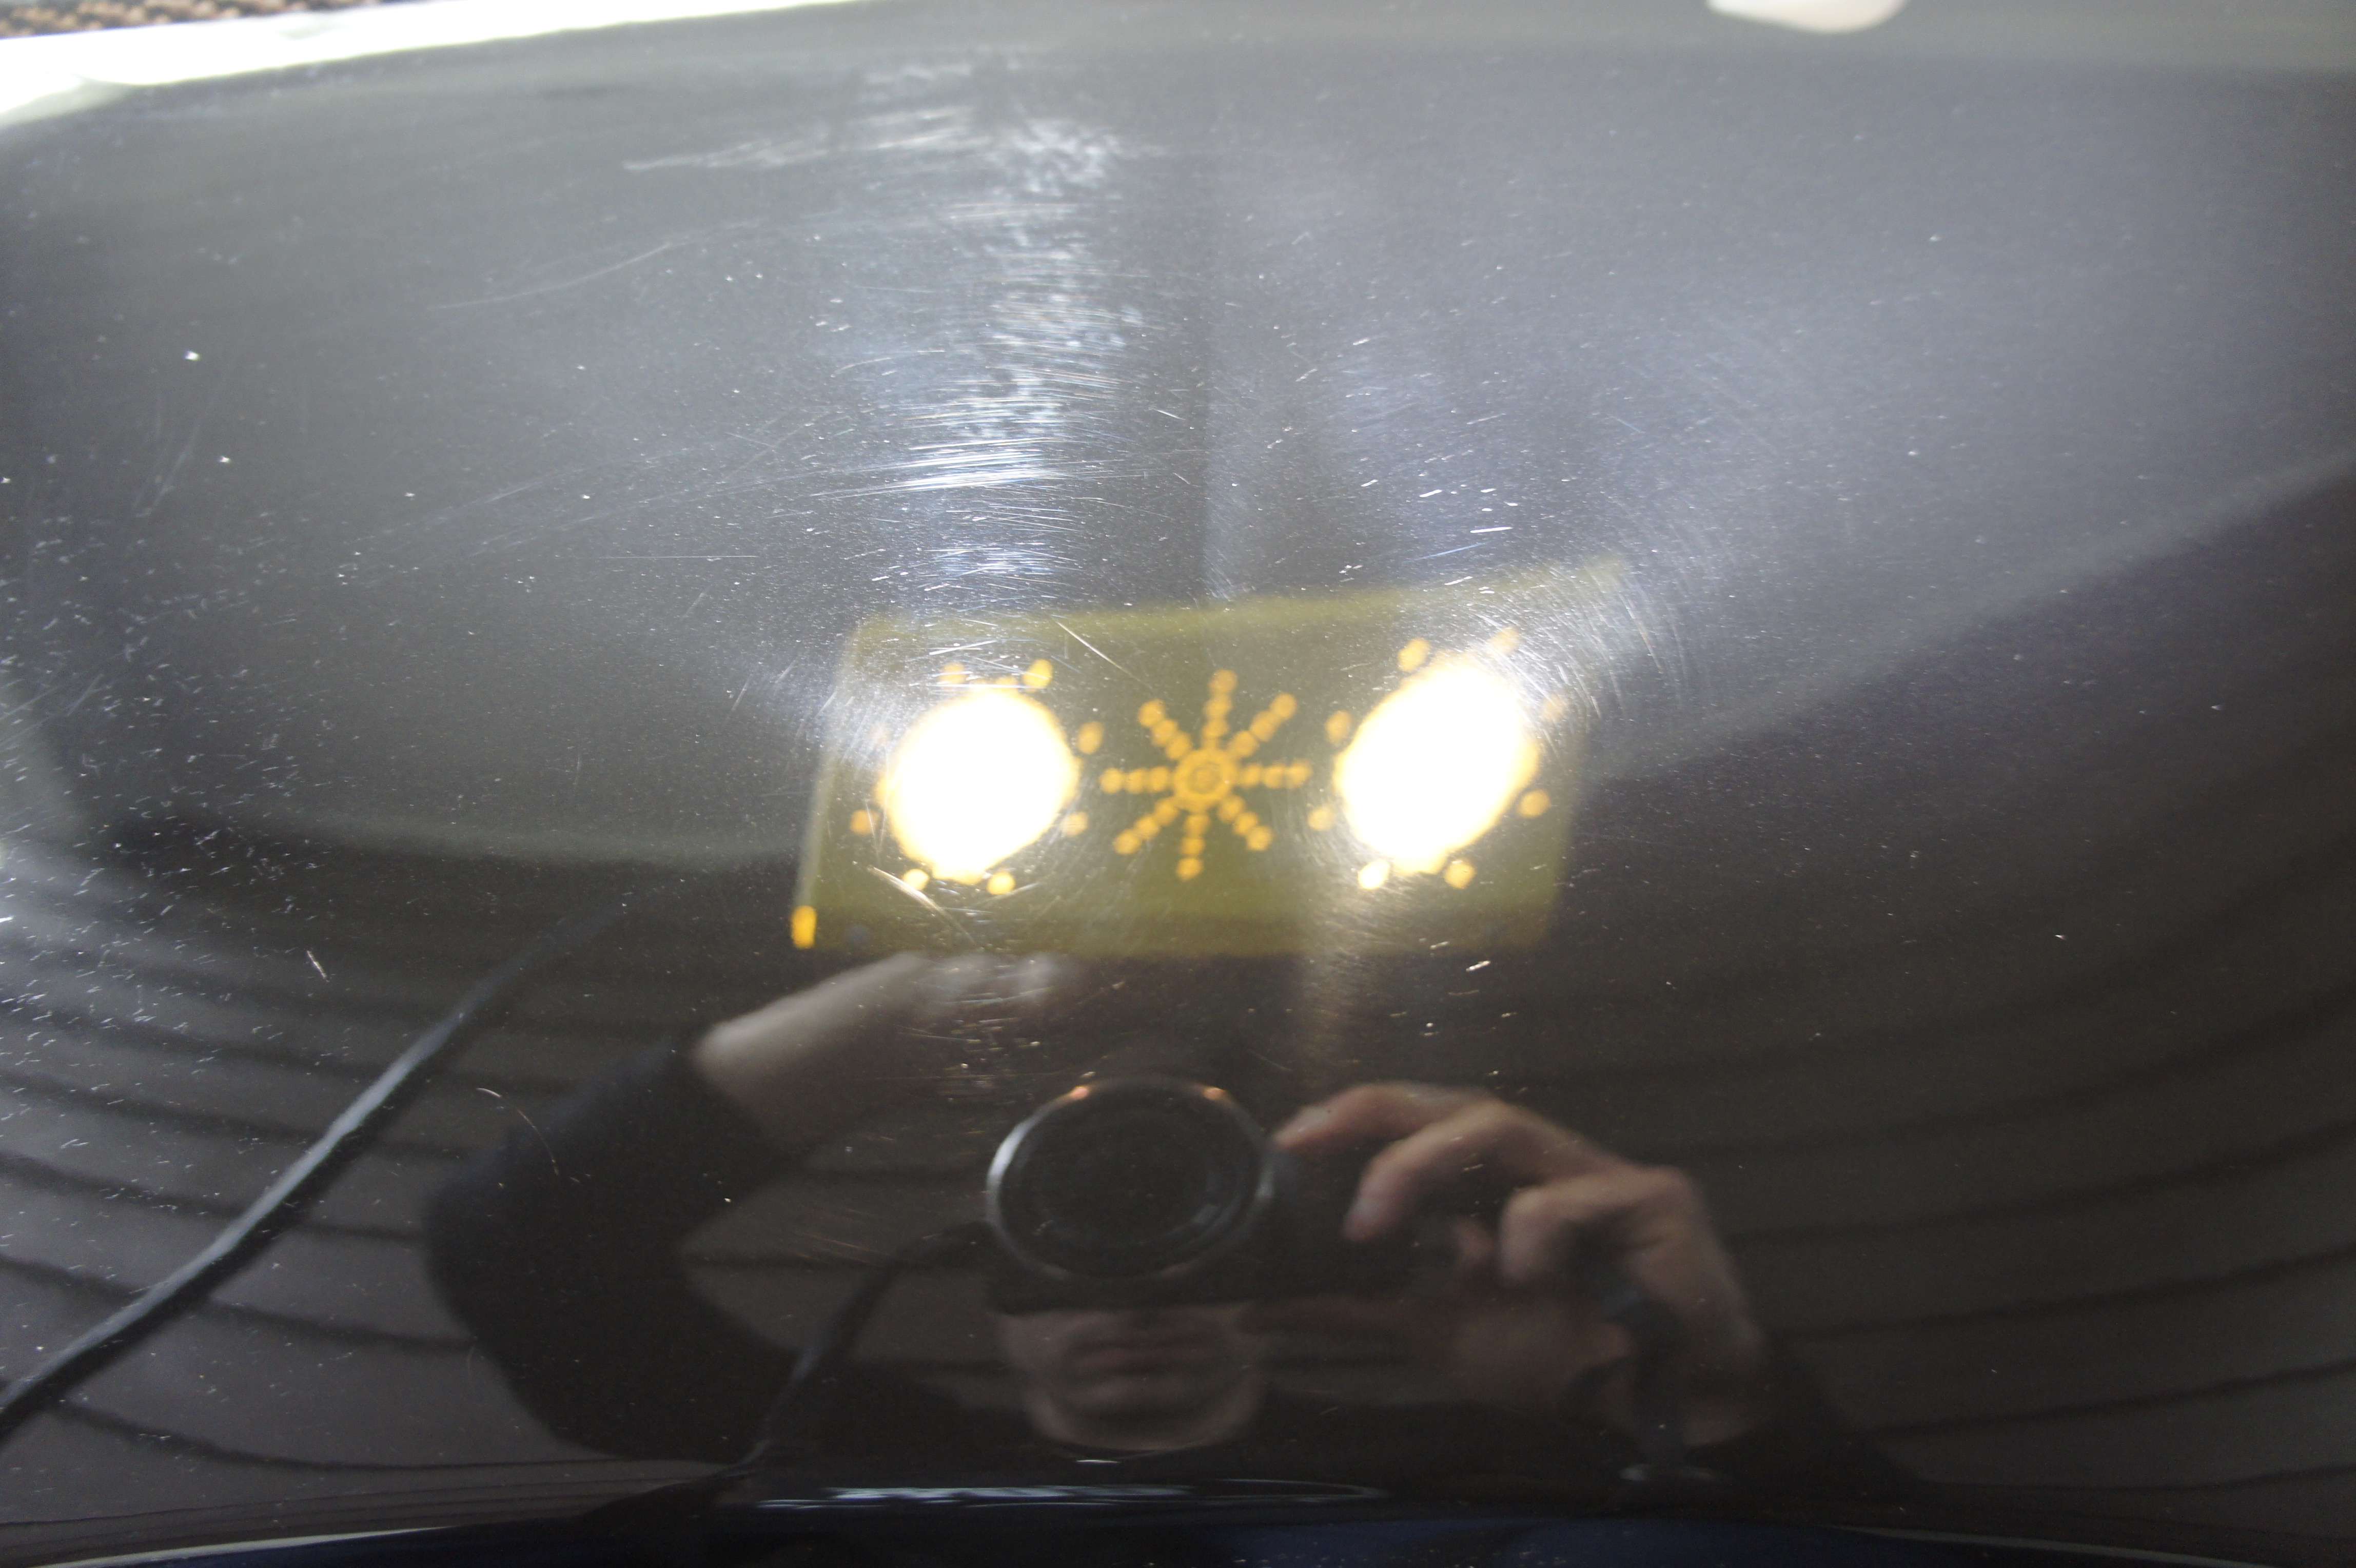
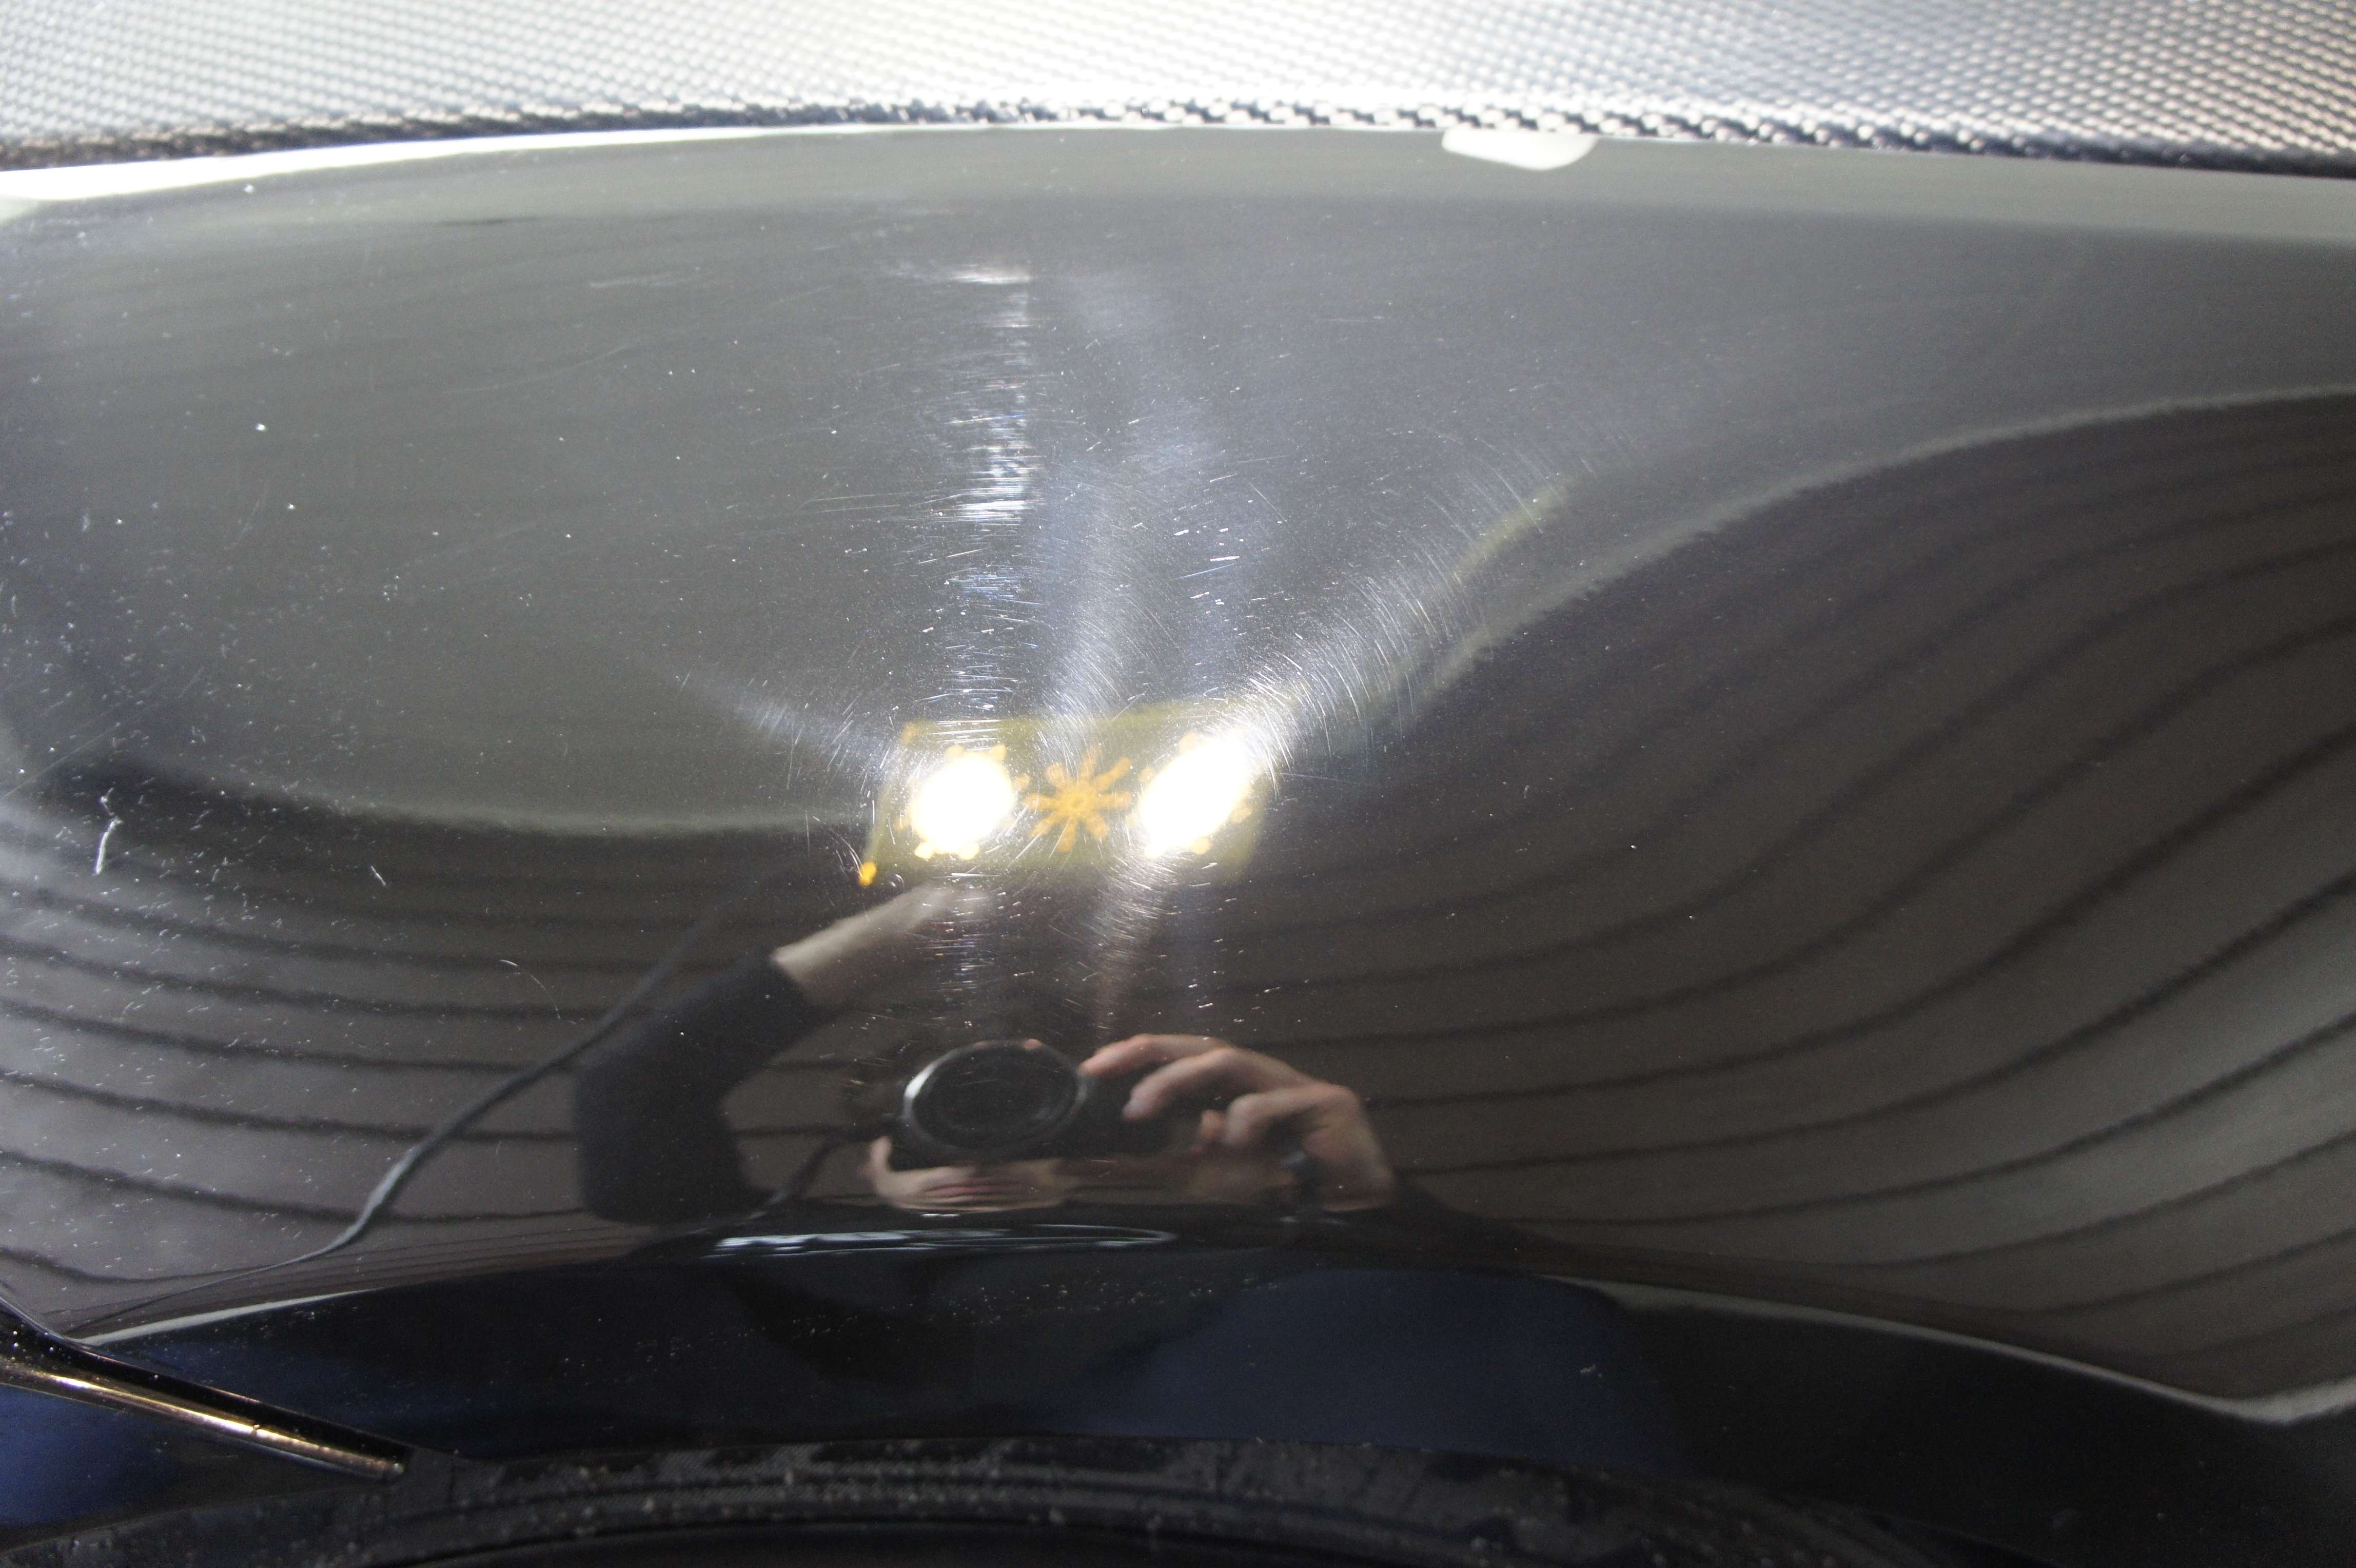
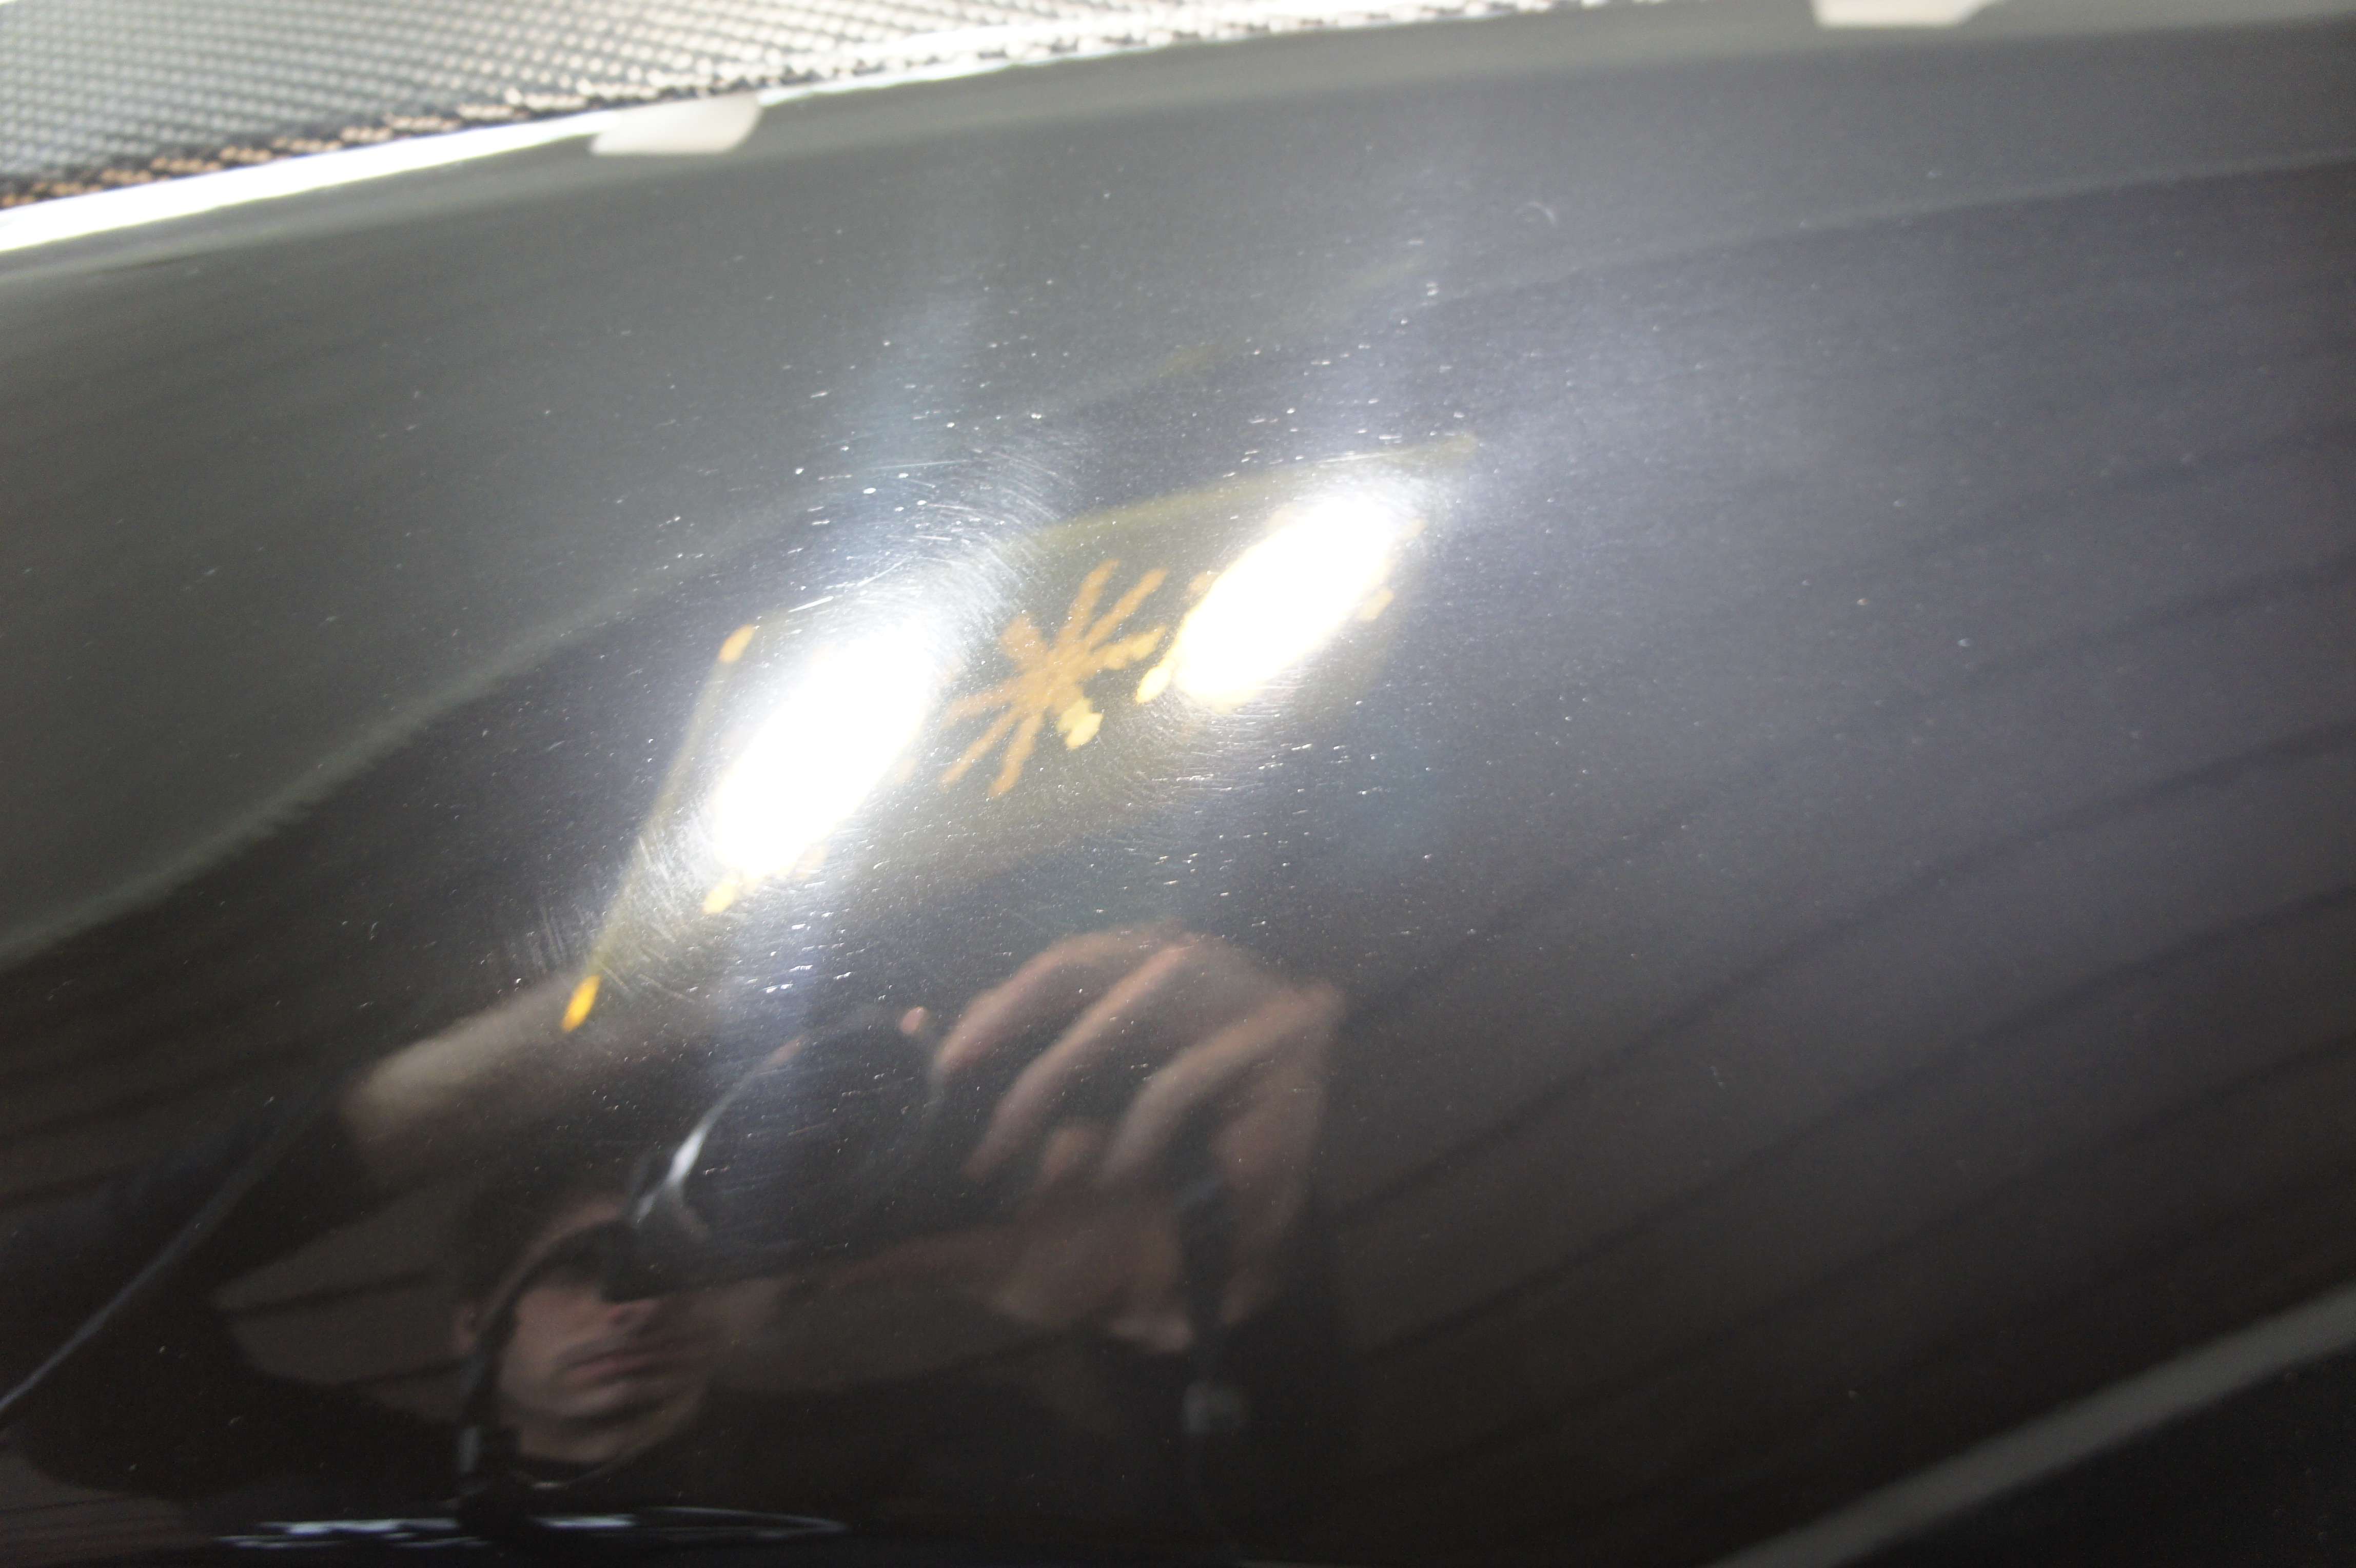
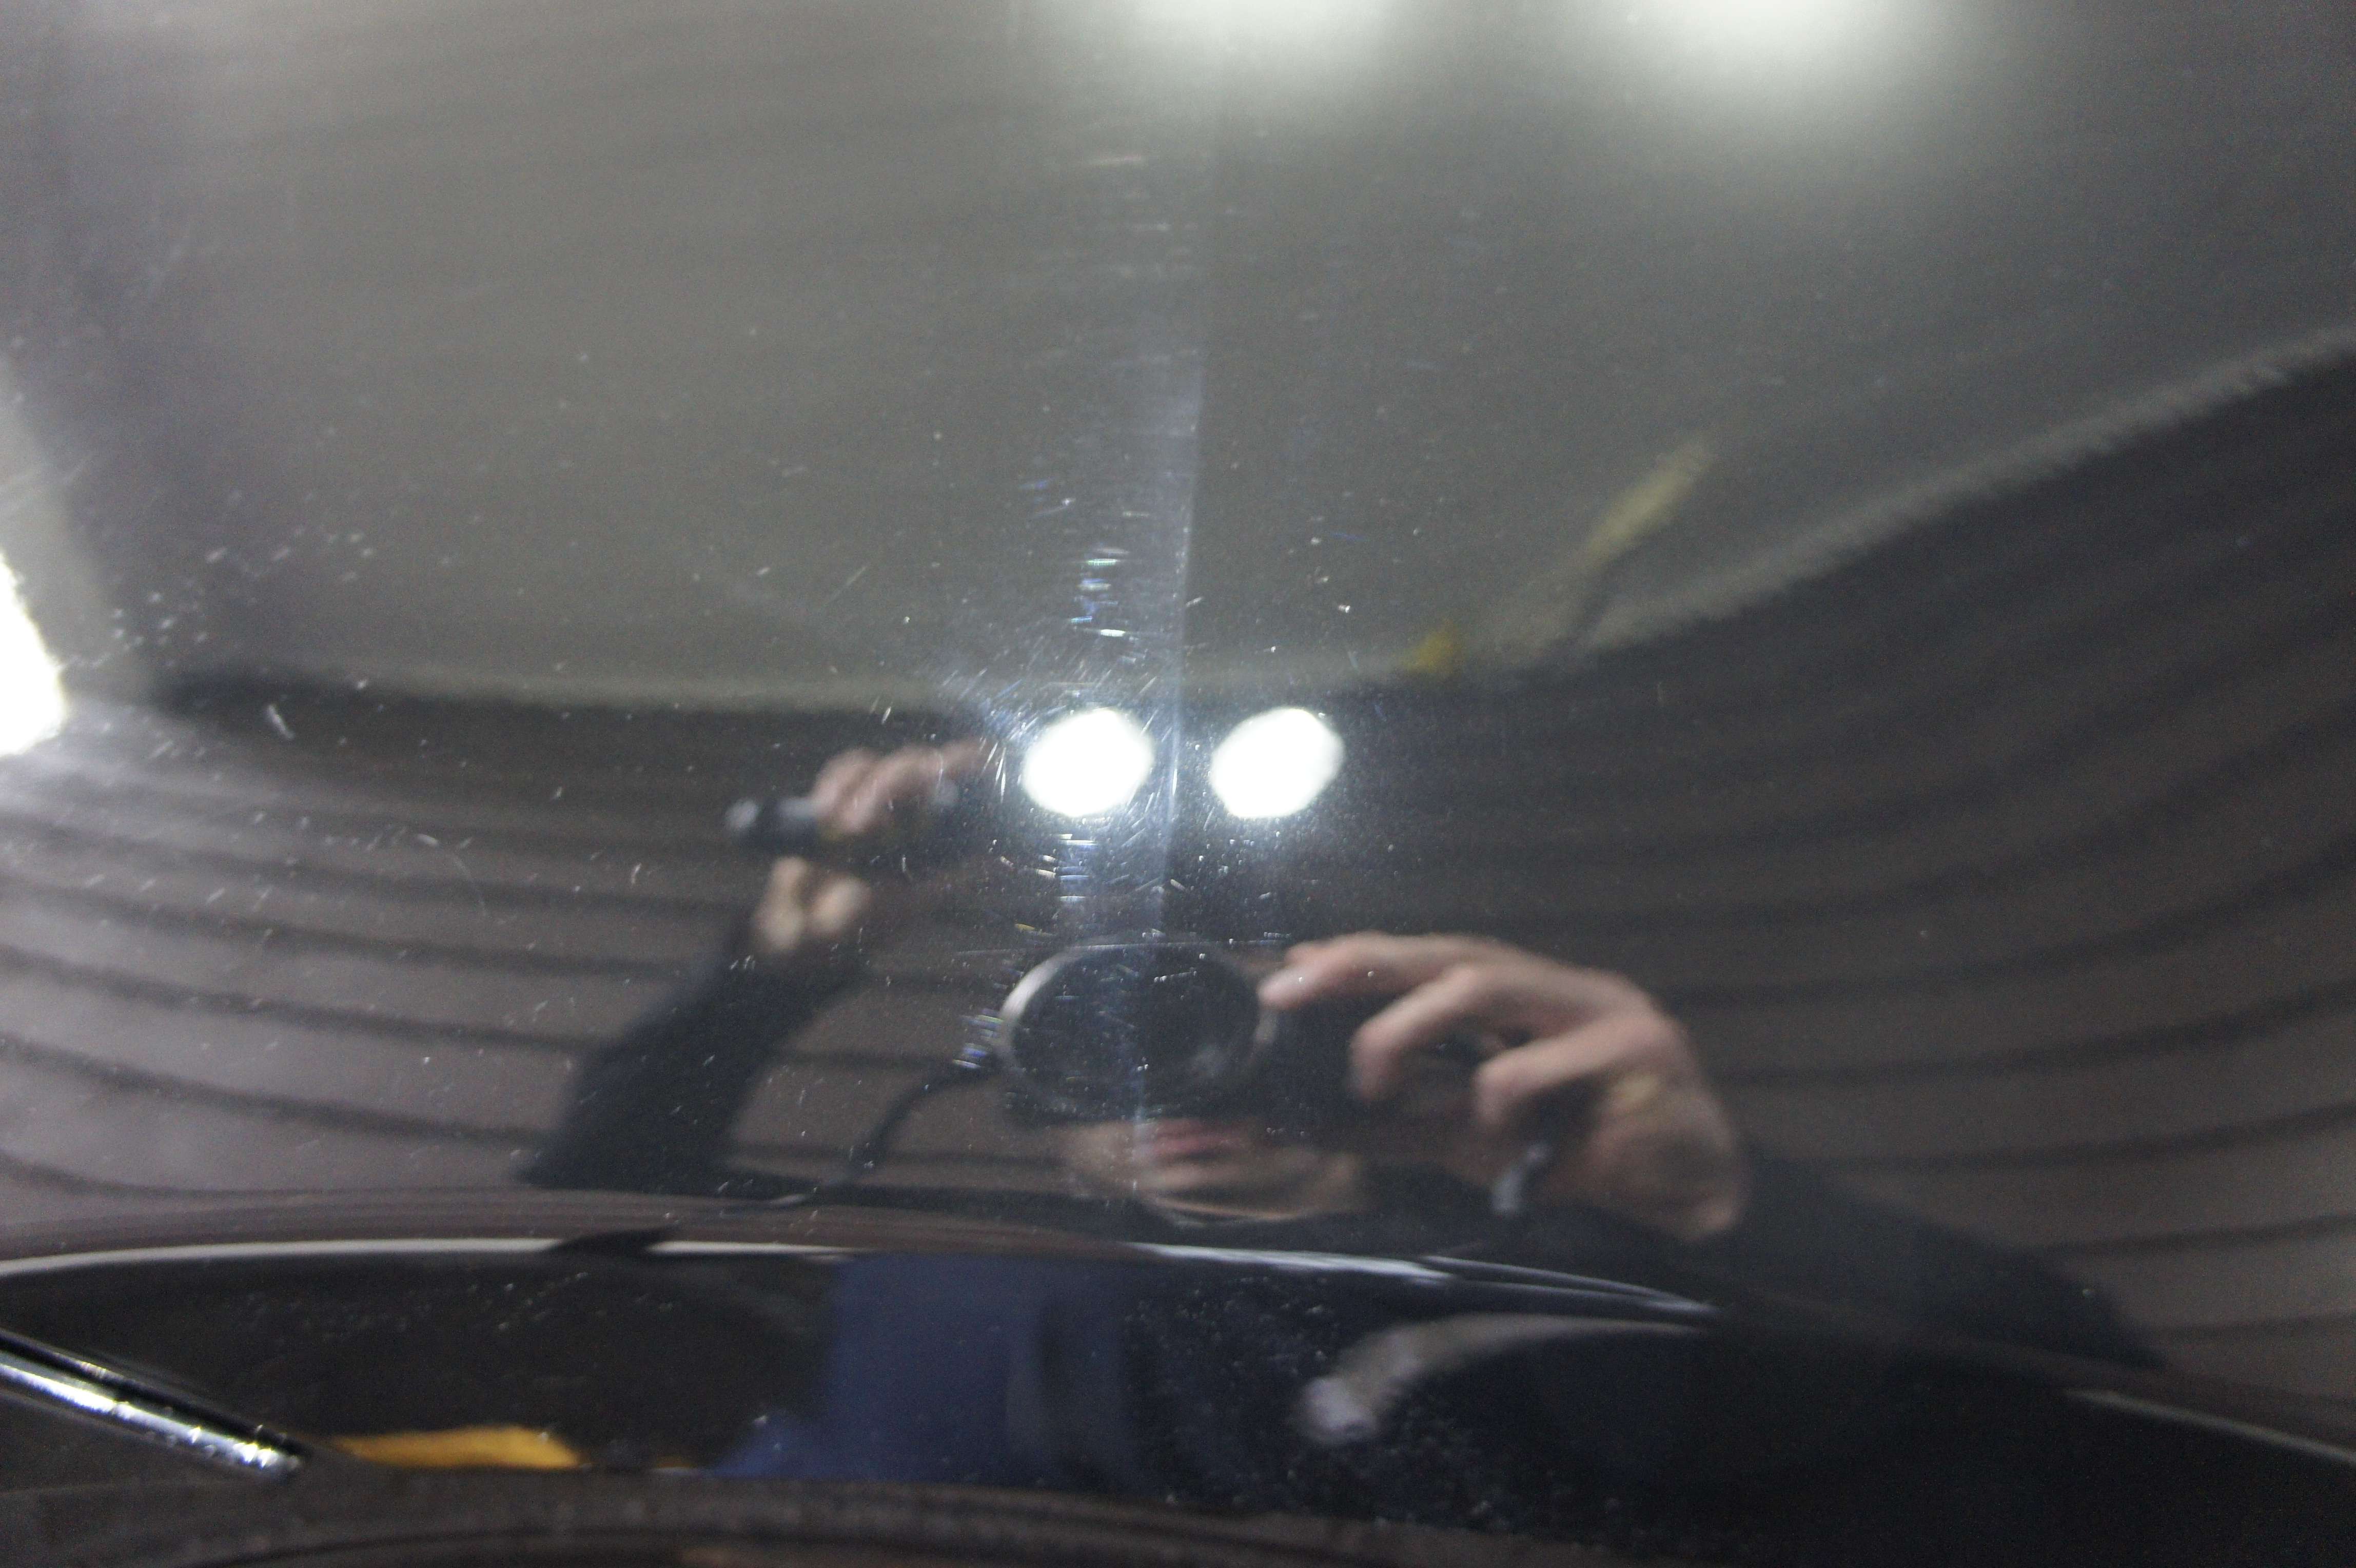
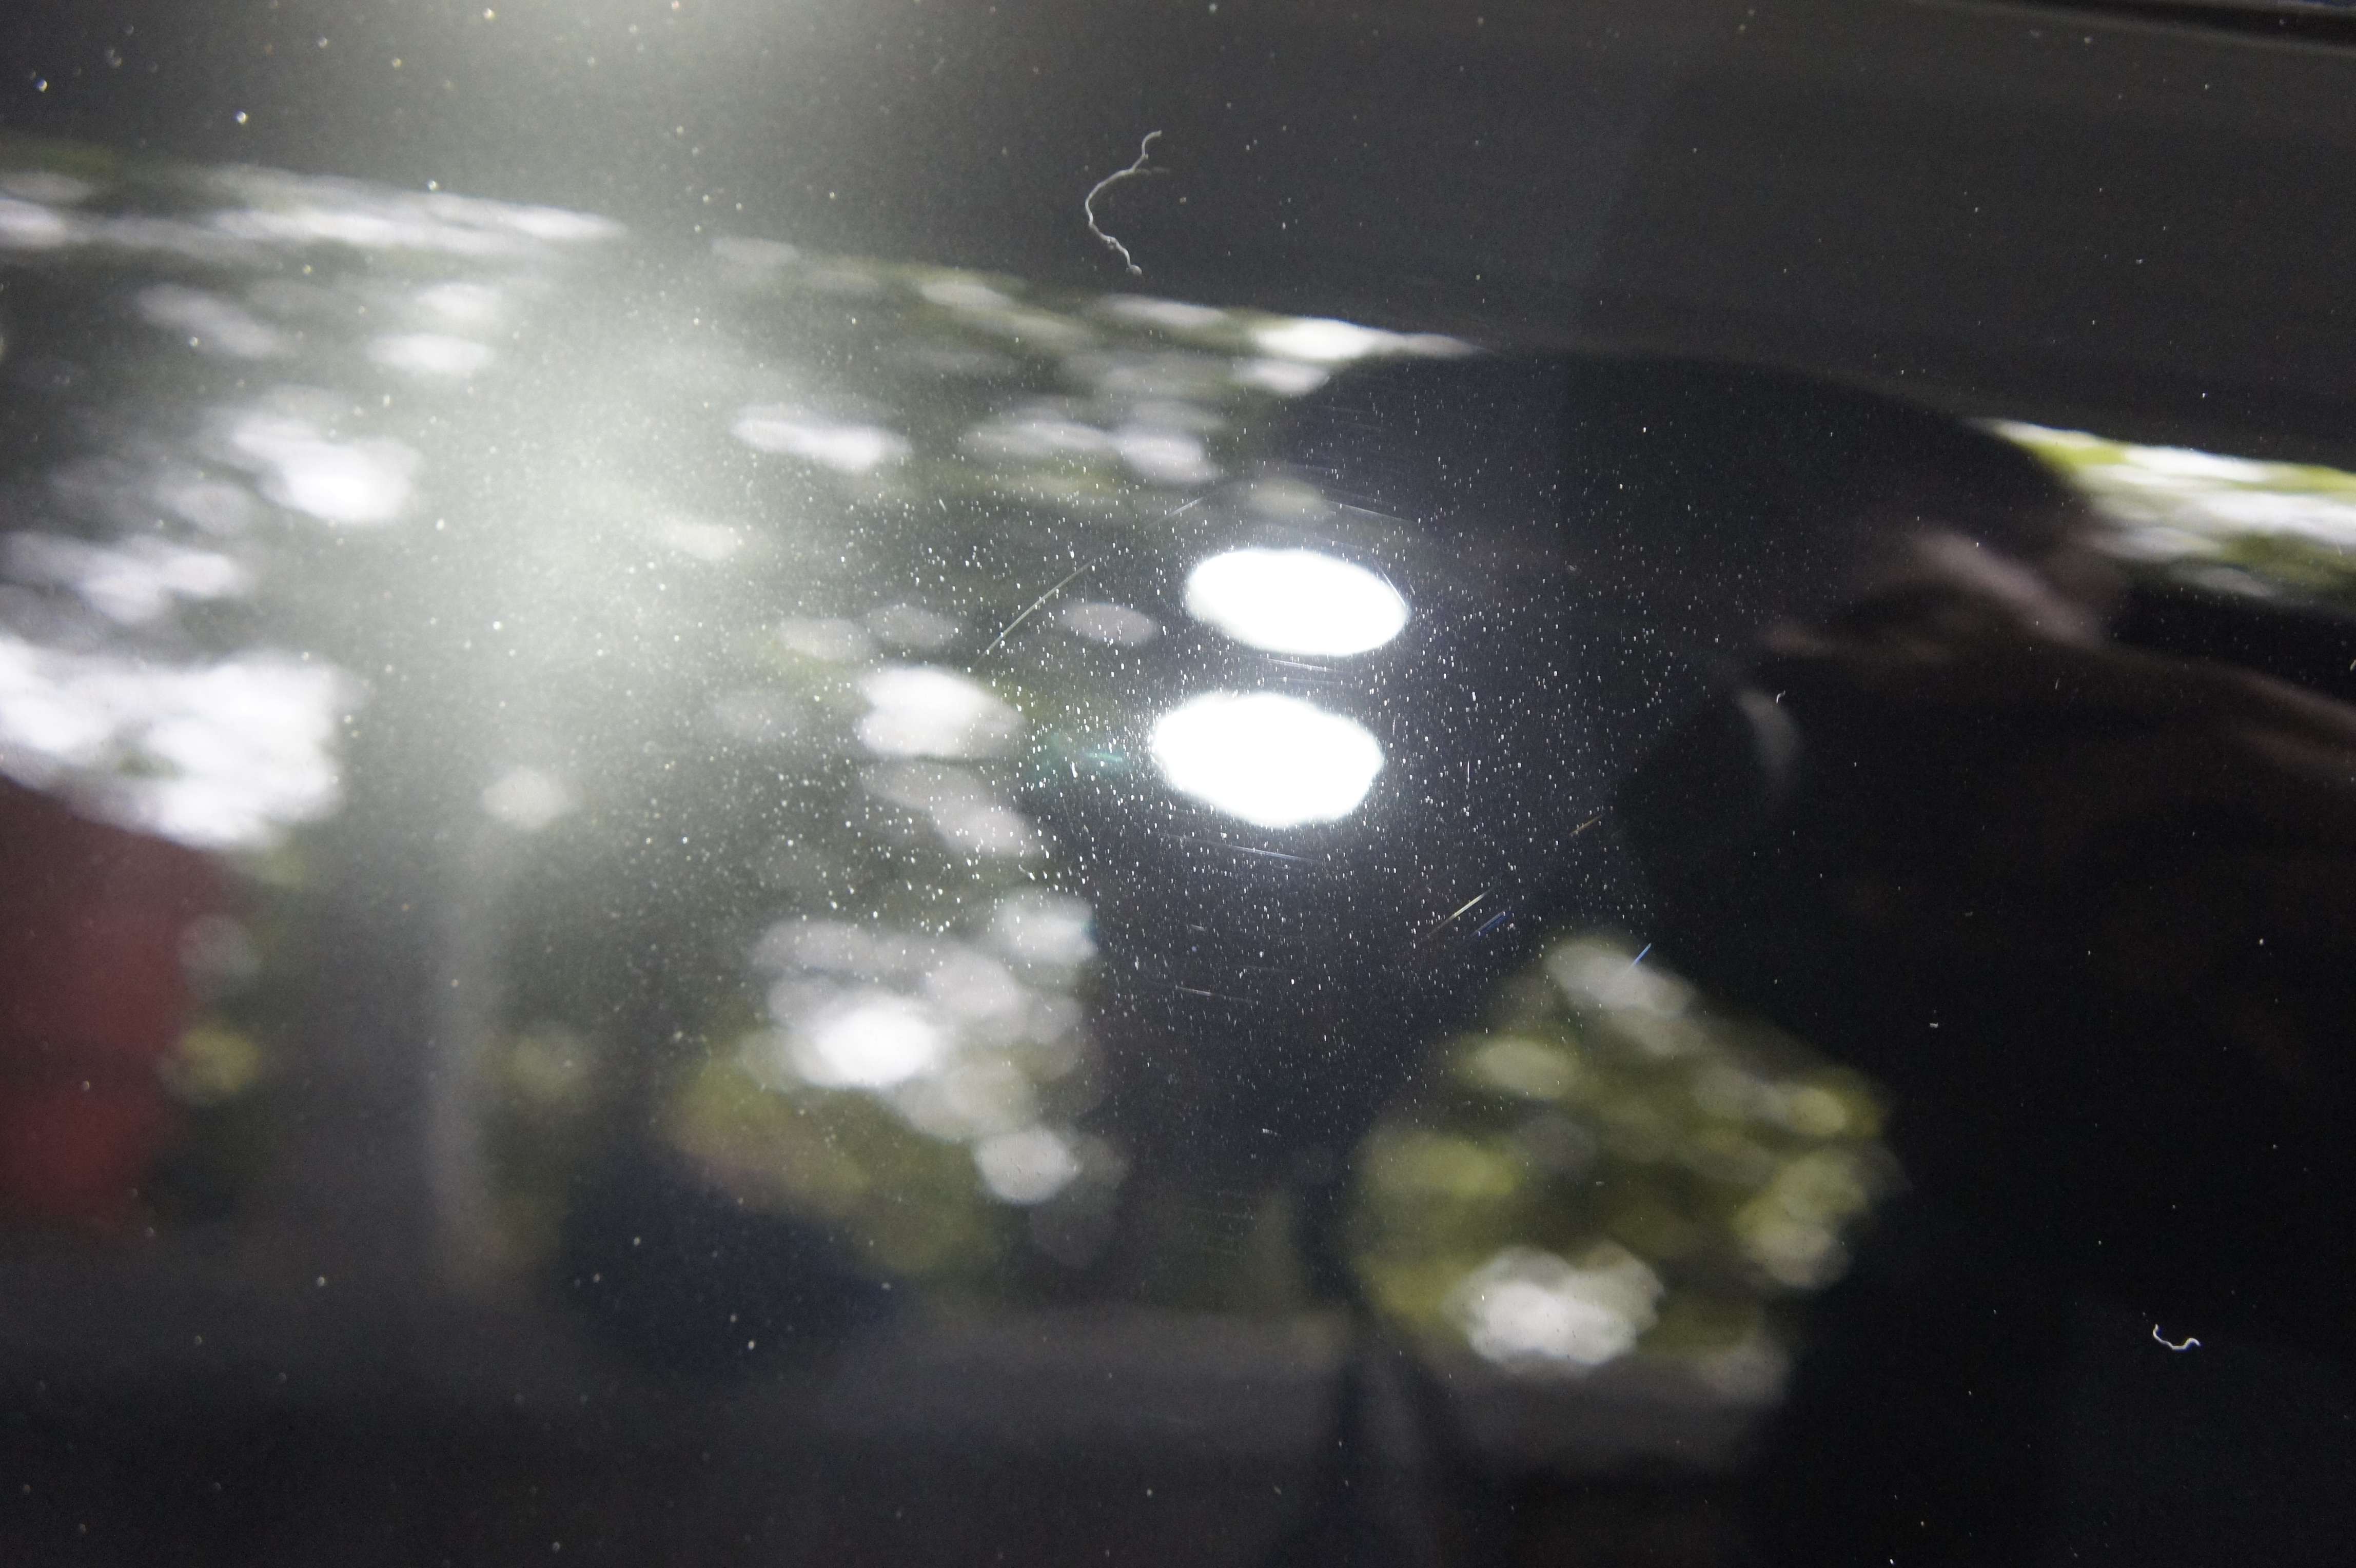
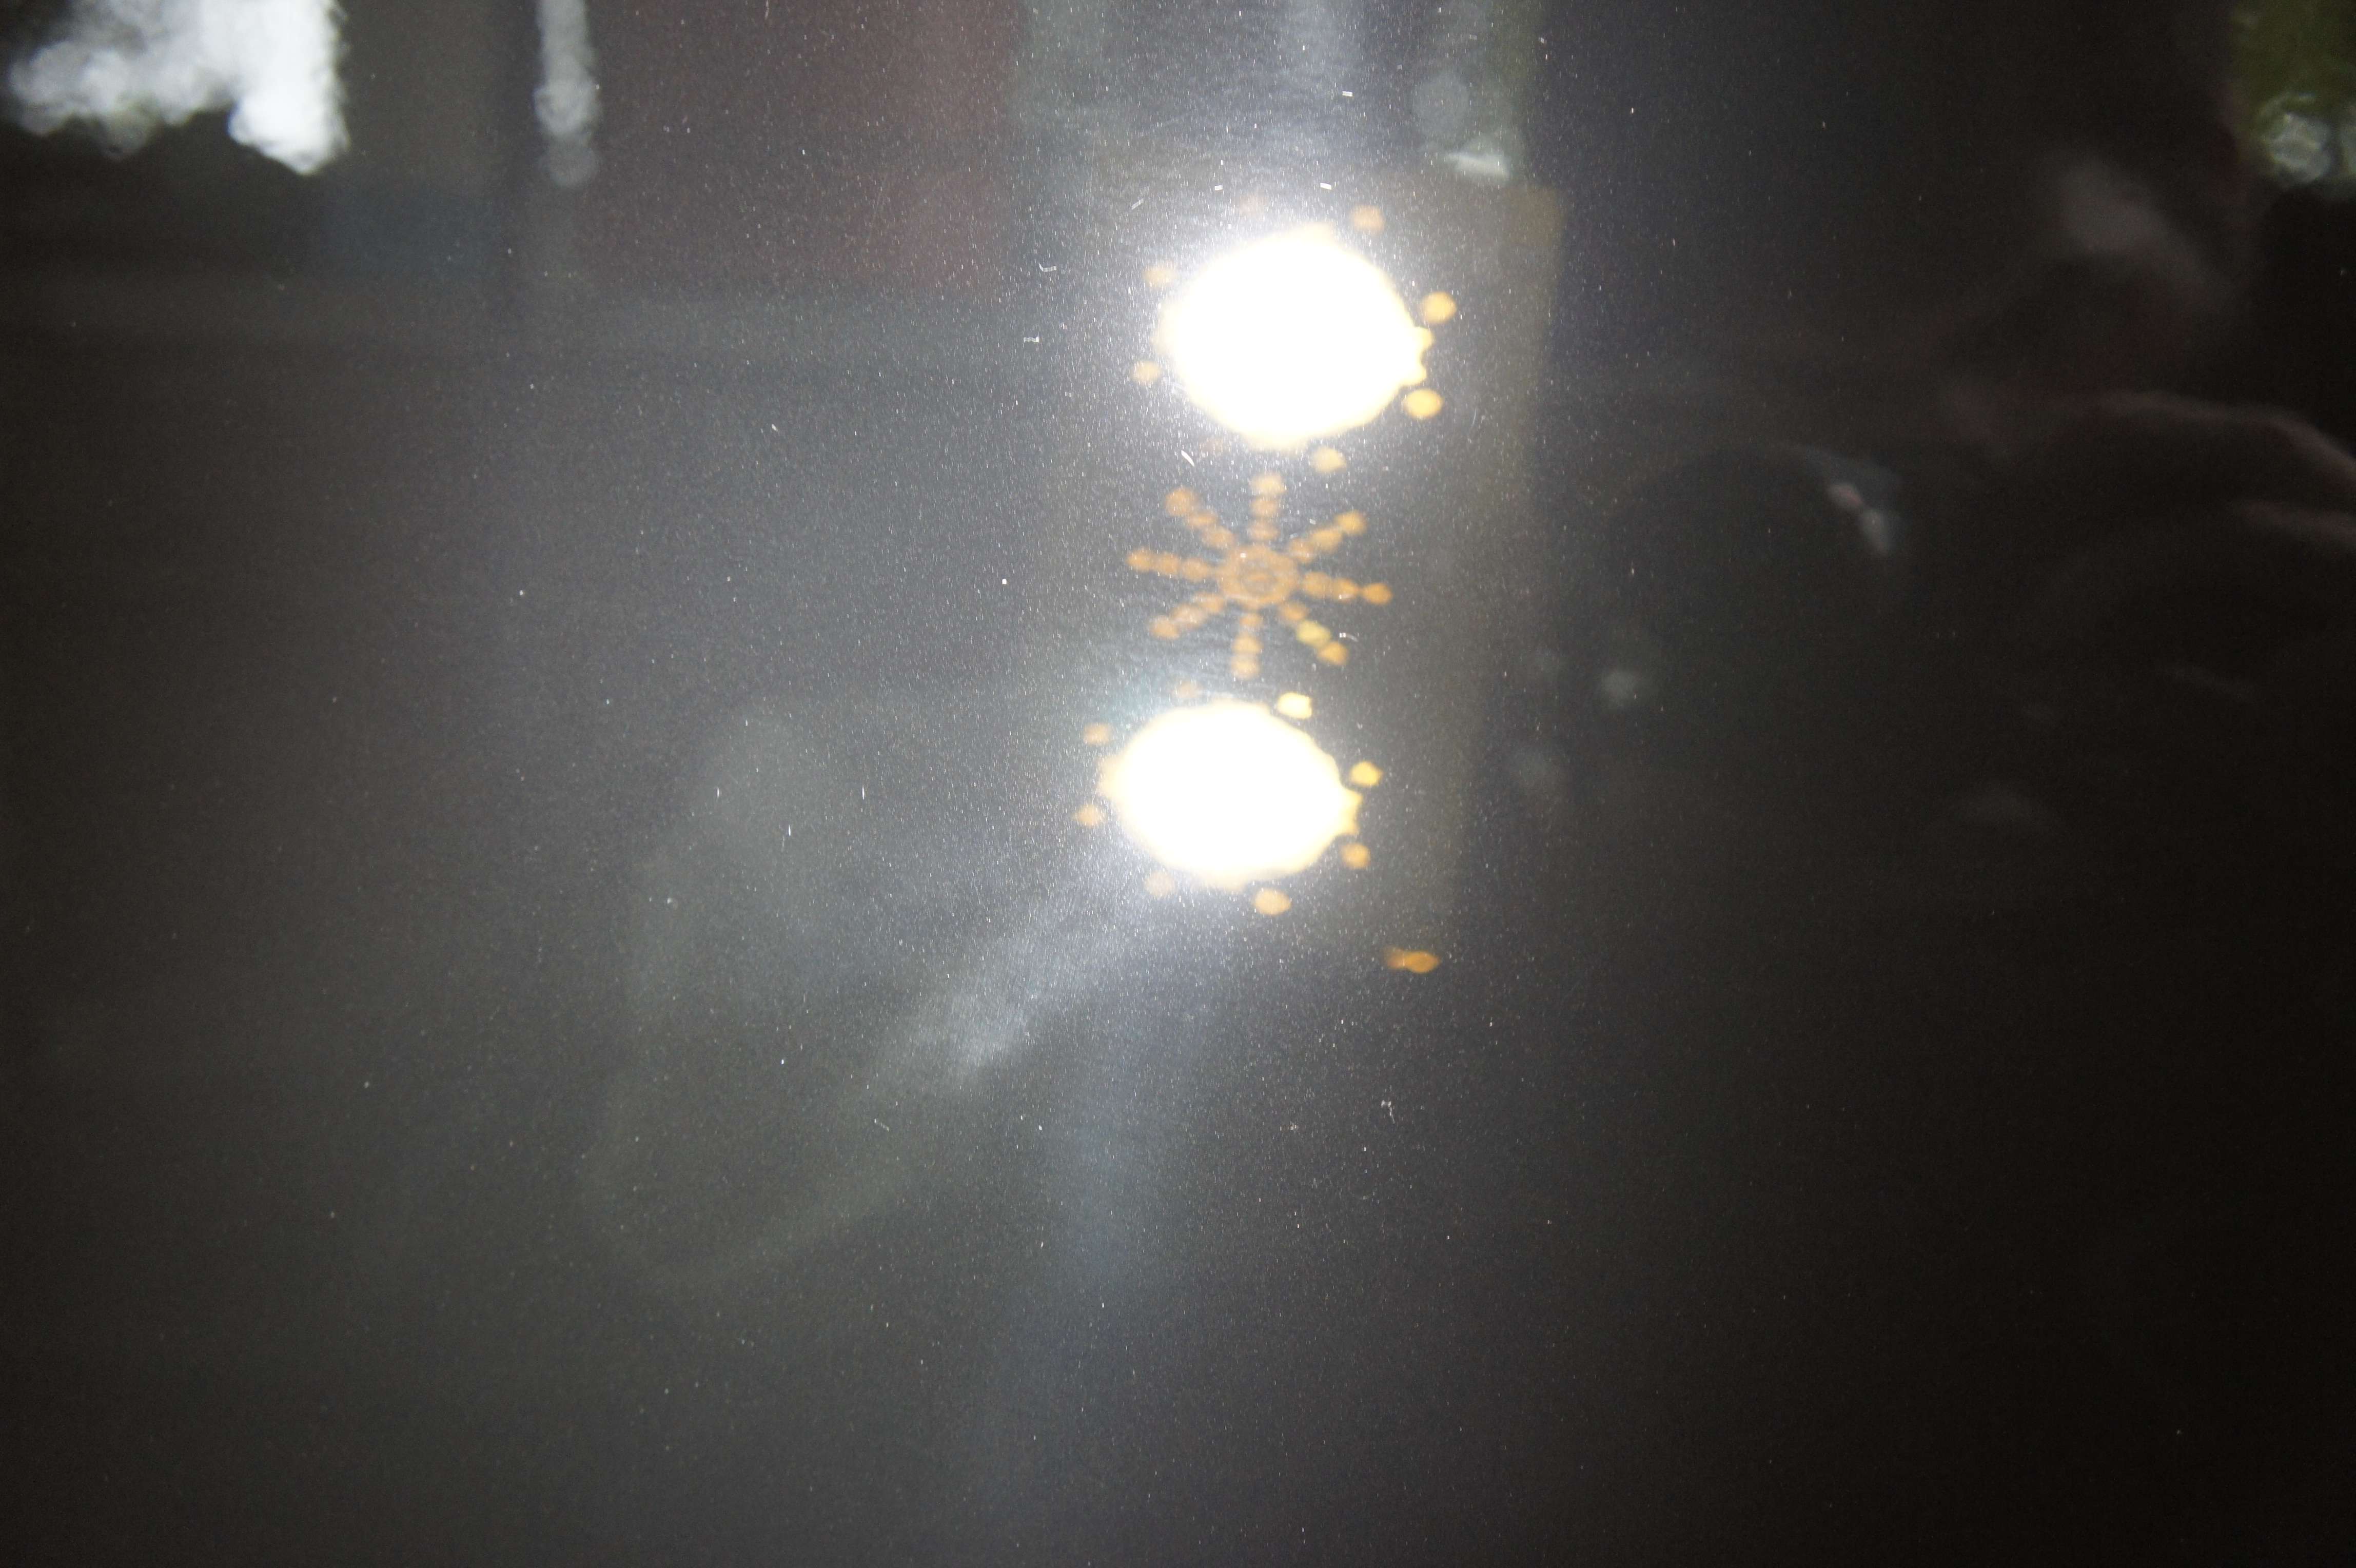
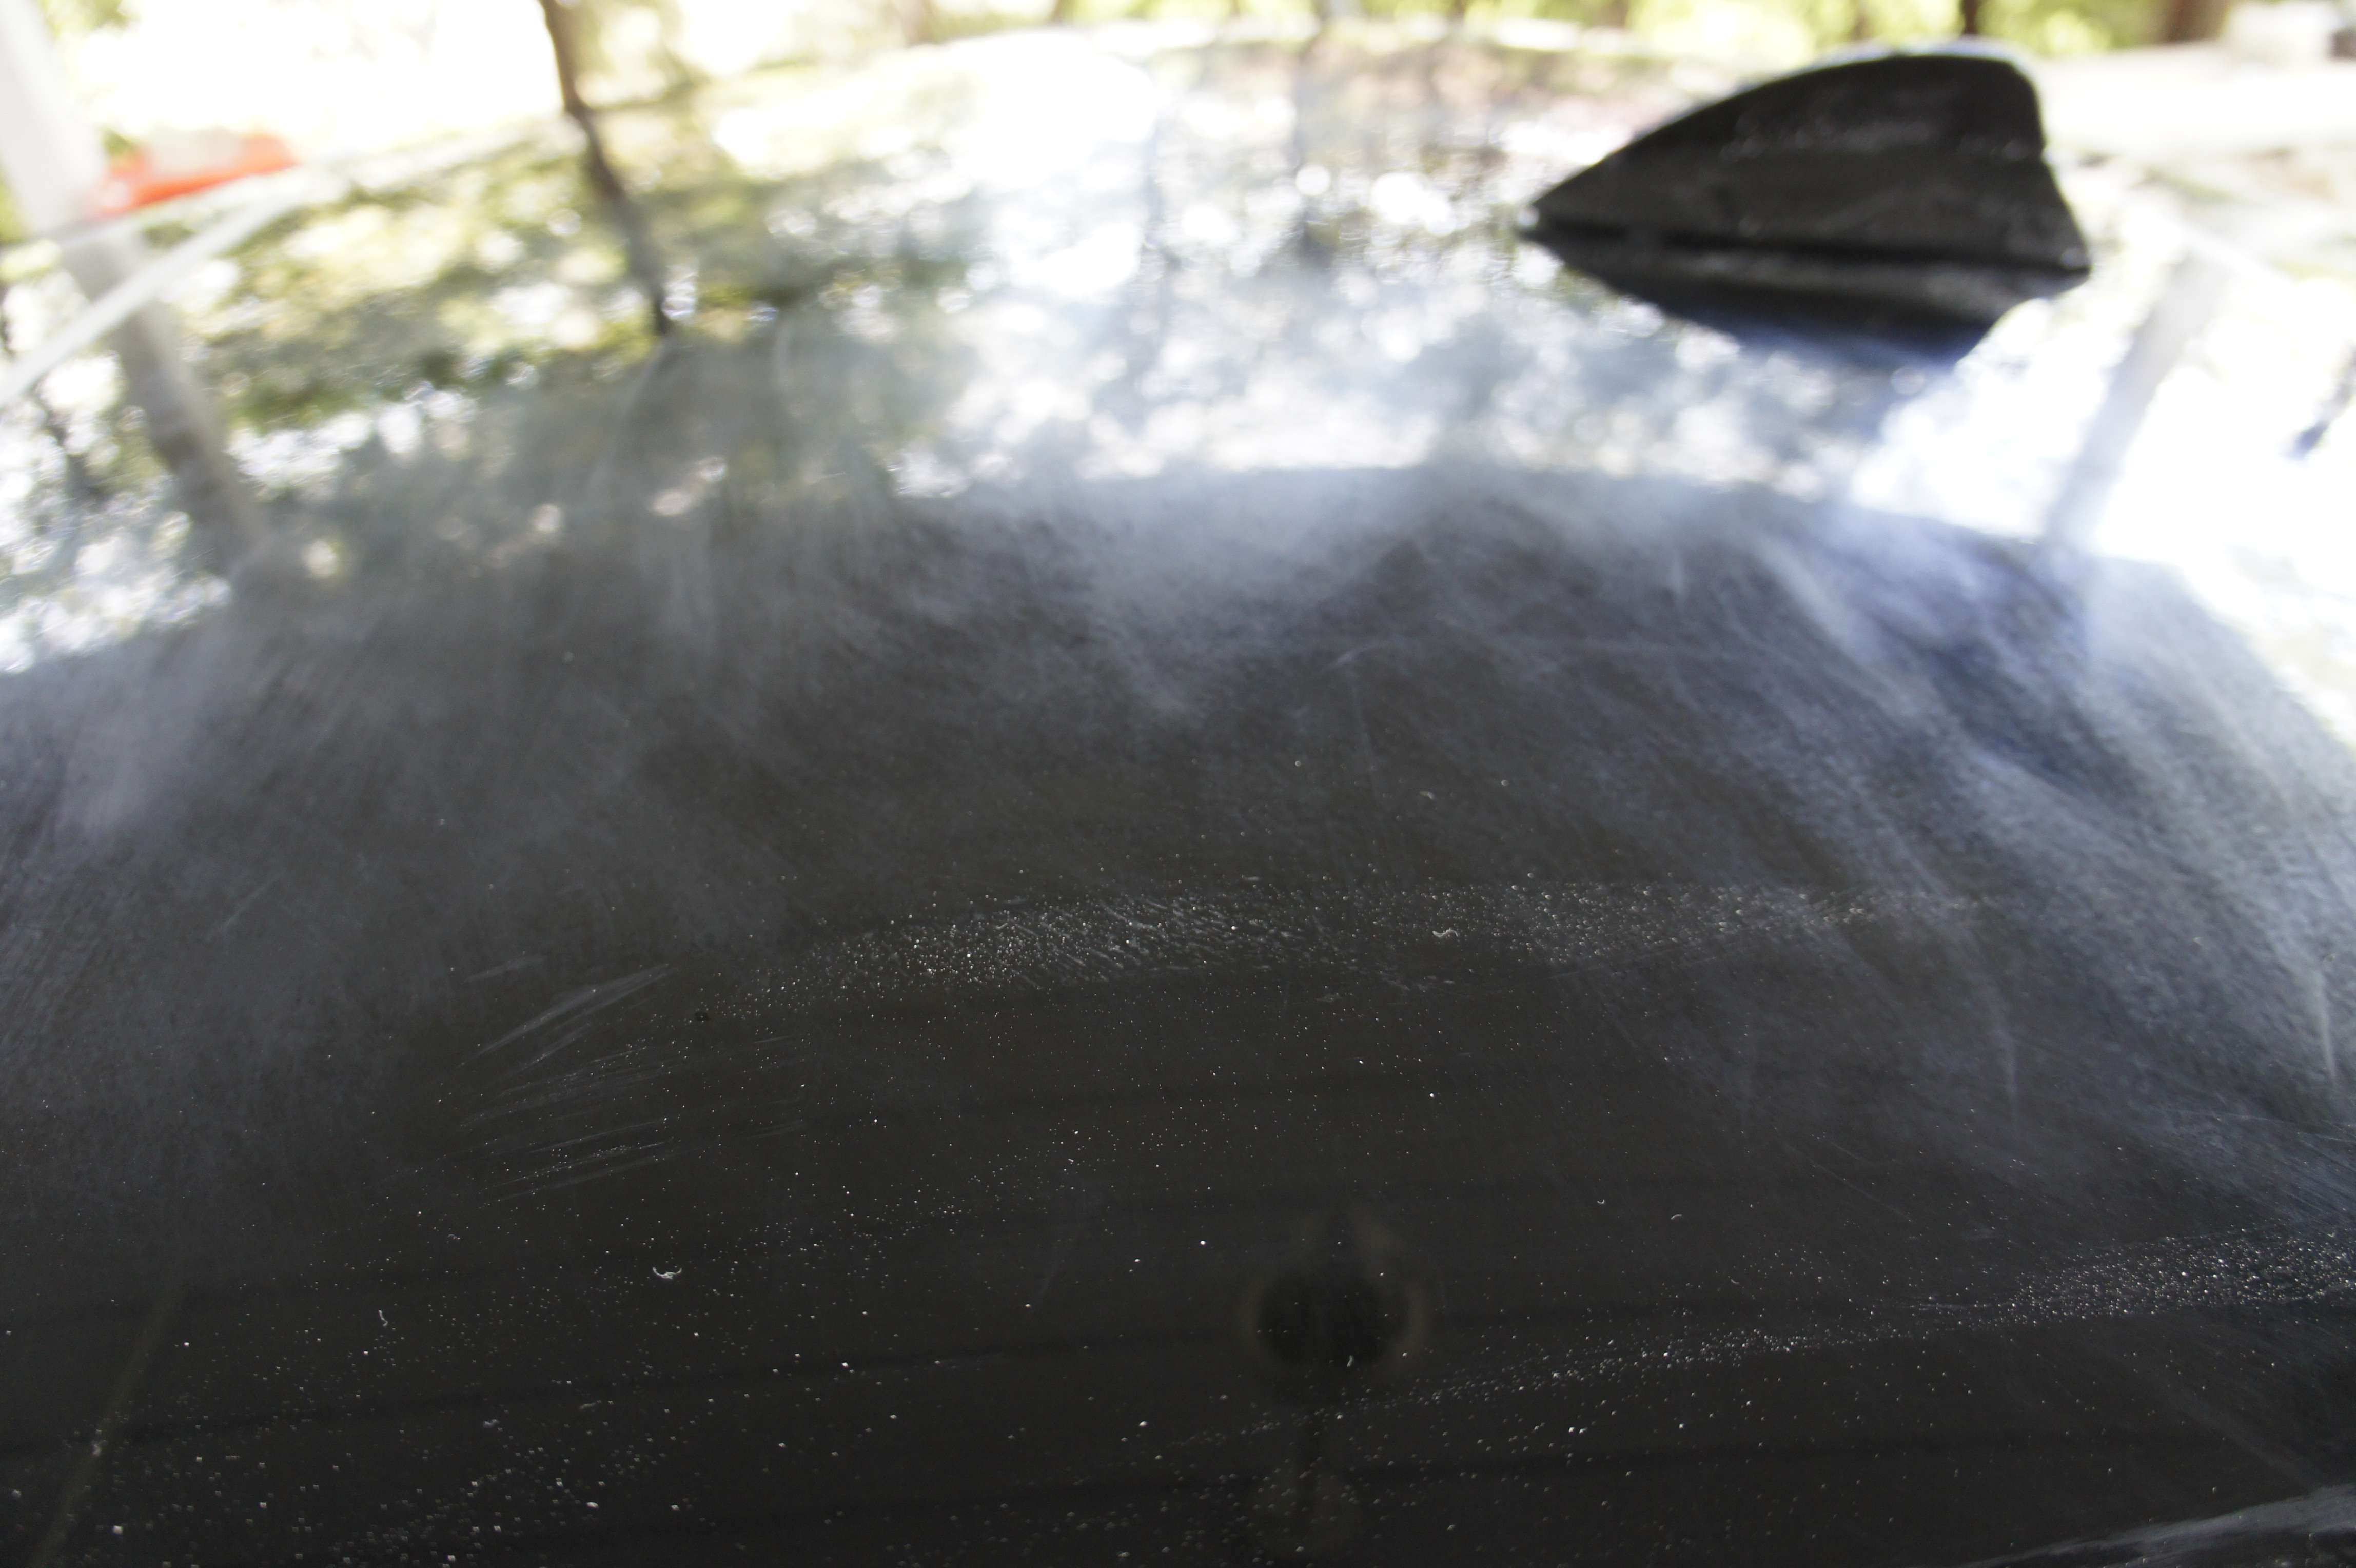
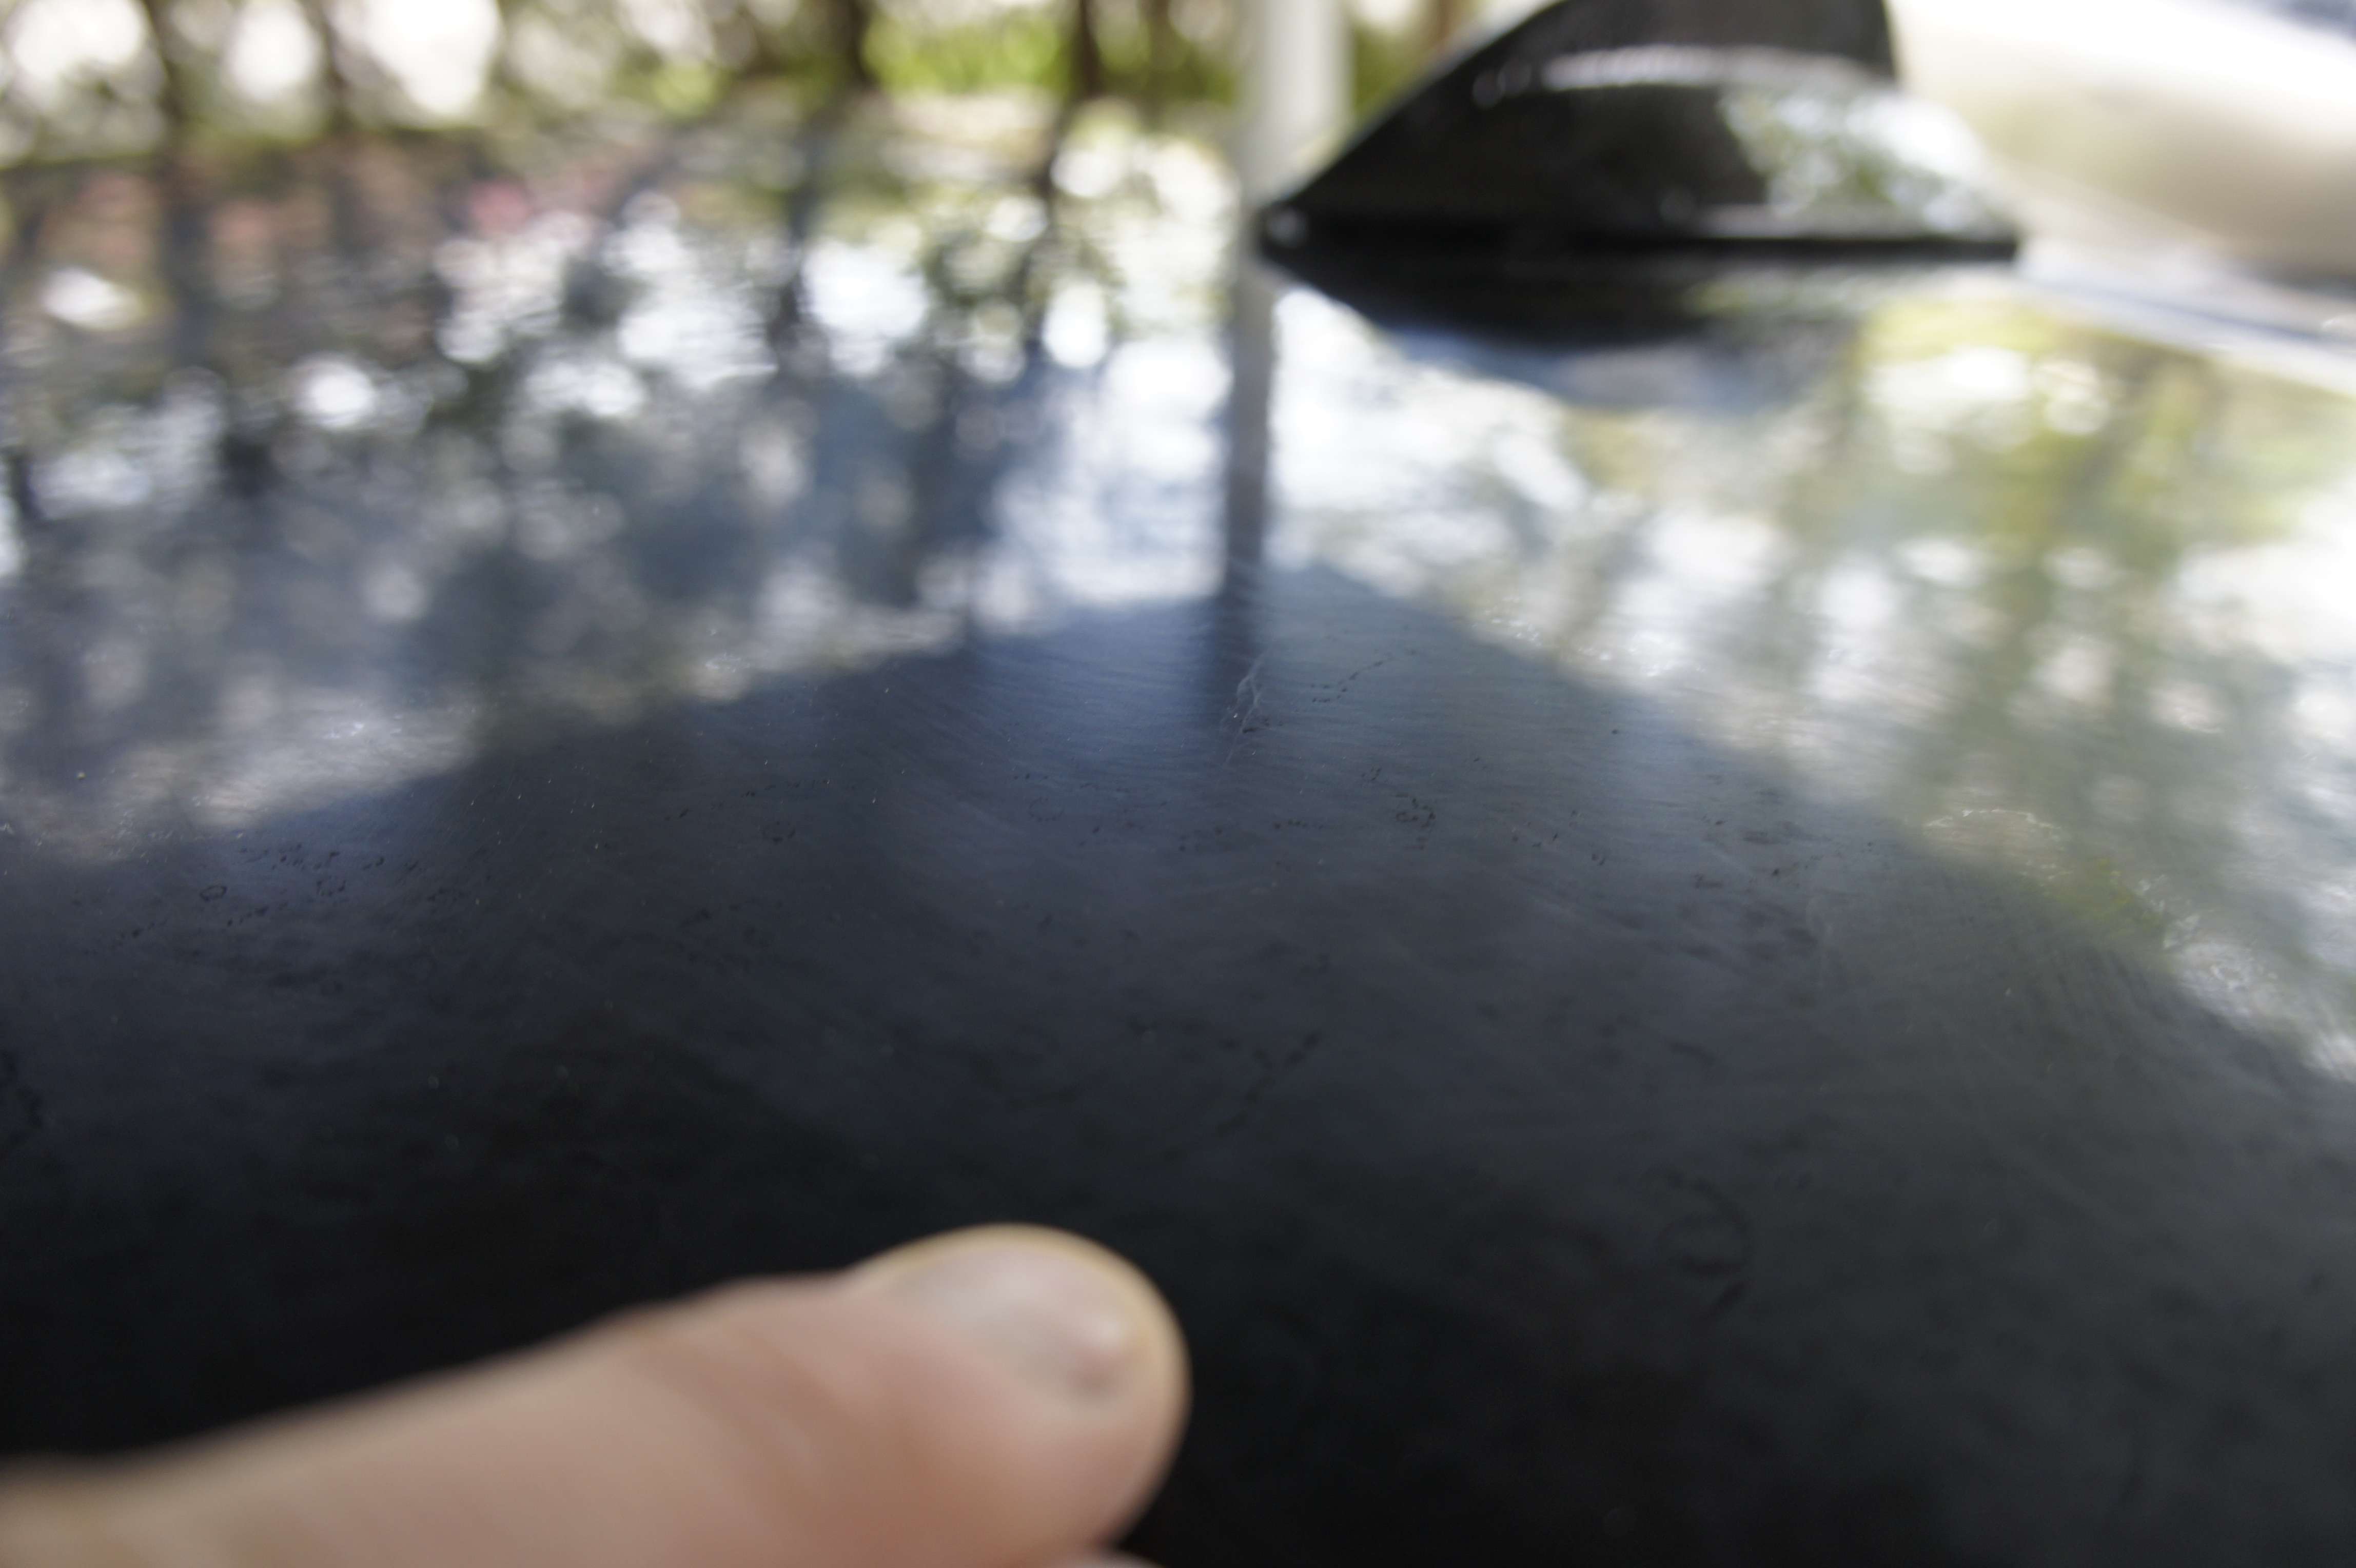
3) Paint before: here’s how the paint looked before
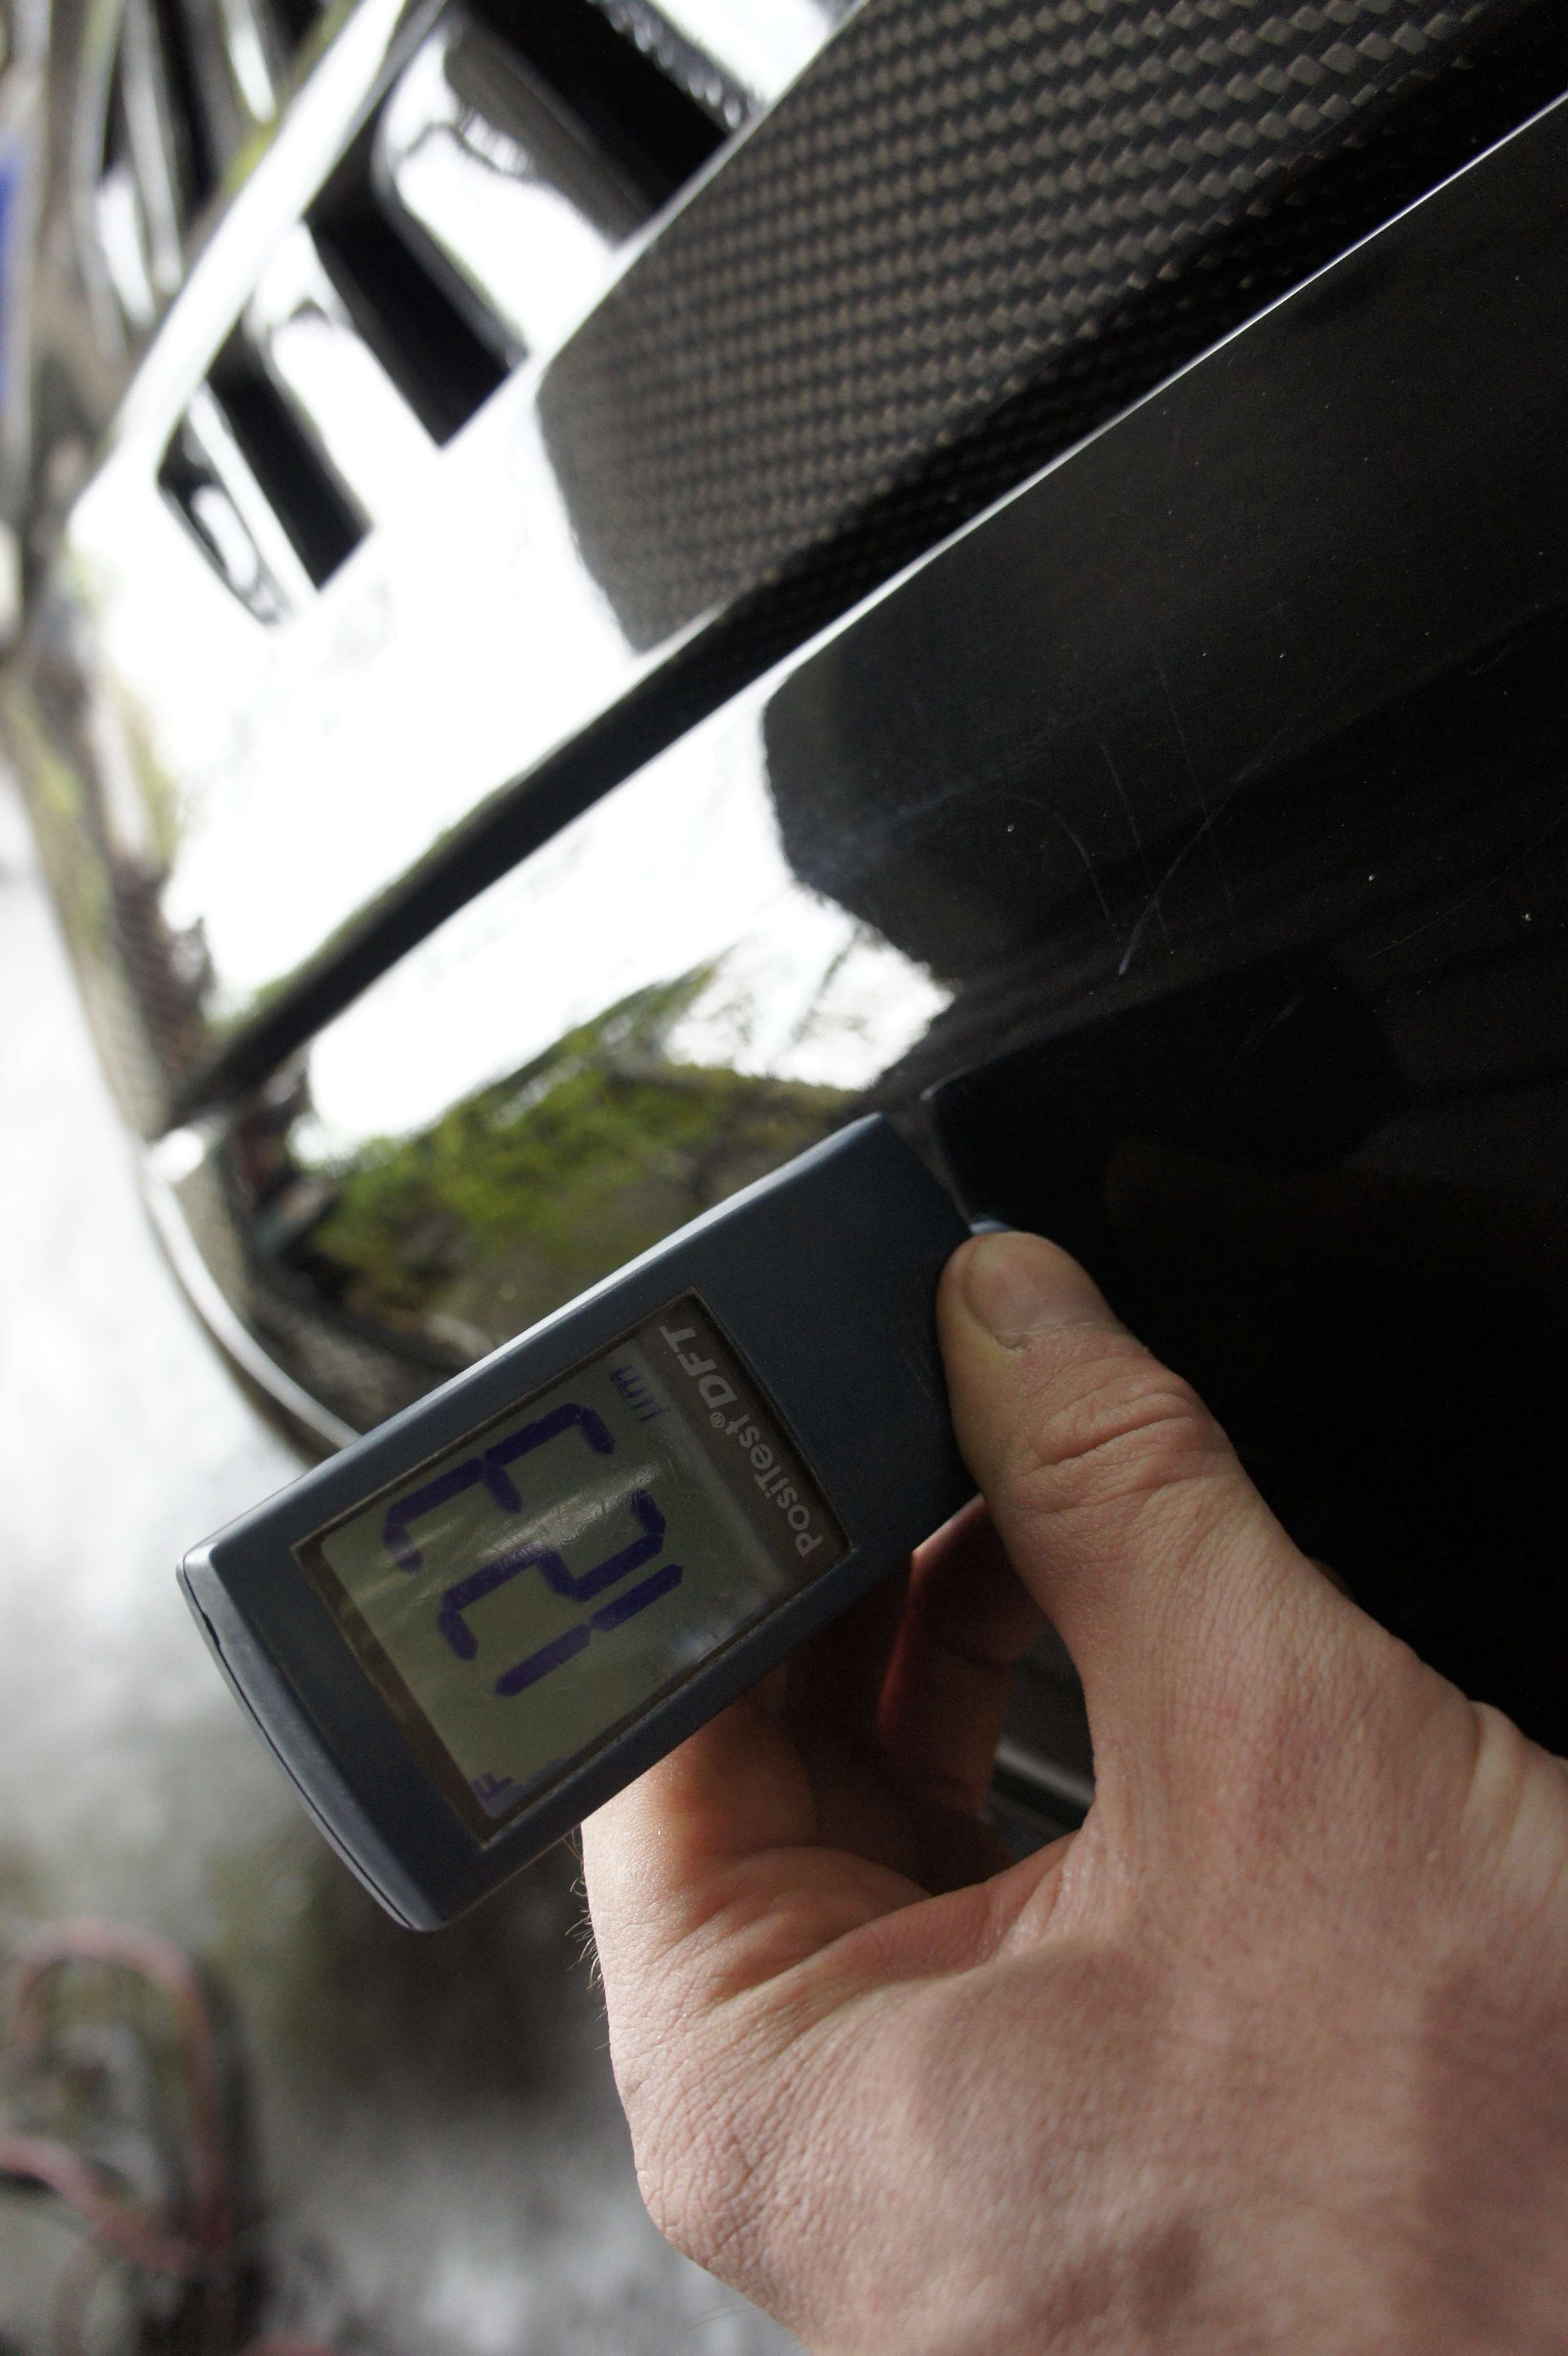
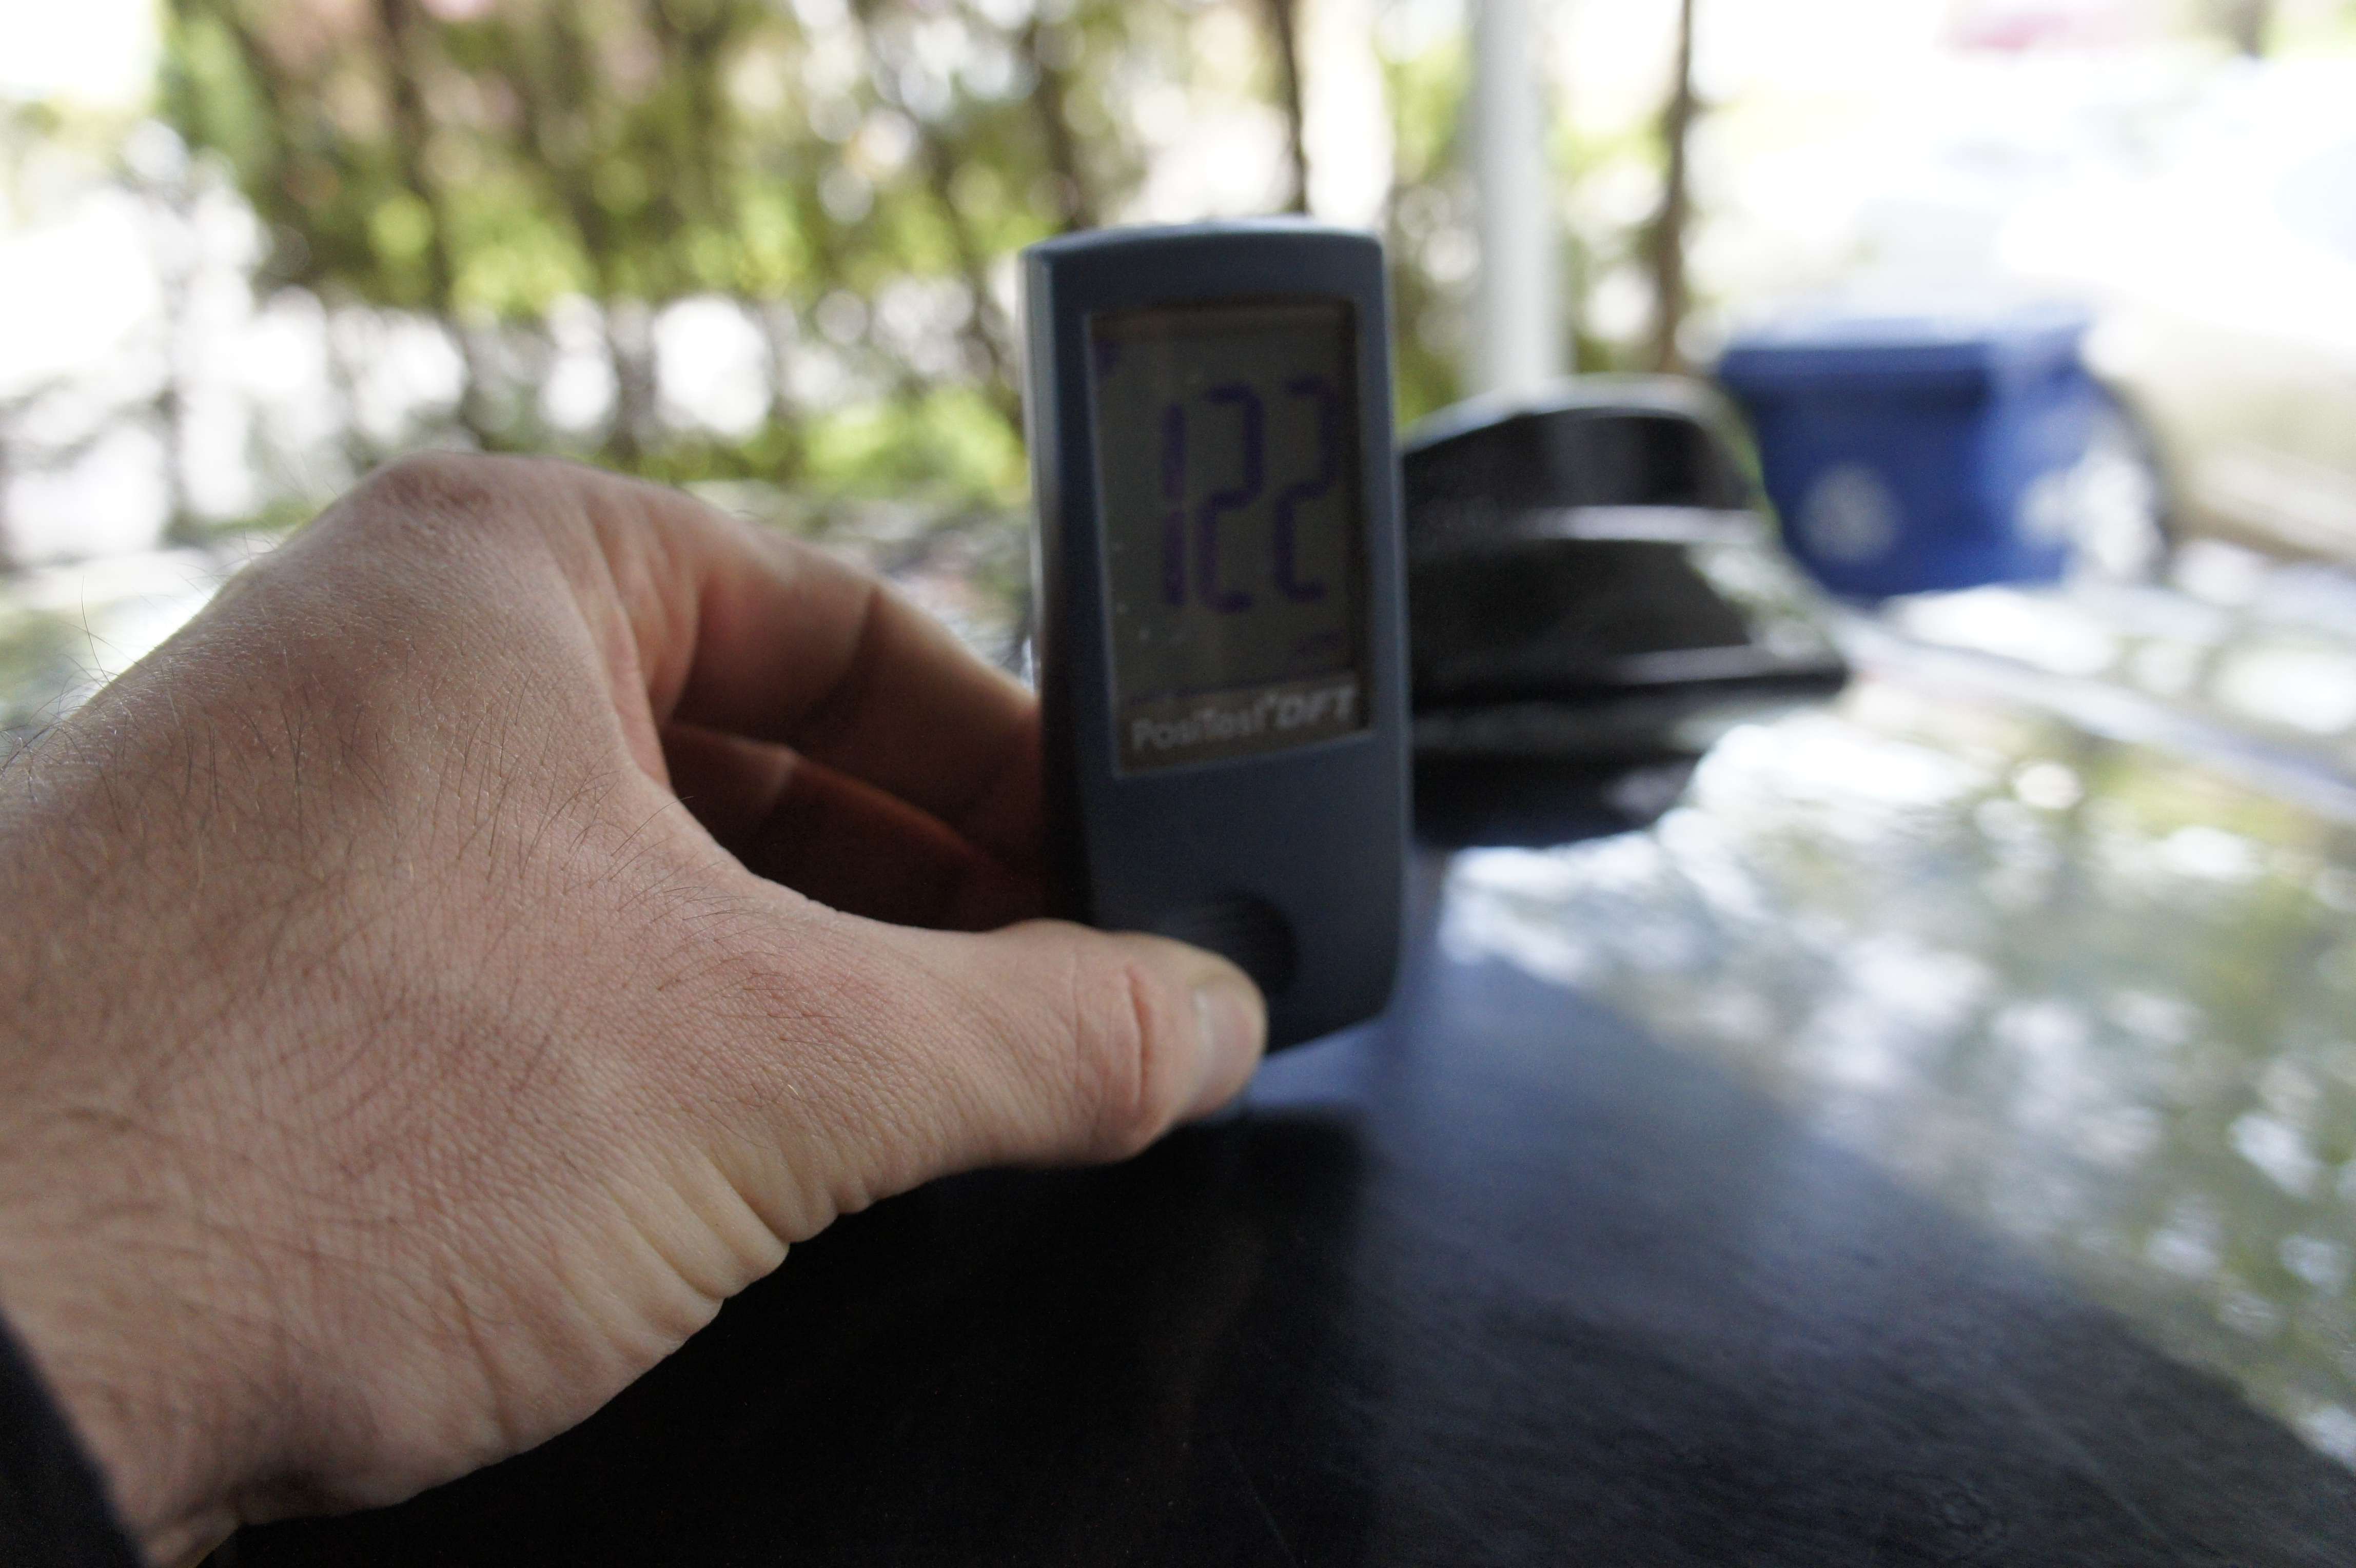
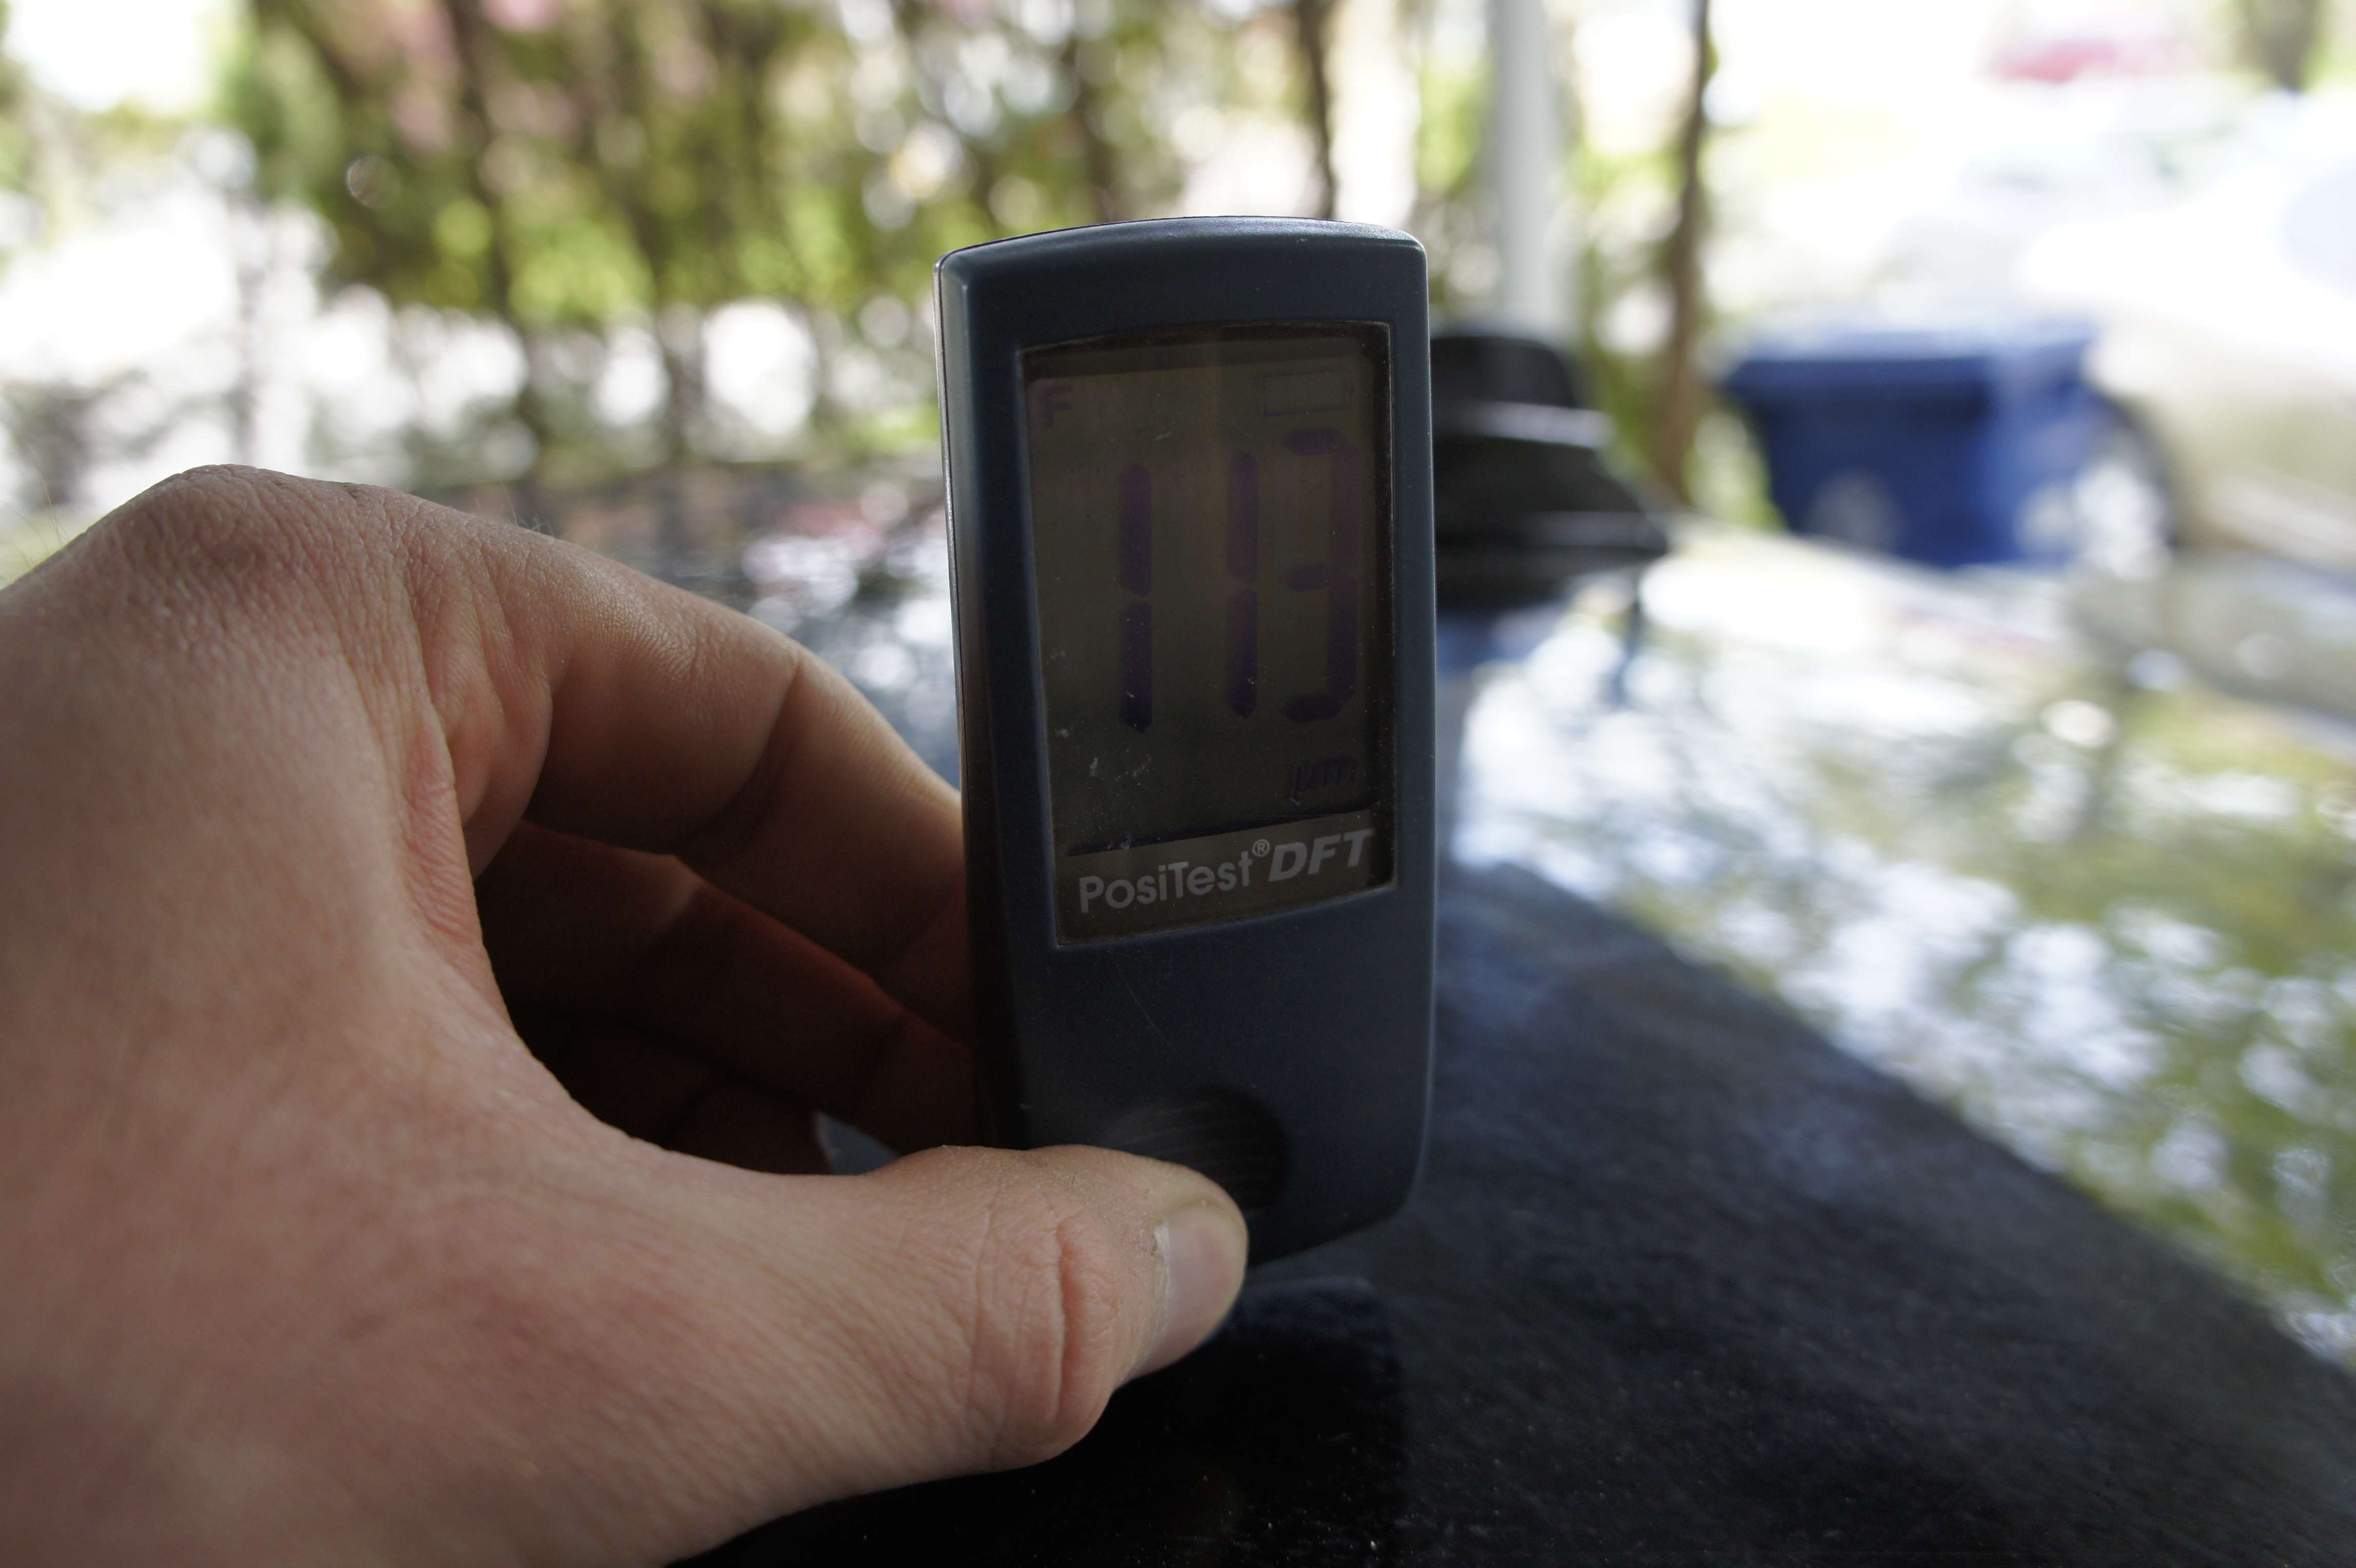
Paint reading was pretty uniform on all panels. Considering most bmw reads from 120 to 160 from factory, I’m wondering what the 3 other details looked like ? only a glaze or a light polish ? Because the reading looked like a factory paint reading without correction whatsoever. I mean if a car get detailed third, I could expect maybe 110 microns panels but I didn’t.

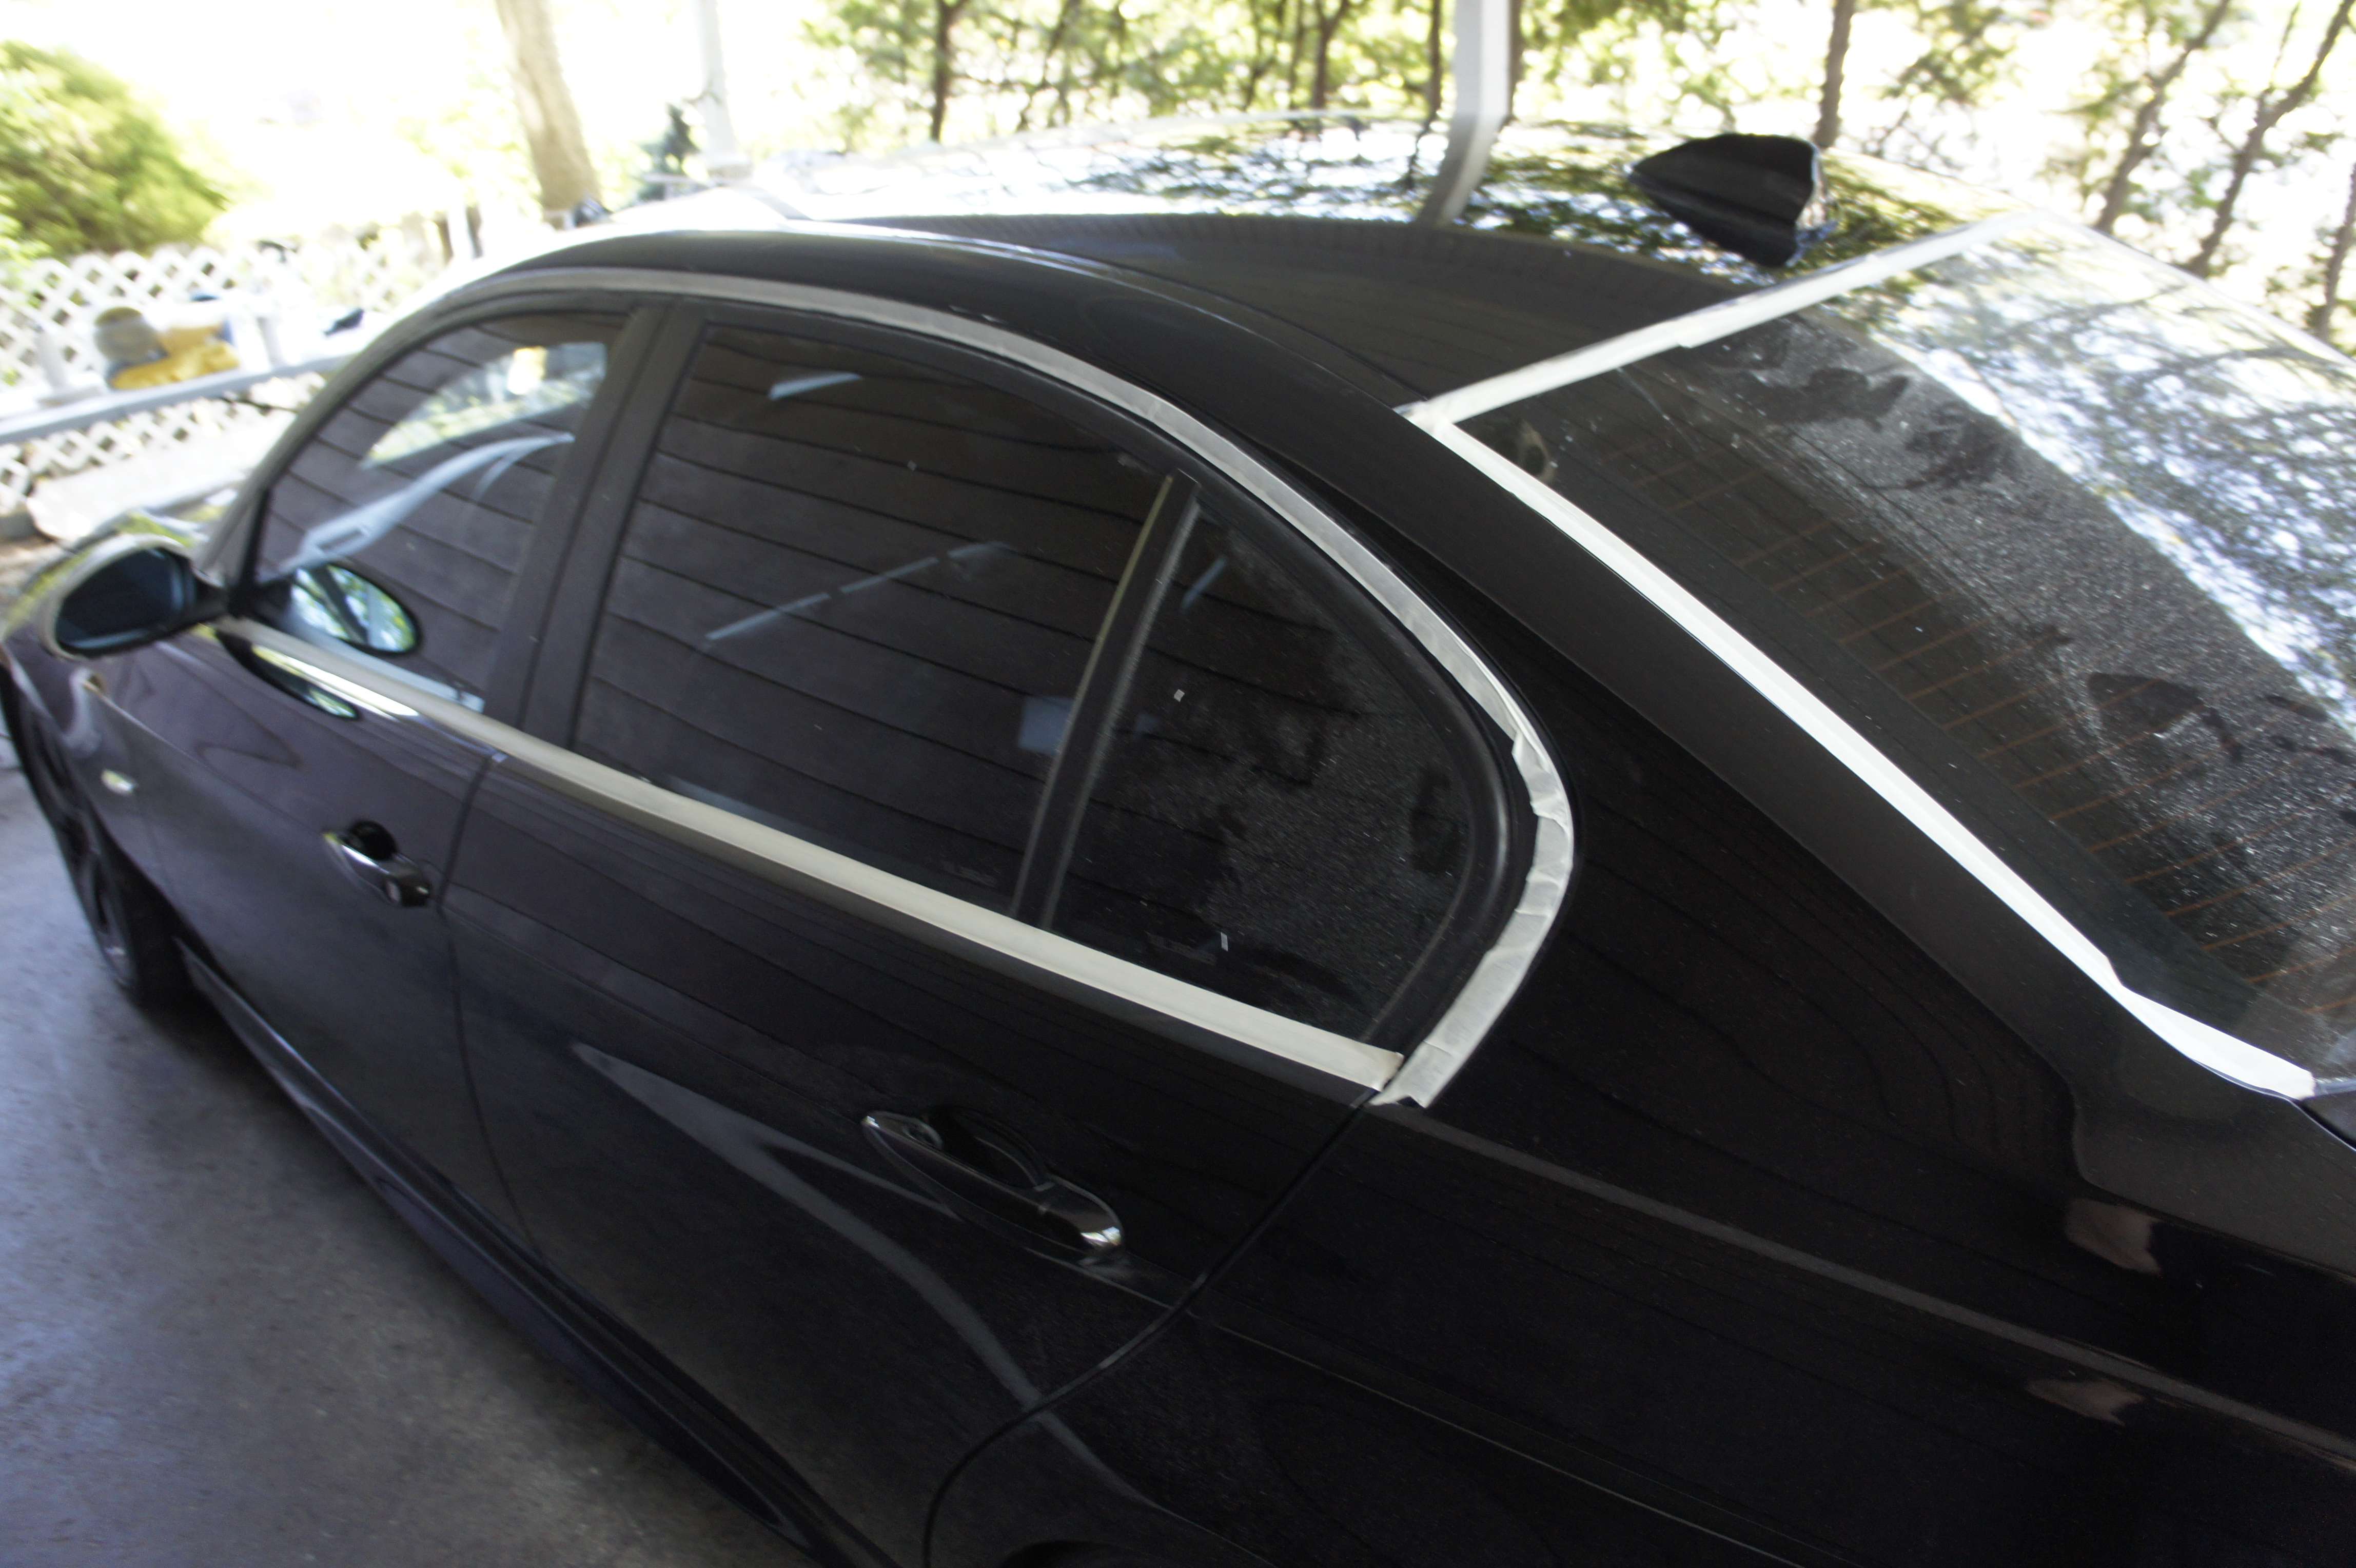
Taped the whole car:
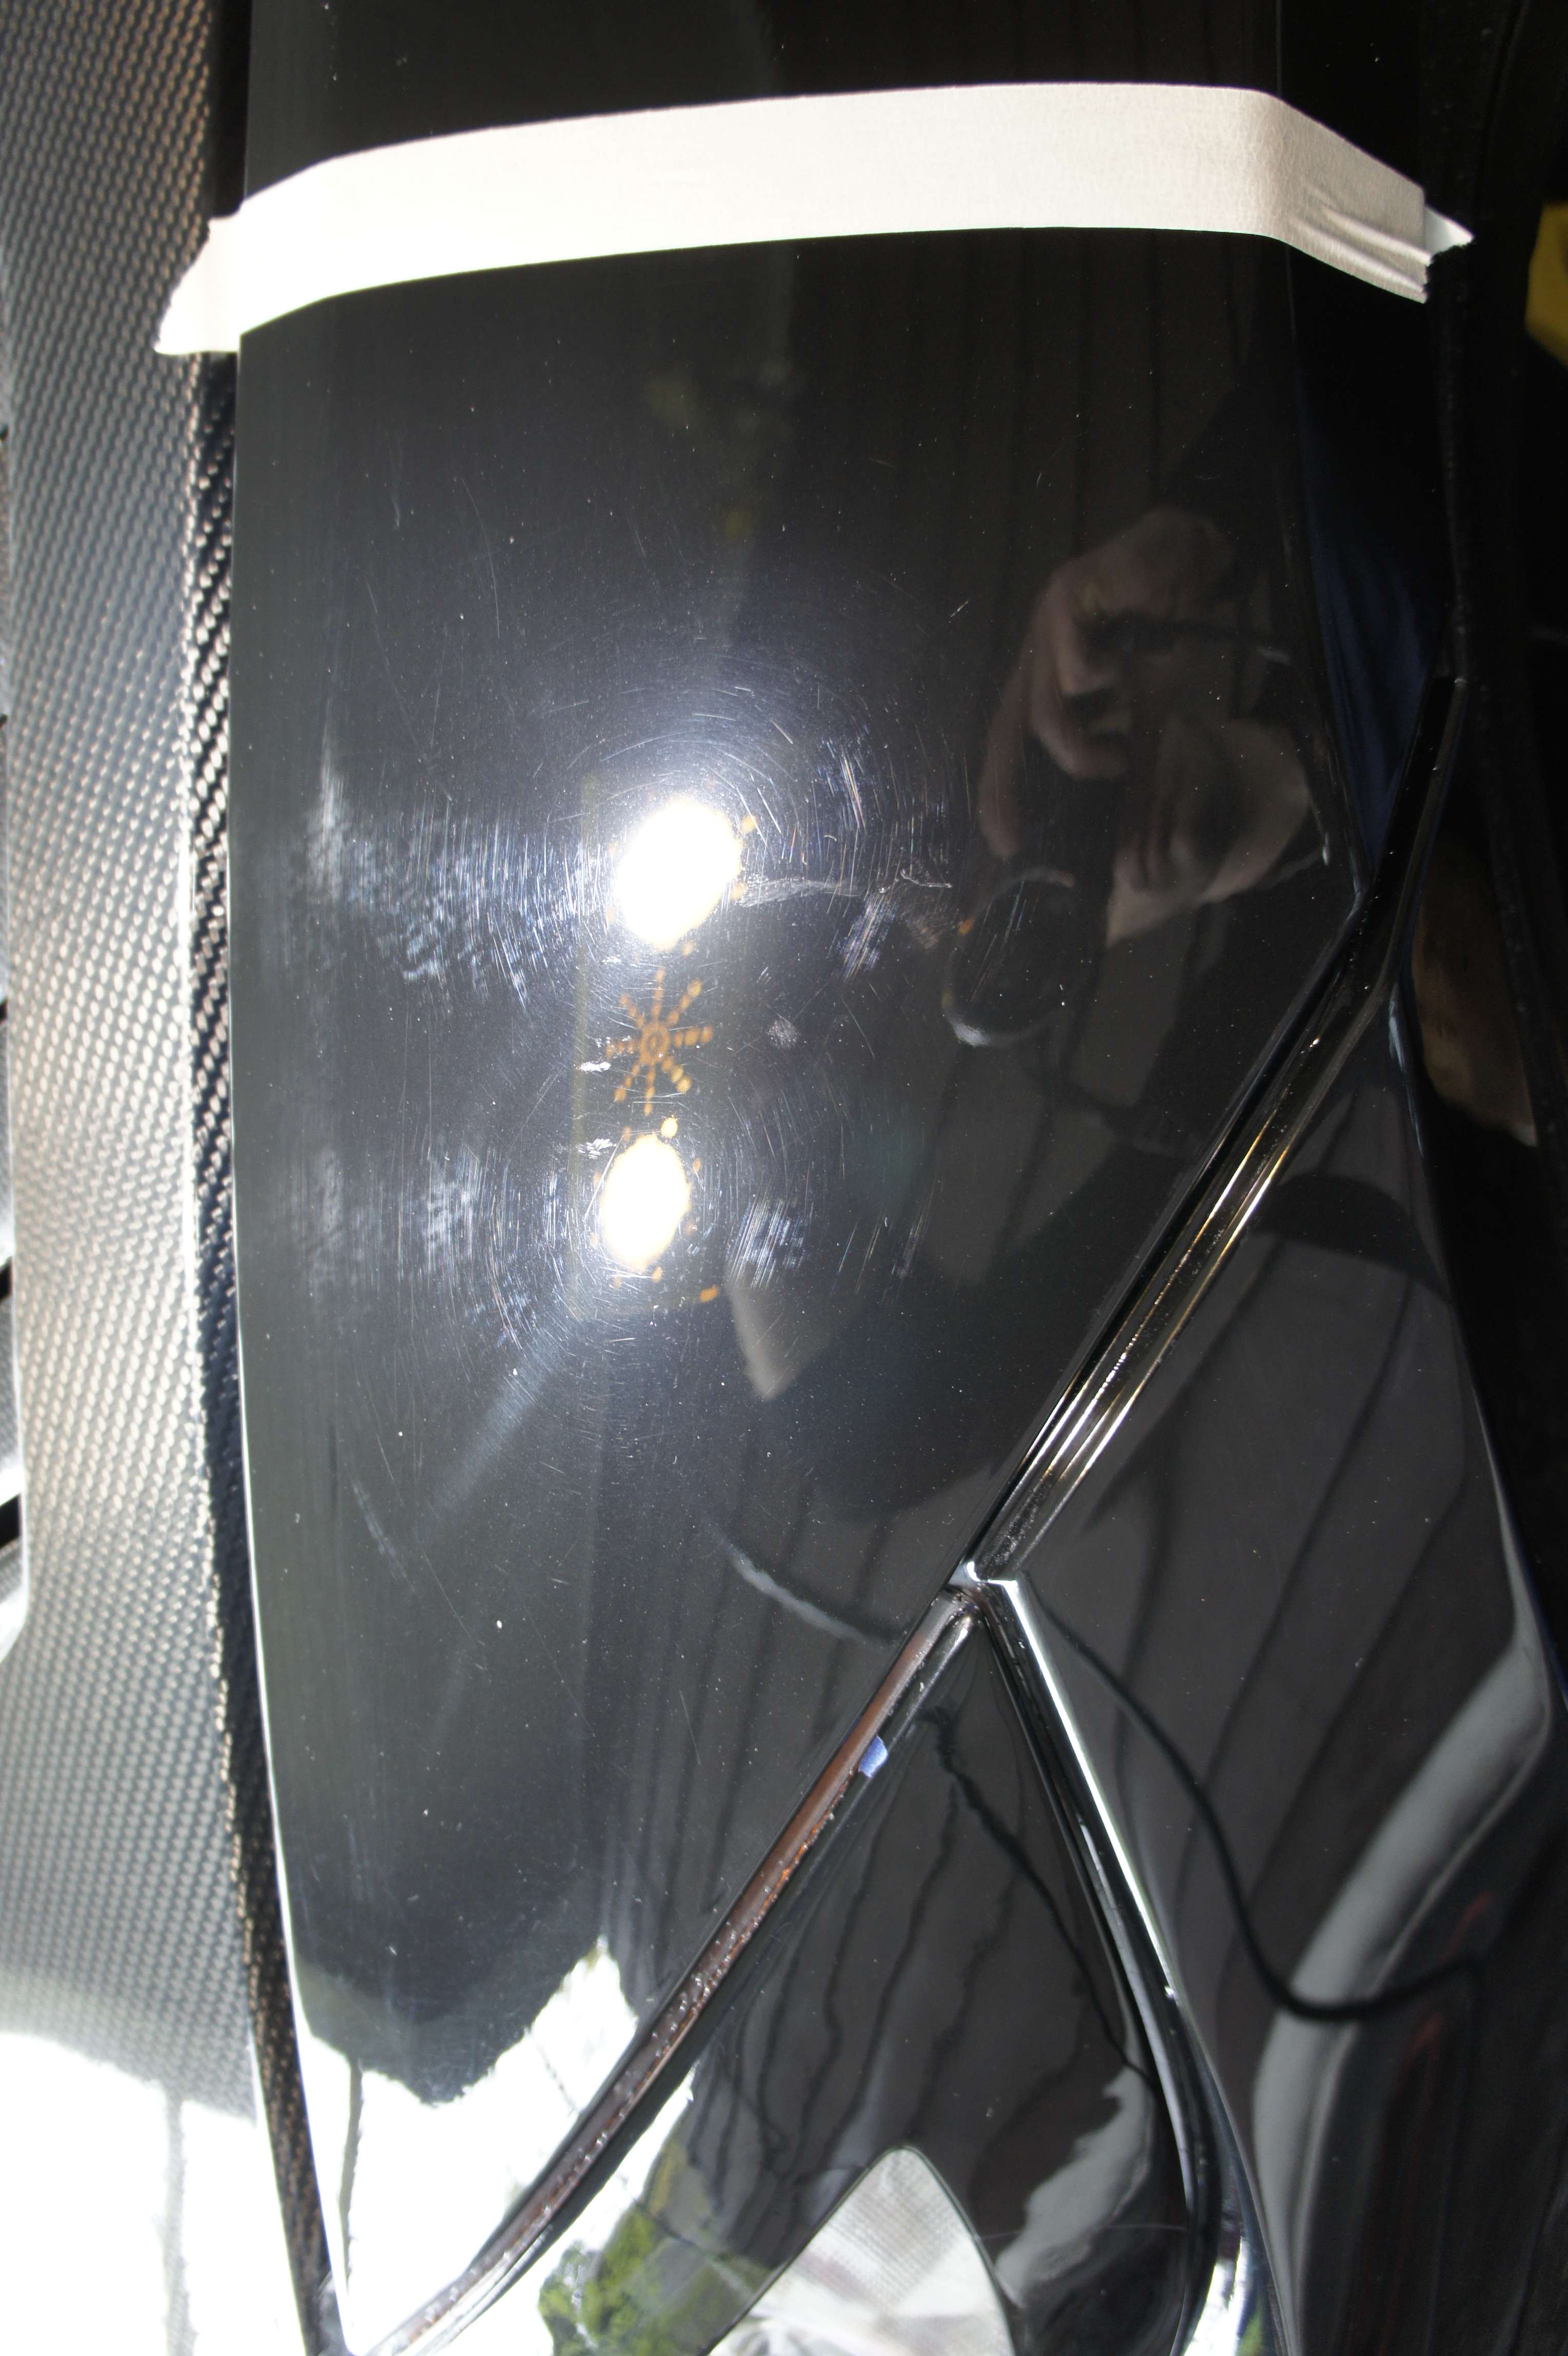
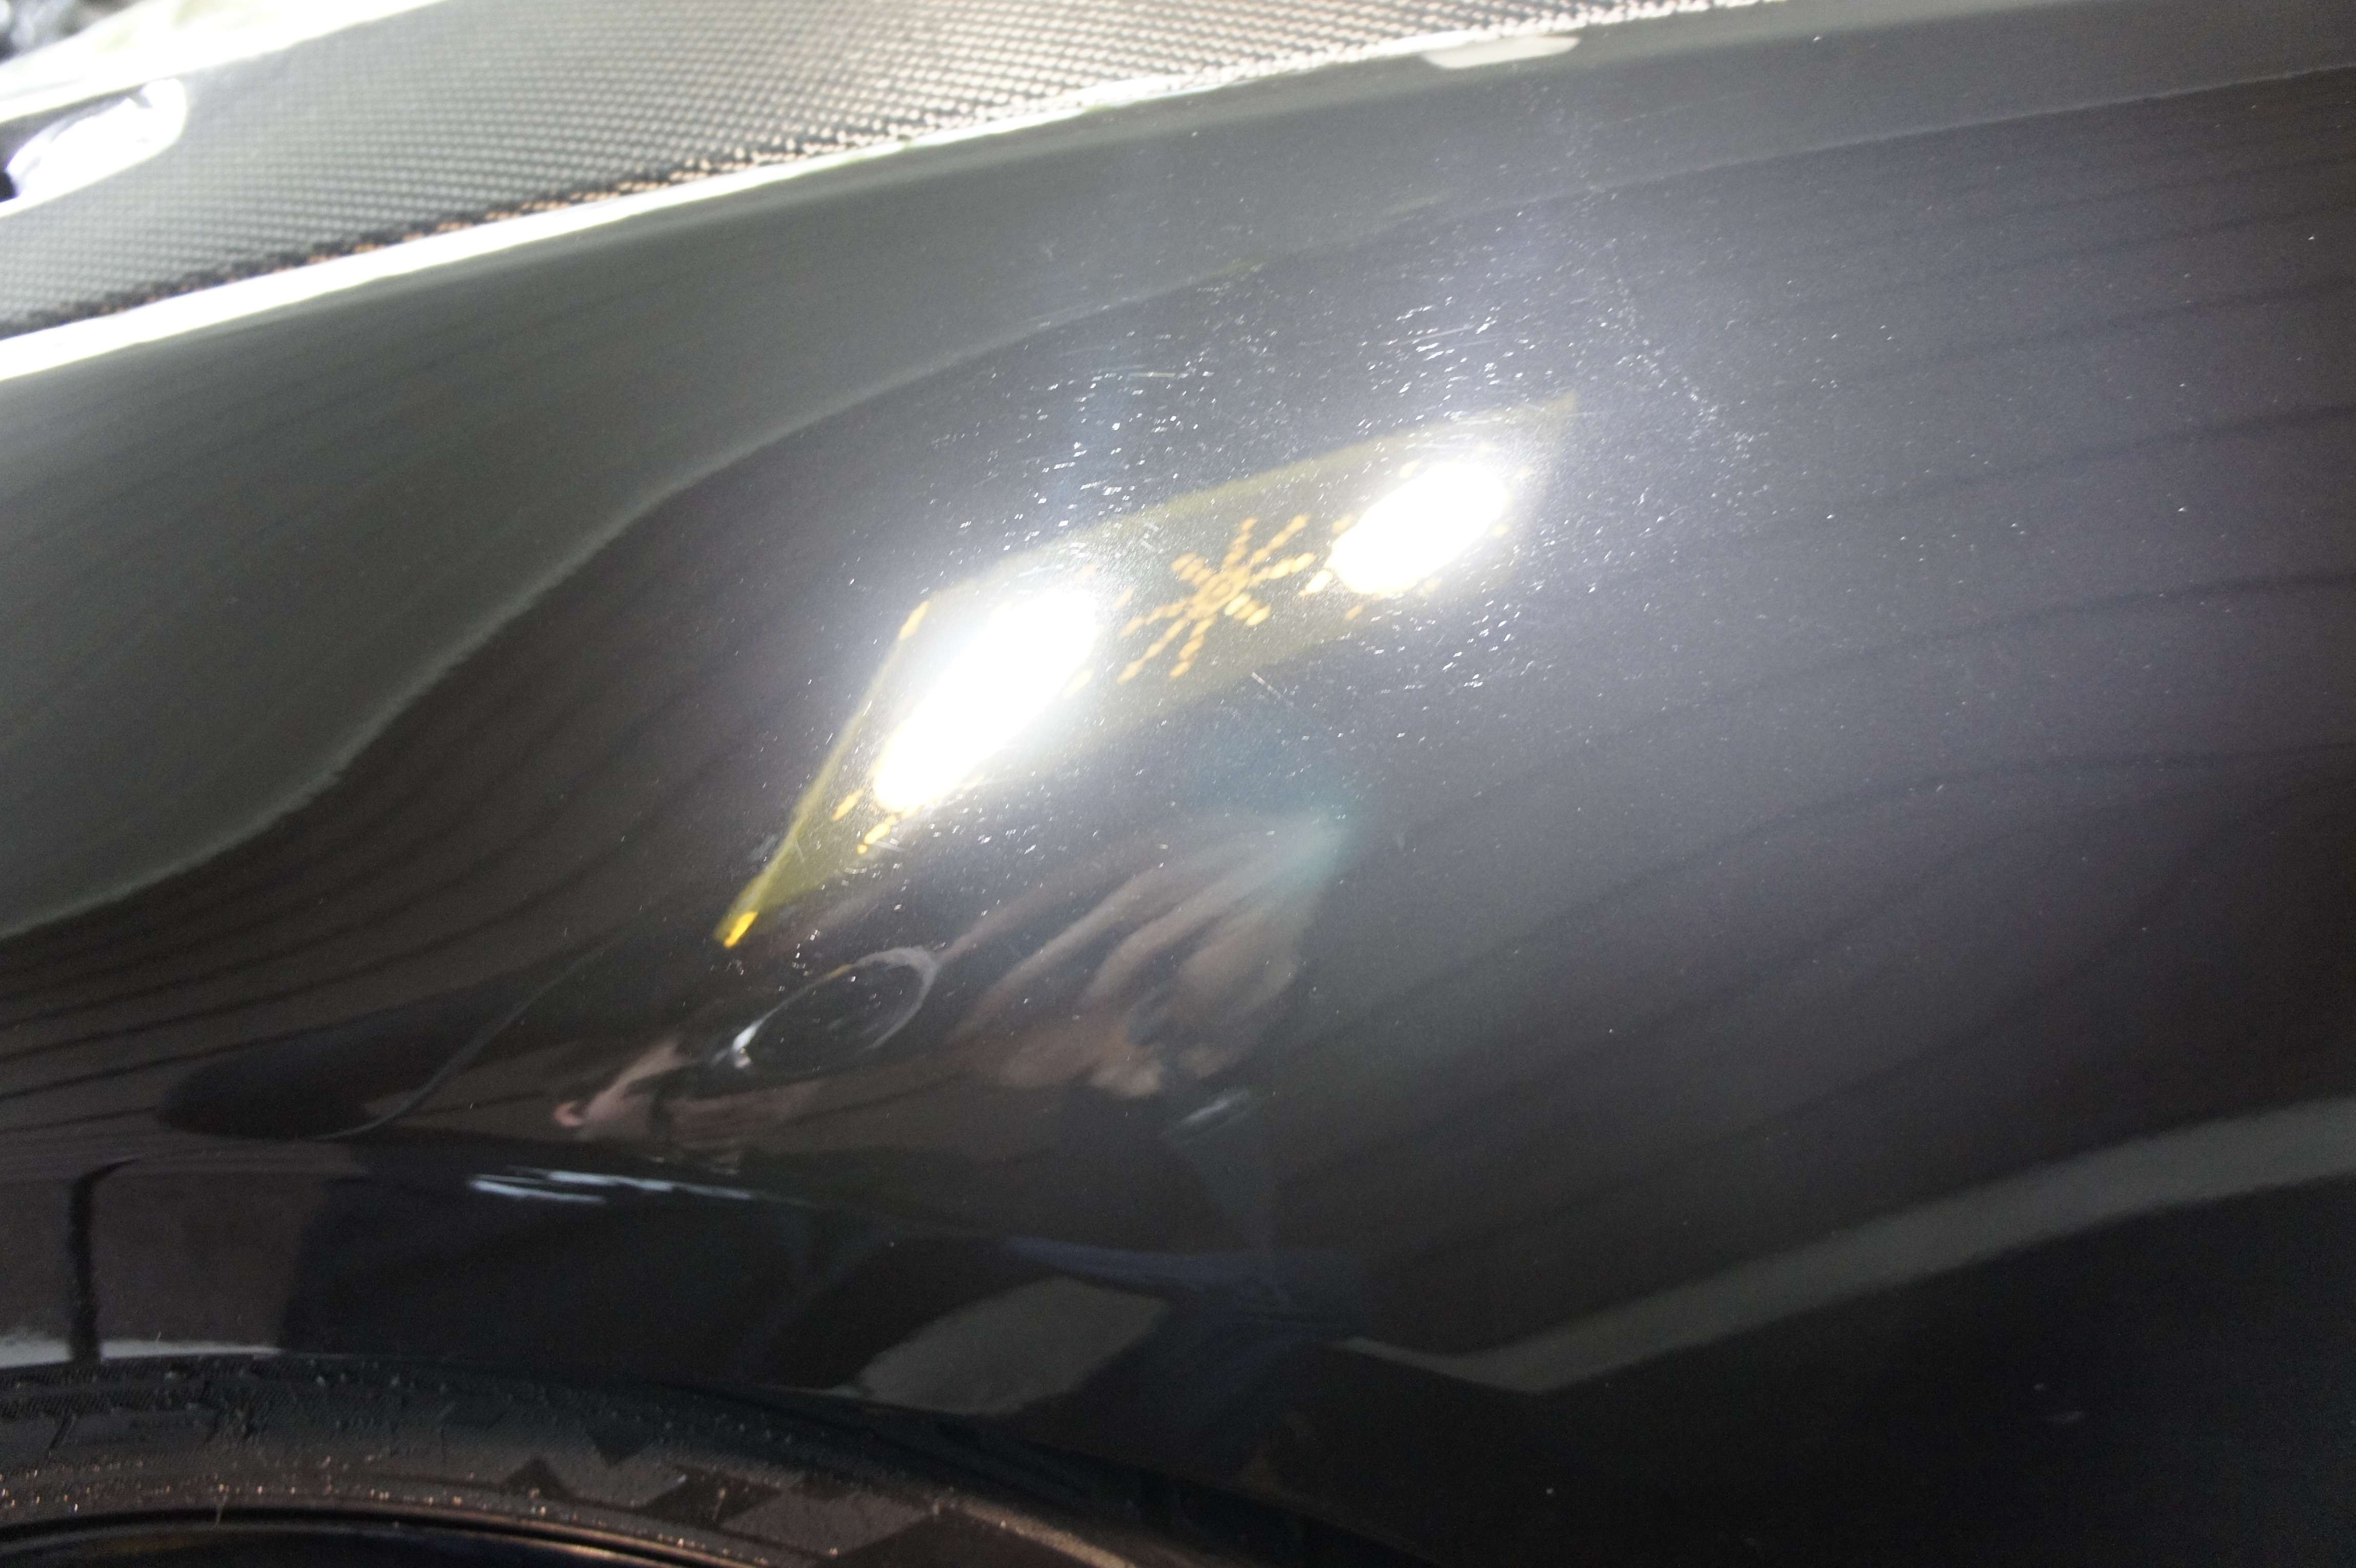
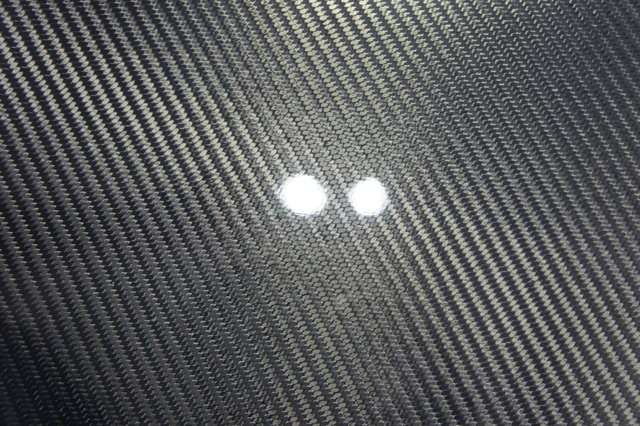
So here I wanted to showcase what a compound is.. Unfortunately, most people use the term ‘’Compound’’ to say they want a polish or a wax applied to their car. I would like to be clear once for all, a compound is VERY abrasive and leave an ugly finish to the car! Every week I get asked, how much for a compound? 99% of the time, the person meant a polish or sometimes it was only a wash and wax.
So I took this car to demonstrate you what a compound really looked like: On the left, you have the actual condition of the car and on the right, you have the compound.
Sure there’s no scratch or swirls but that’s because the whole panel is hazed and ugly haha! So the ugly look is somewhat more uniform on the panel, but look closely, you will clearly look that the left side has way more gloss and definition to it.
So what happens is when the compounding step is done, we need to do more polishing step with lesser abrasive paste to get back the same level of gloss we had on the left side but WITHOUT the swirls and scratches.
After a couple of polish step, I came down to this:

Now, see the difference? A picture is worth 1000 words here.
And at this stage, I still wasn’t 100% happy with the result:
So I redid the step with another system and end up with that:
Now, we’re talking guys!
Here’s some after-after:

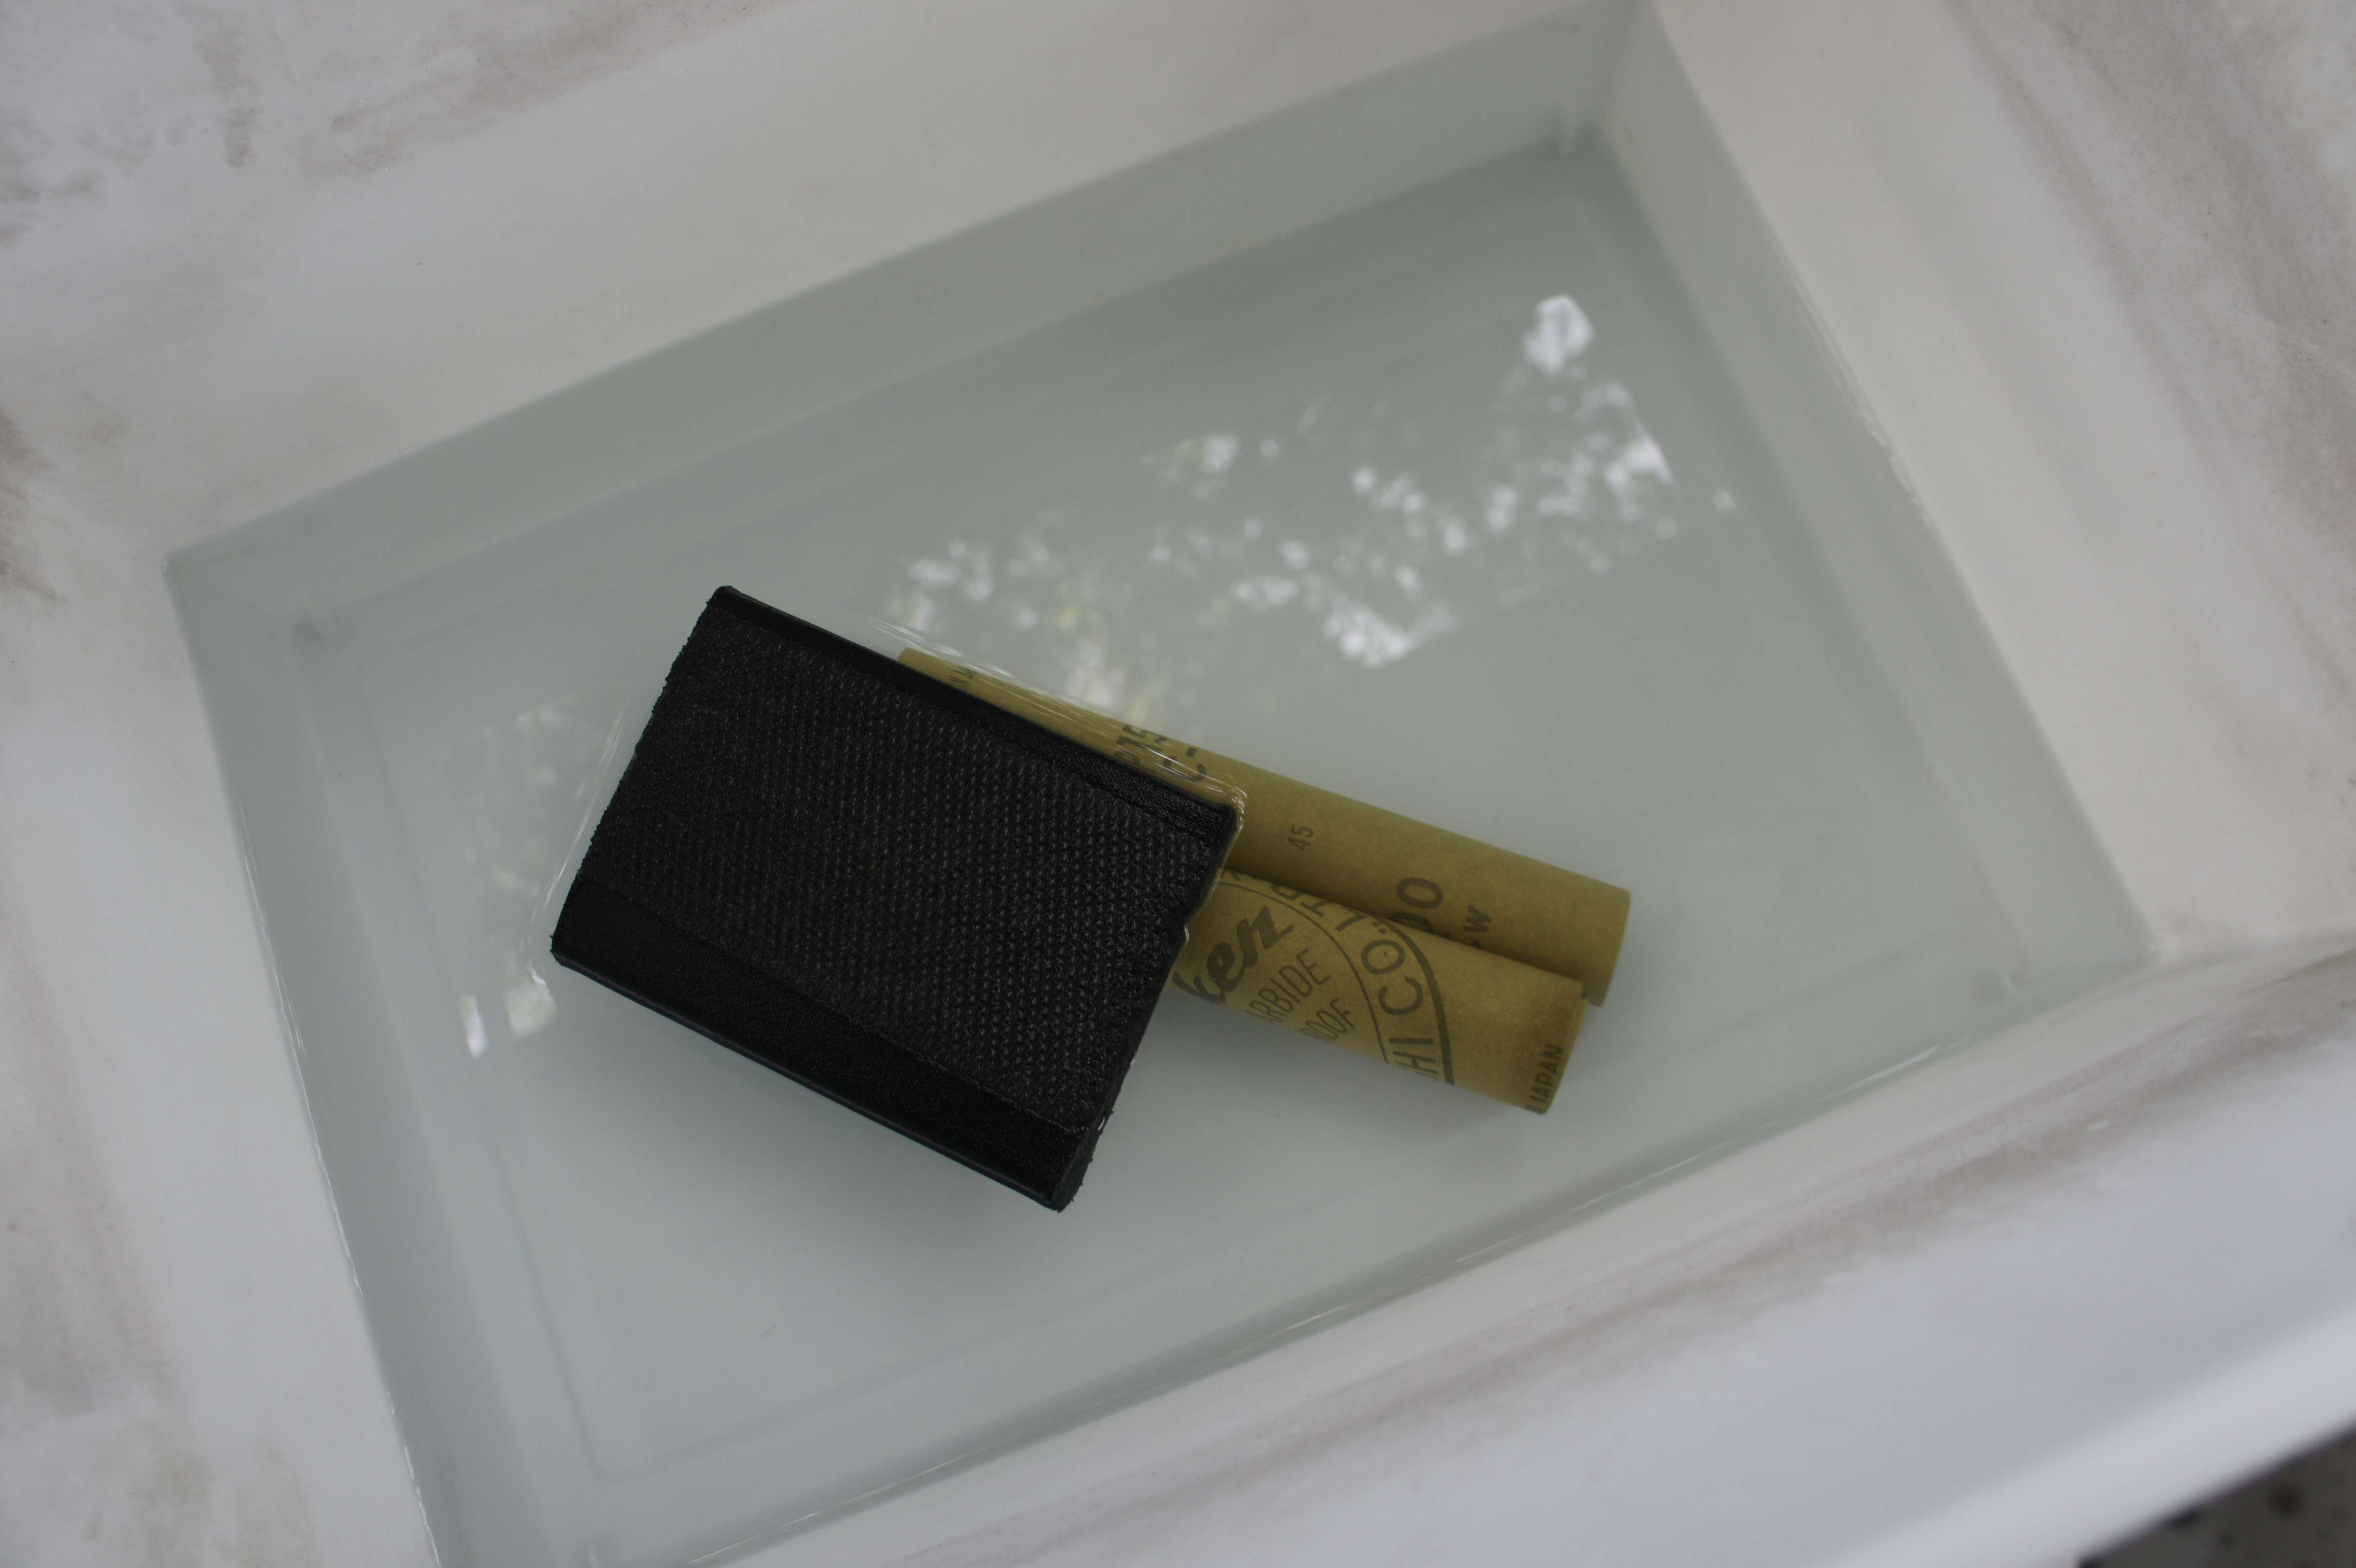
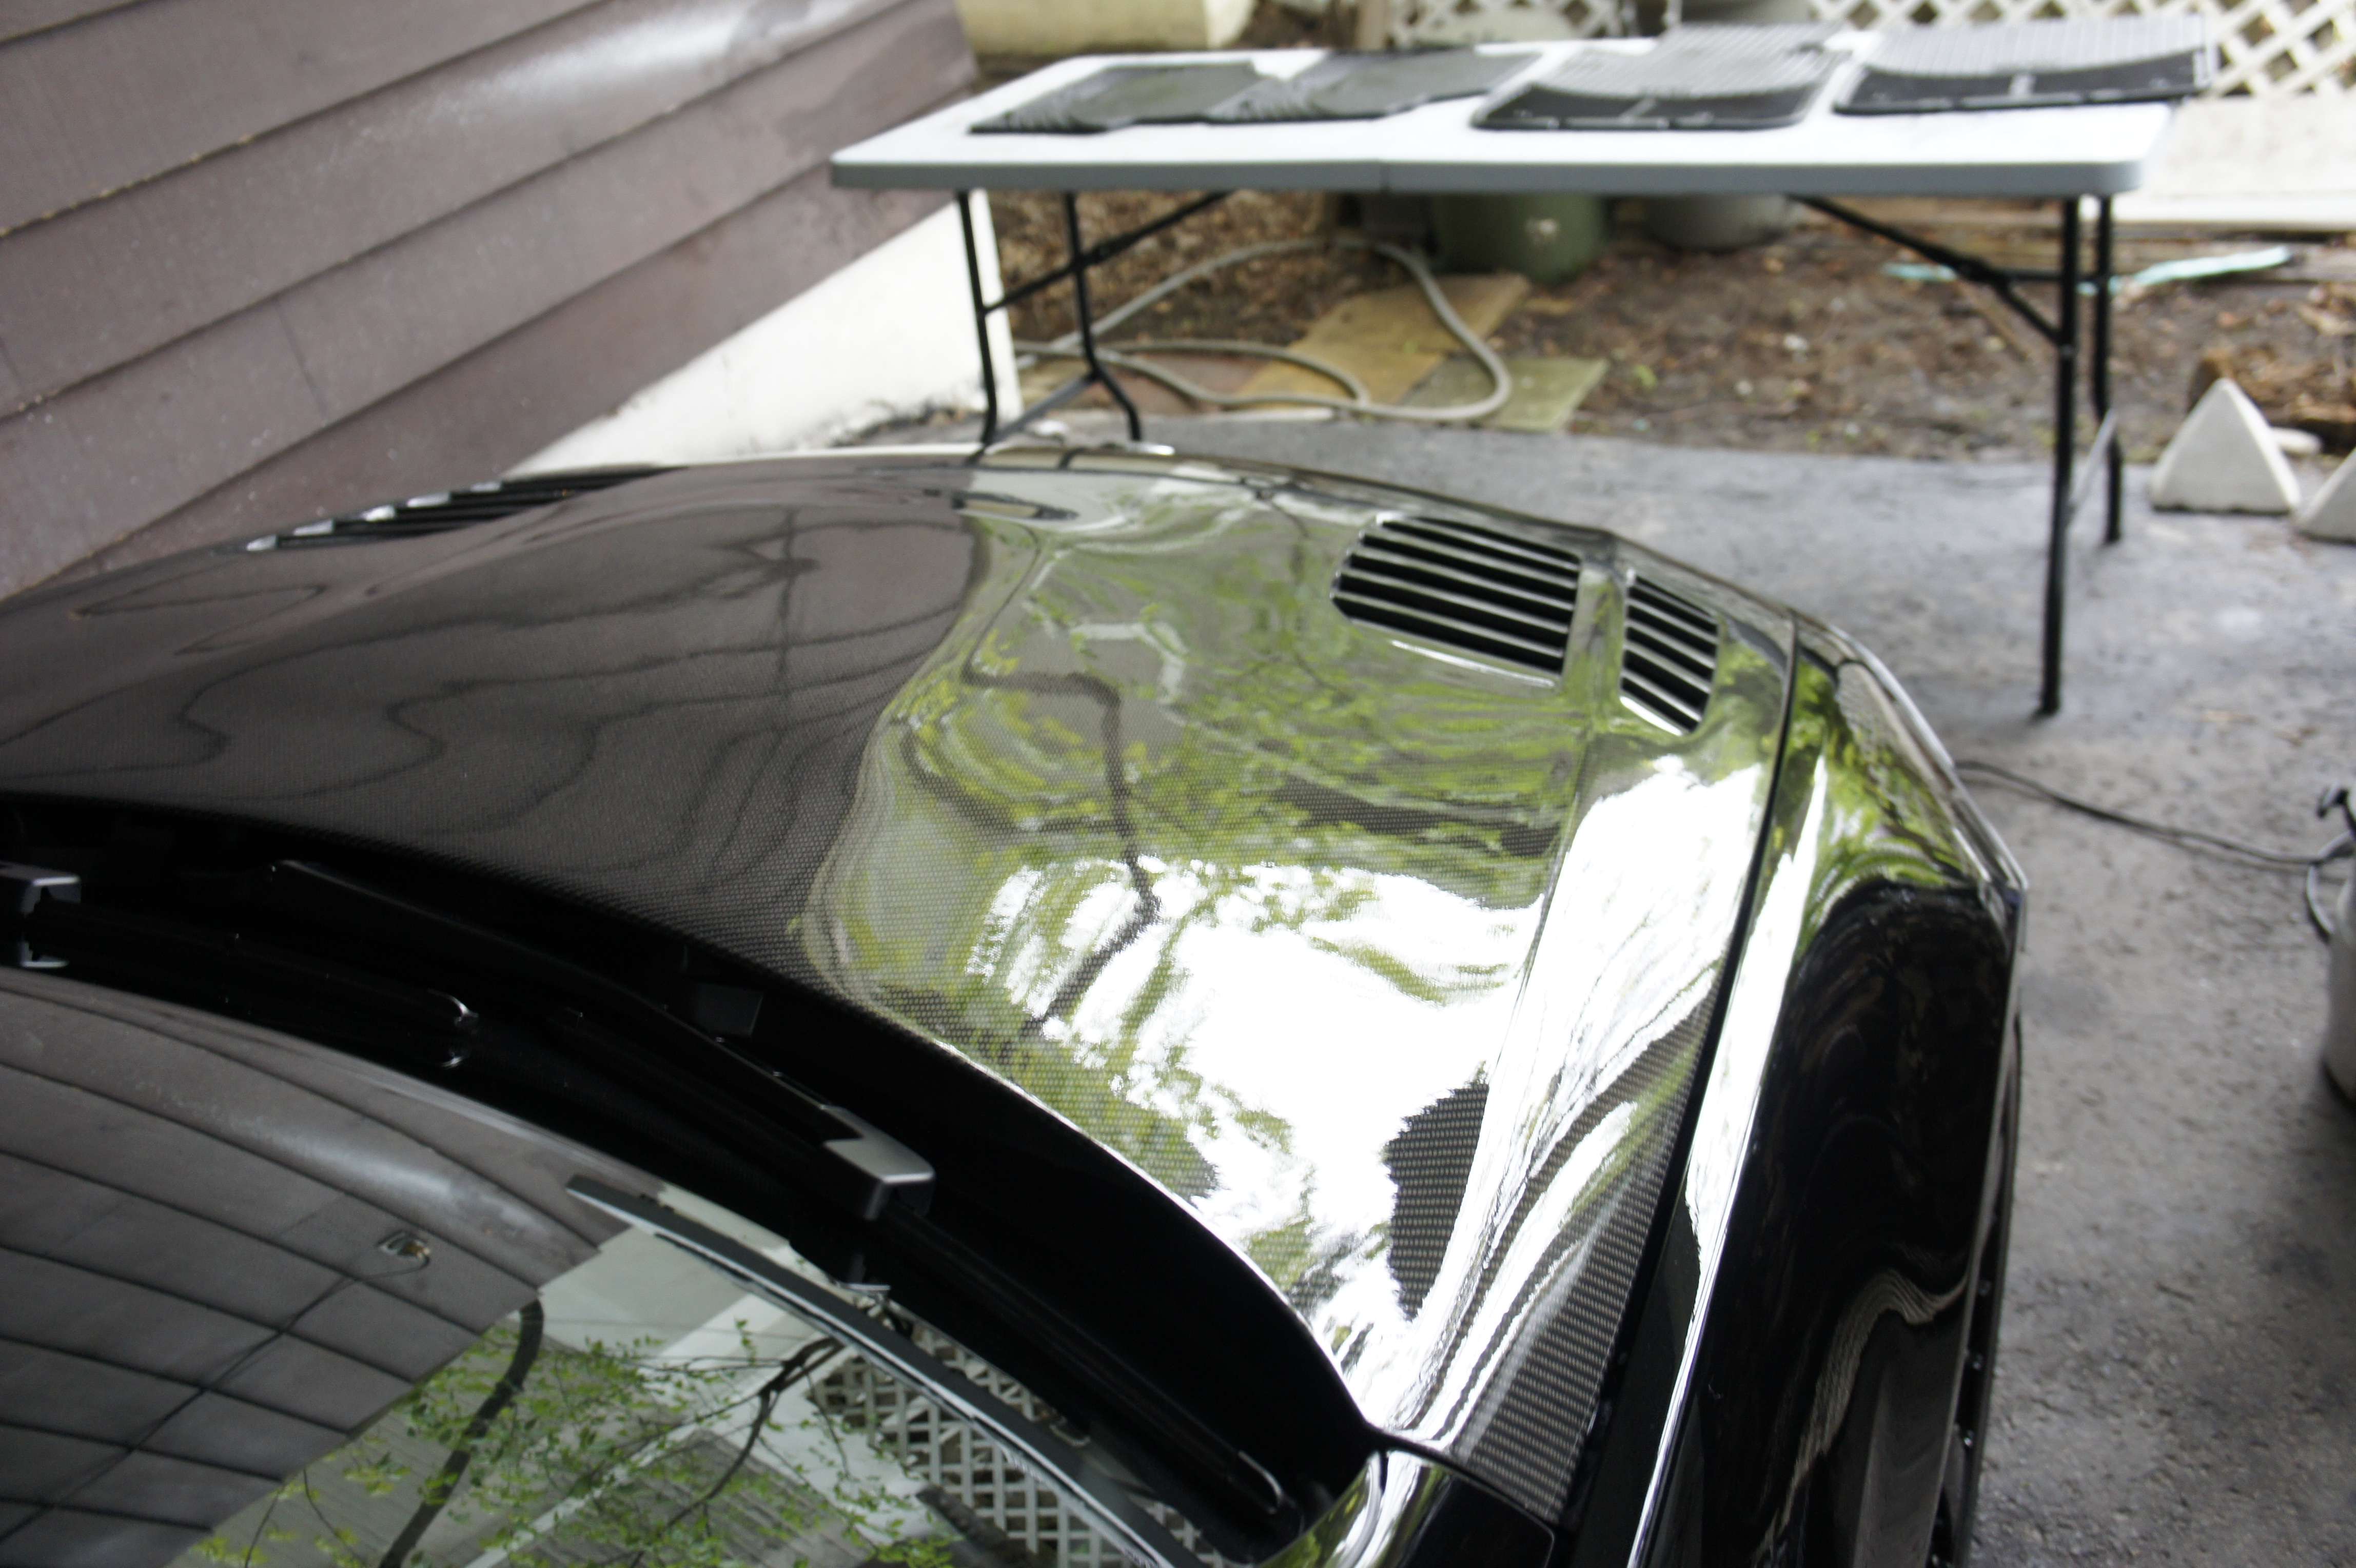
4) Wet-sanding:
So we say the least aggressive, the better? I tried compounding the roof in order to remove the water spot and it didn’t do anything. At that moment, I knew I had to wet-sand the whole roof.. Not something I really like but I had to do it.
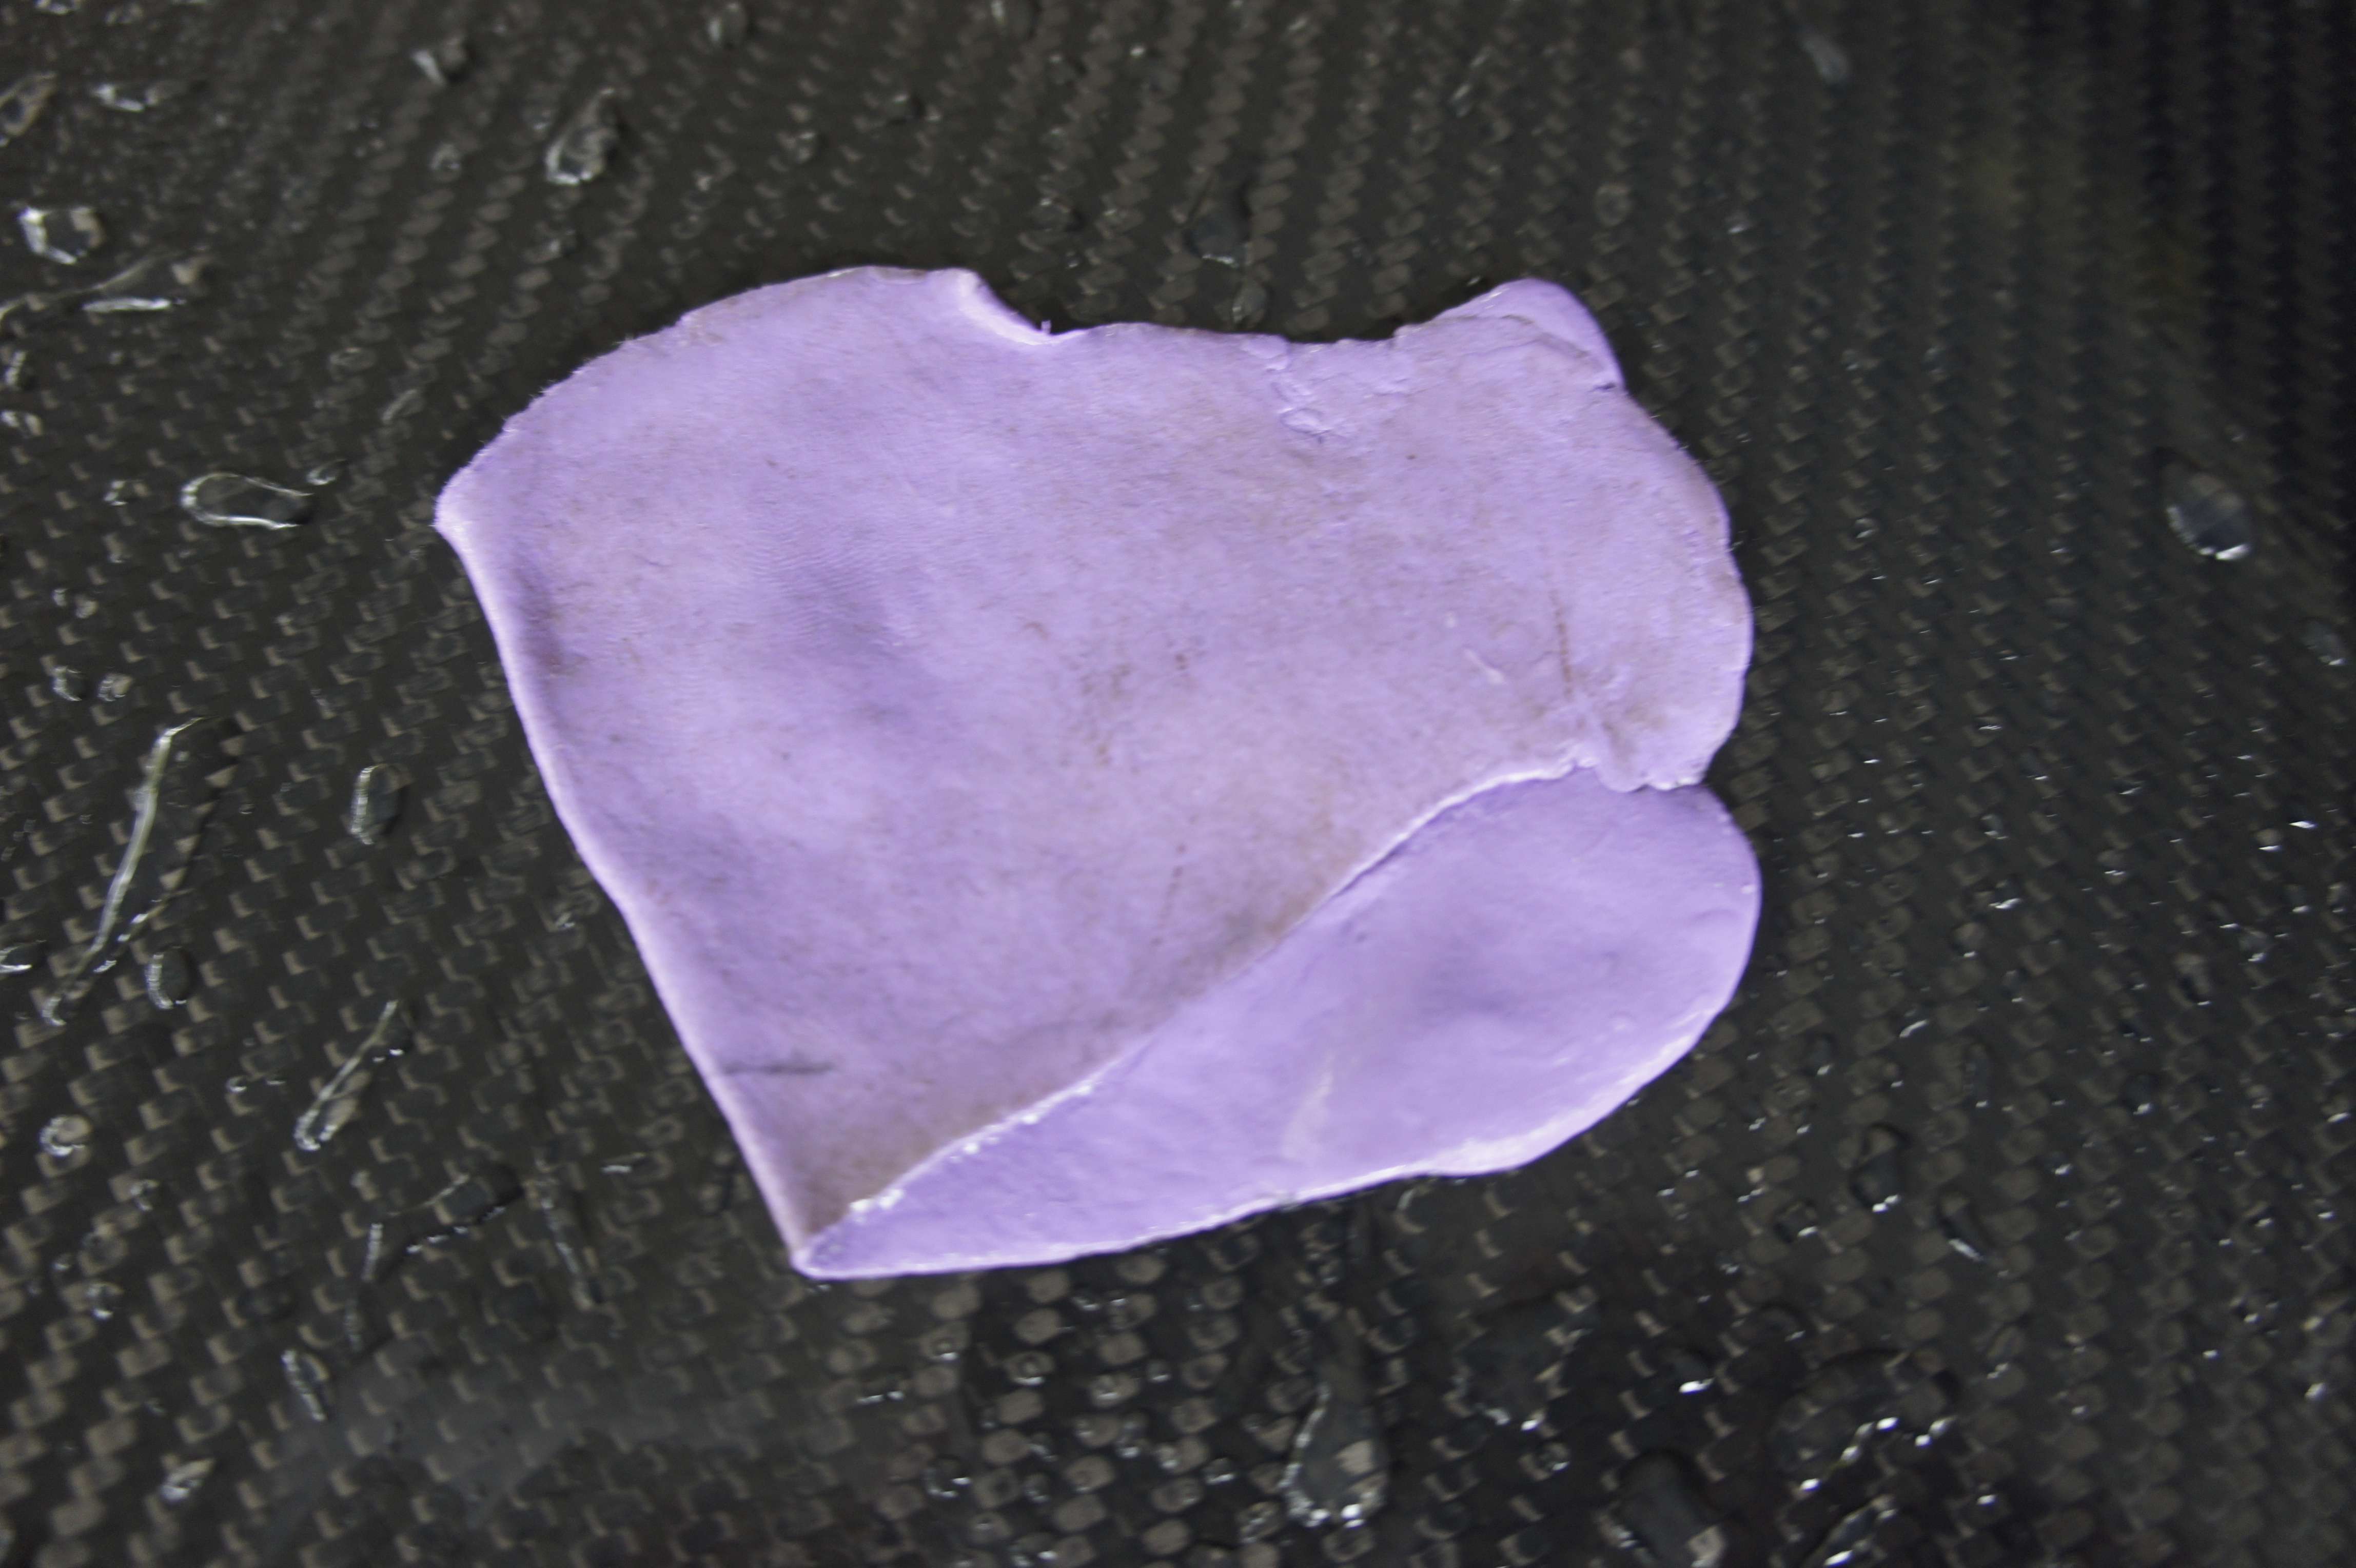
Wait till the paper are fully soaken up and twisted:
It is now easier to see the etching that occurred in the clear coat here:
Obviously I took a lot of reading during the whole process:
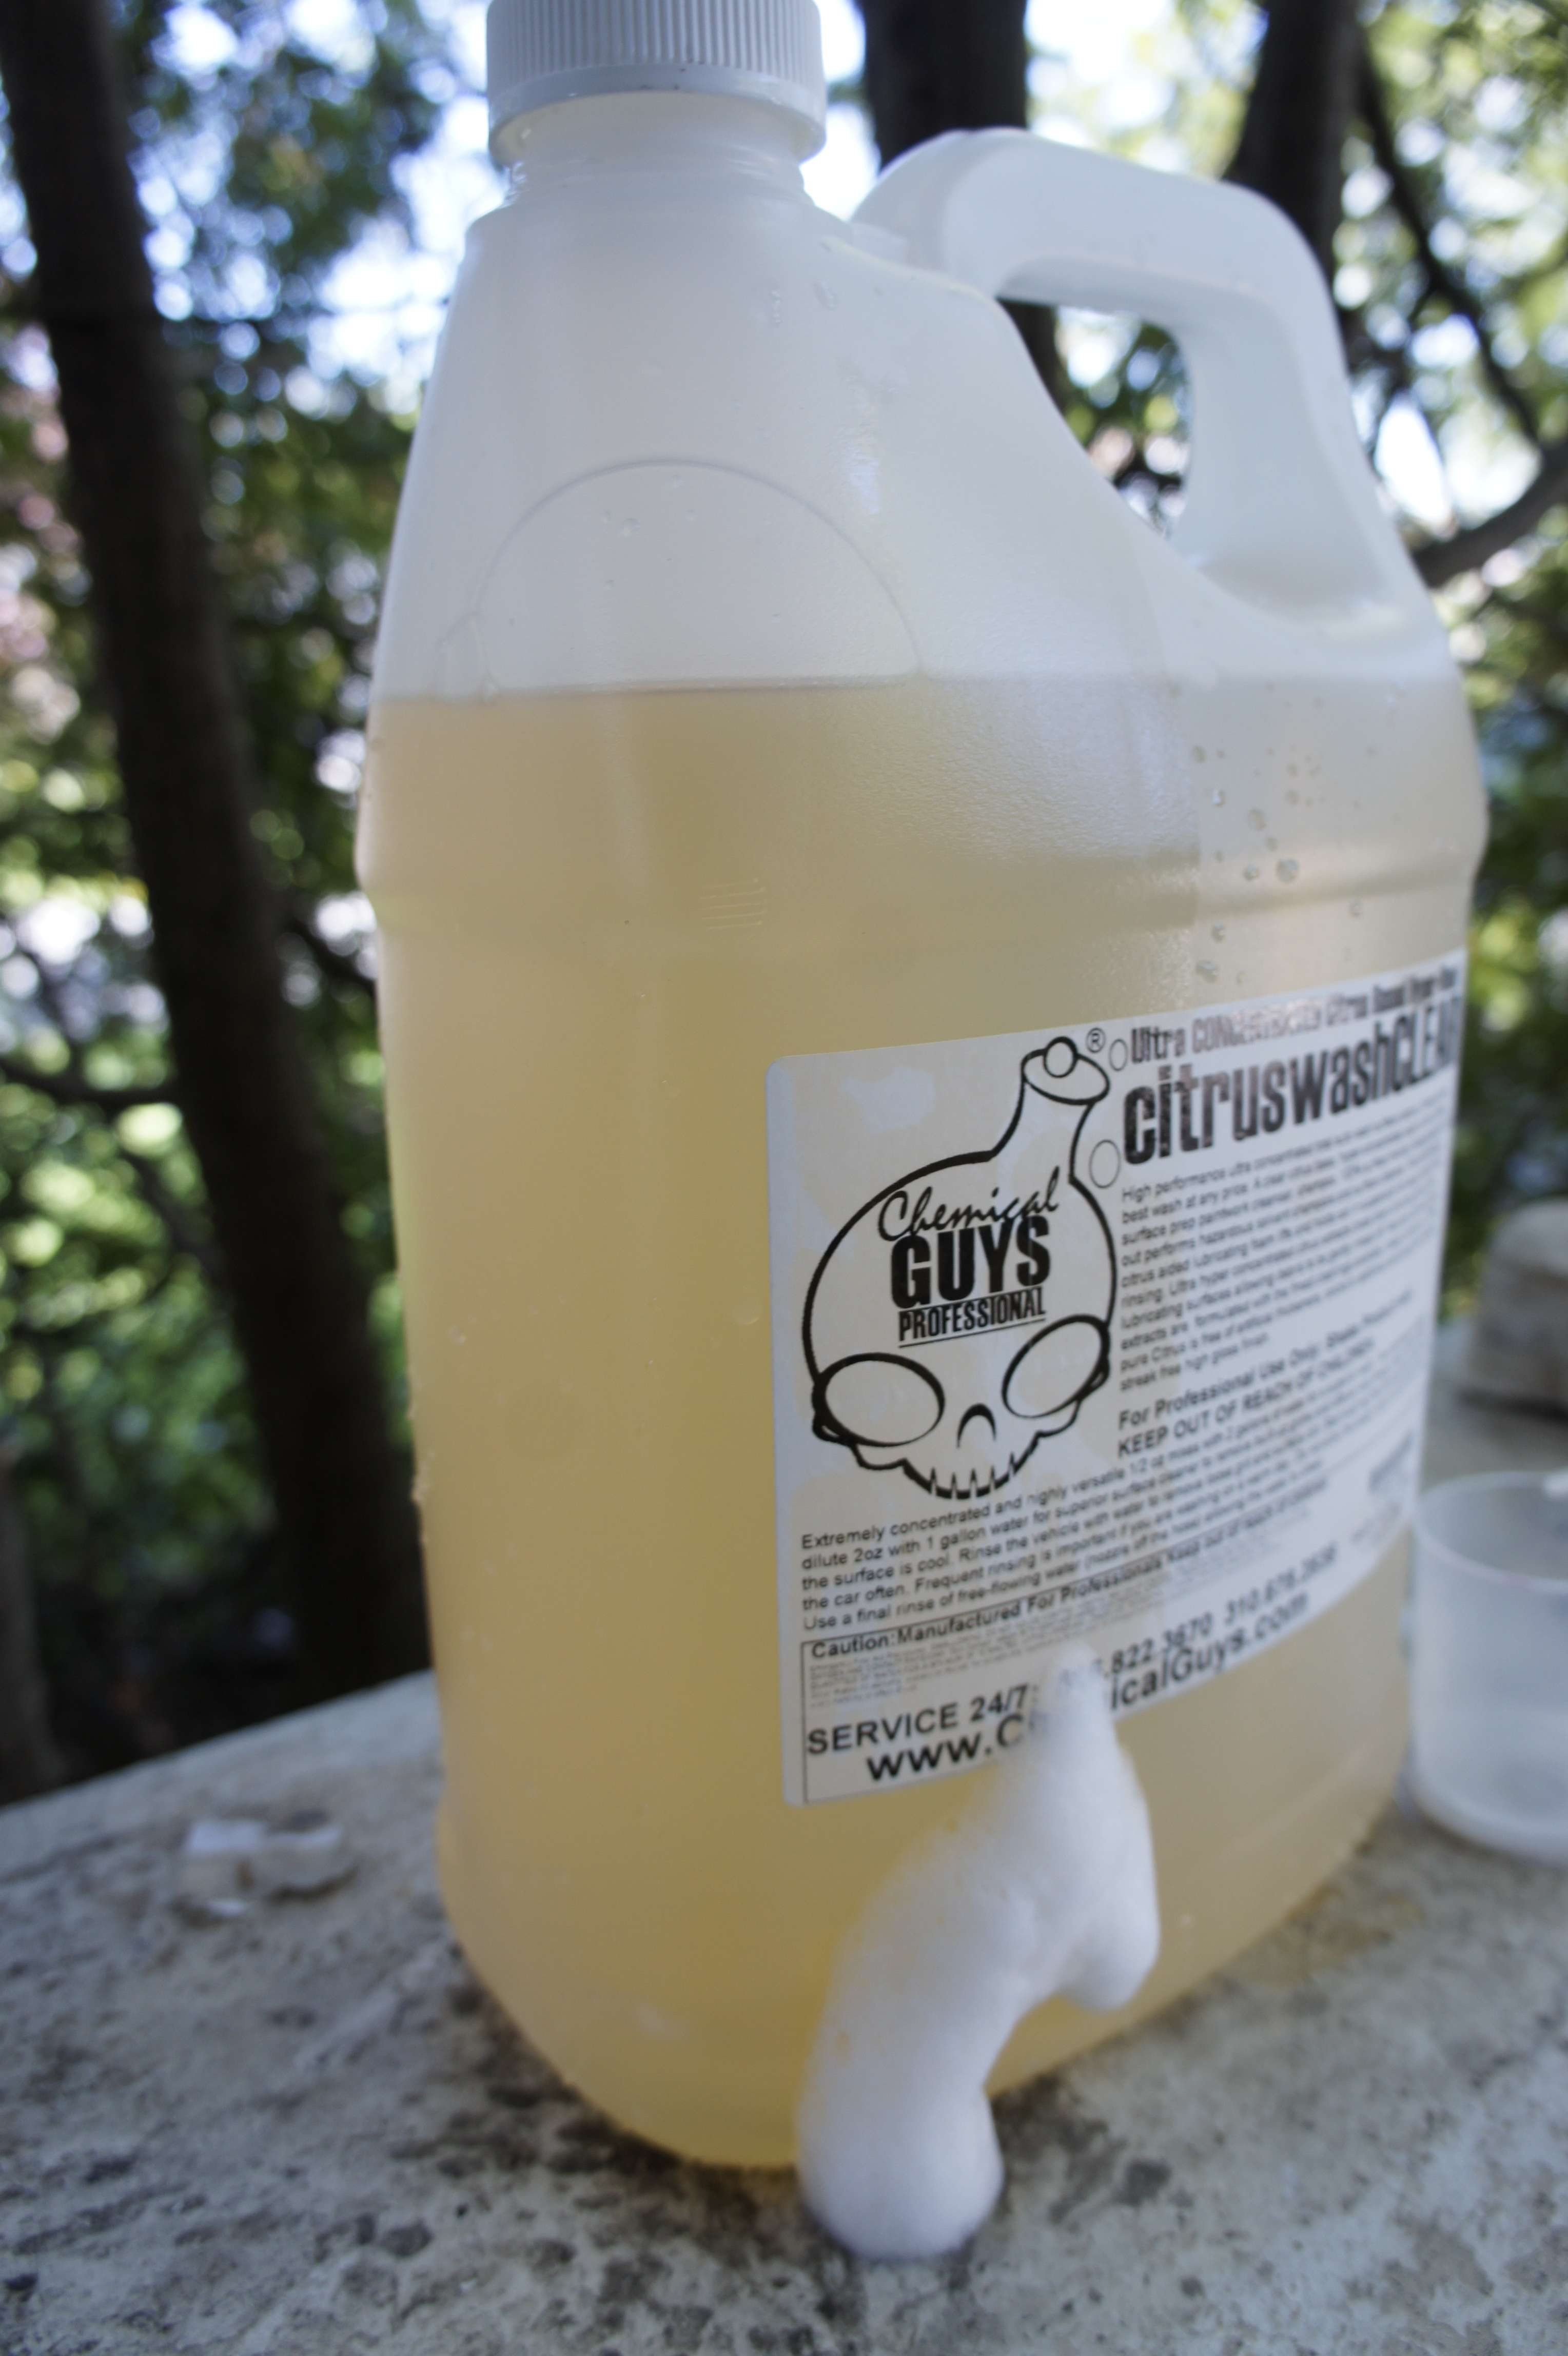
5) Importance of cleaning your paint after, IPA, Citrus wash, Cleaner fluid, it has to be done.
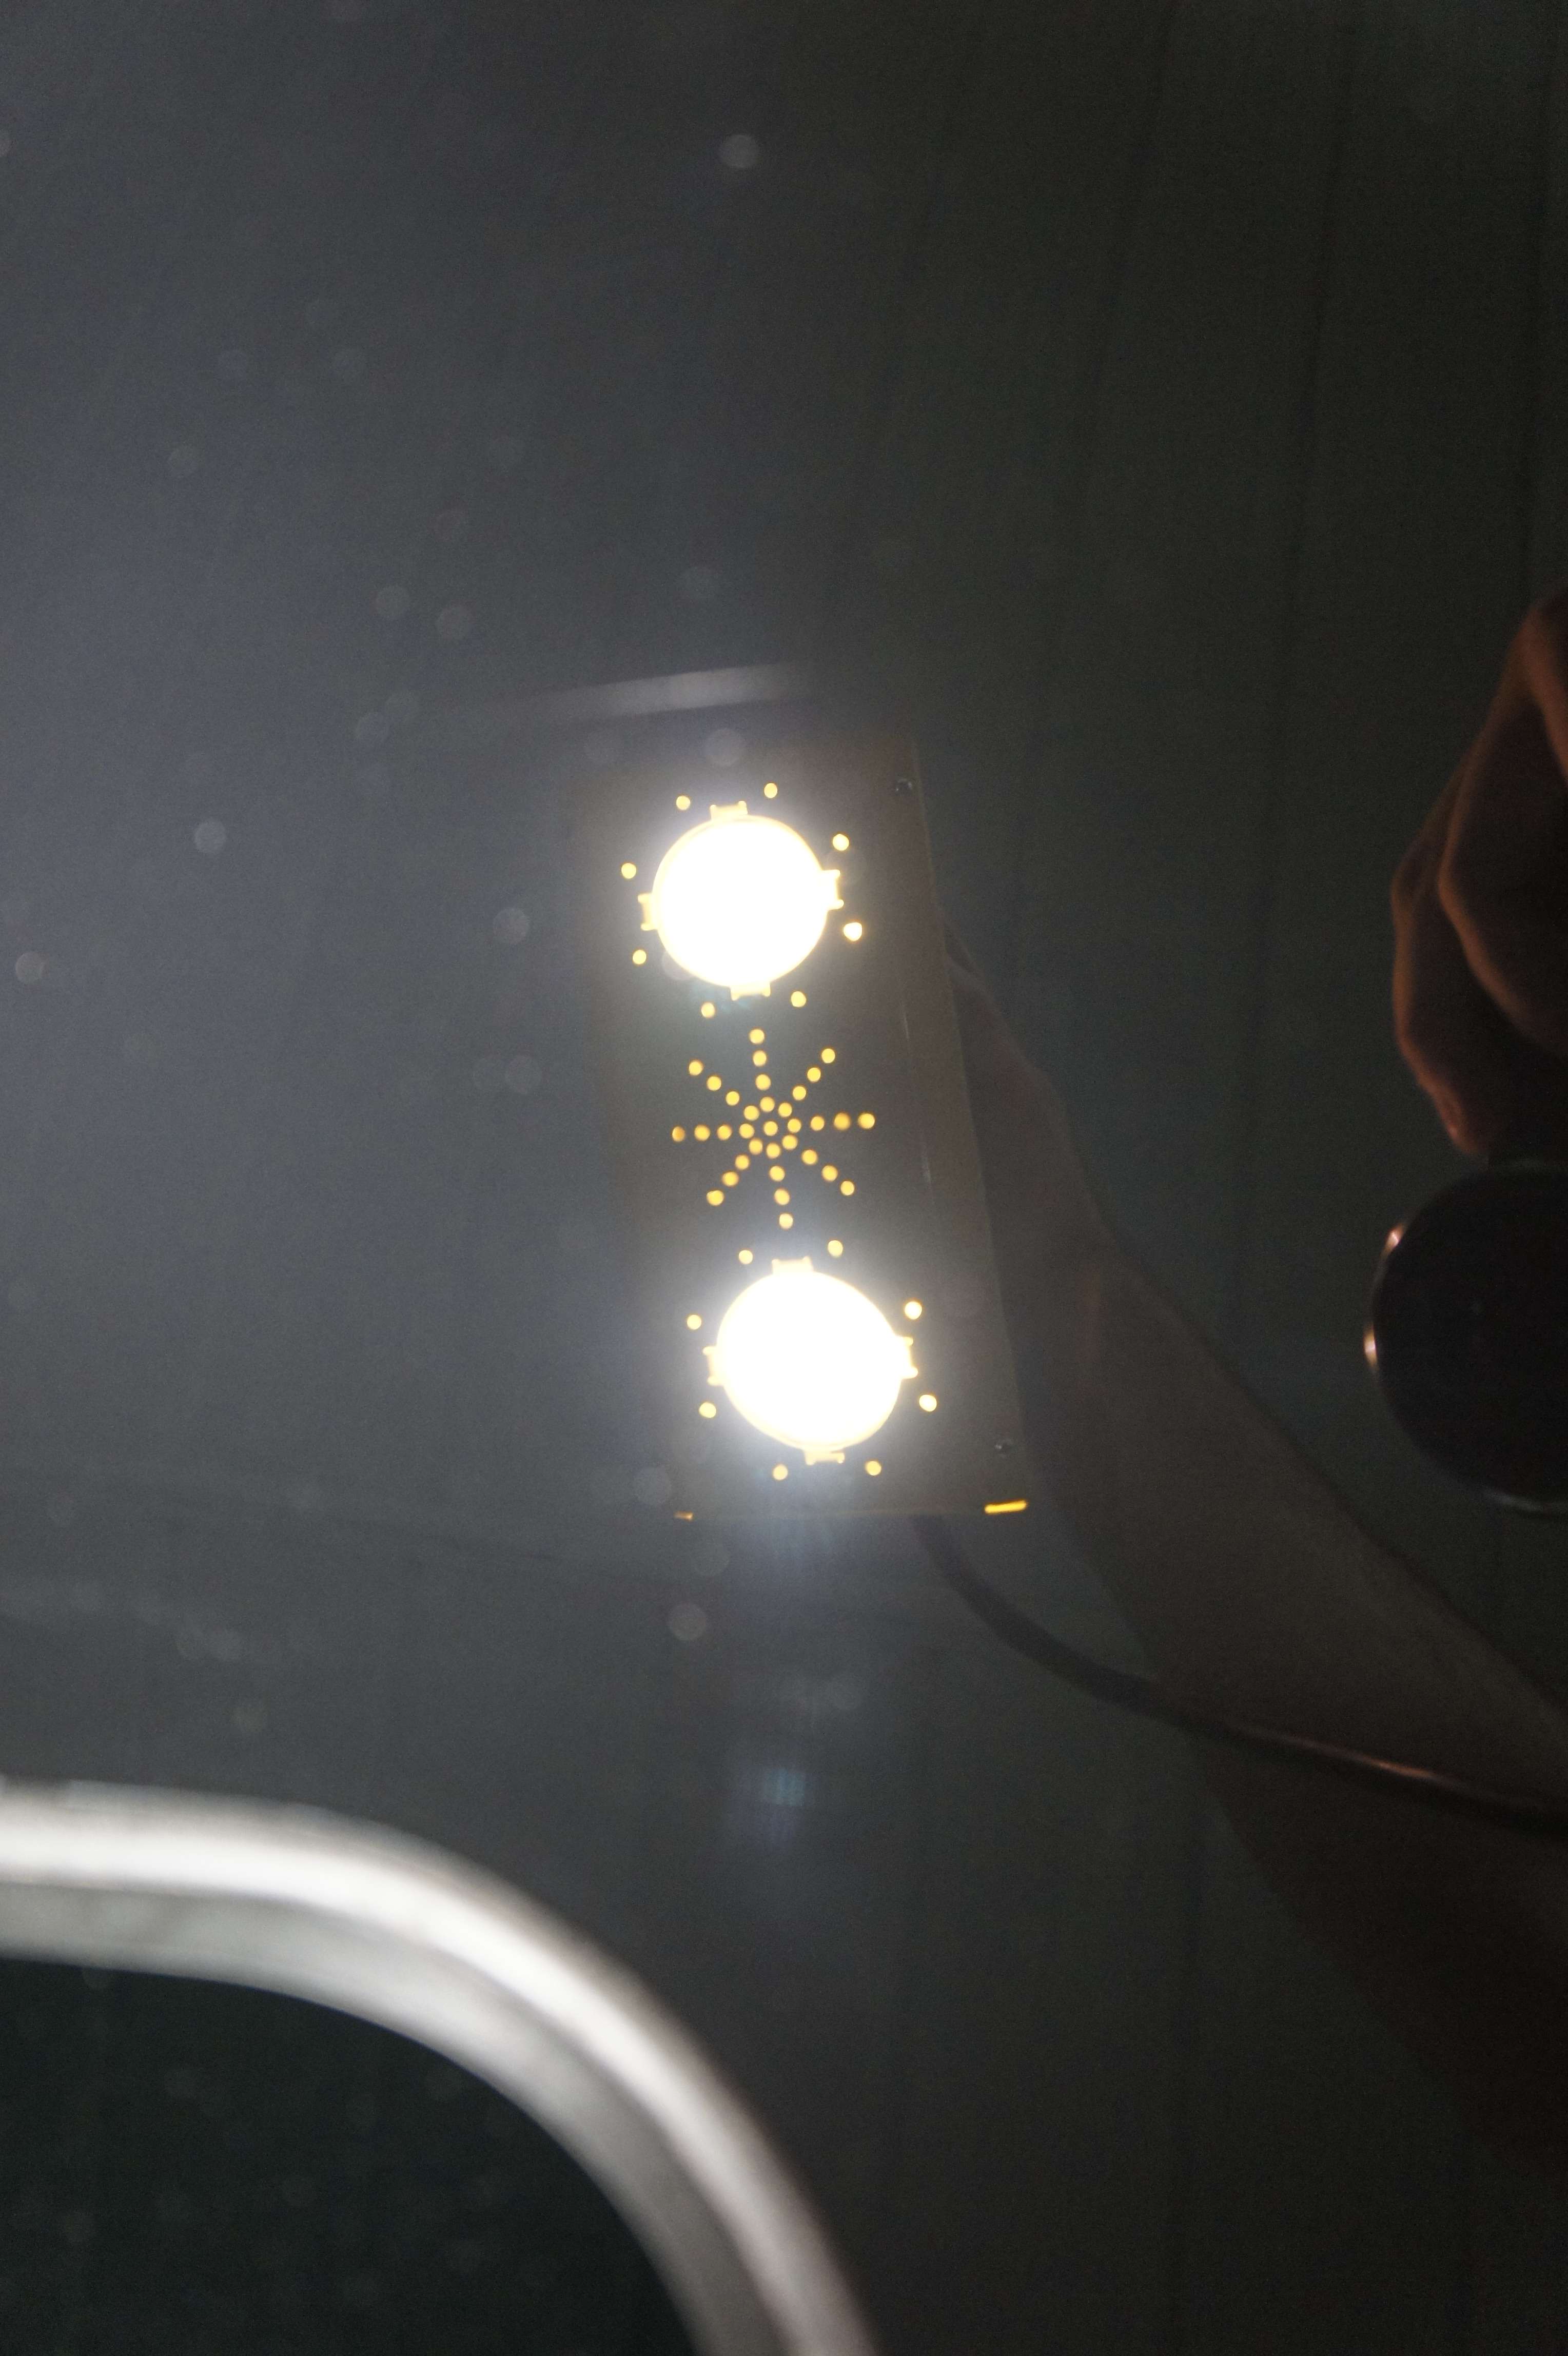
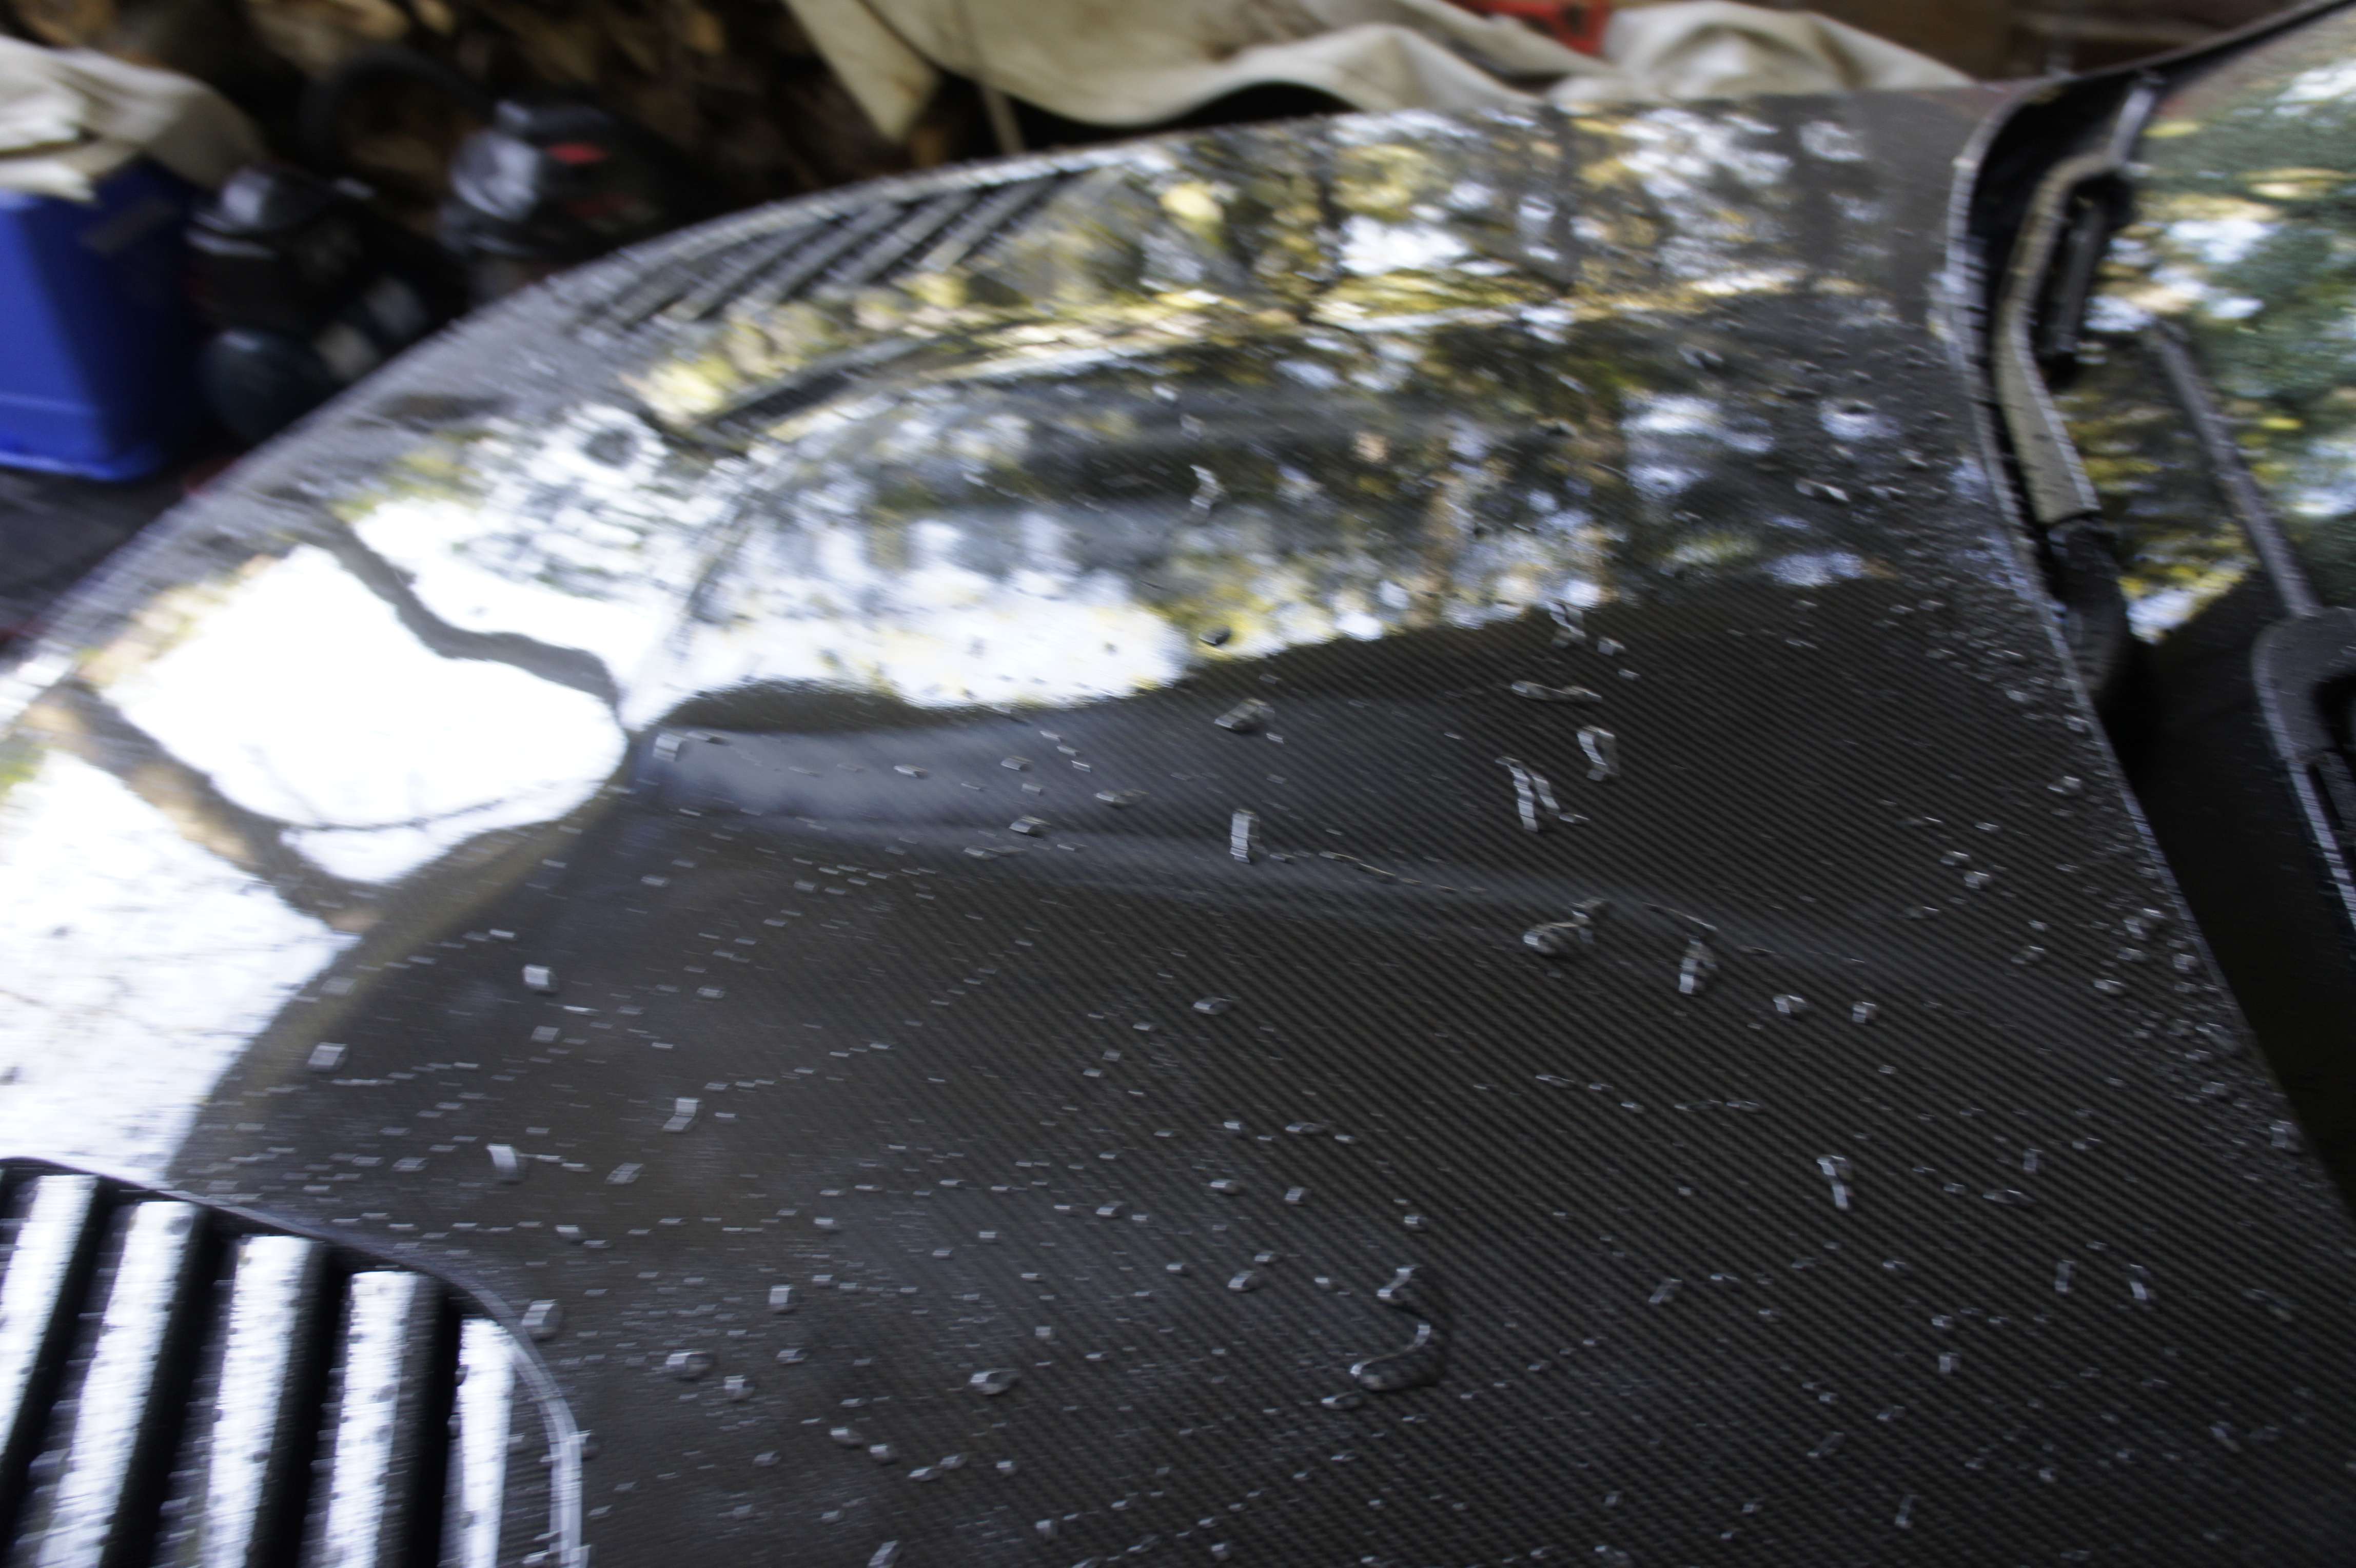
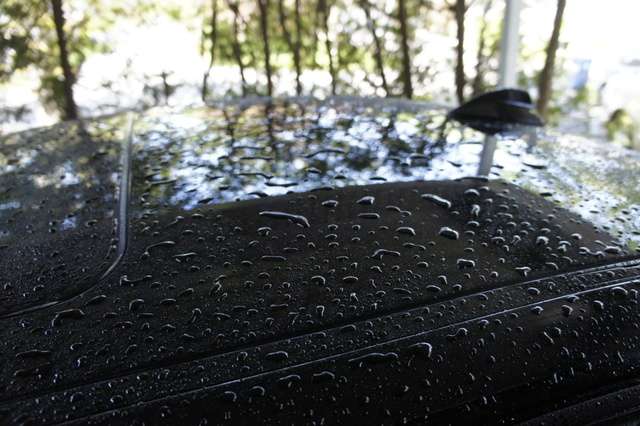
Here you can see the water perfectly bead and sheet on the paint with the polish still on the paint. So a polish can act like a wax !? or is it only the fine oil from the fine polish that give this effect.
To clean the paint..
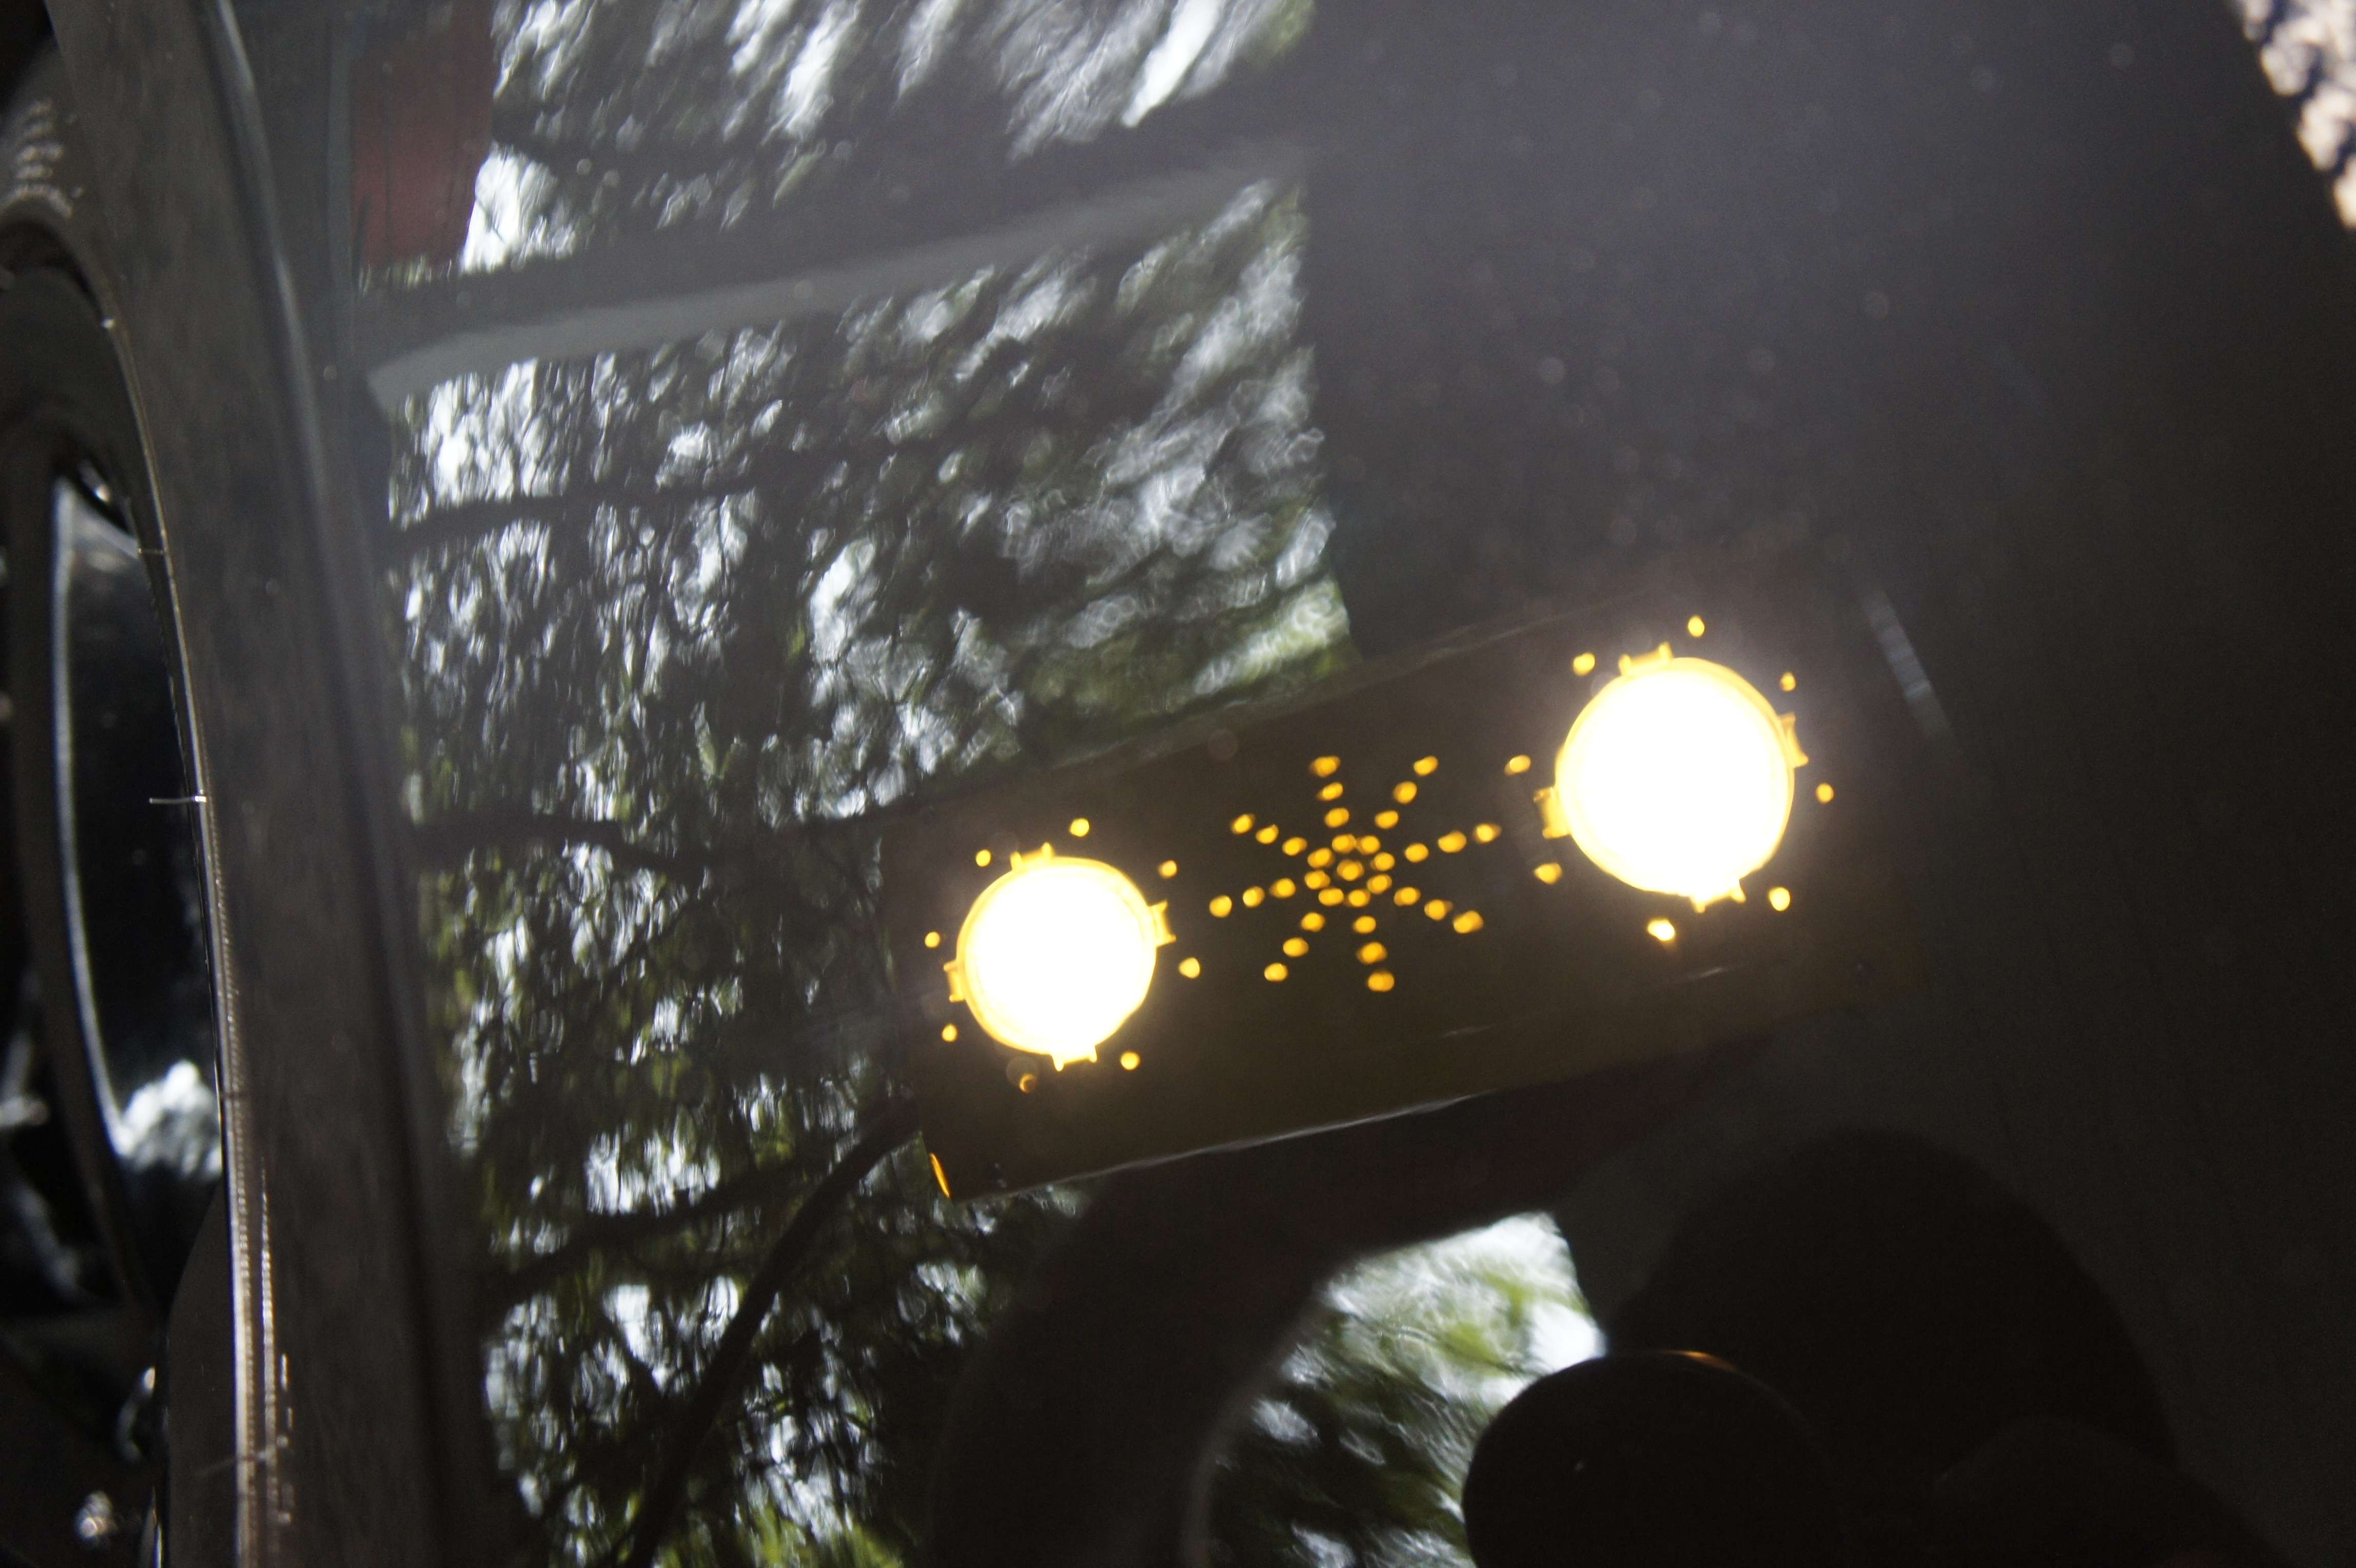
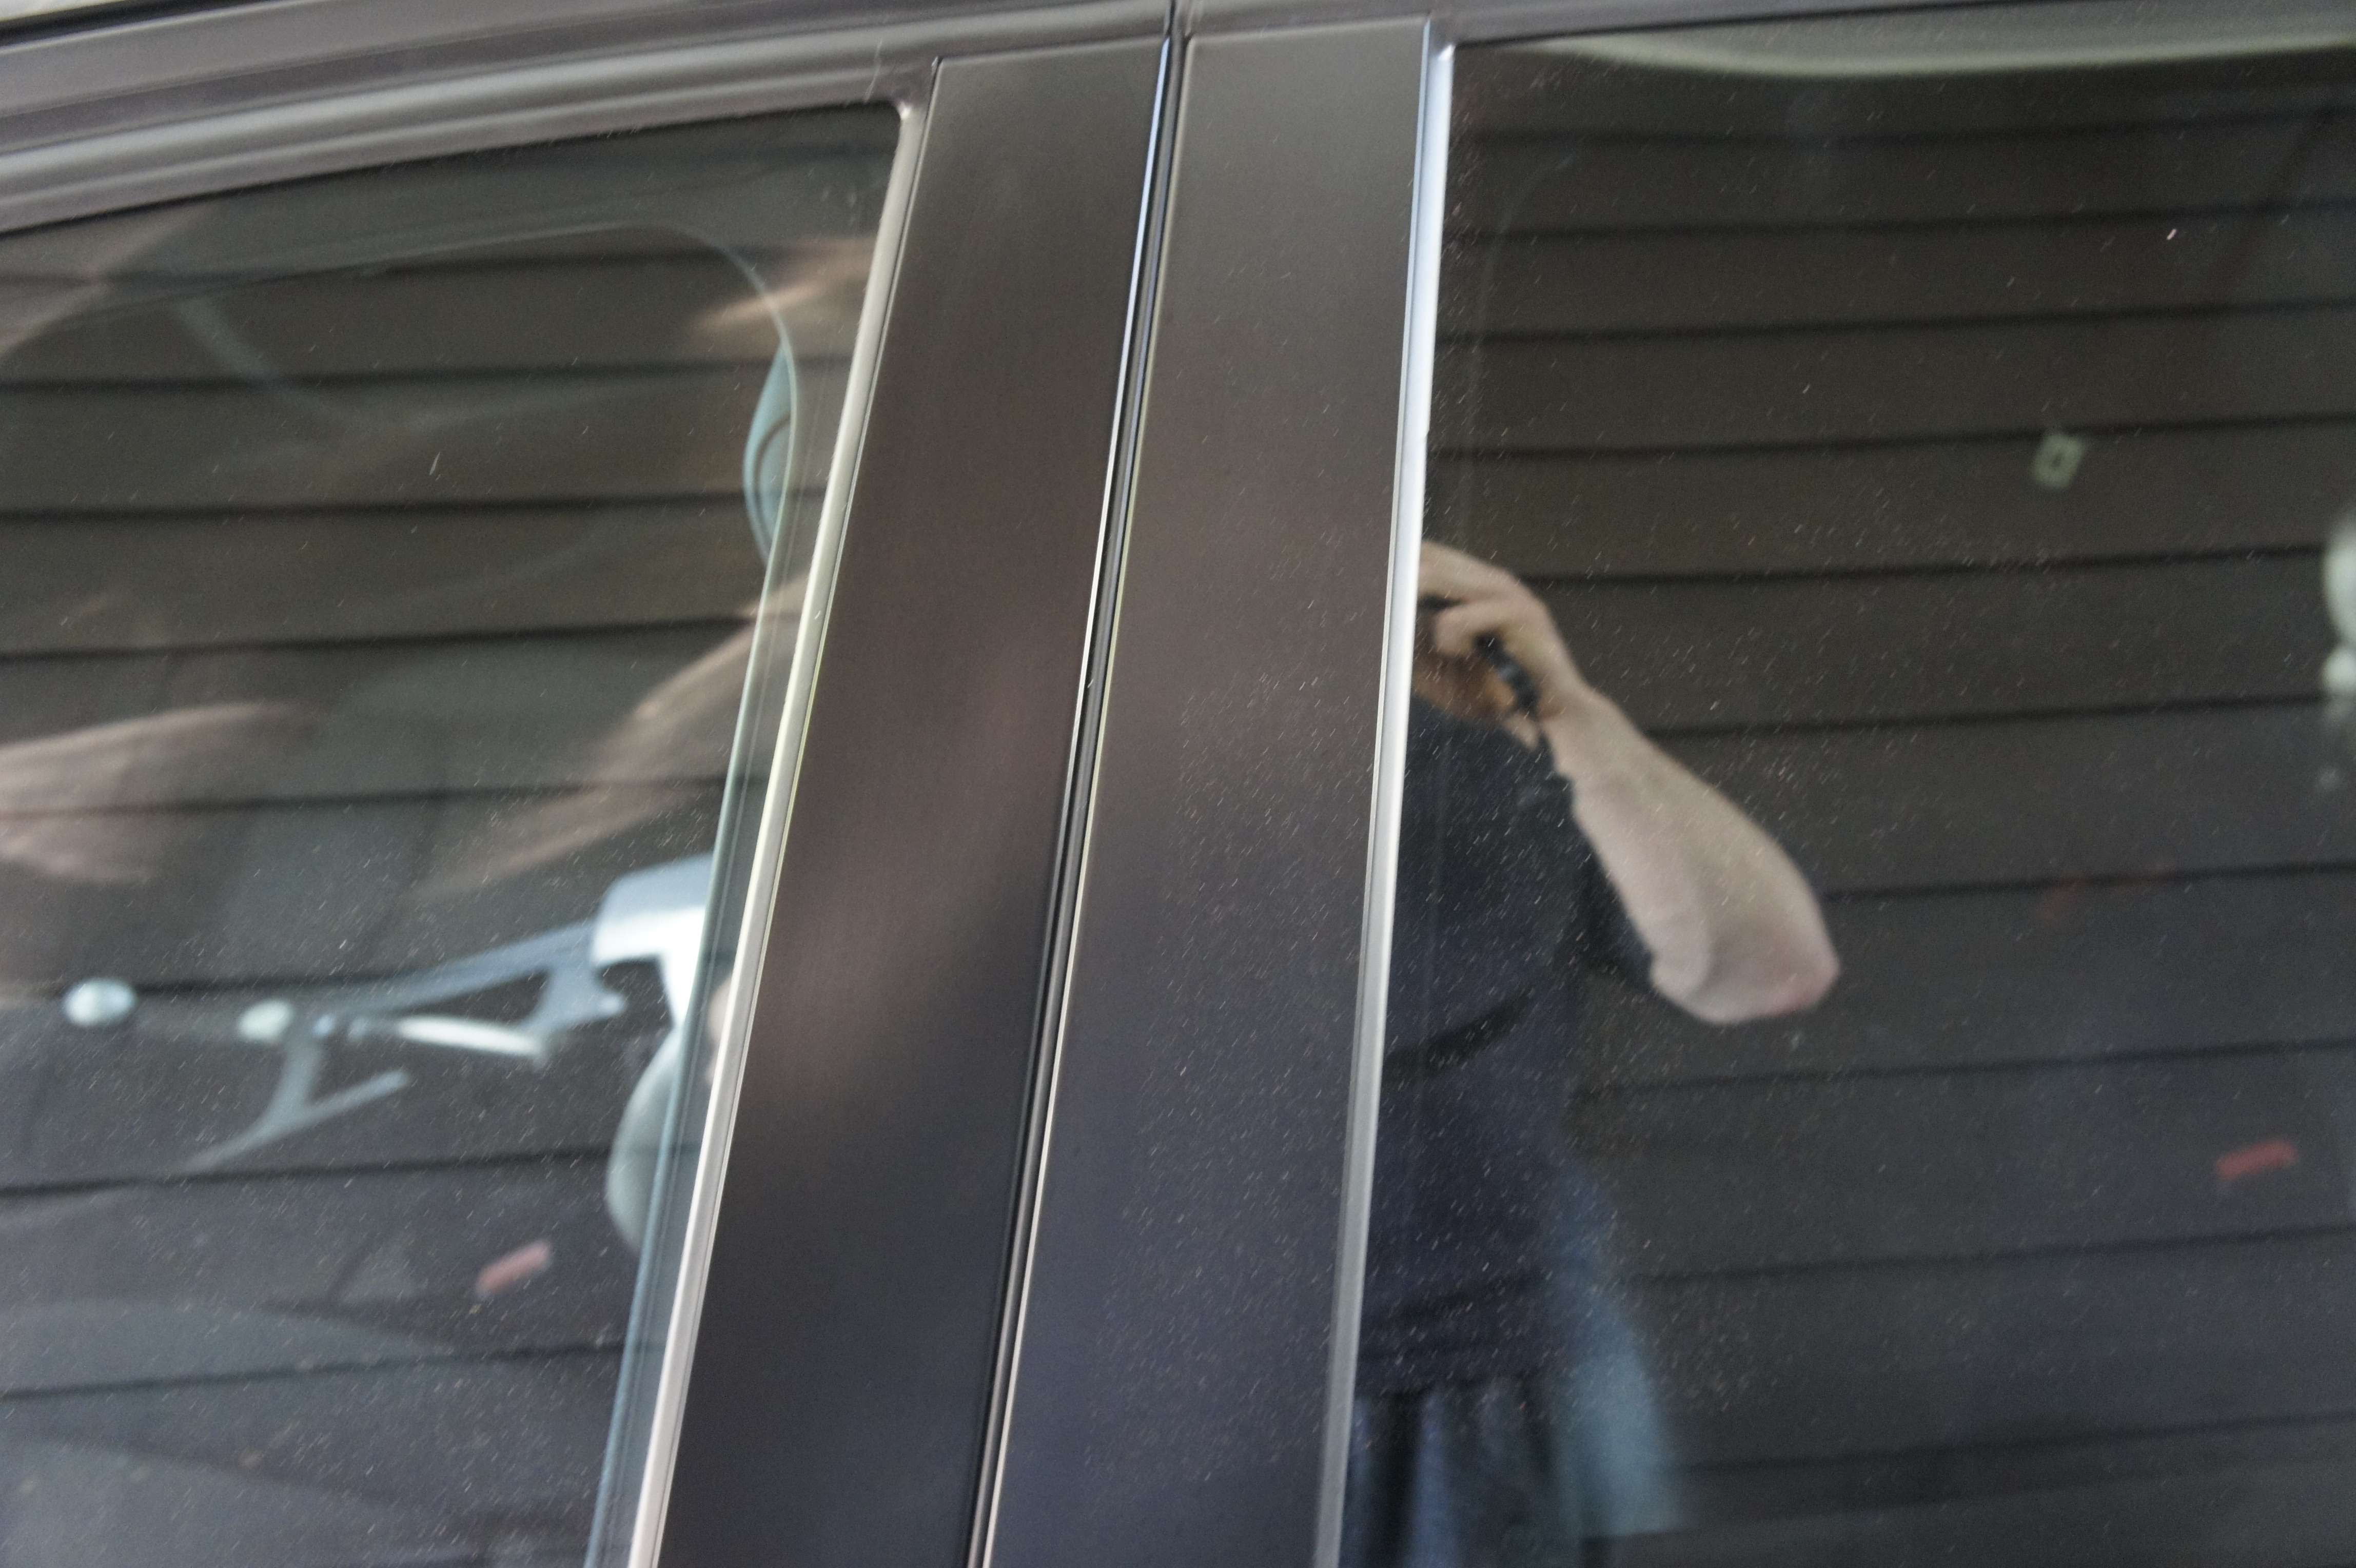
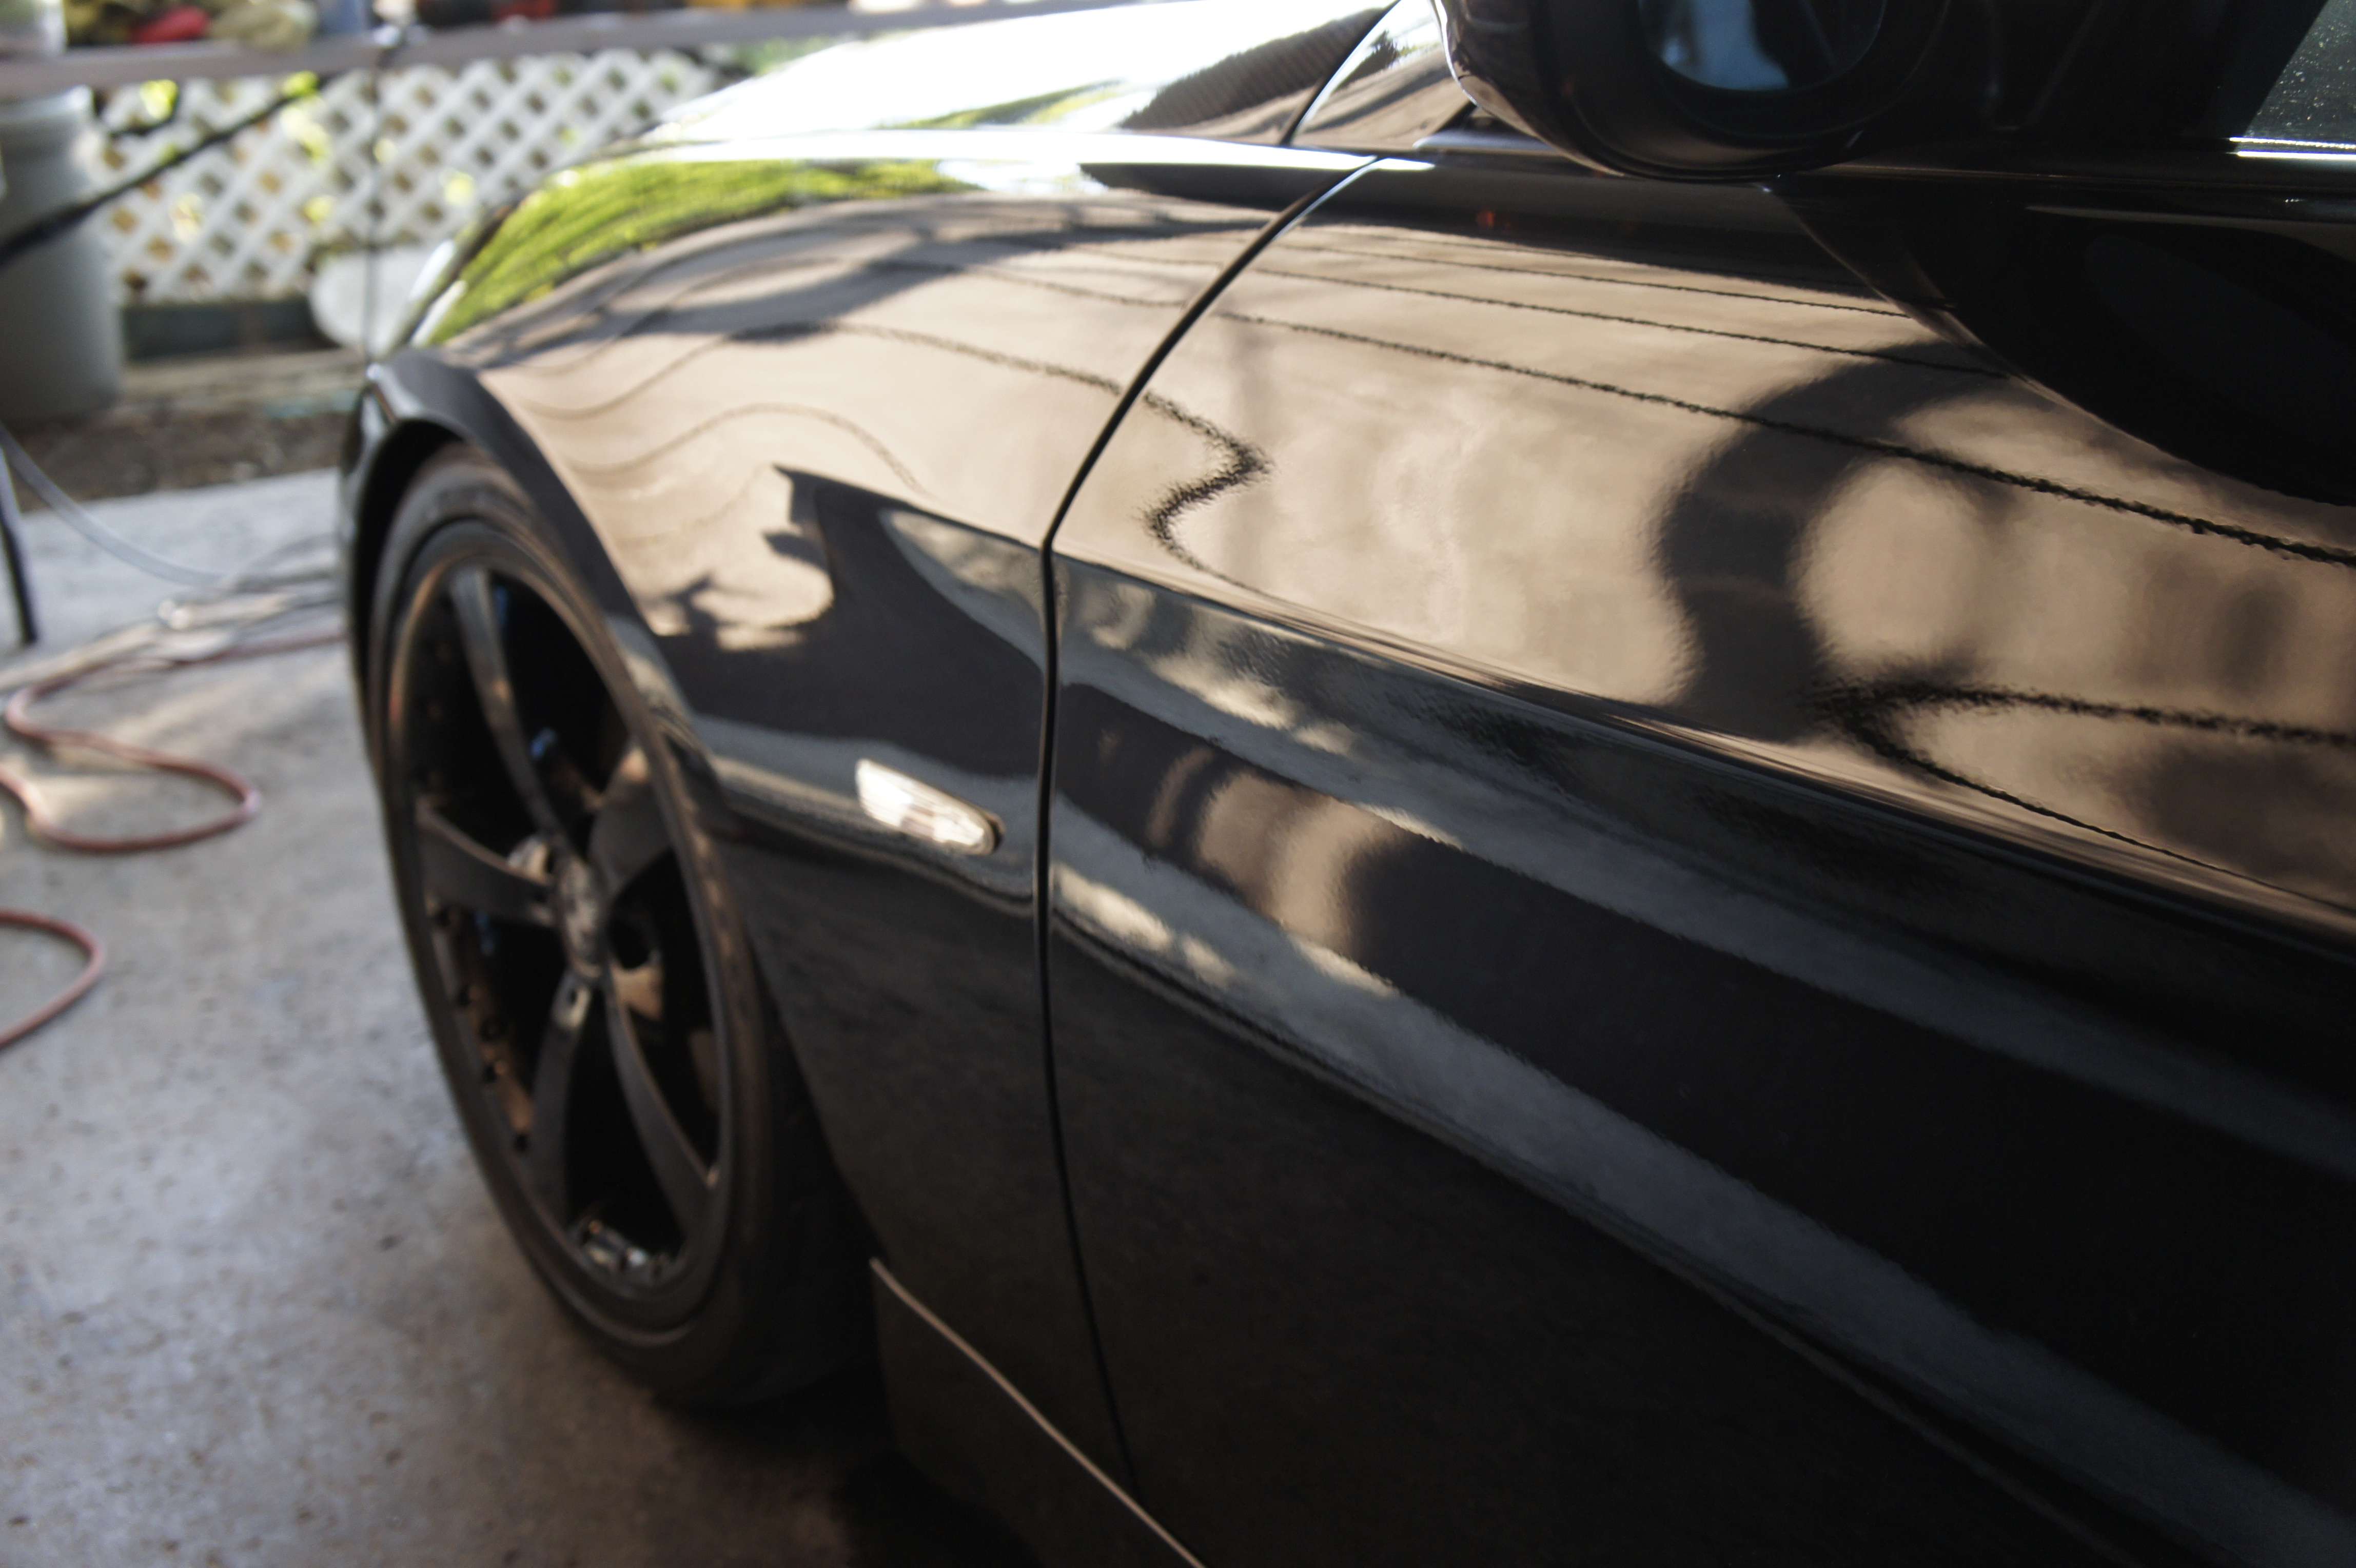
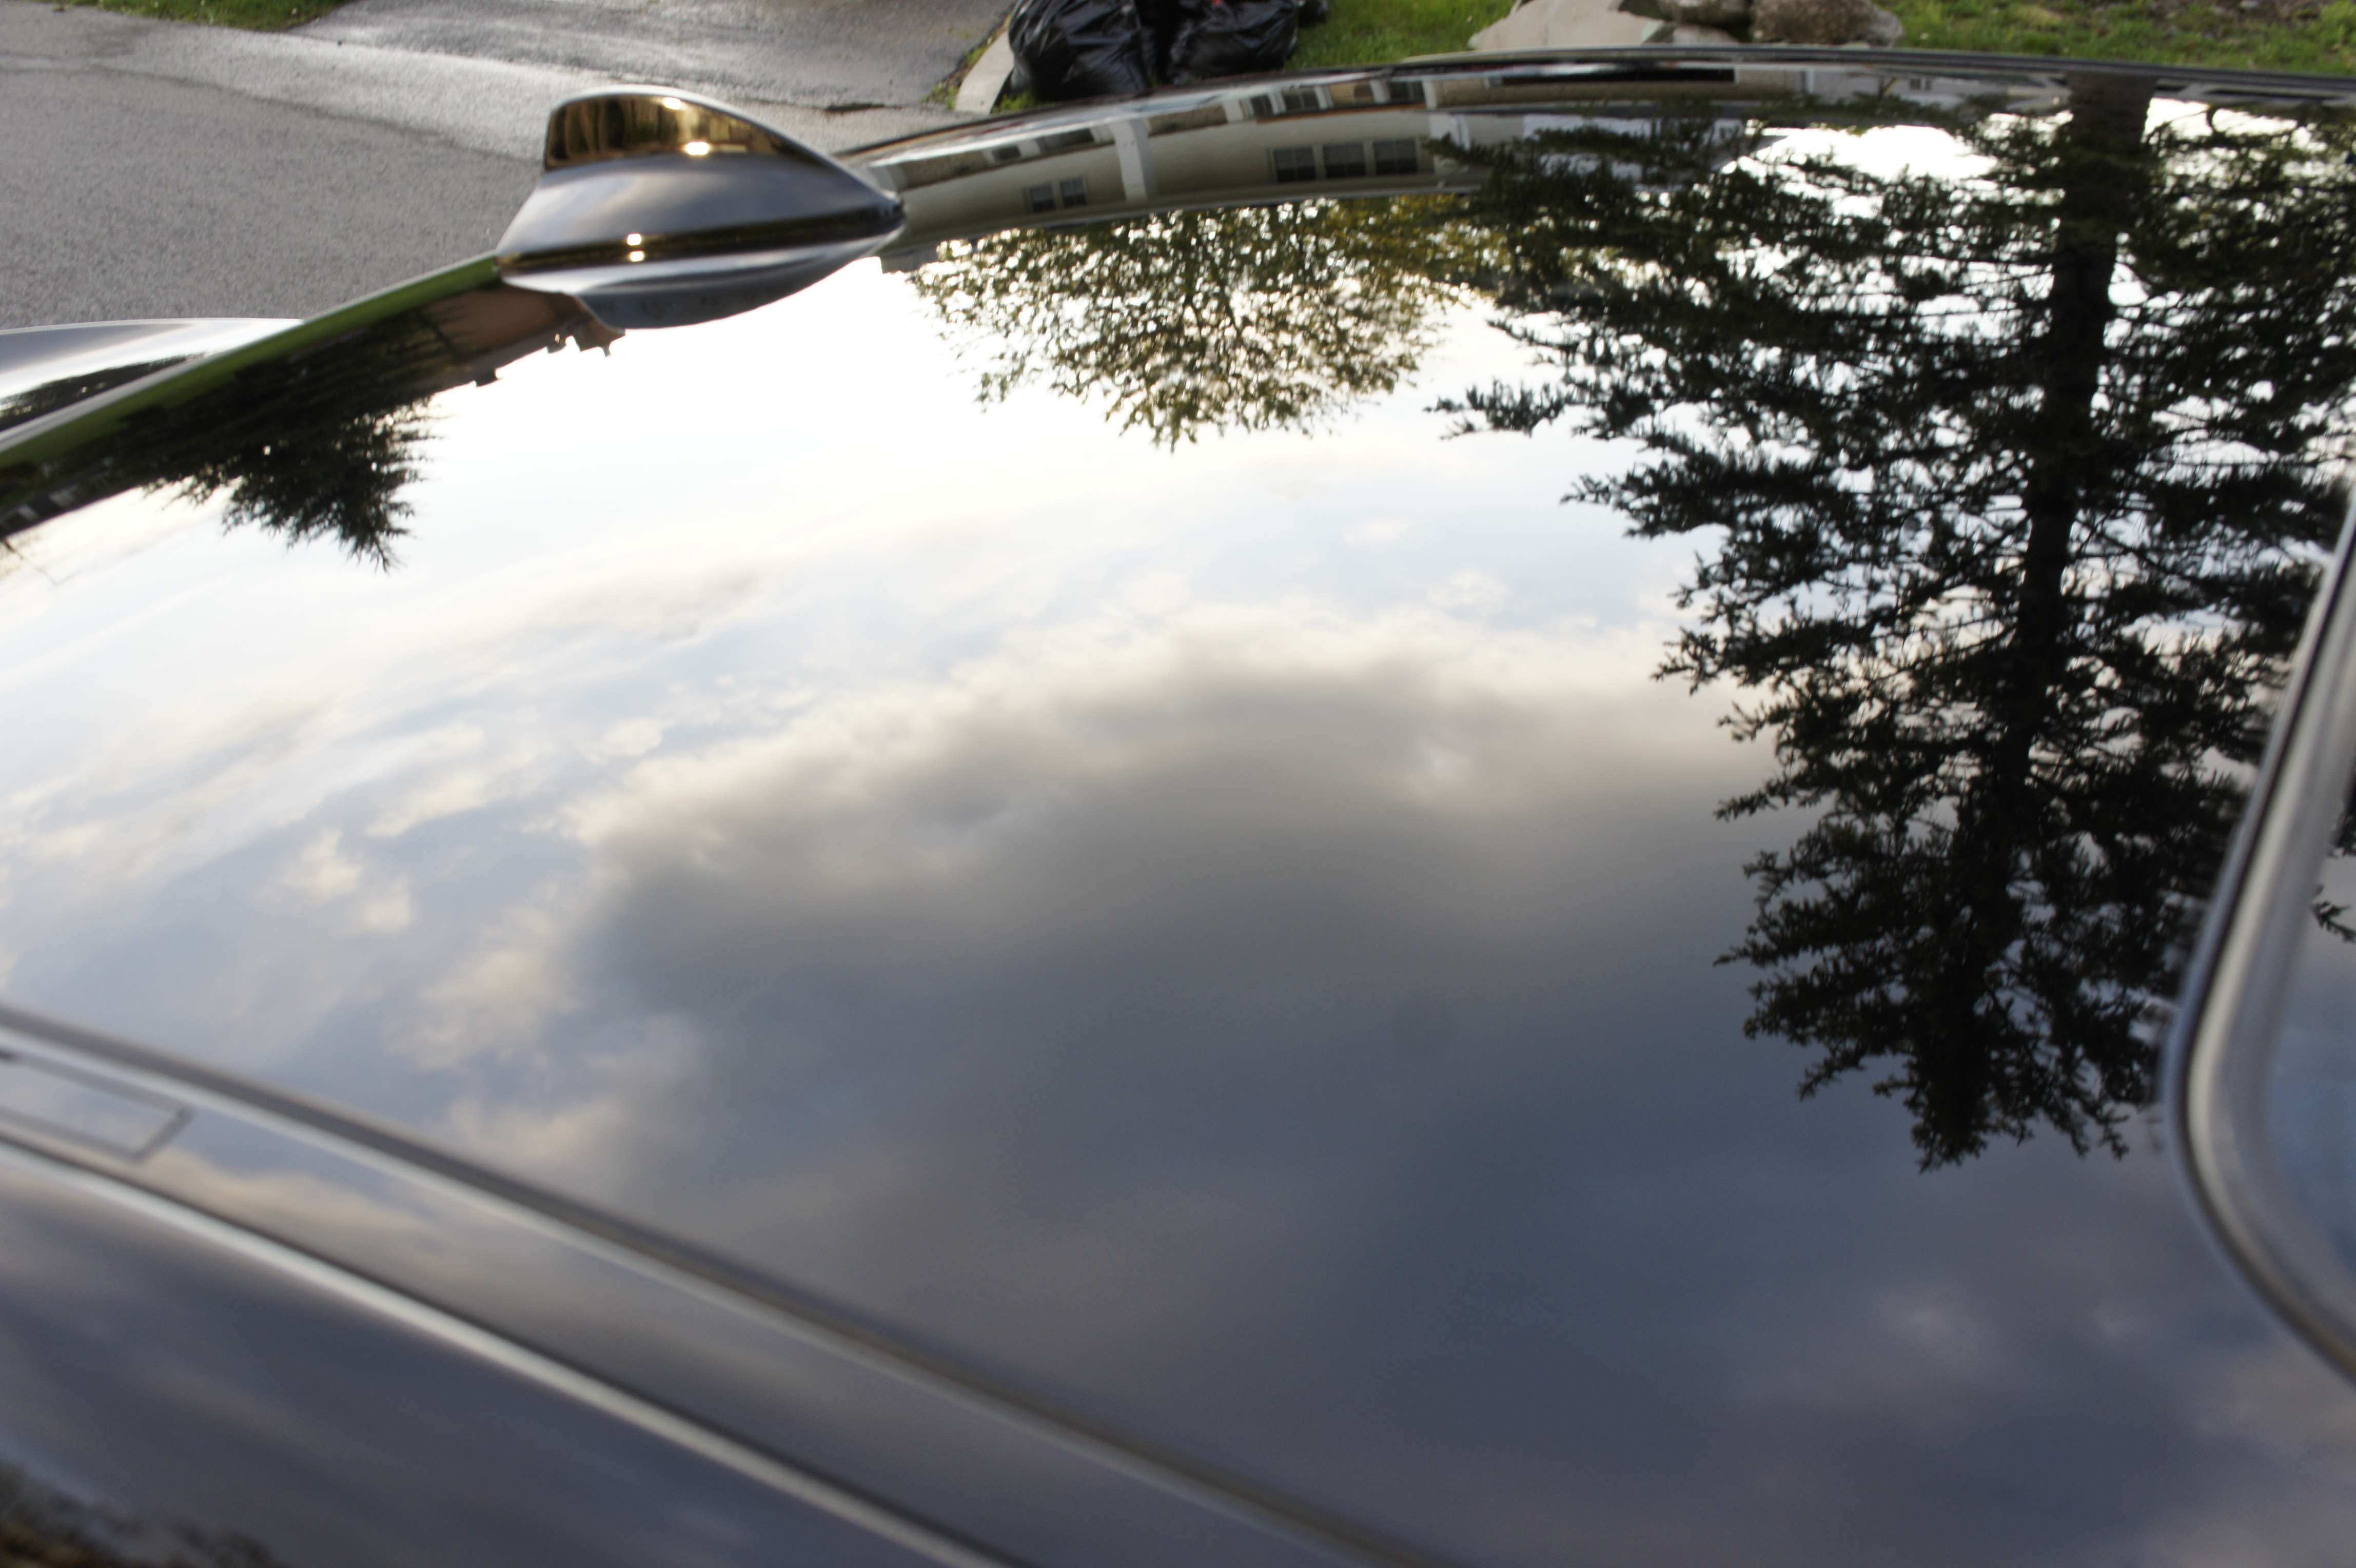
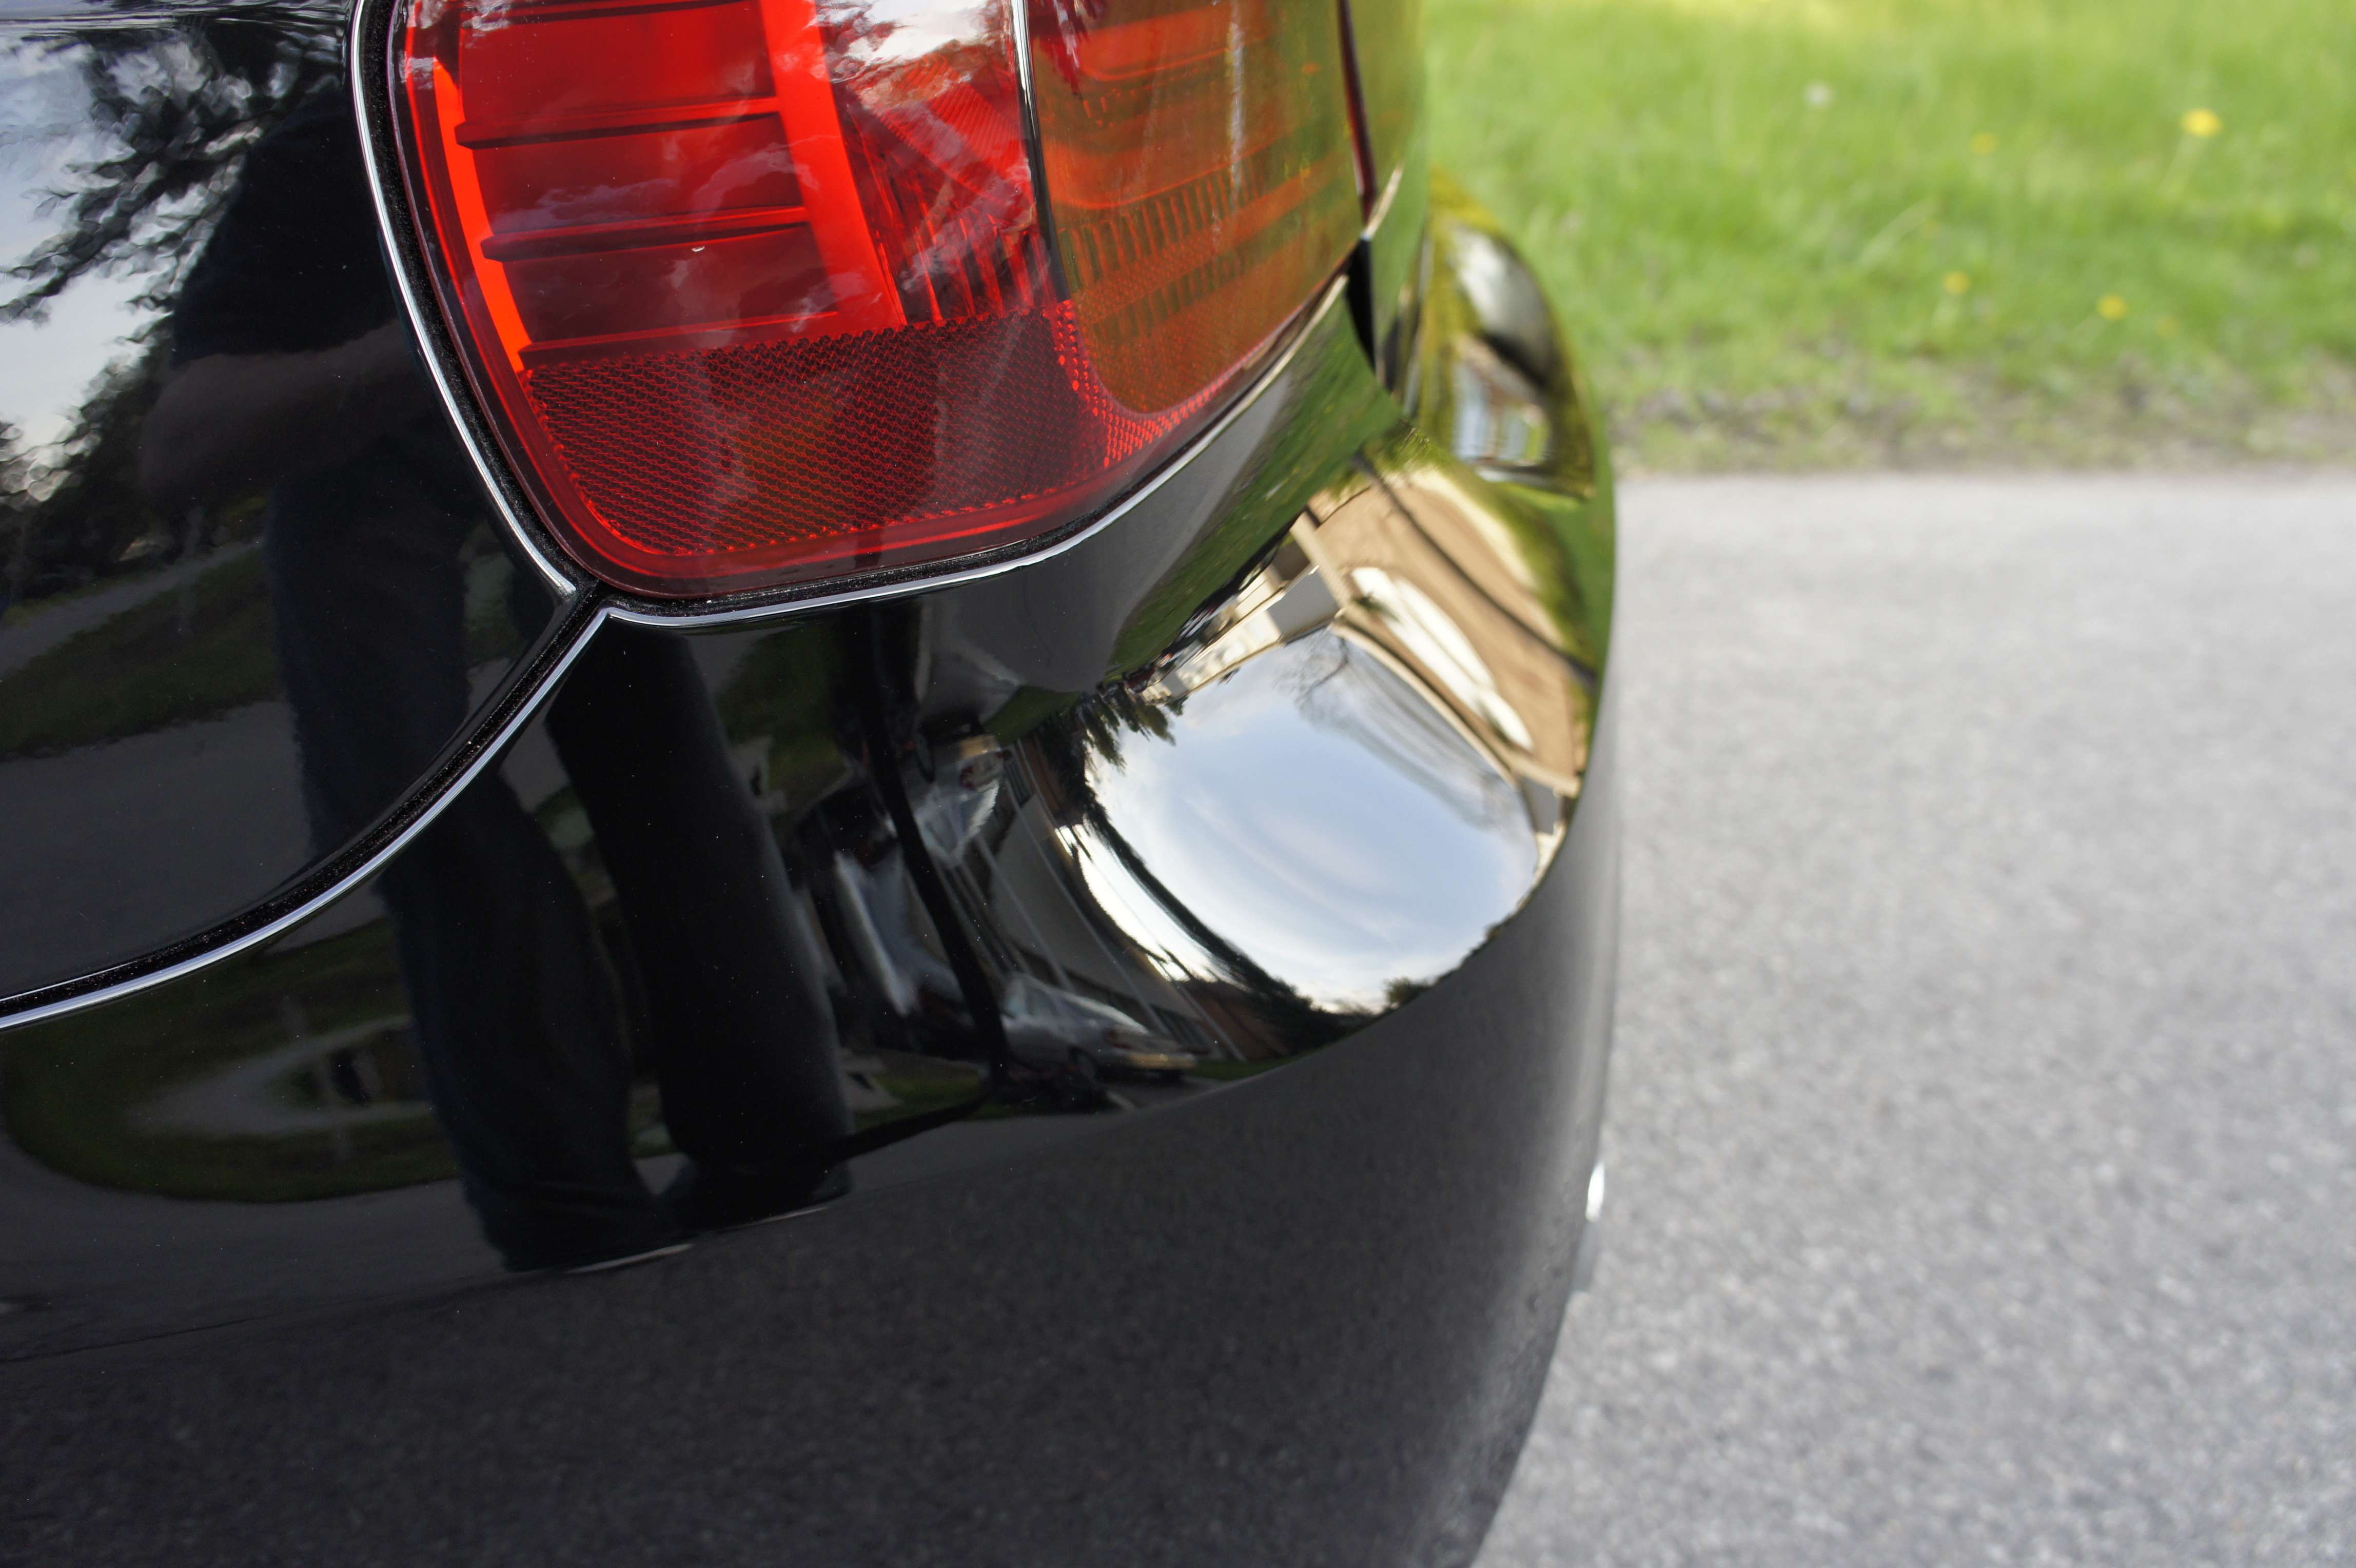
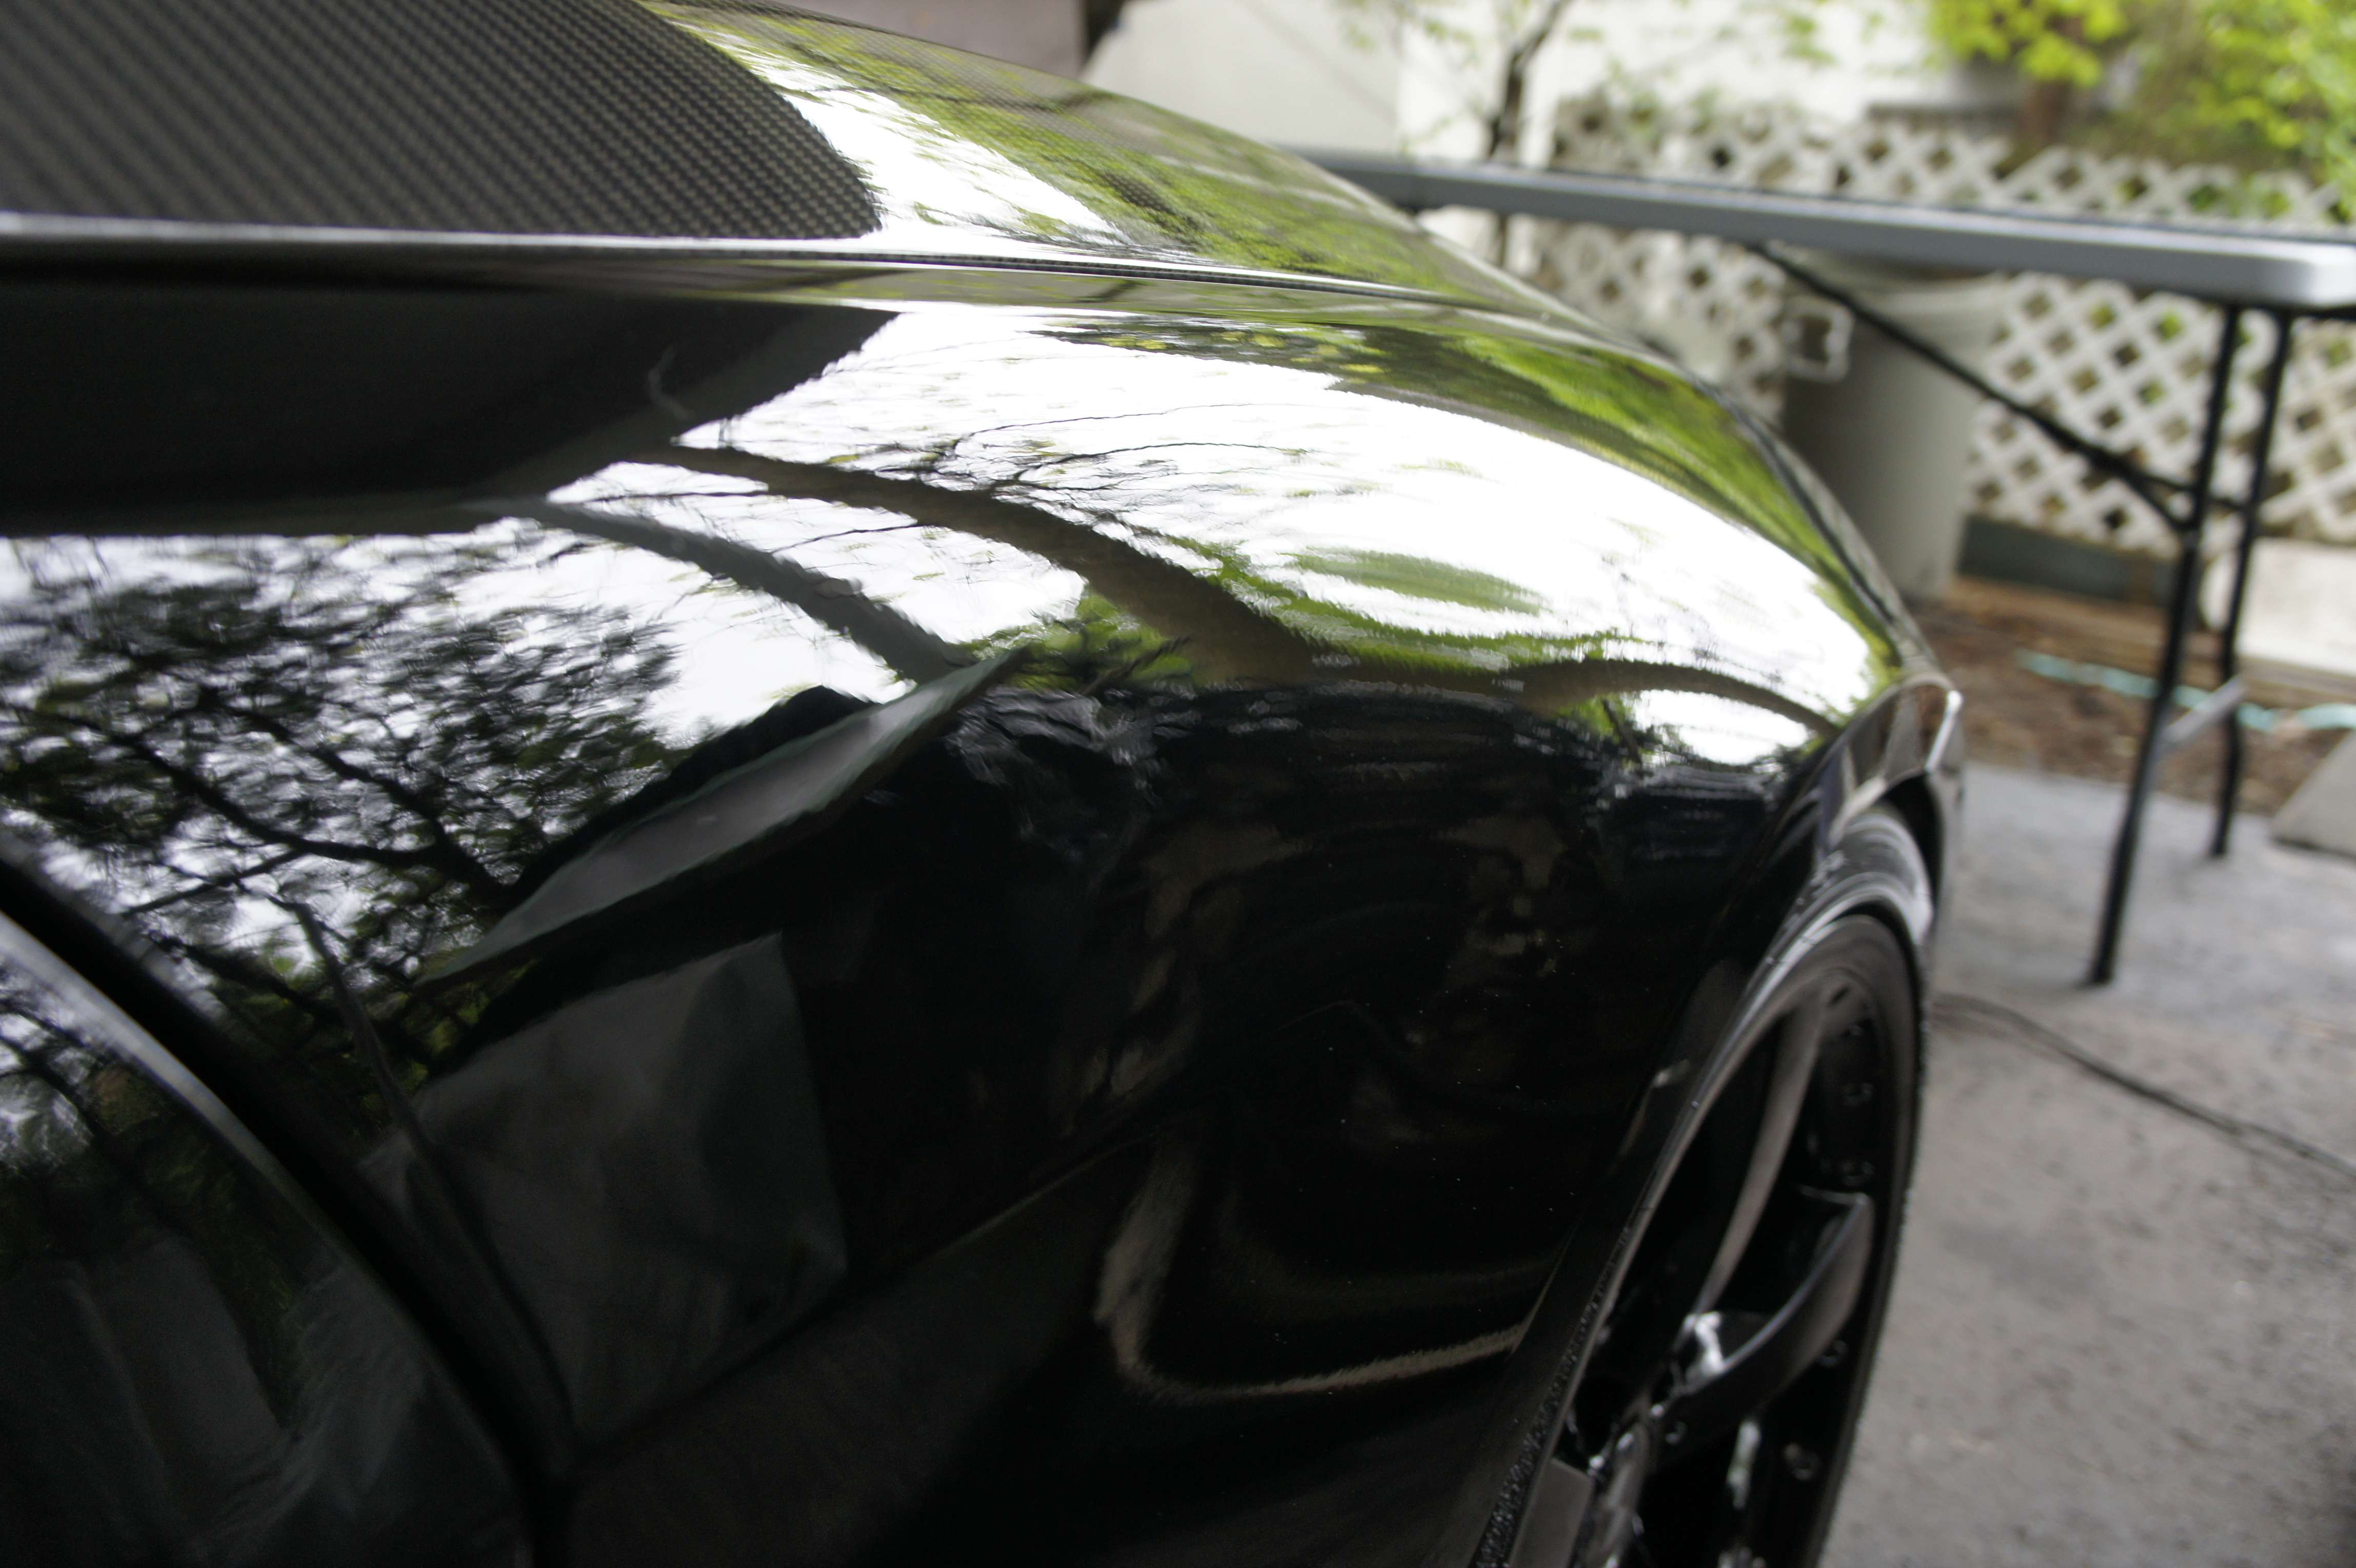
And now… the long awaited moment.. when you take out the car into the sun to make sure the correction is fine and then you can enjoy applying one of the most exclusive high-end wax on the market as we speak.


Fuuuu!!! Isn’t that nice!? No wax or cleaner fluid now.. just the bare paint. I know the owner would be thrilled when I saw that .
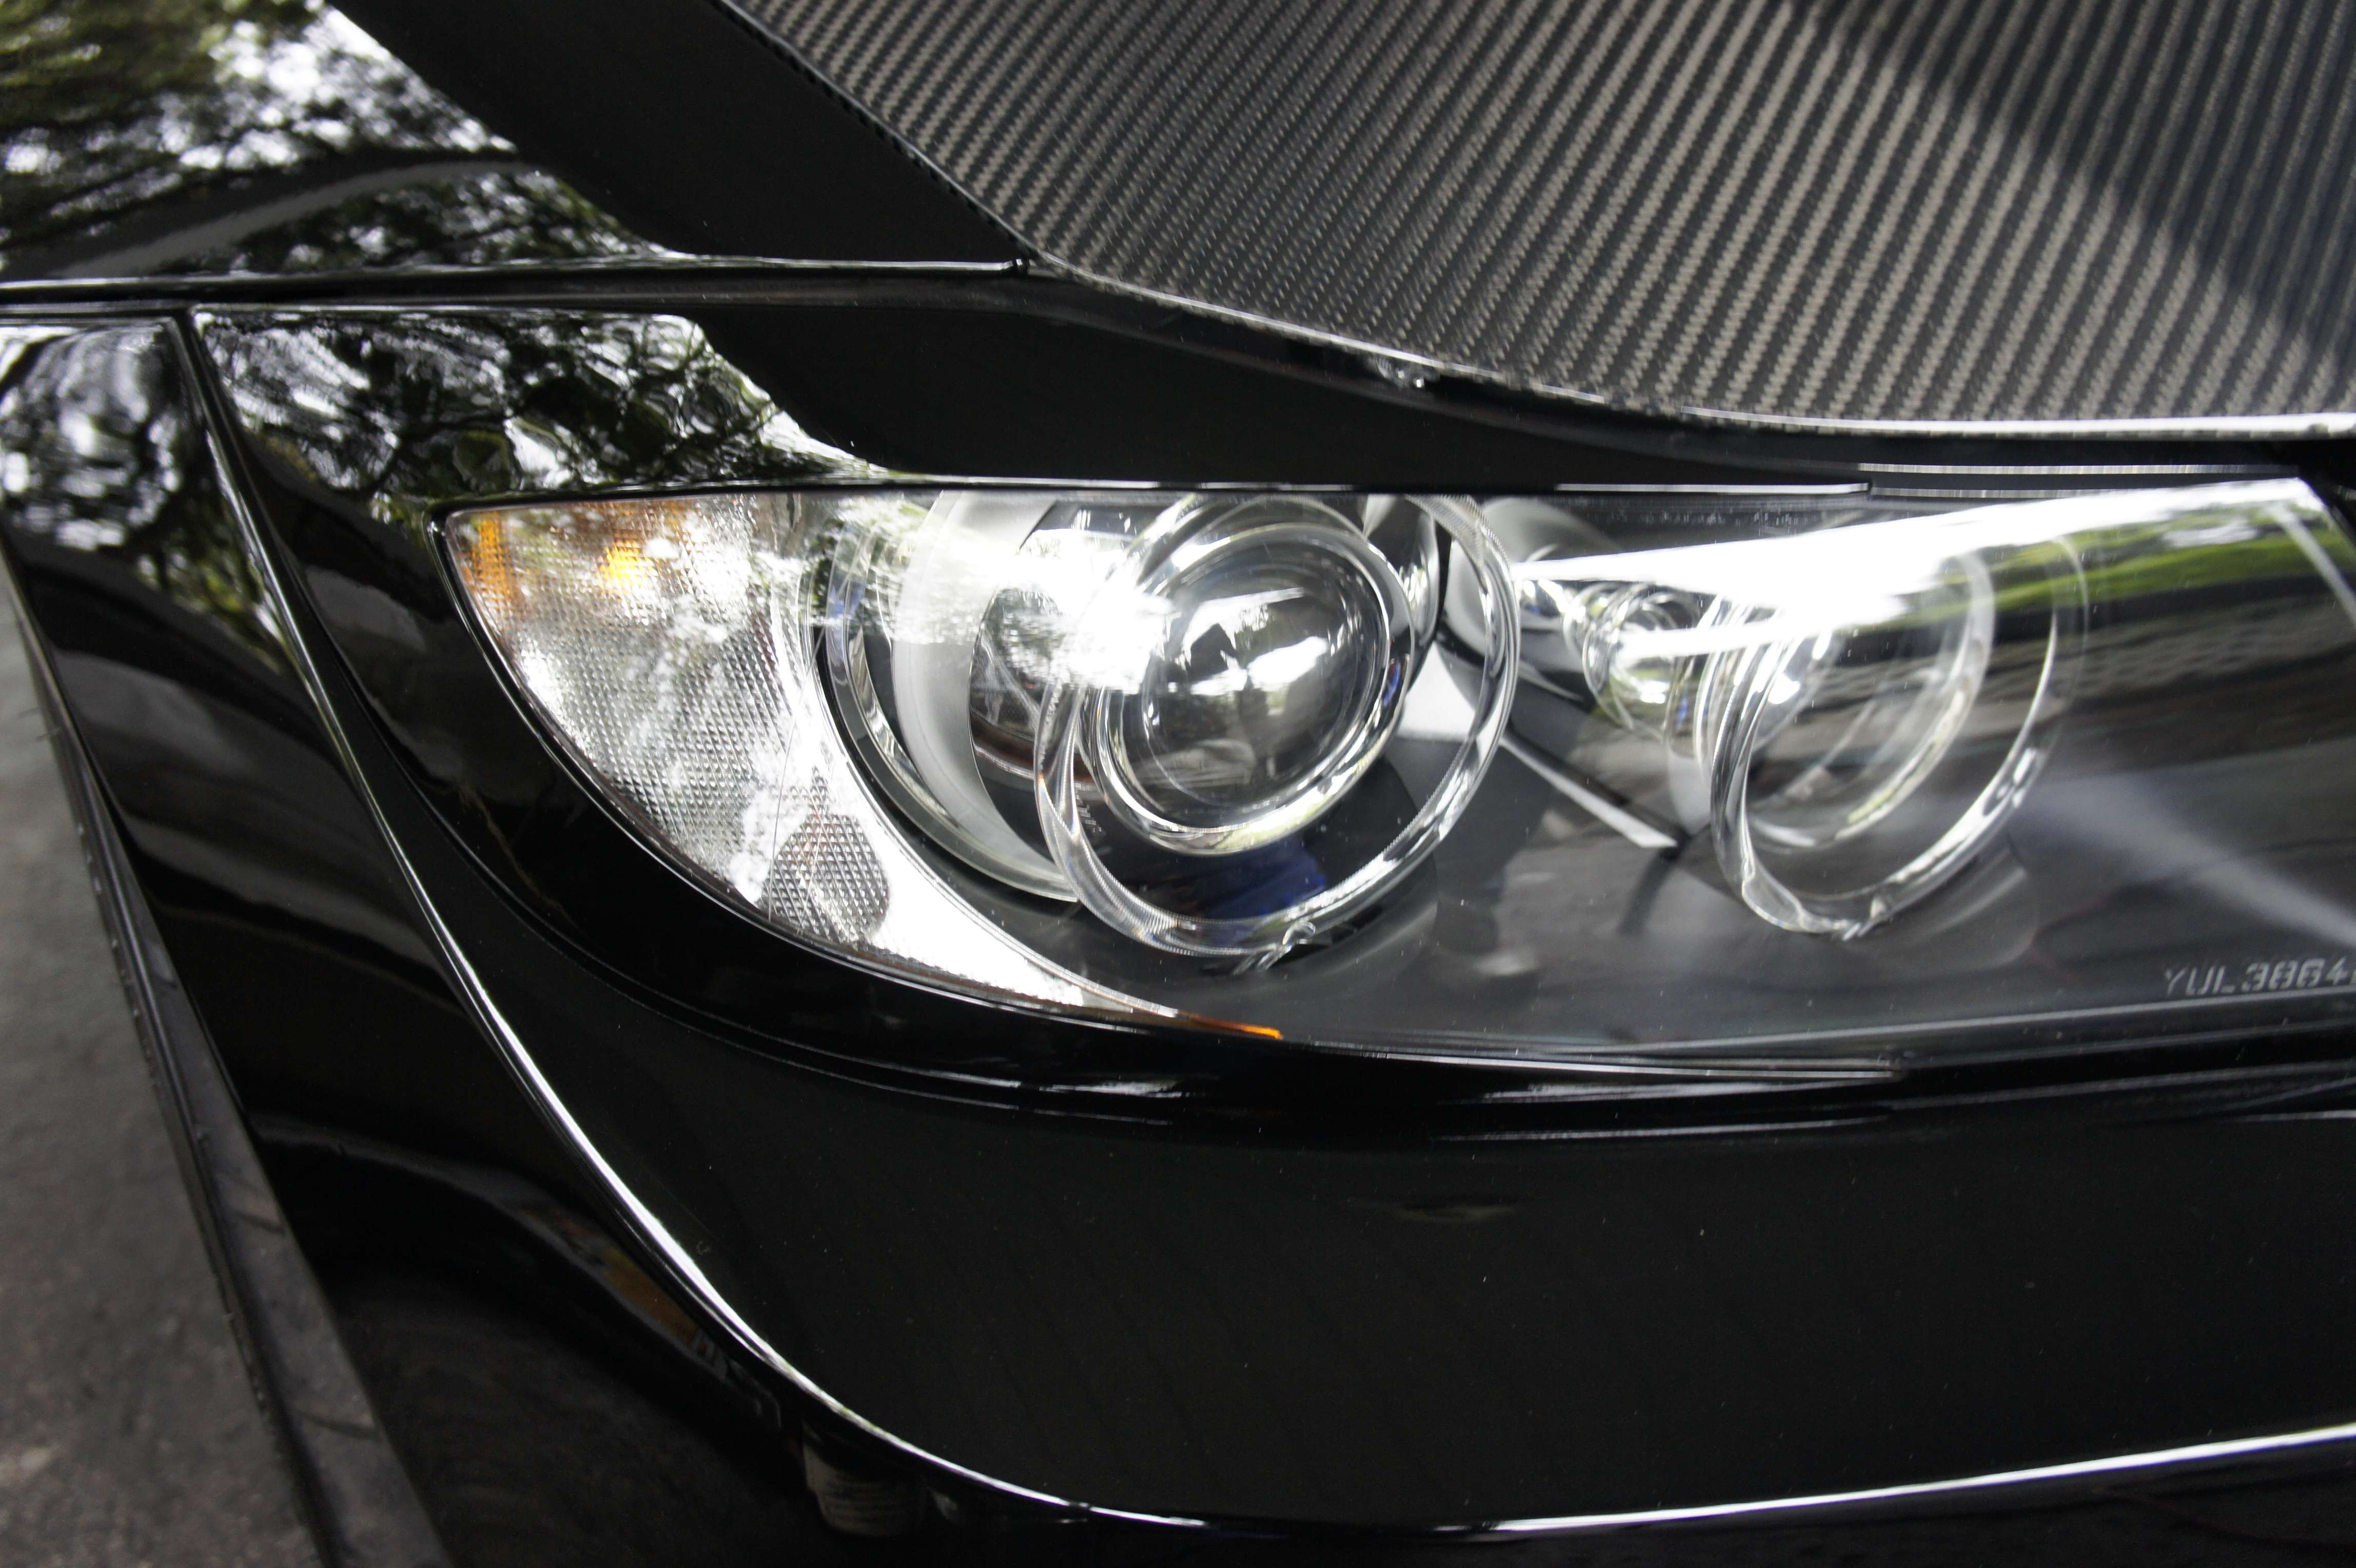
6) The D.E.T.A.I.L.I.N.G !
Now, it’s where the fun really starts, IMO. Well, this paint was a real challenge by itself, but usually the difference between a good detailing and a great detailing is how the detailer tackles the small detail. So here we go,
Applying Wolfgang ETS on all trim. This stuff works very well and has a durability of +4 months. On top it does have a matt look perfect for this matt black trim so it doesn’t alter the finish. This product isn’t cheap but heck when you only want the best right?

I’m now waxing this baby with 76% carnauba by volume. This is an upgraded version of the regular Black Label wax by Raceglaze made especially for myself. You get pure wetness with the durability of Swissvax Crystal Rock. I actually gave 4 coats in a time span of 24 hours. (About 6 hours between each) Oh yessss, I waked up at night to wax the car, devotion anyone?
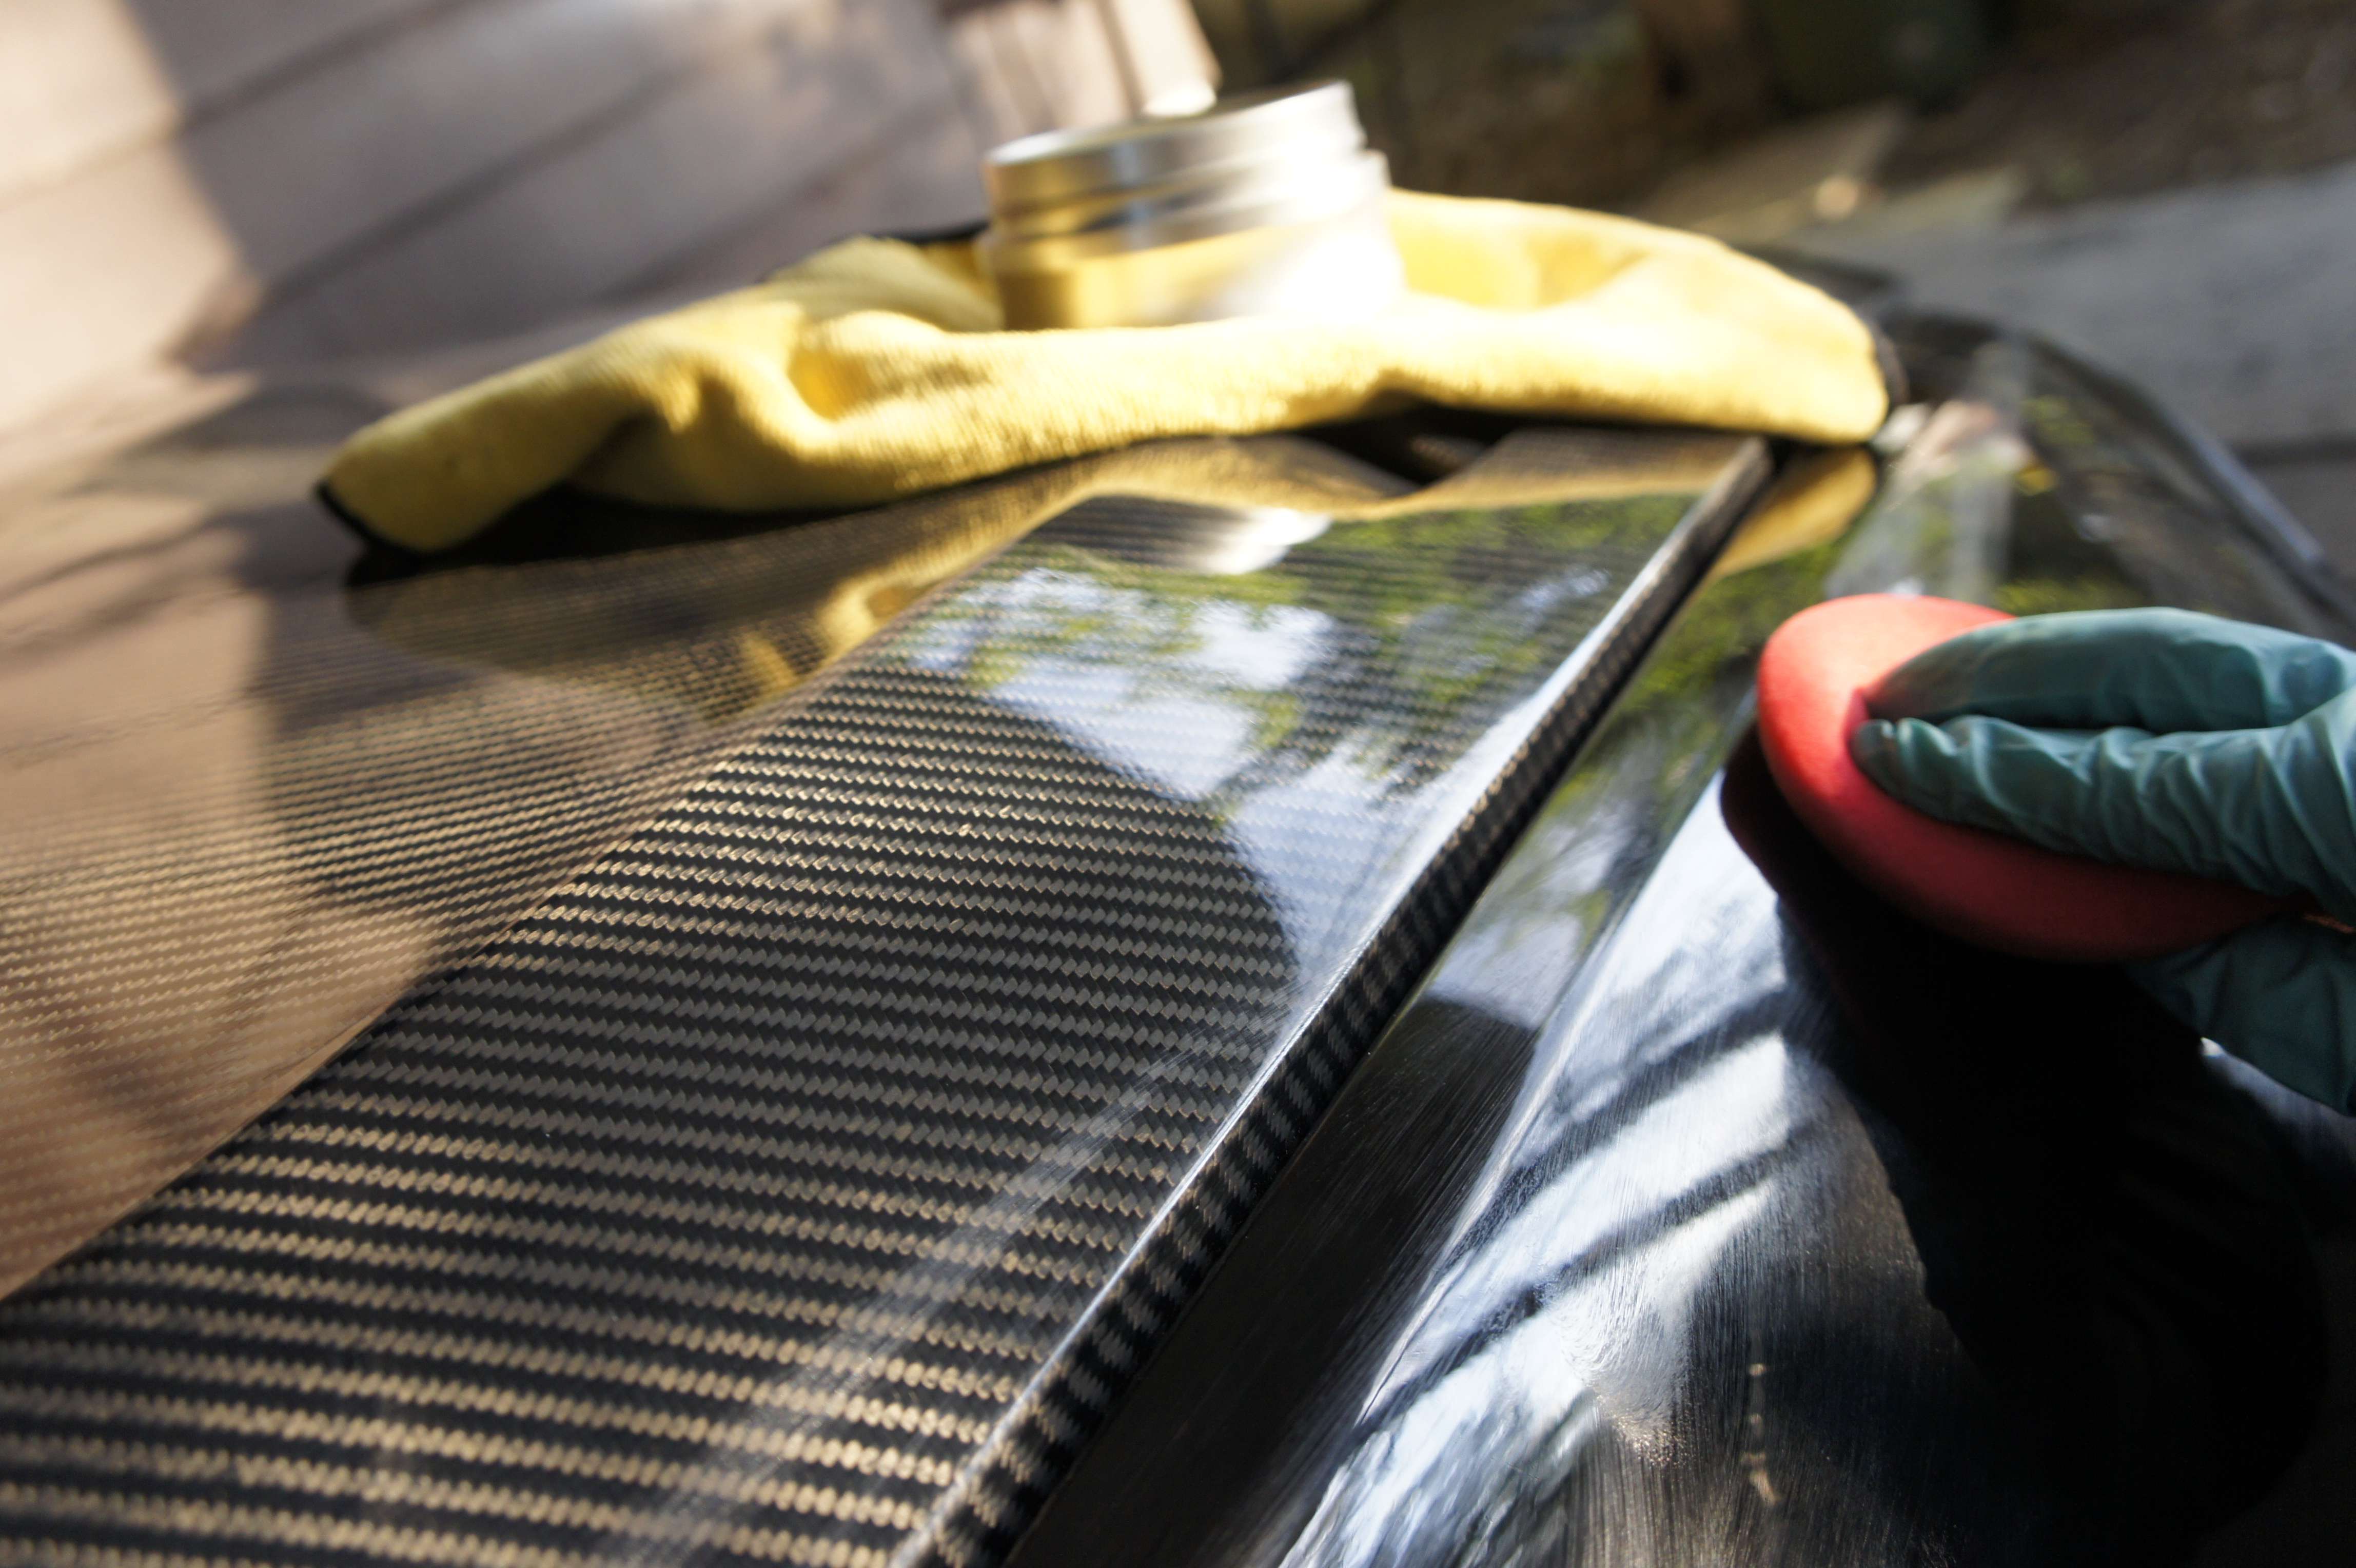
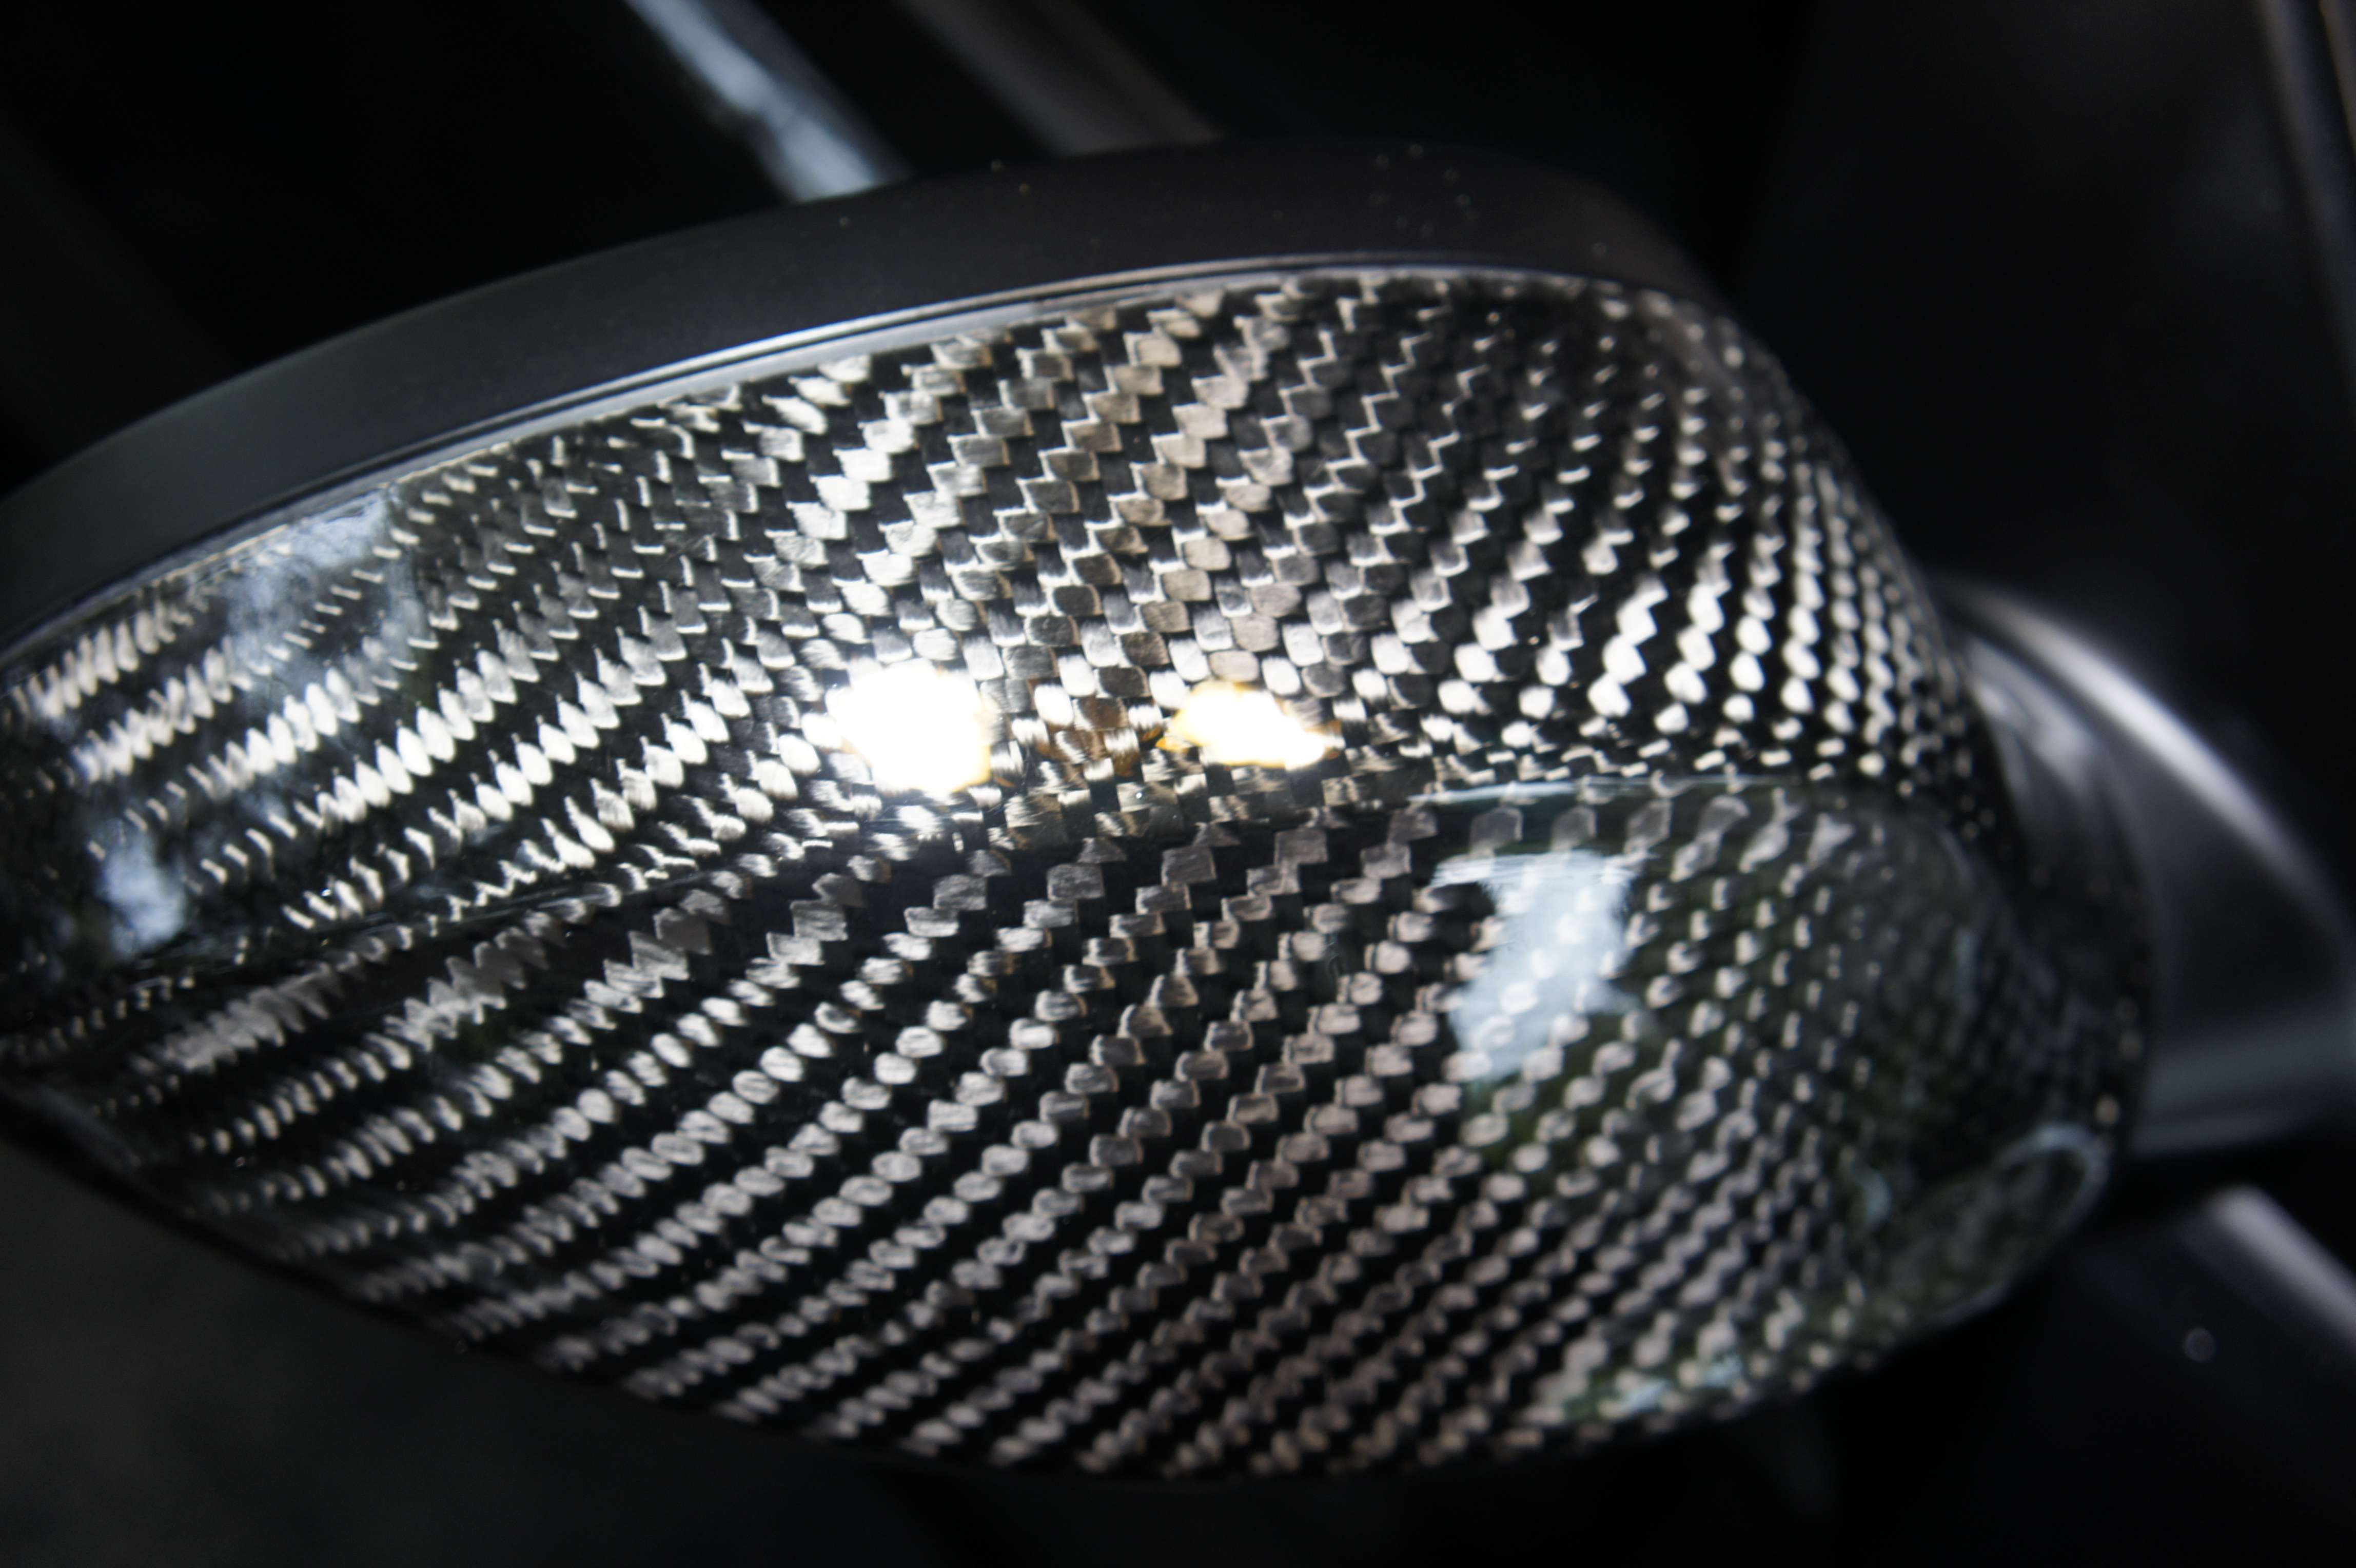
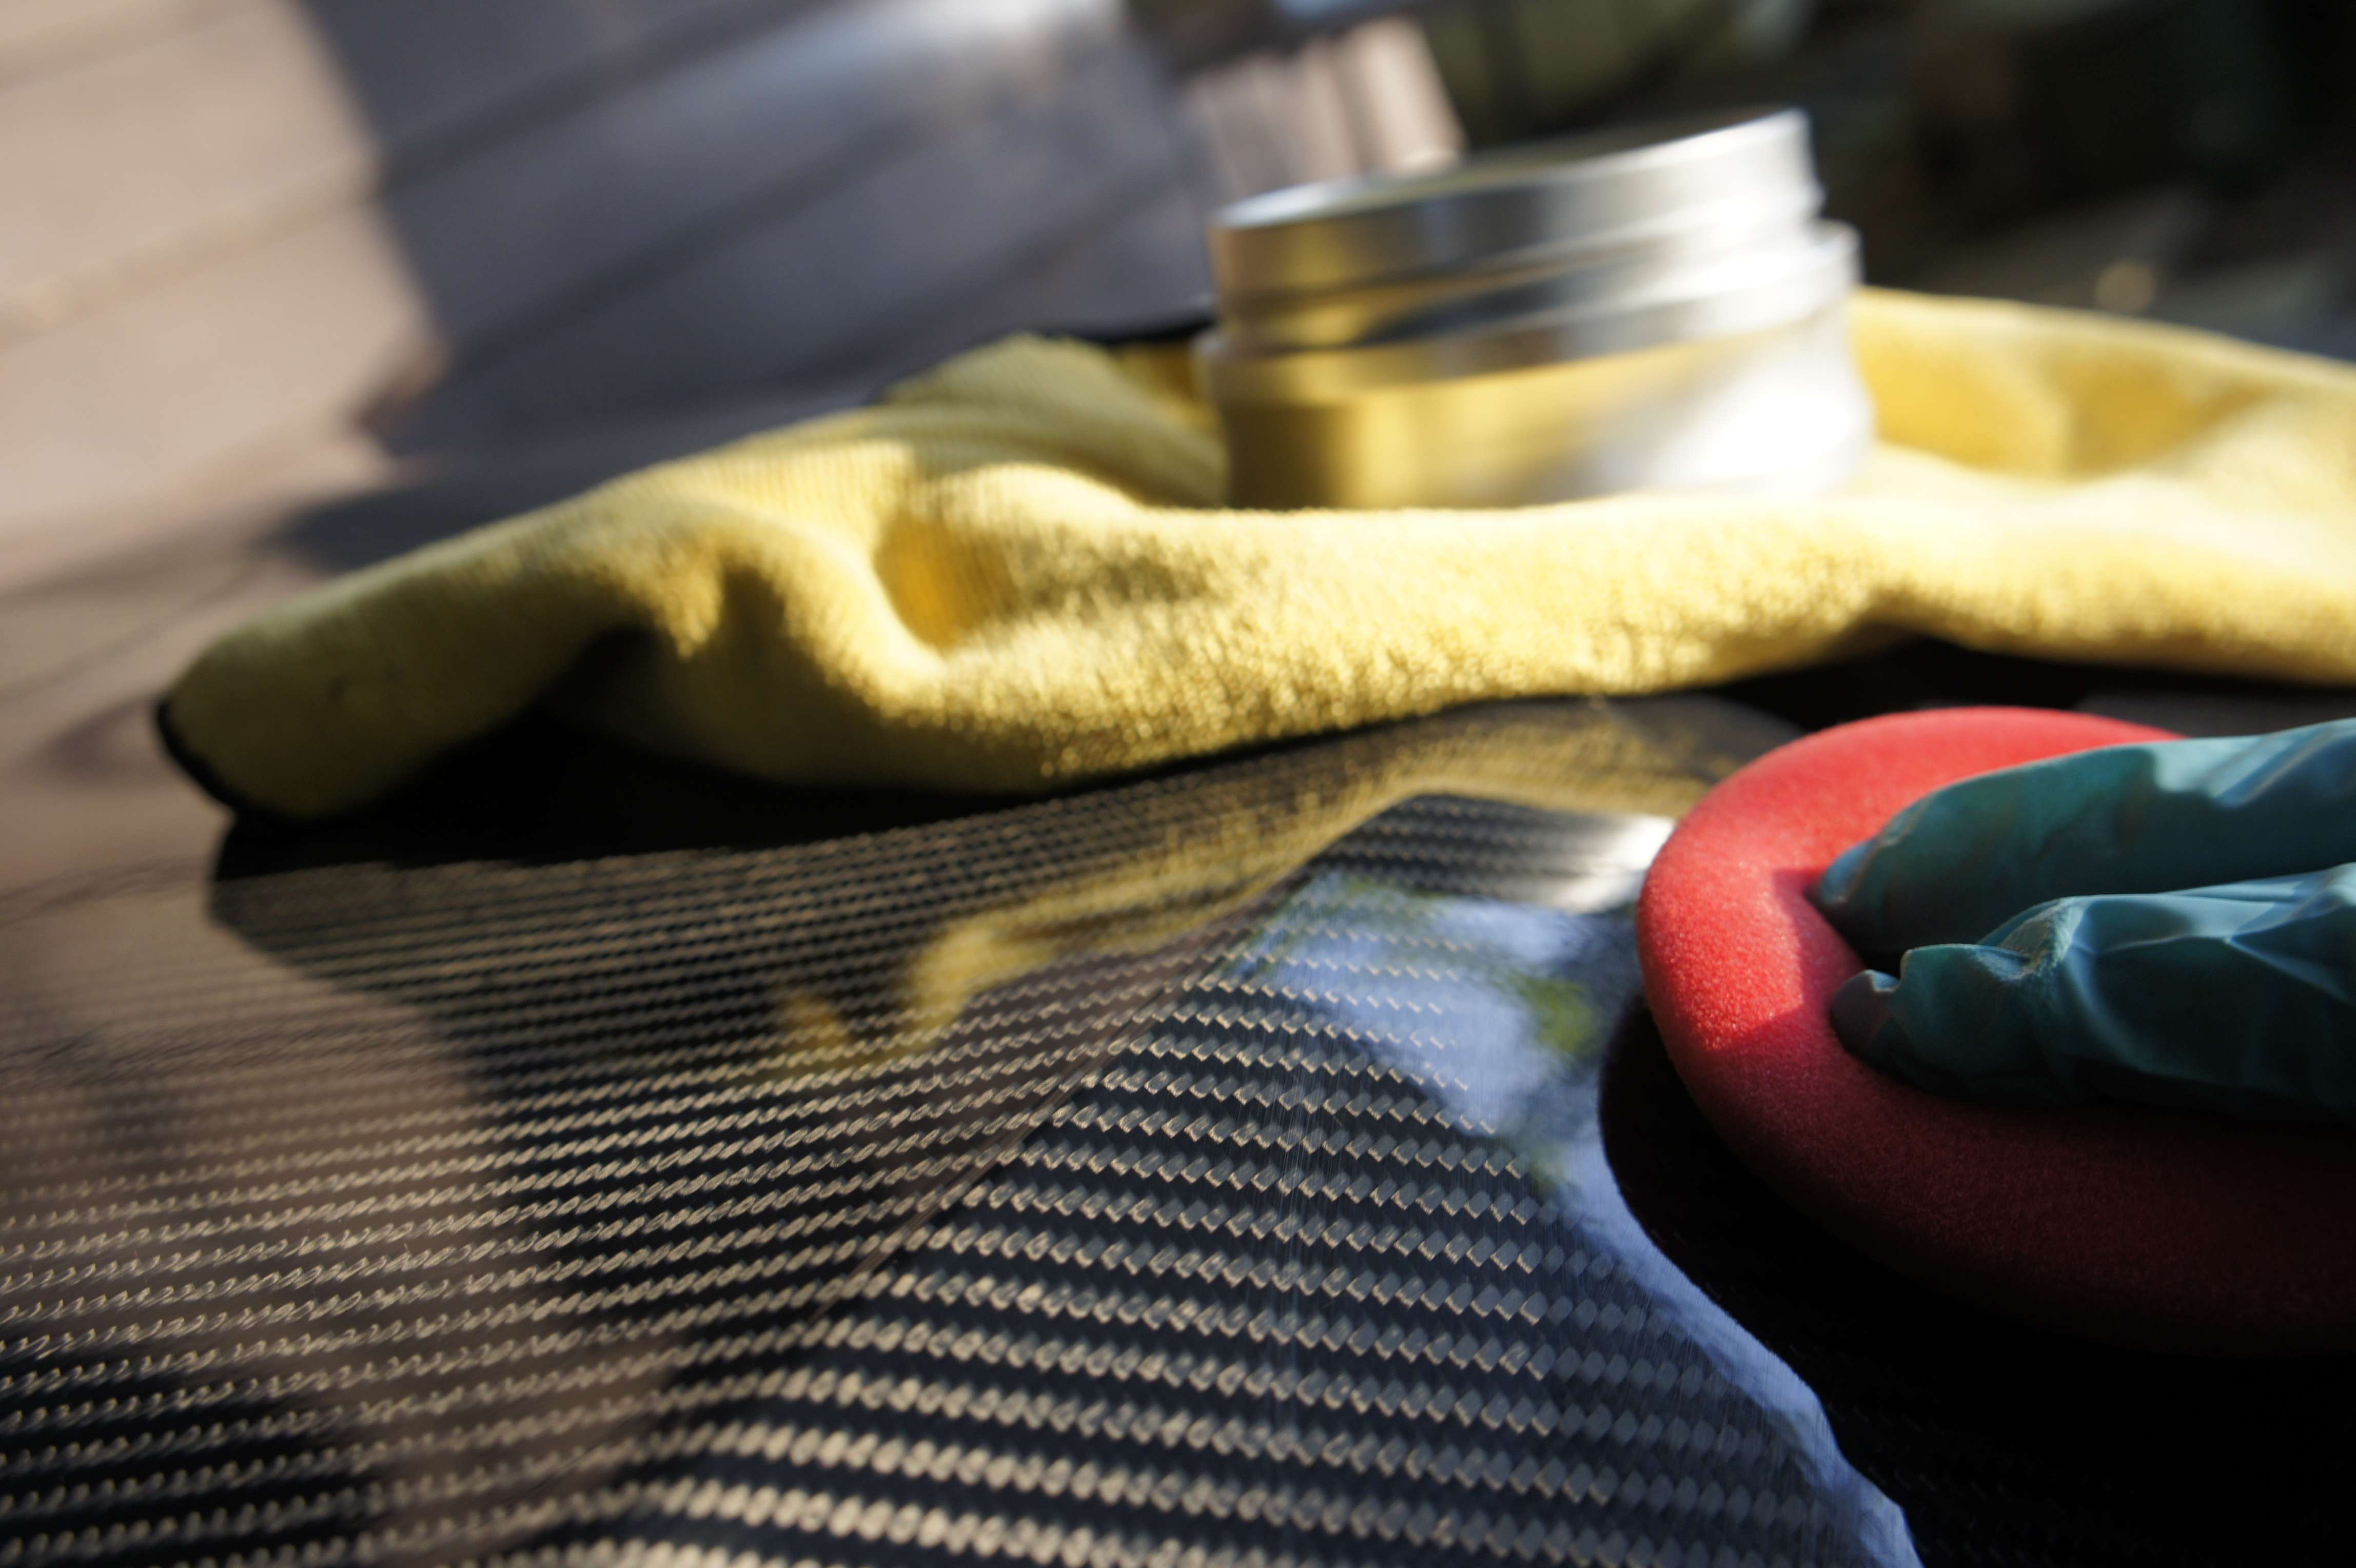
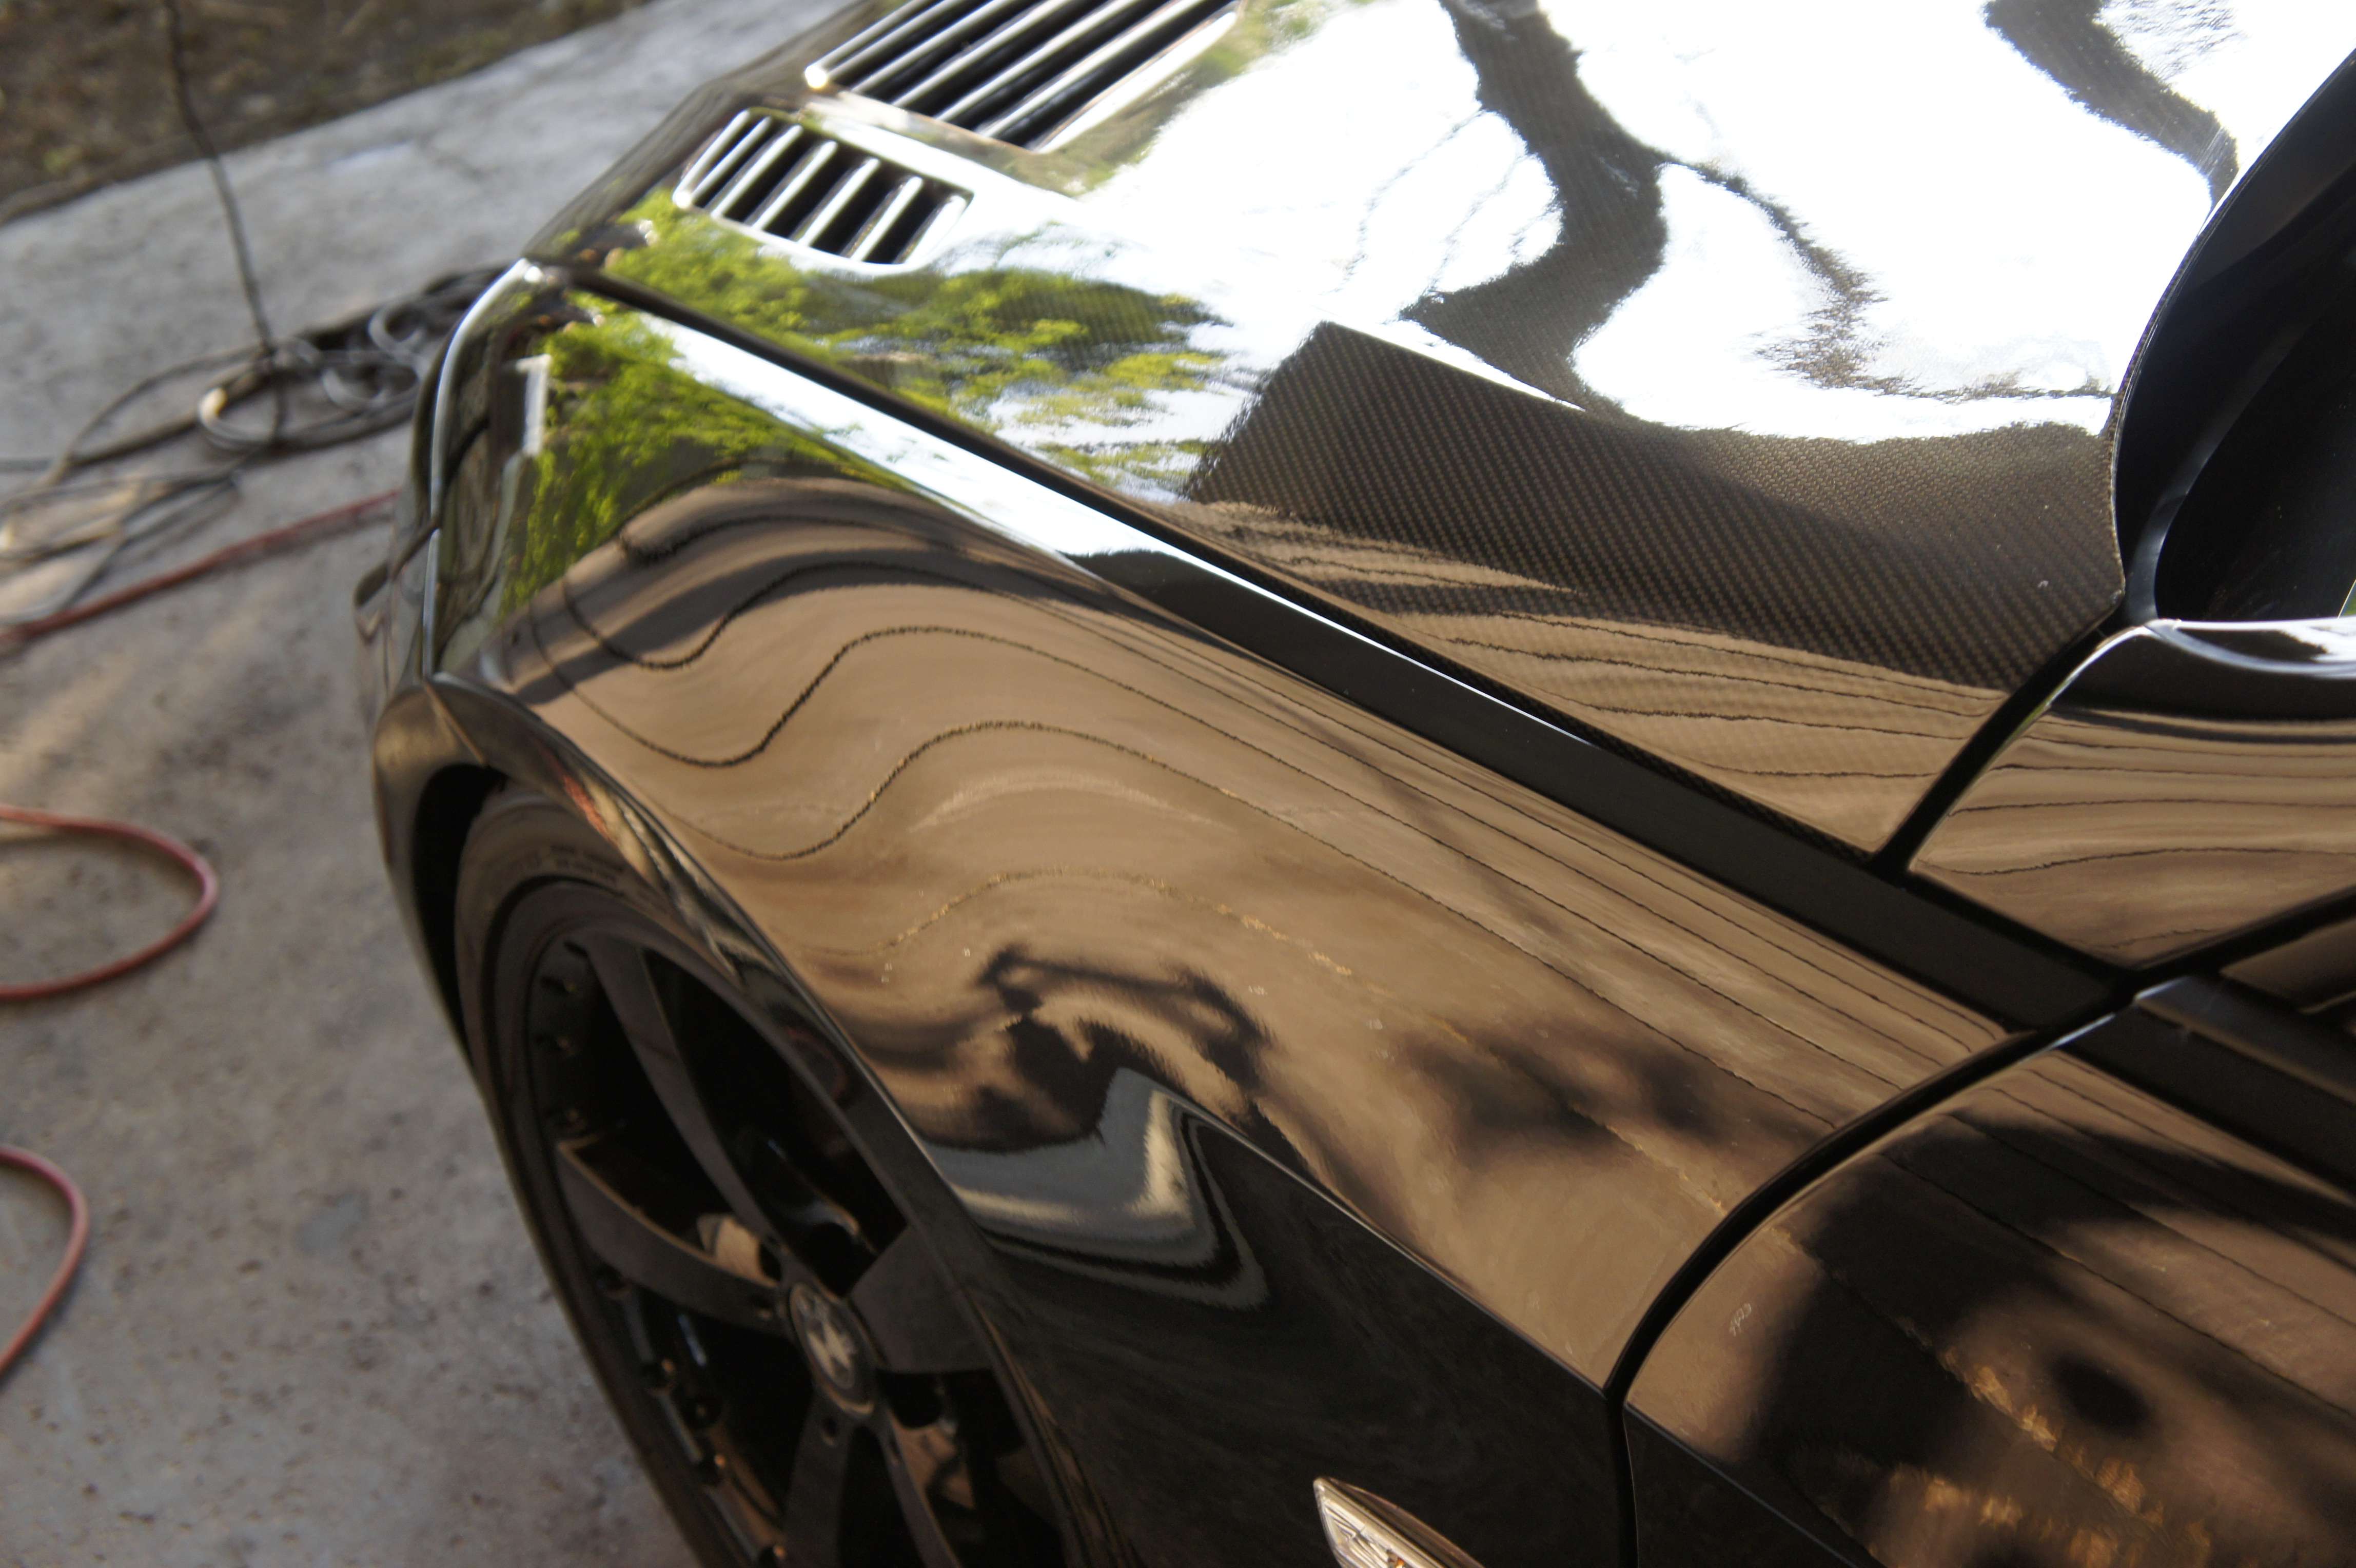
Same goes for the carbon hood and trunk:
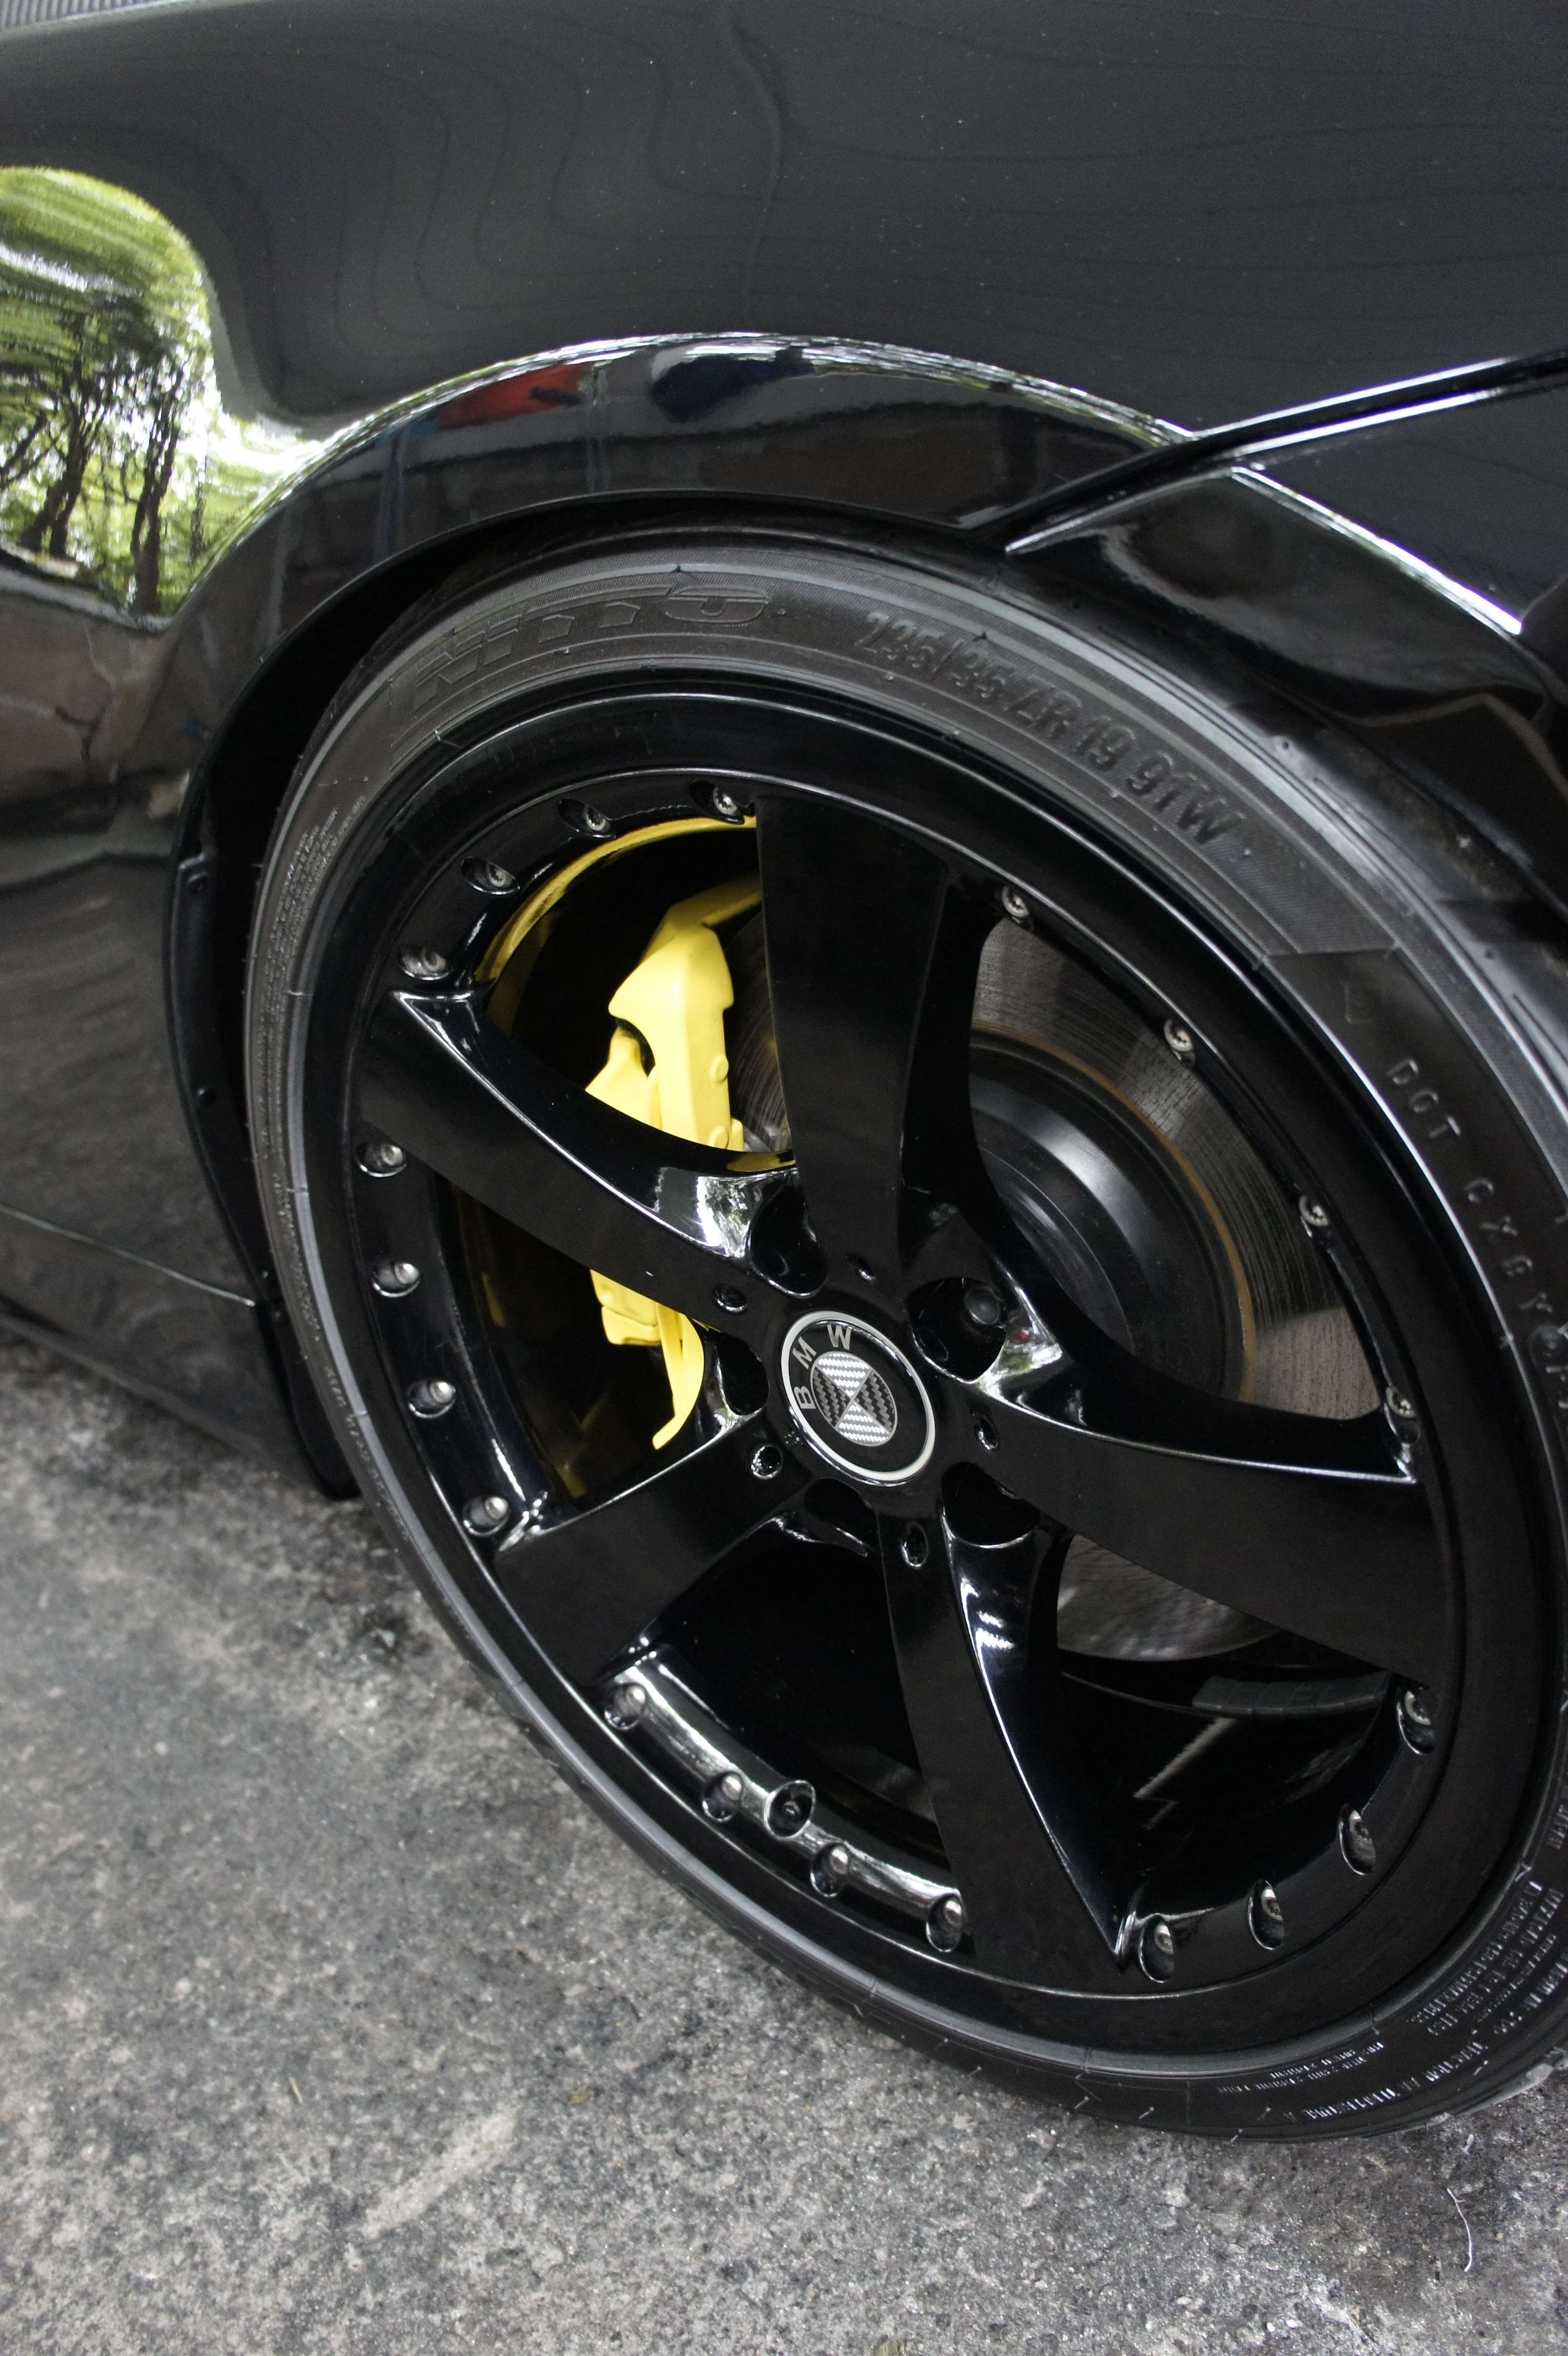
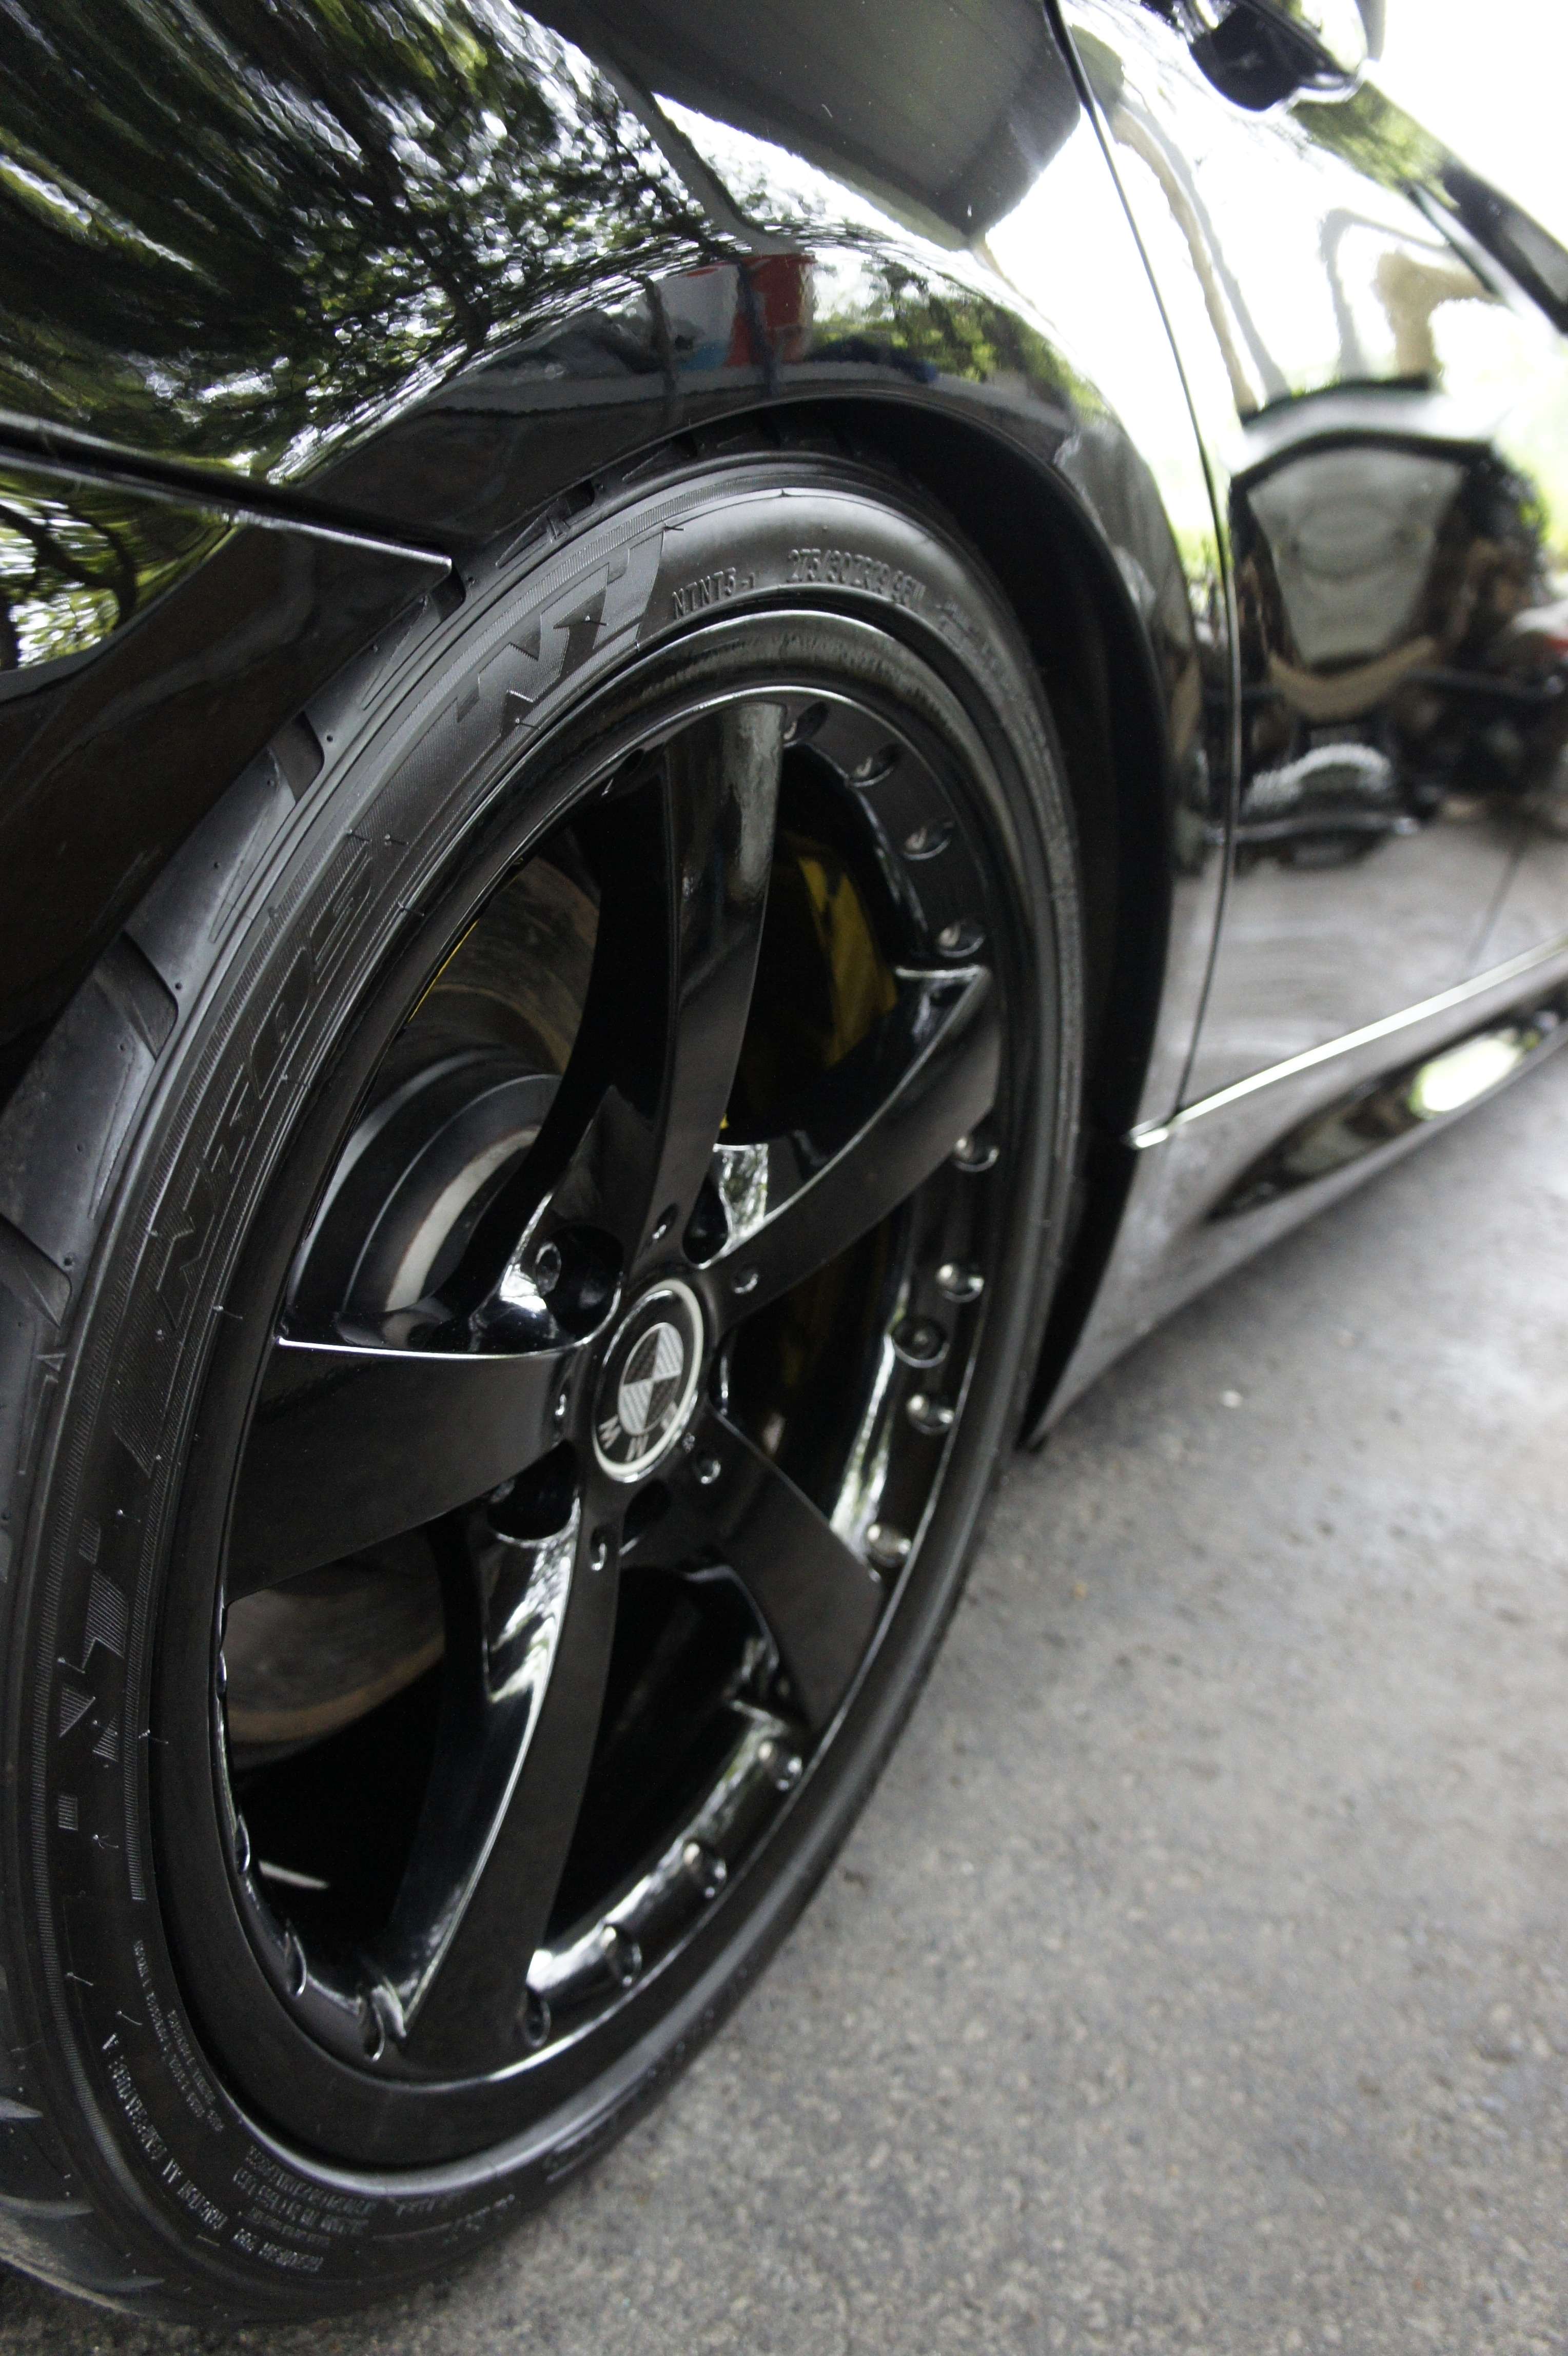
Swissvax cleaner fluid on the rims:
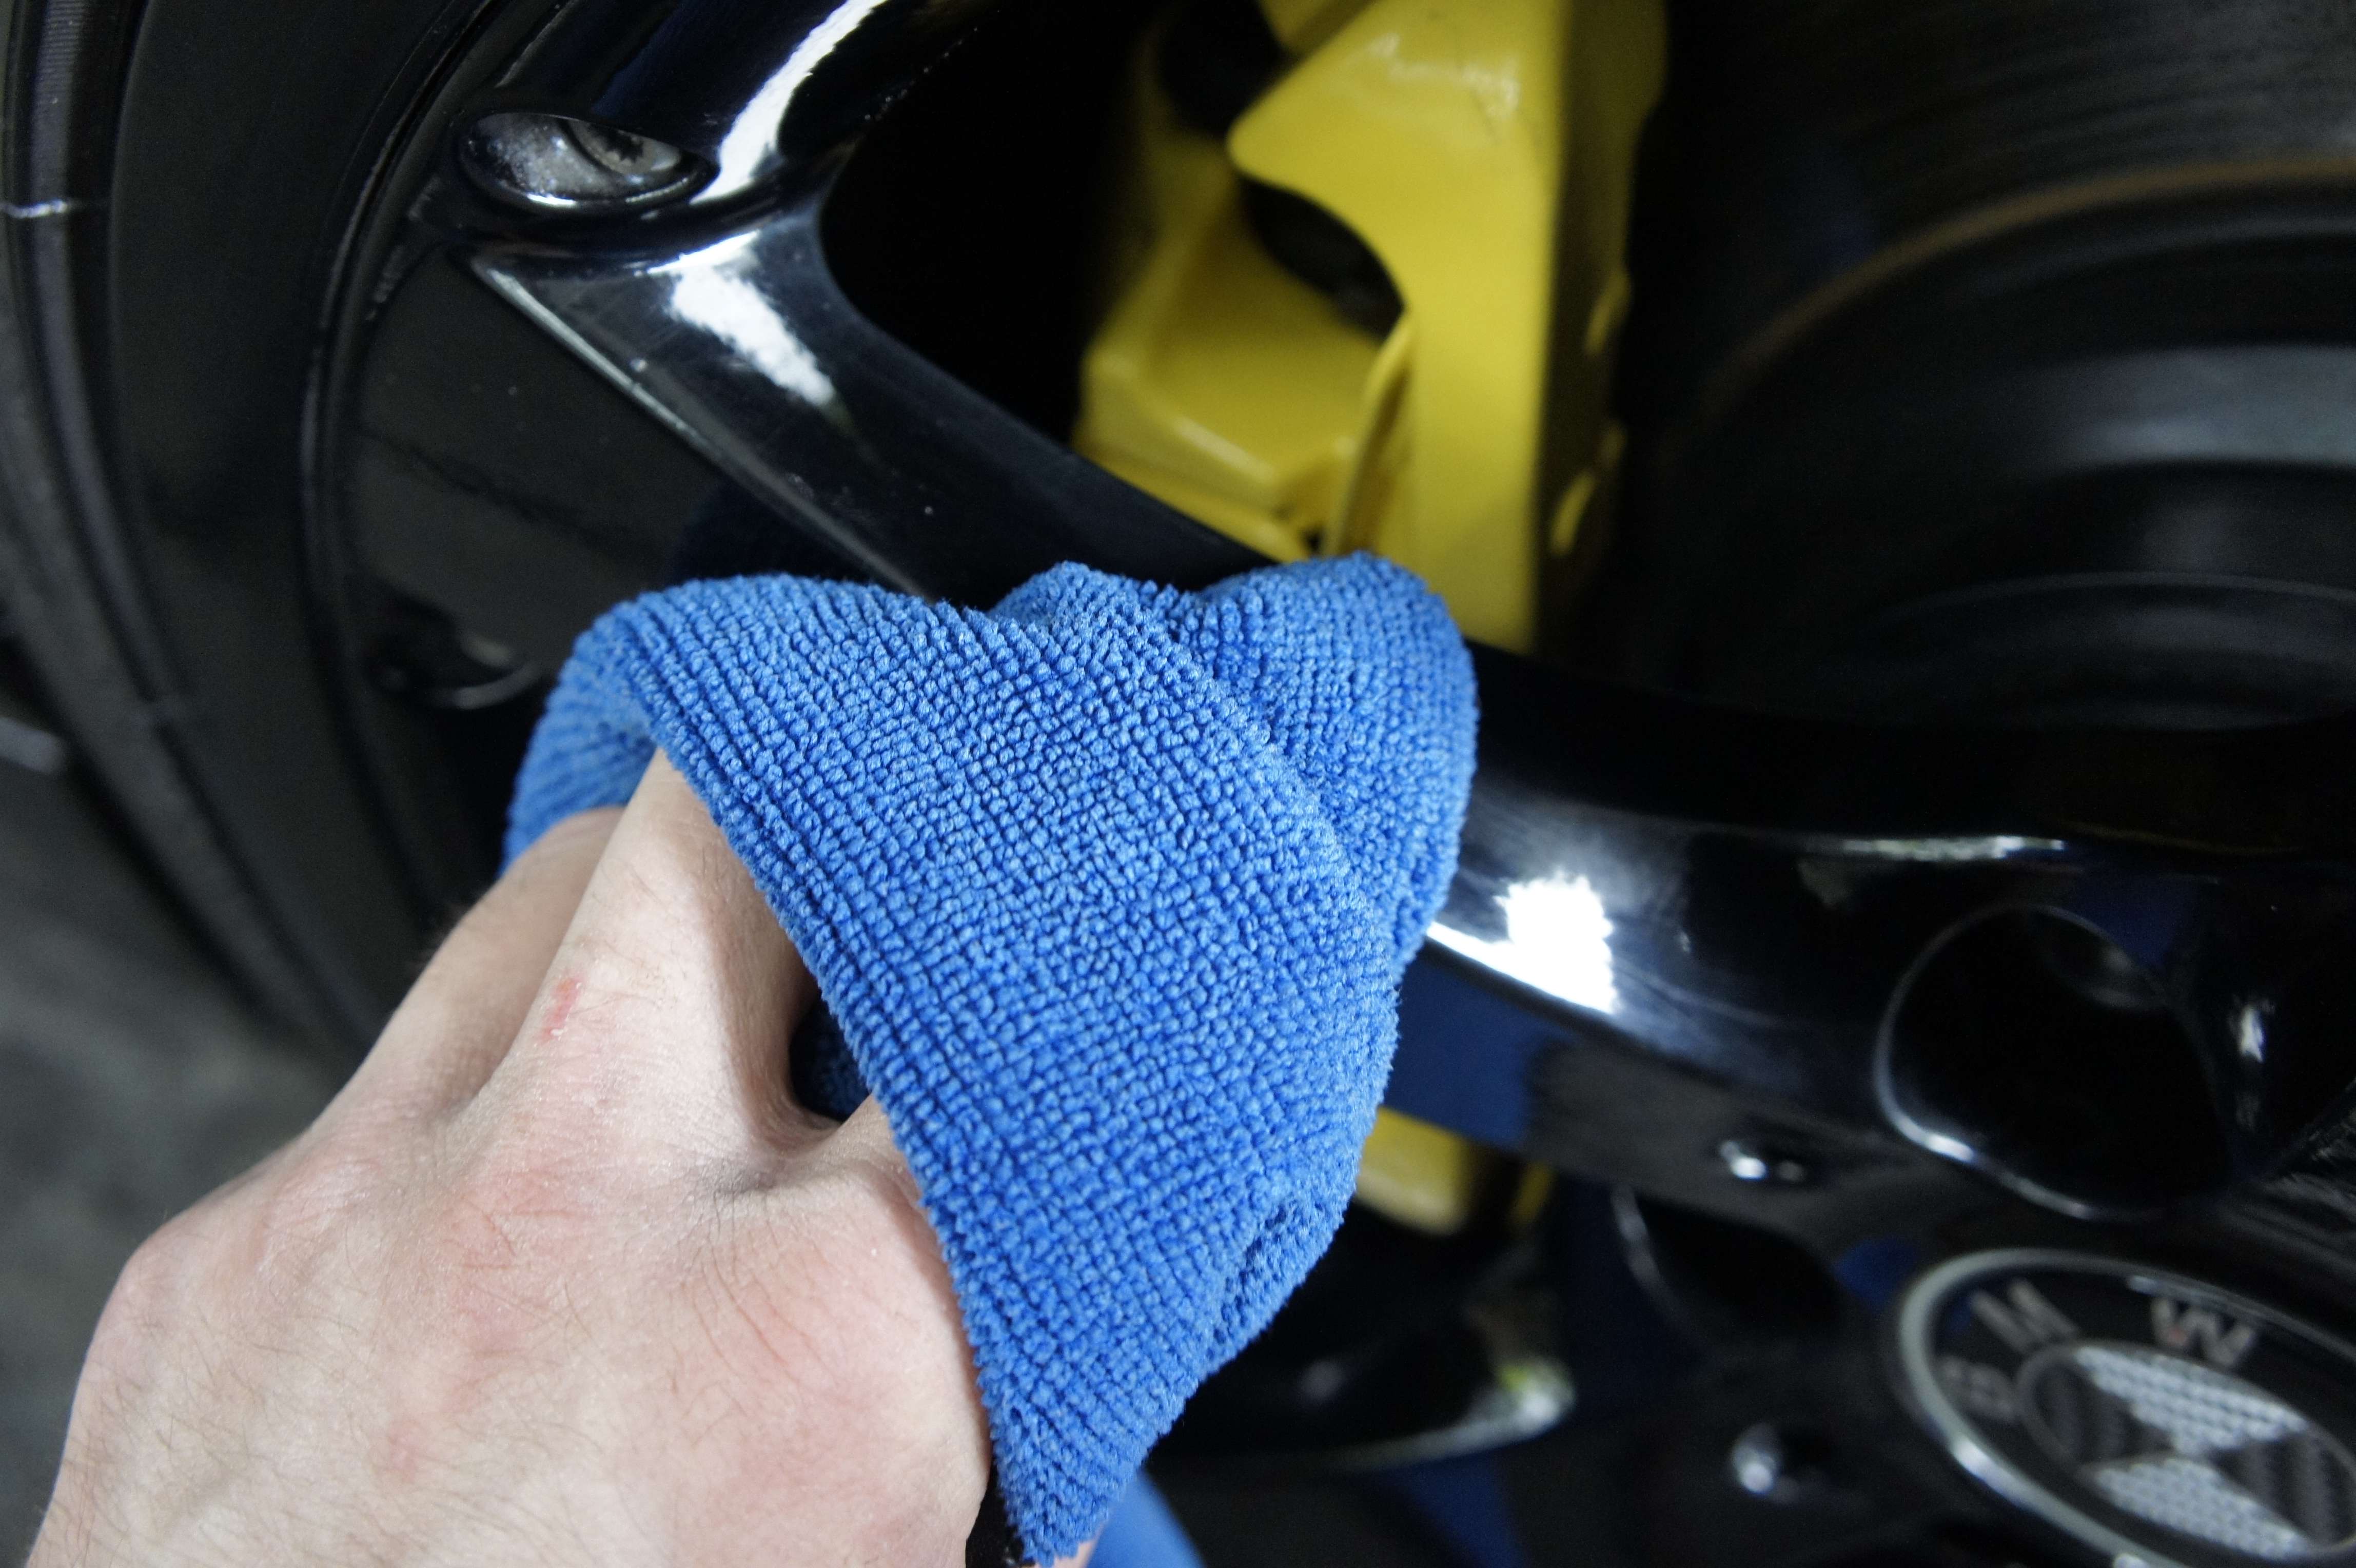
Then, I gave it 2 goof coat of wax to make it stand out and give it a slight darker look:
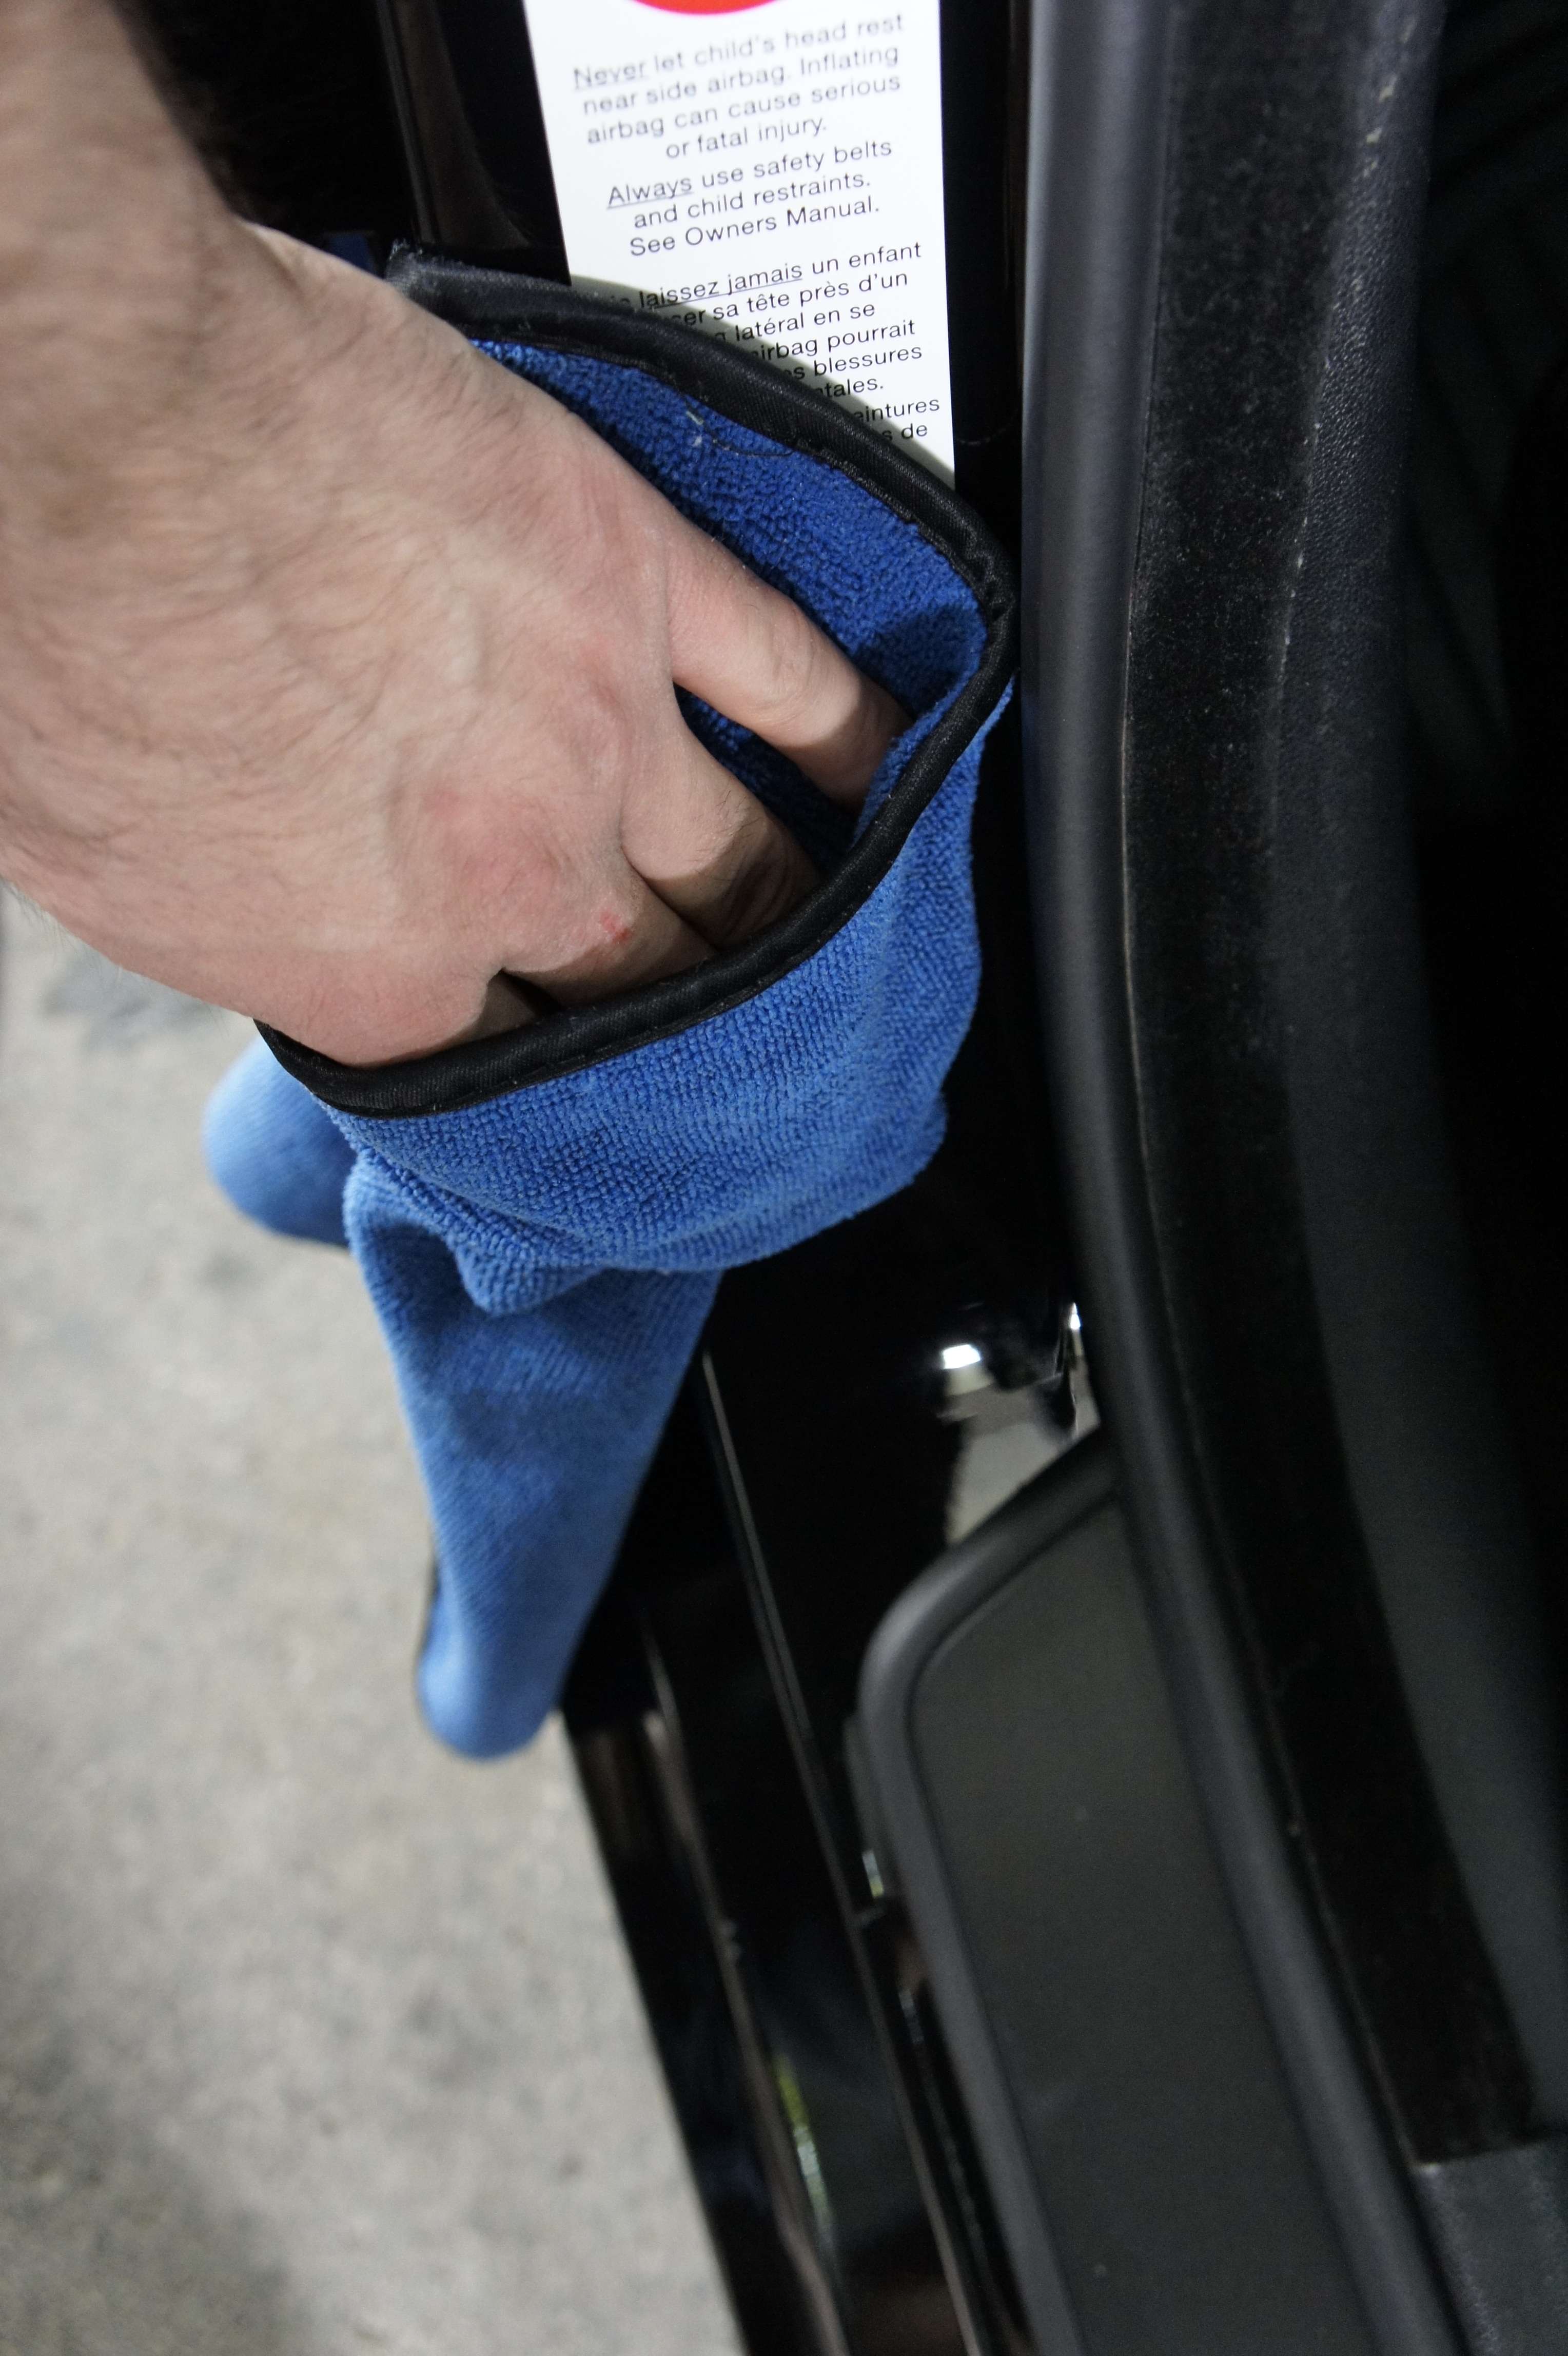
On door jam + wax:
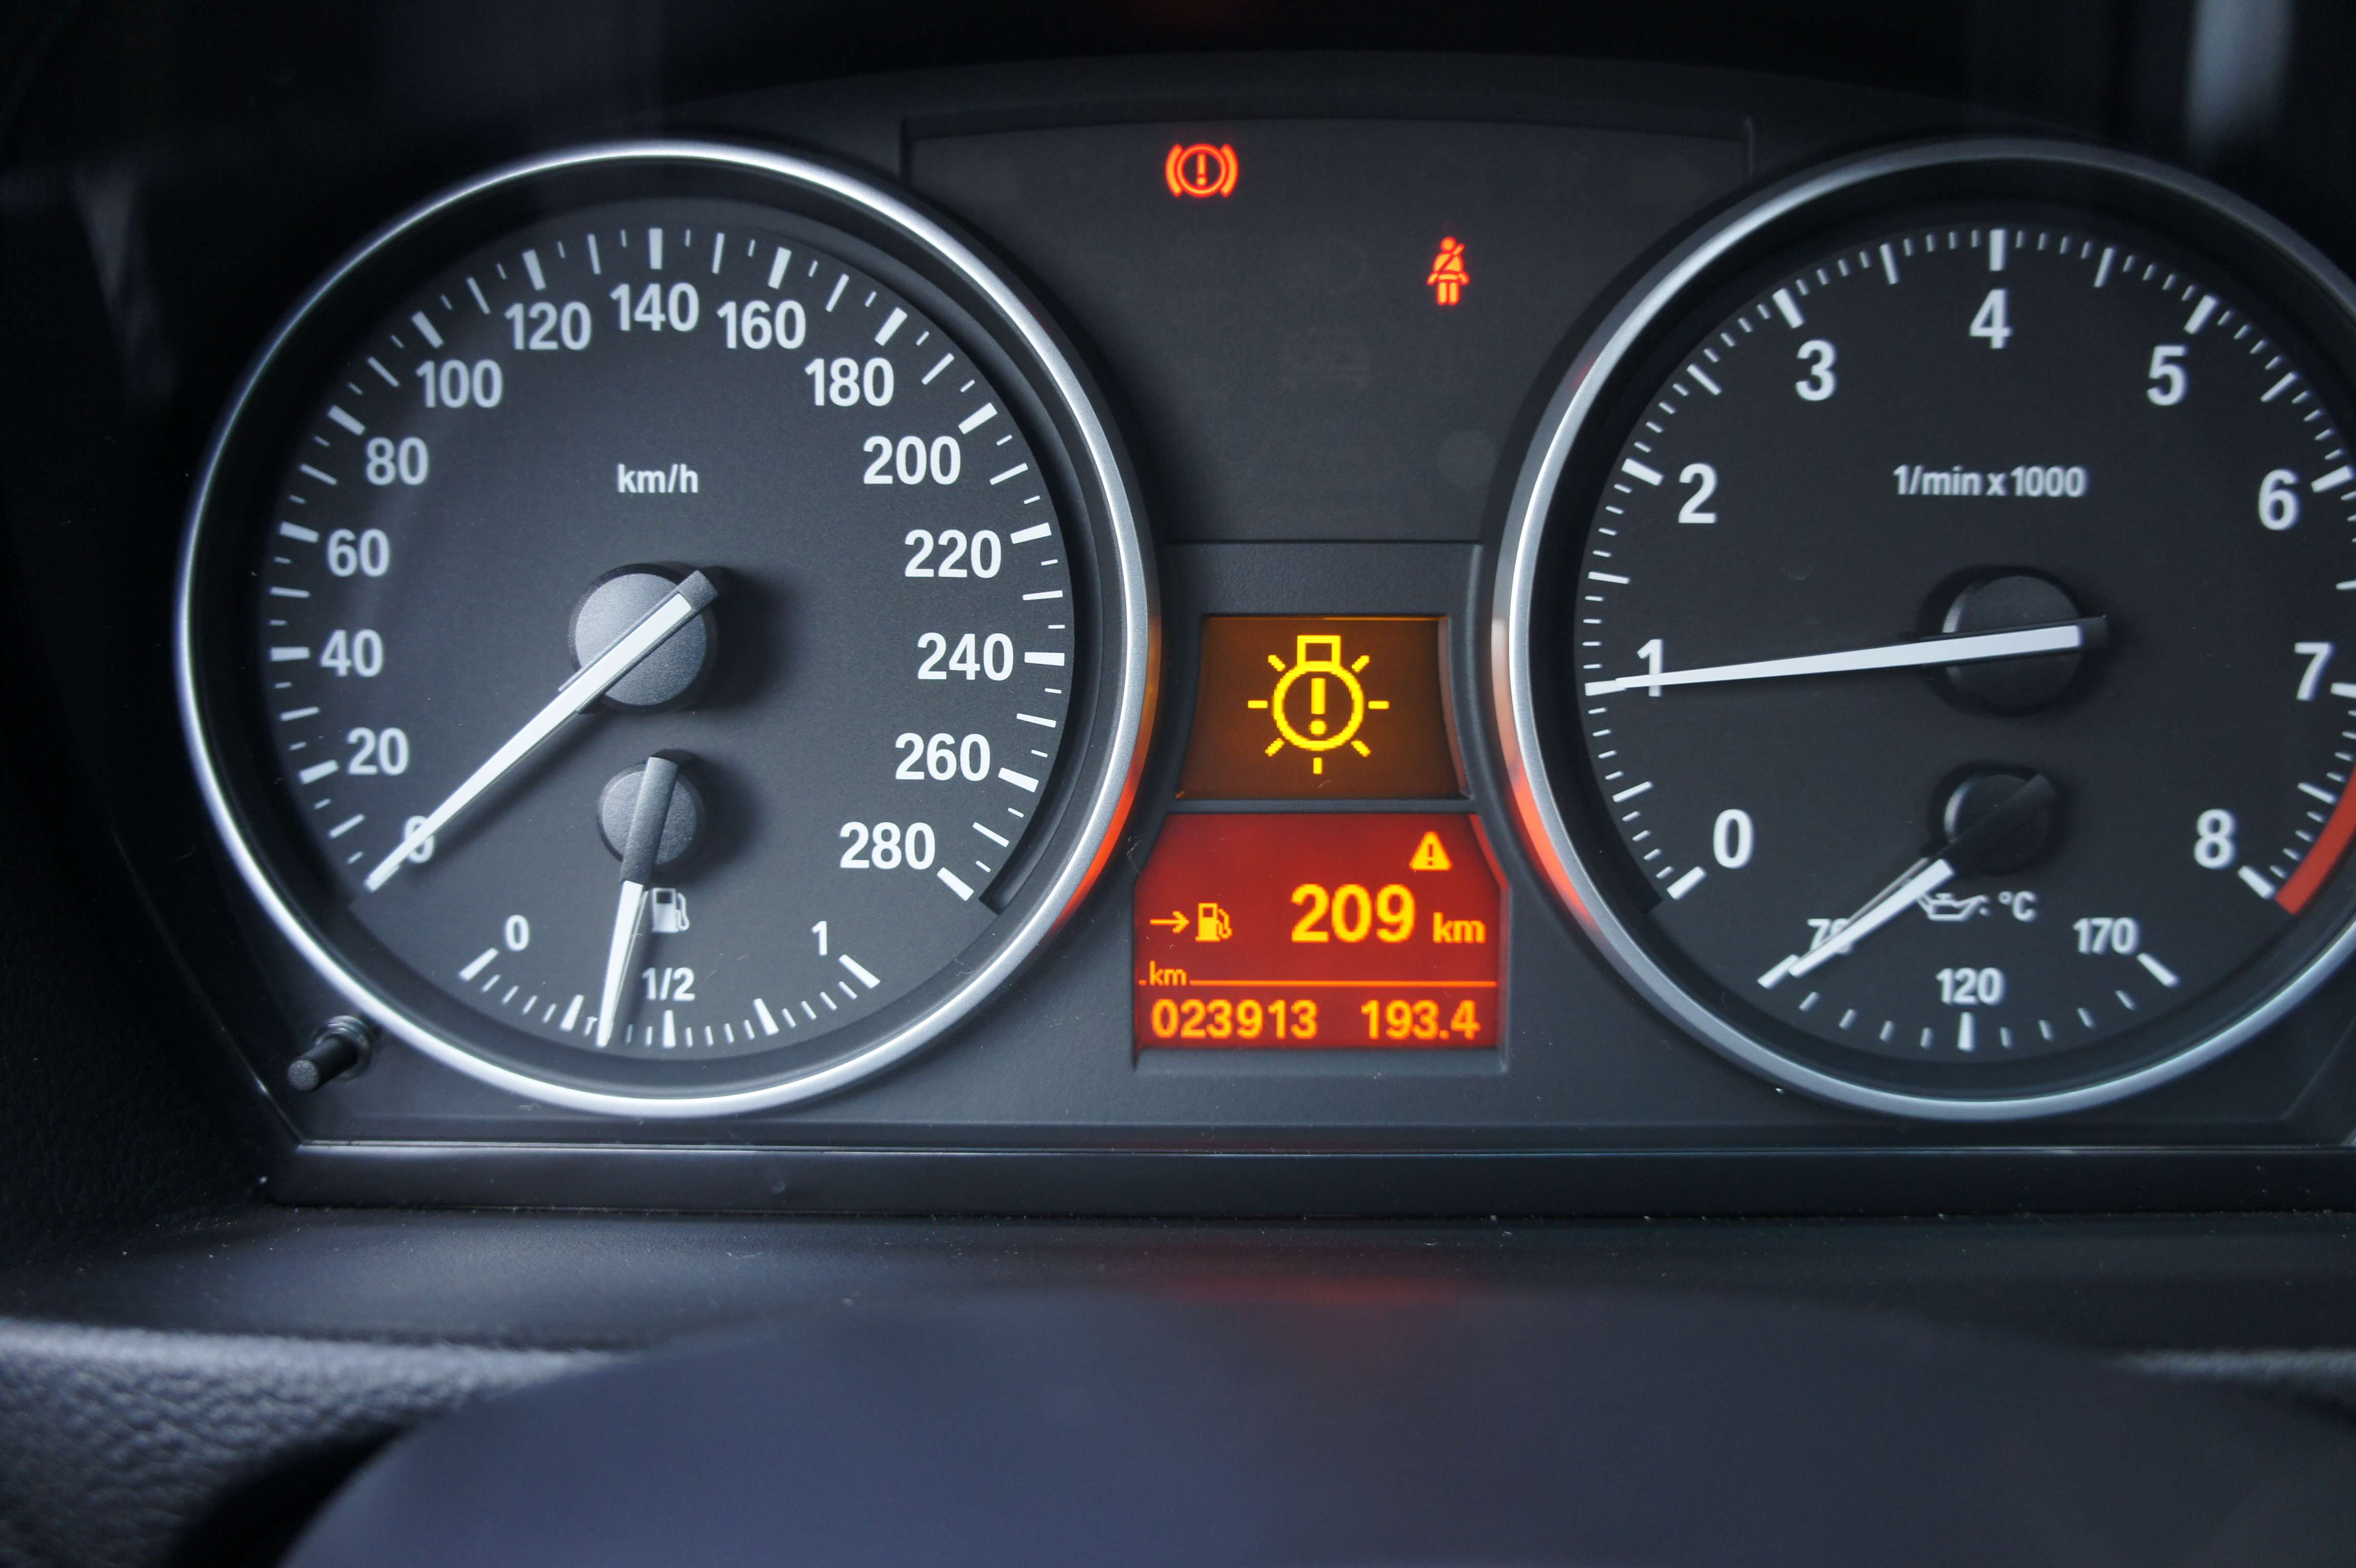
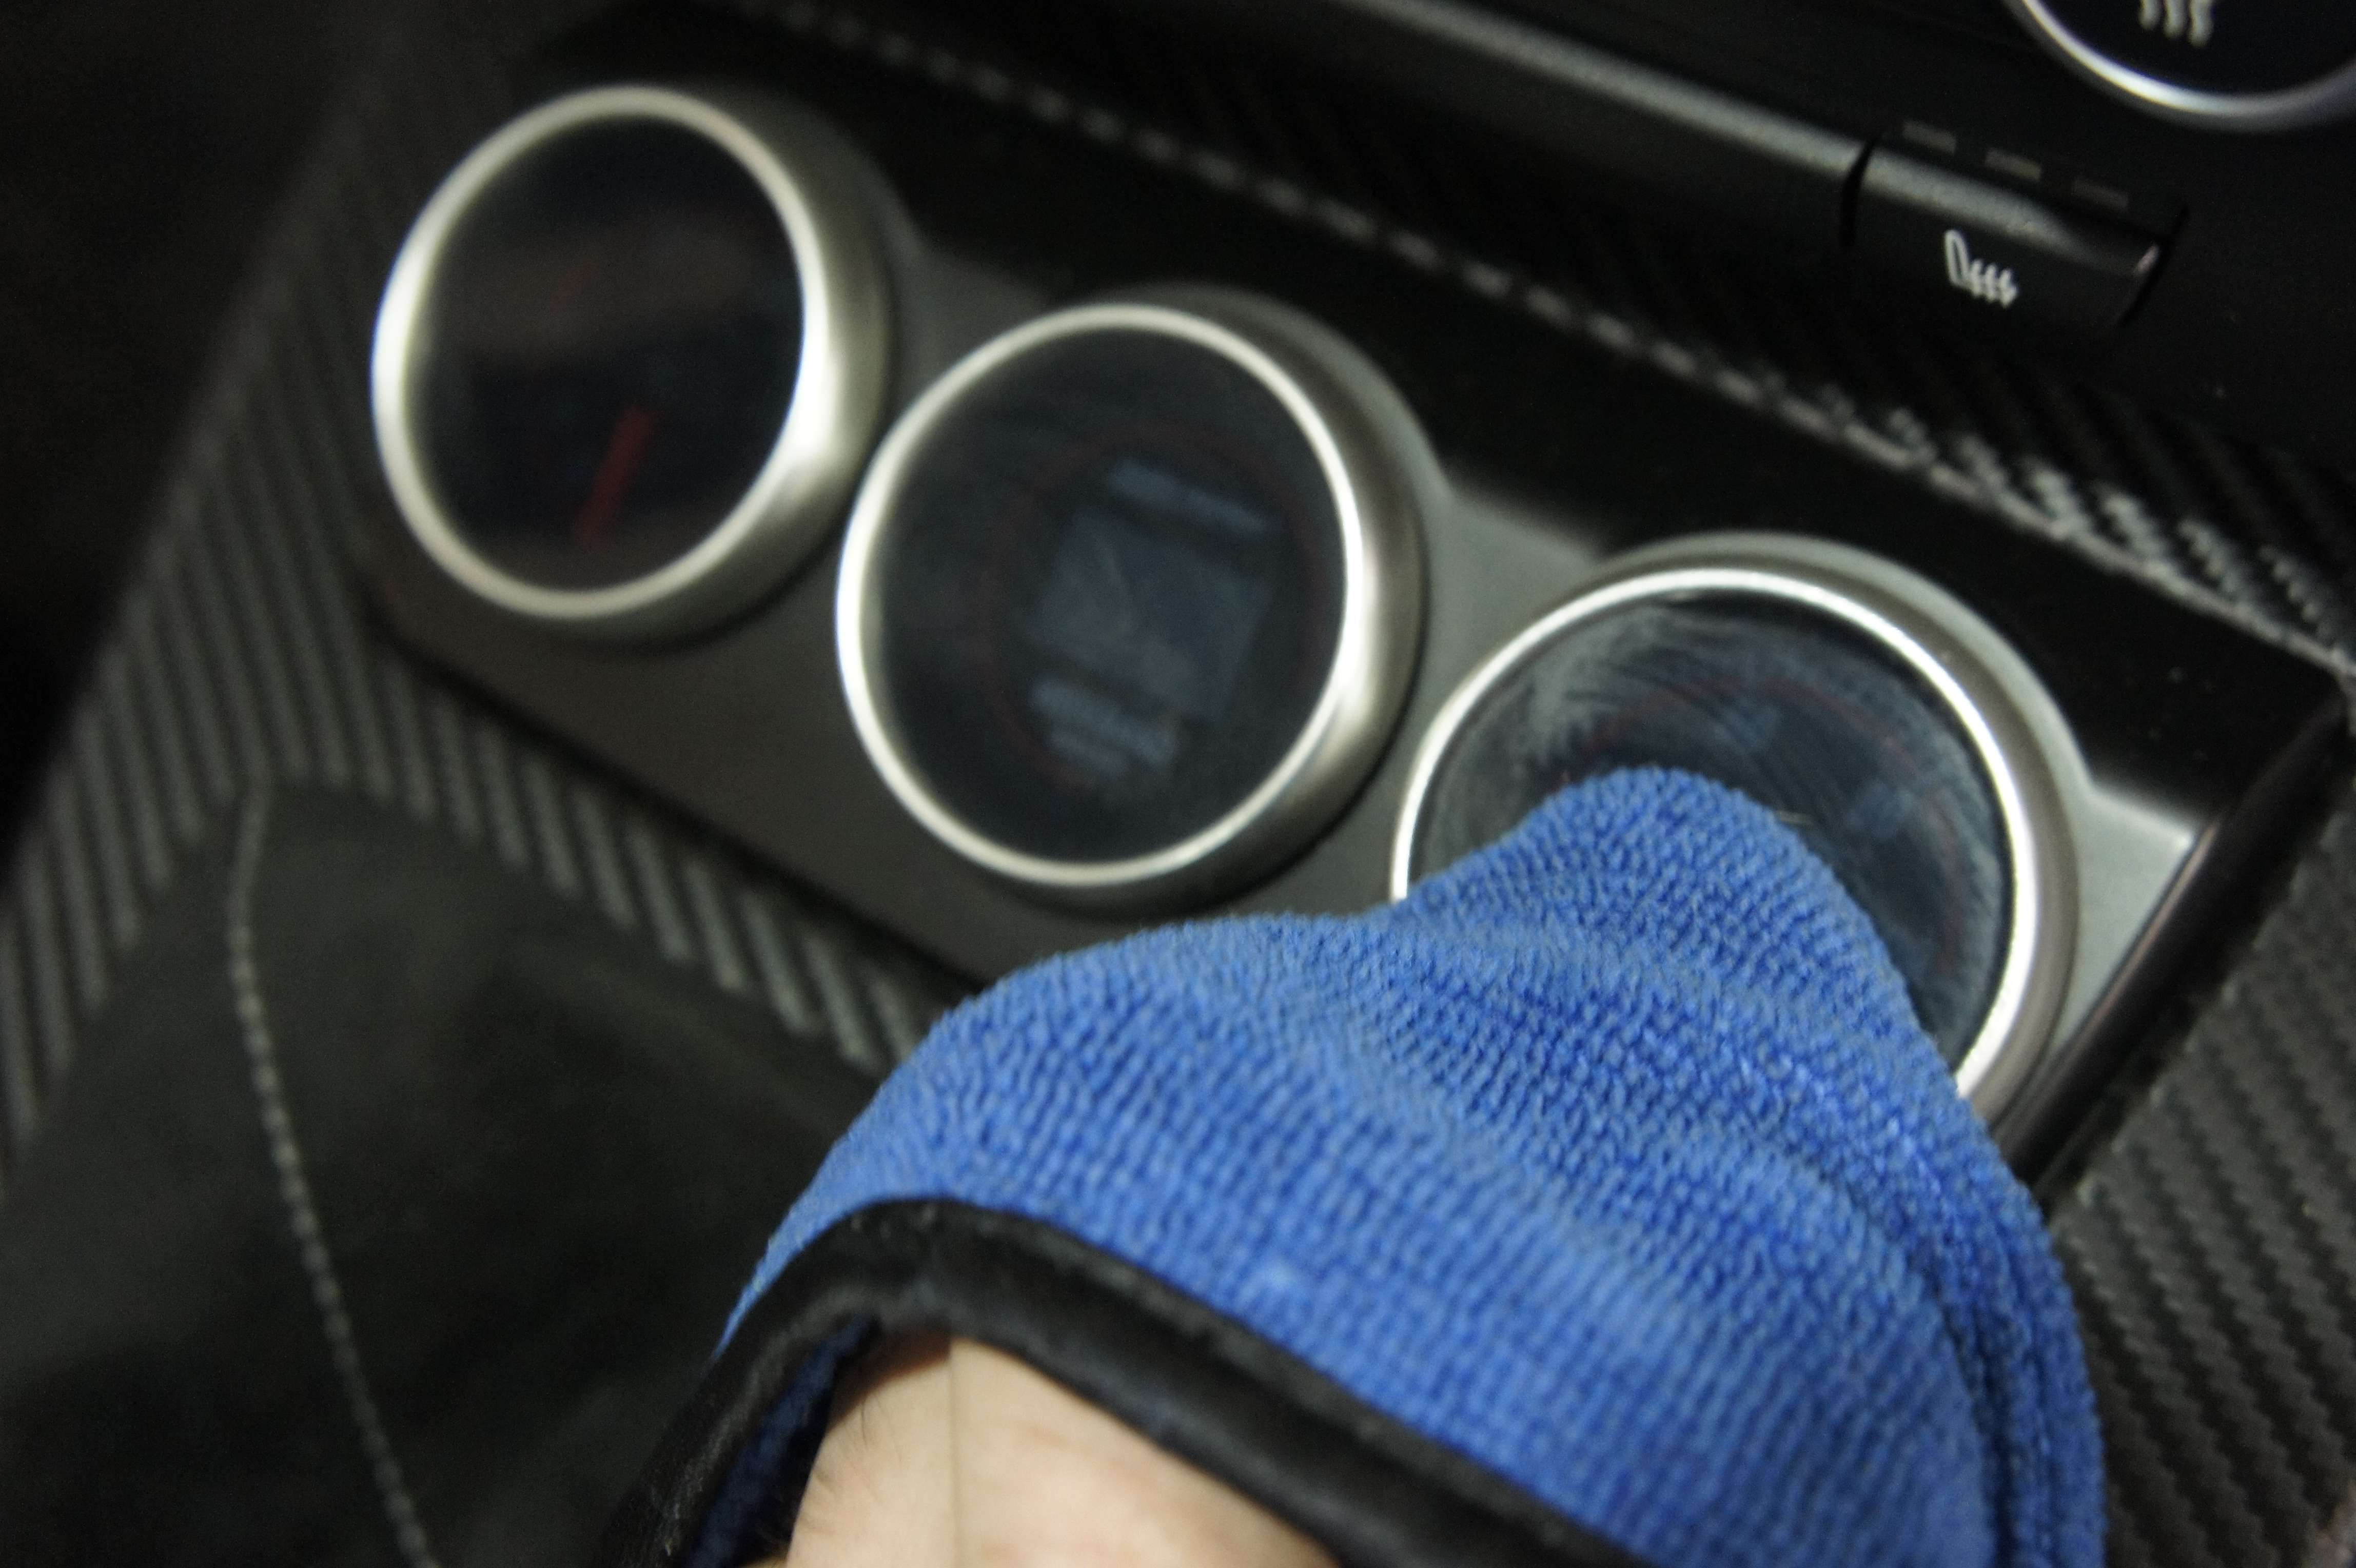
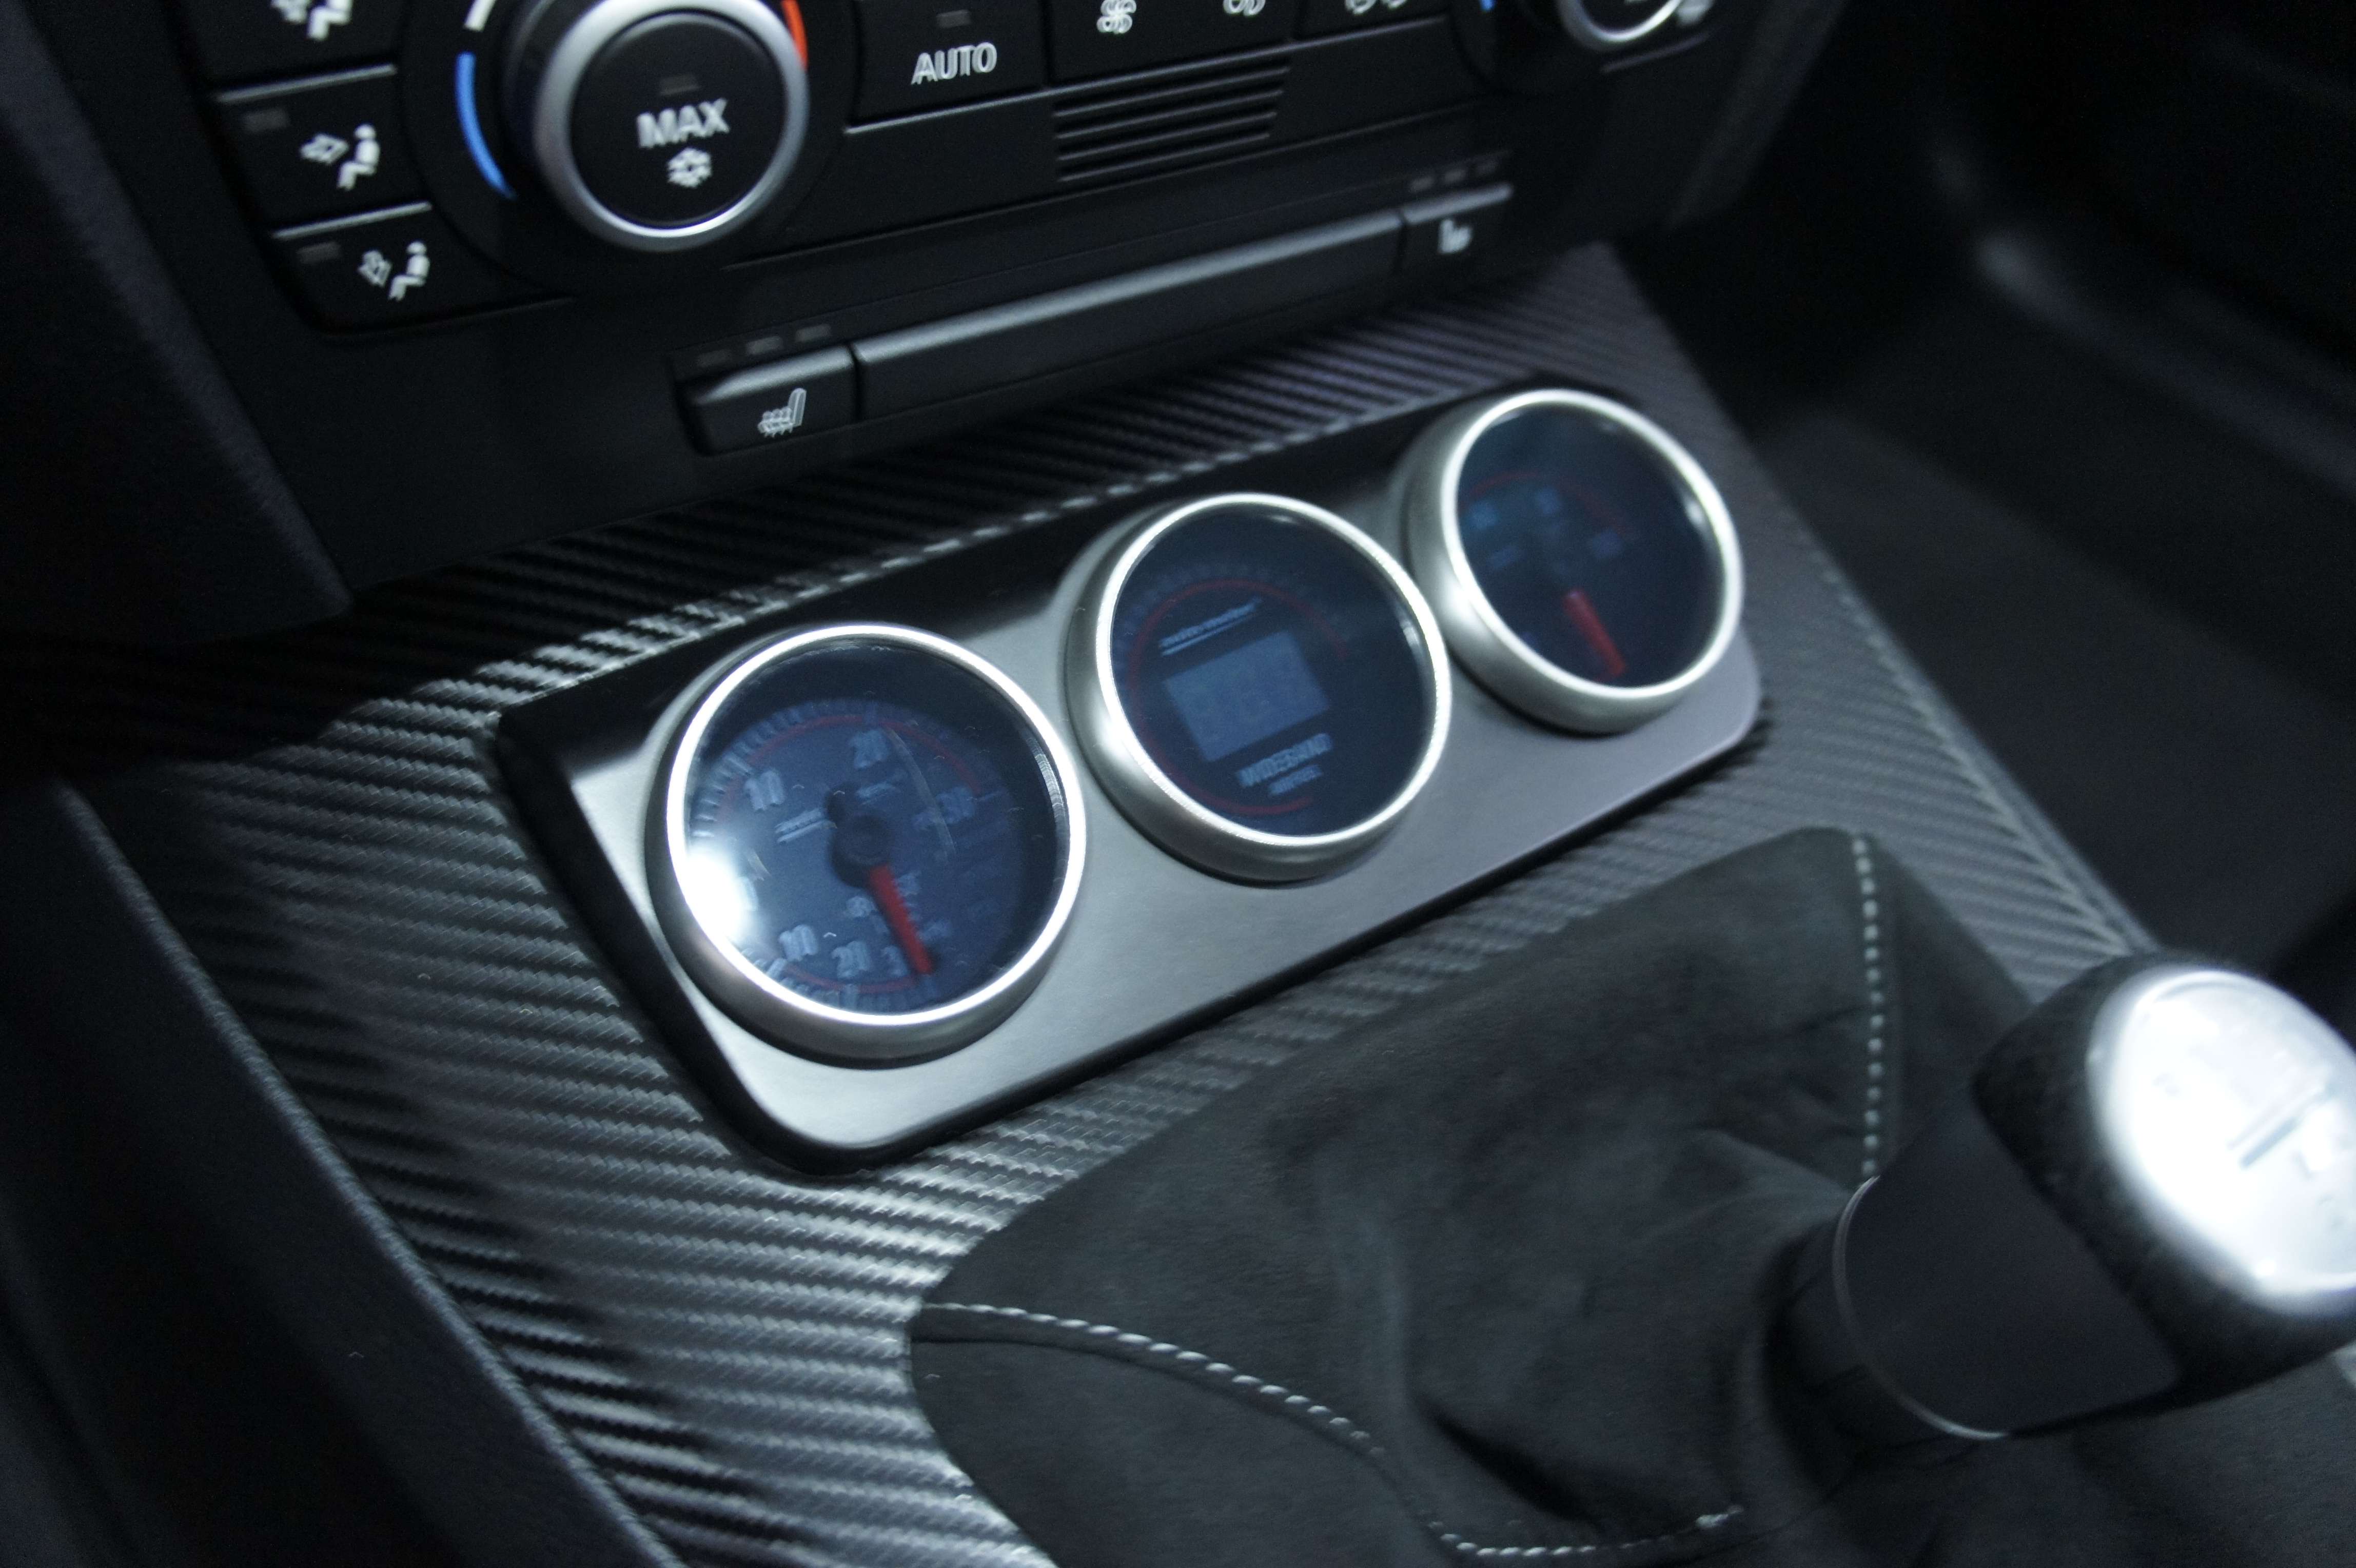
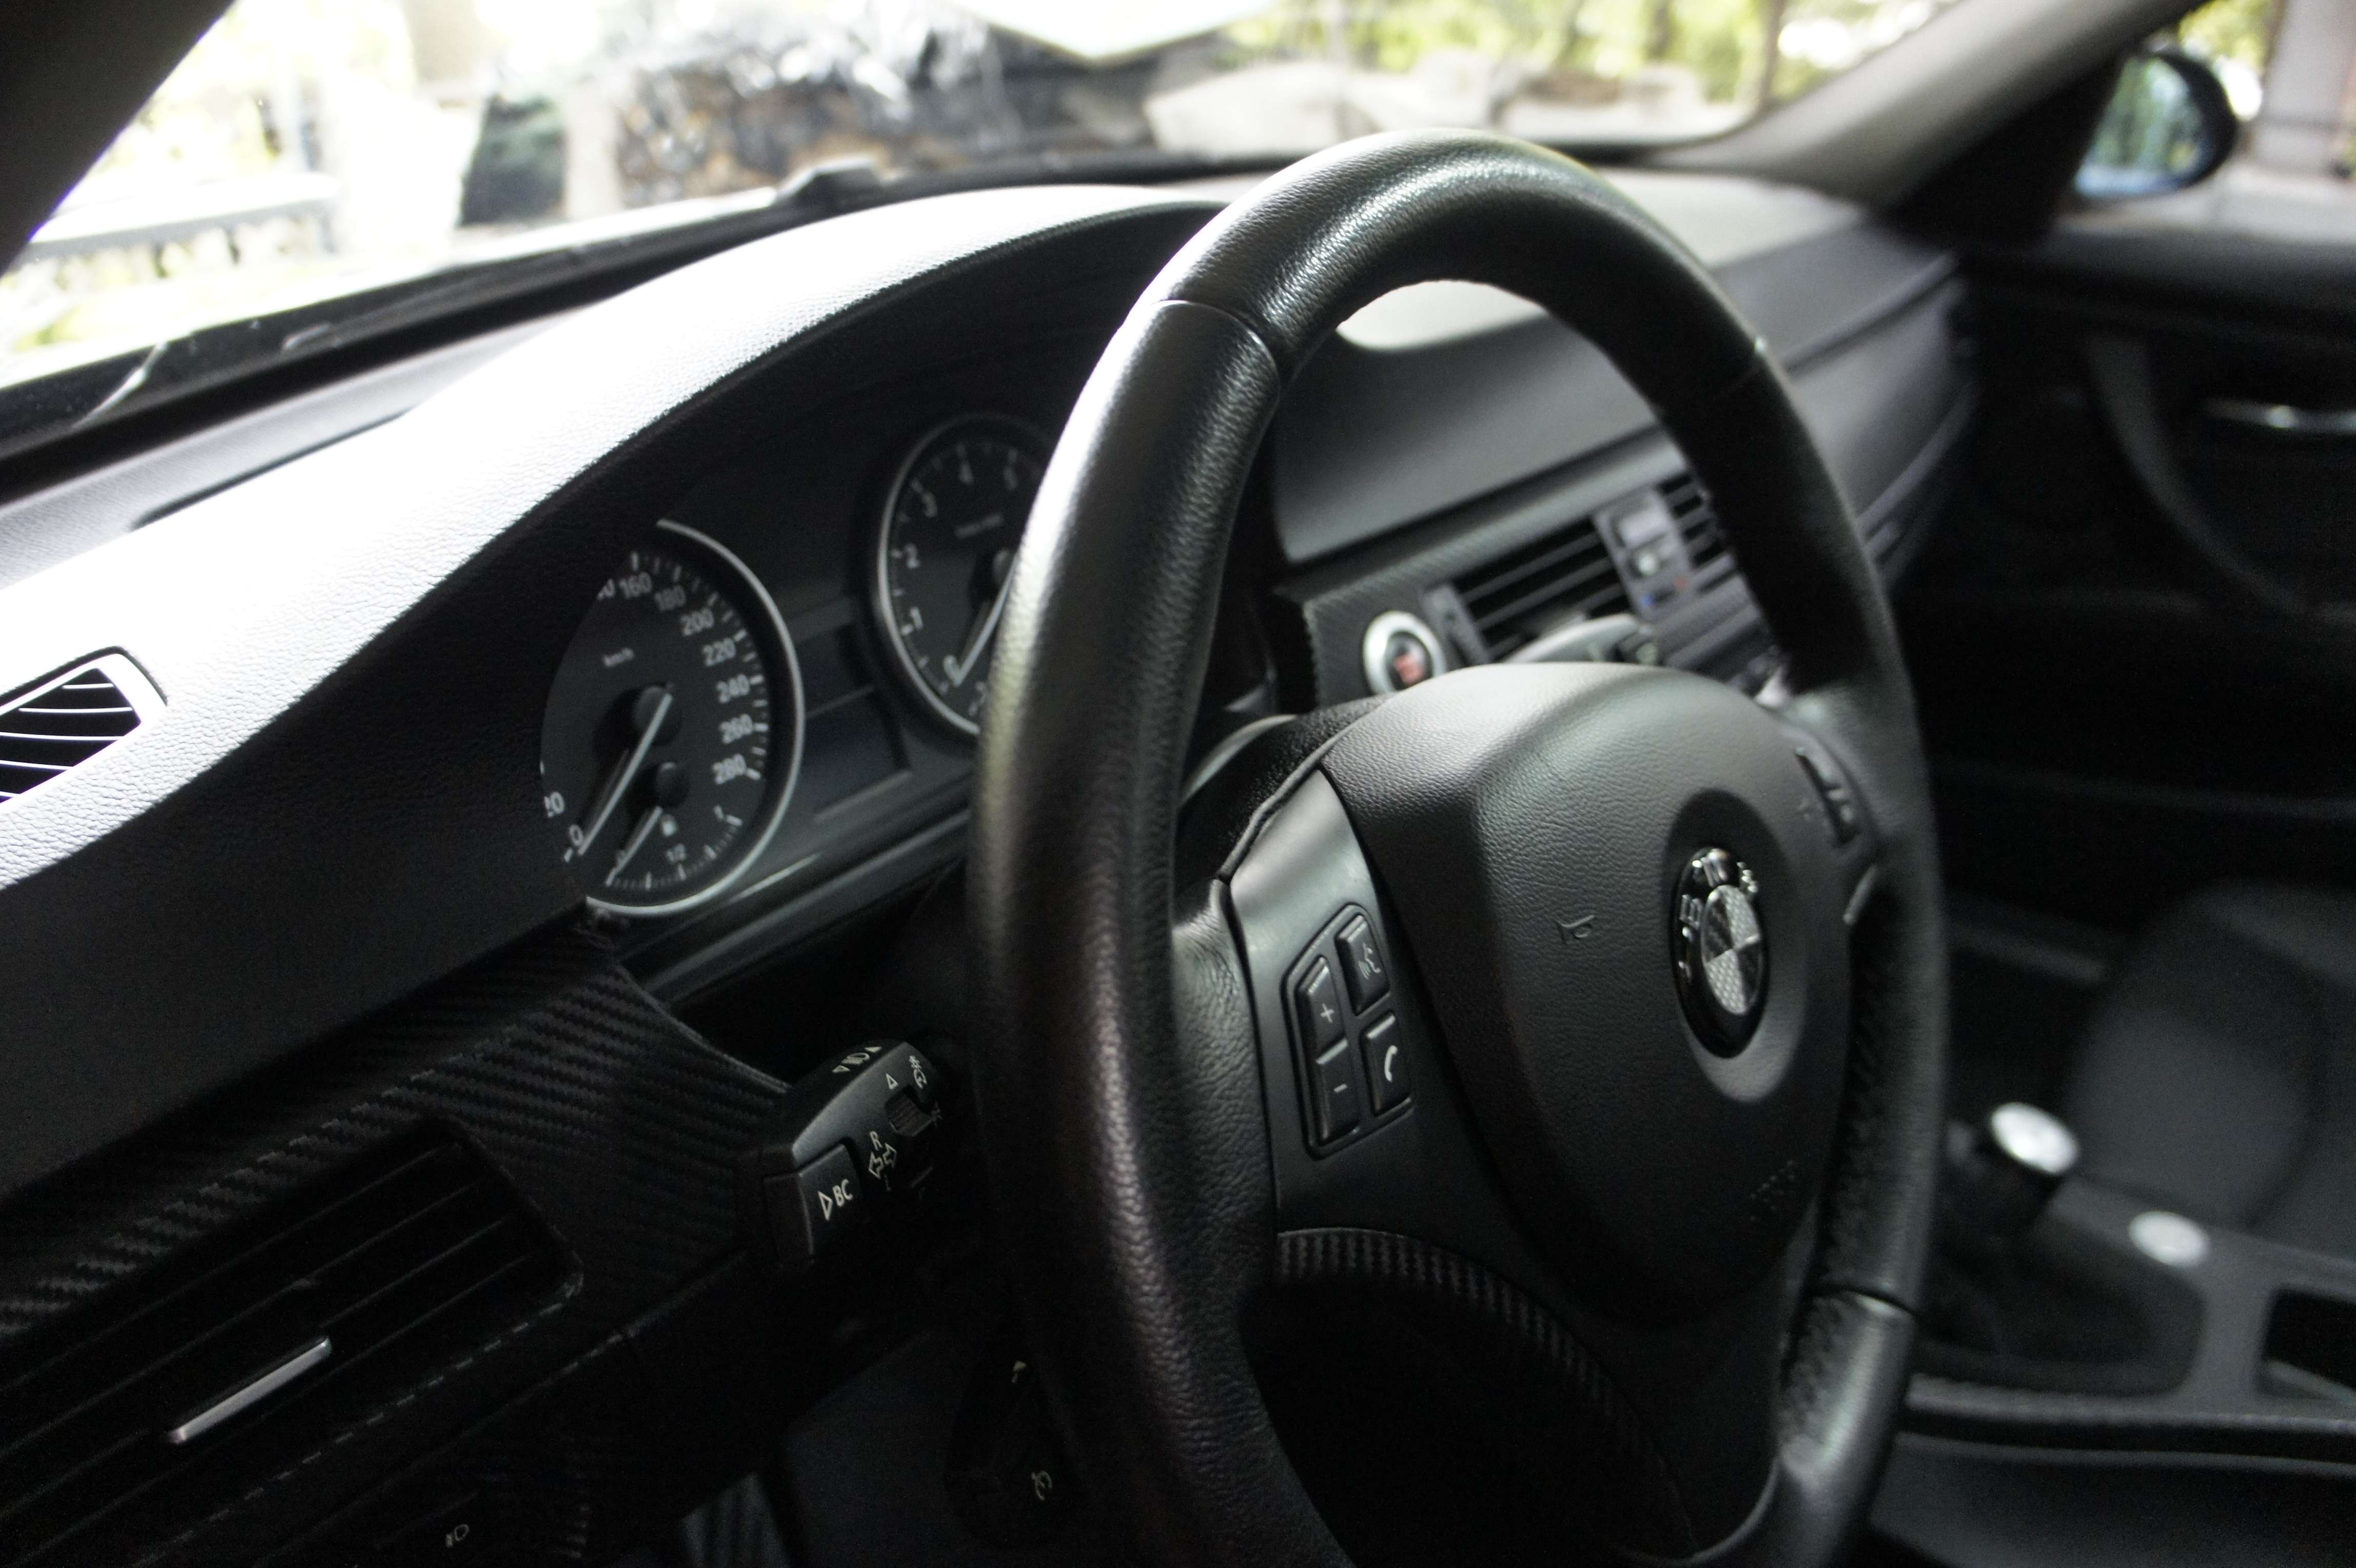
Plastic polish on the lens of the gauge.
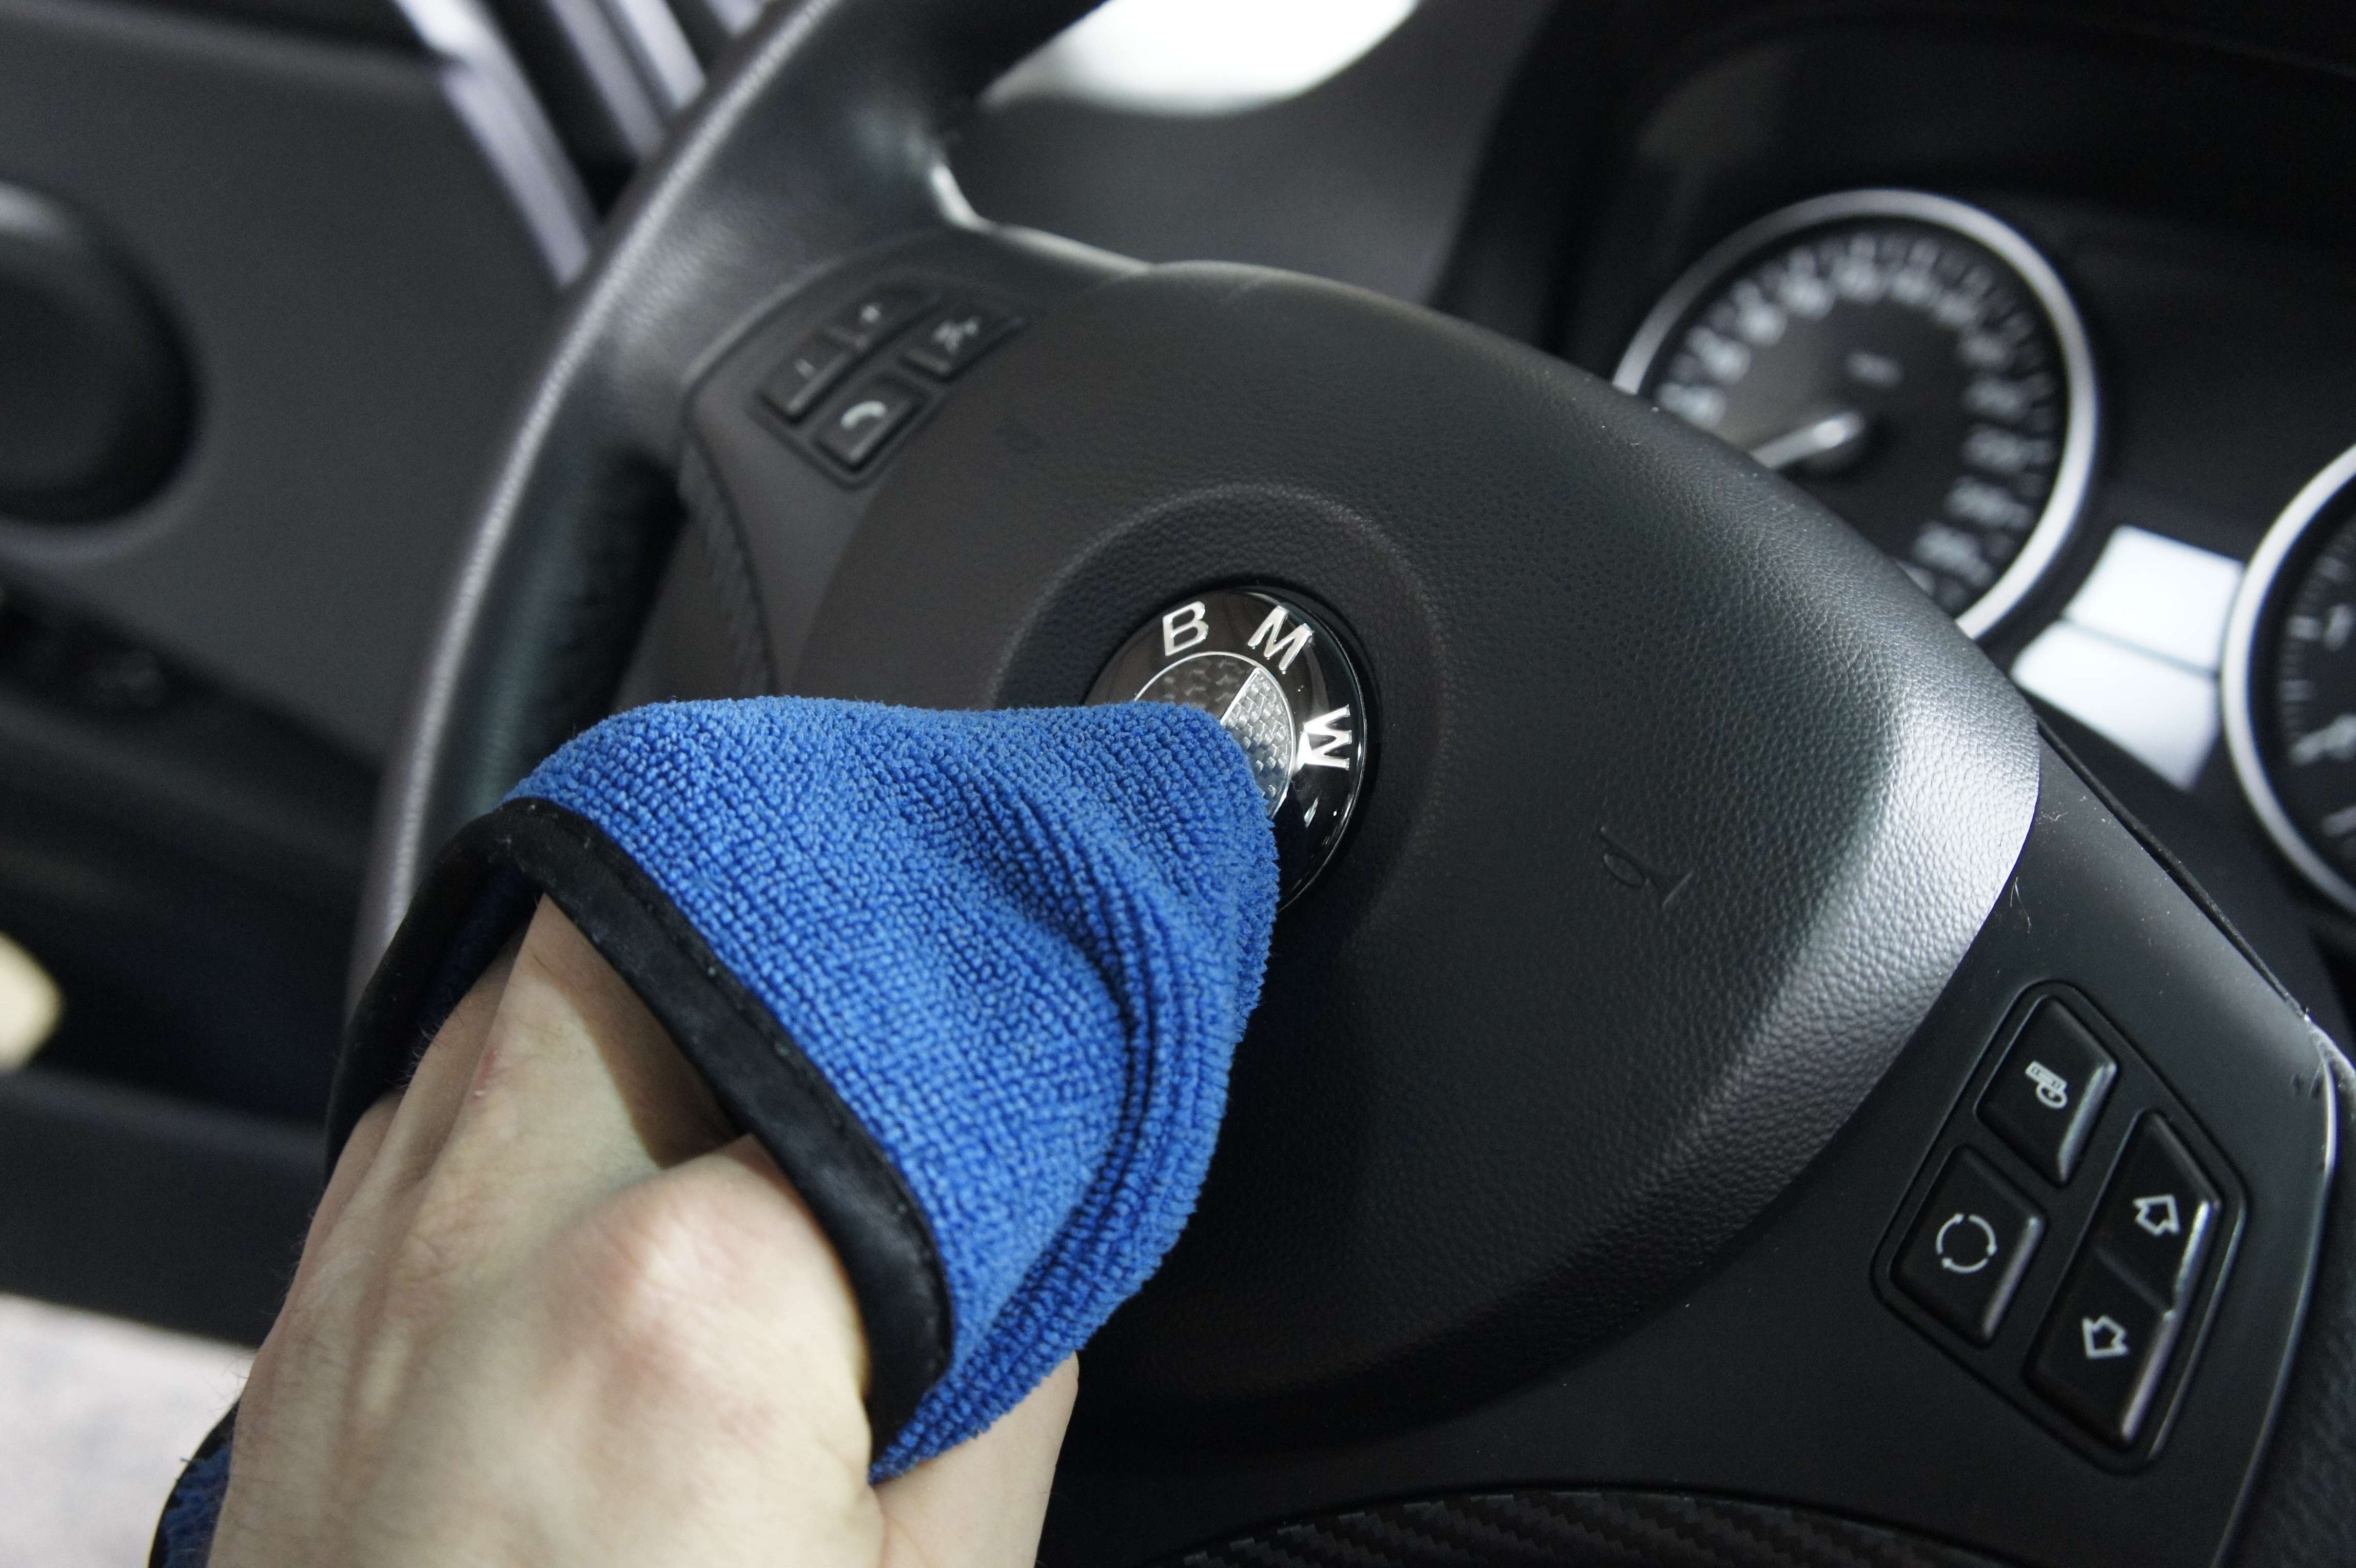
Cleaner fluid again:
little seal that got some polish and need to be cleaned with a QD:

After the wax and cleaner fluid:
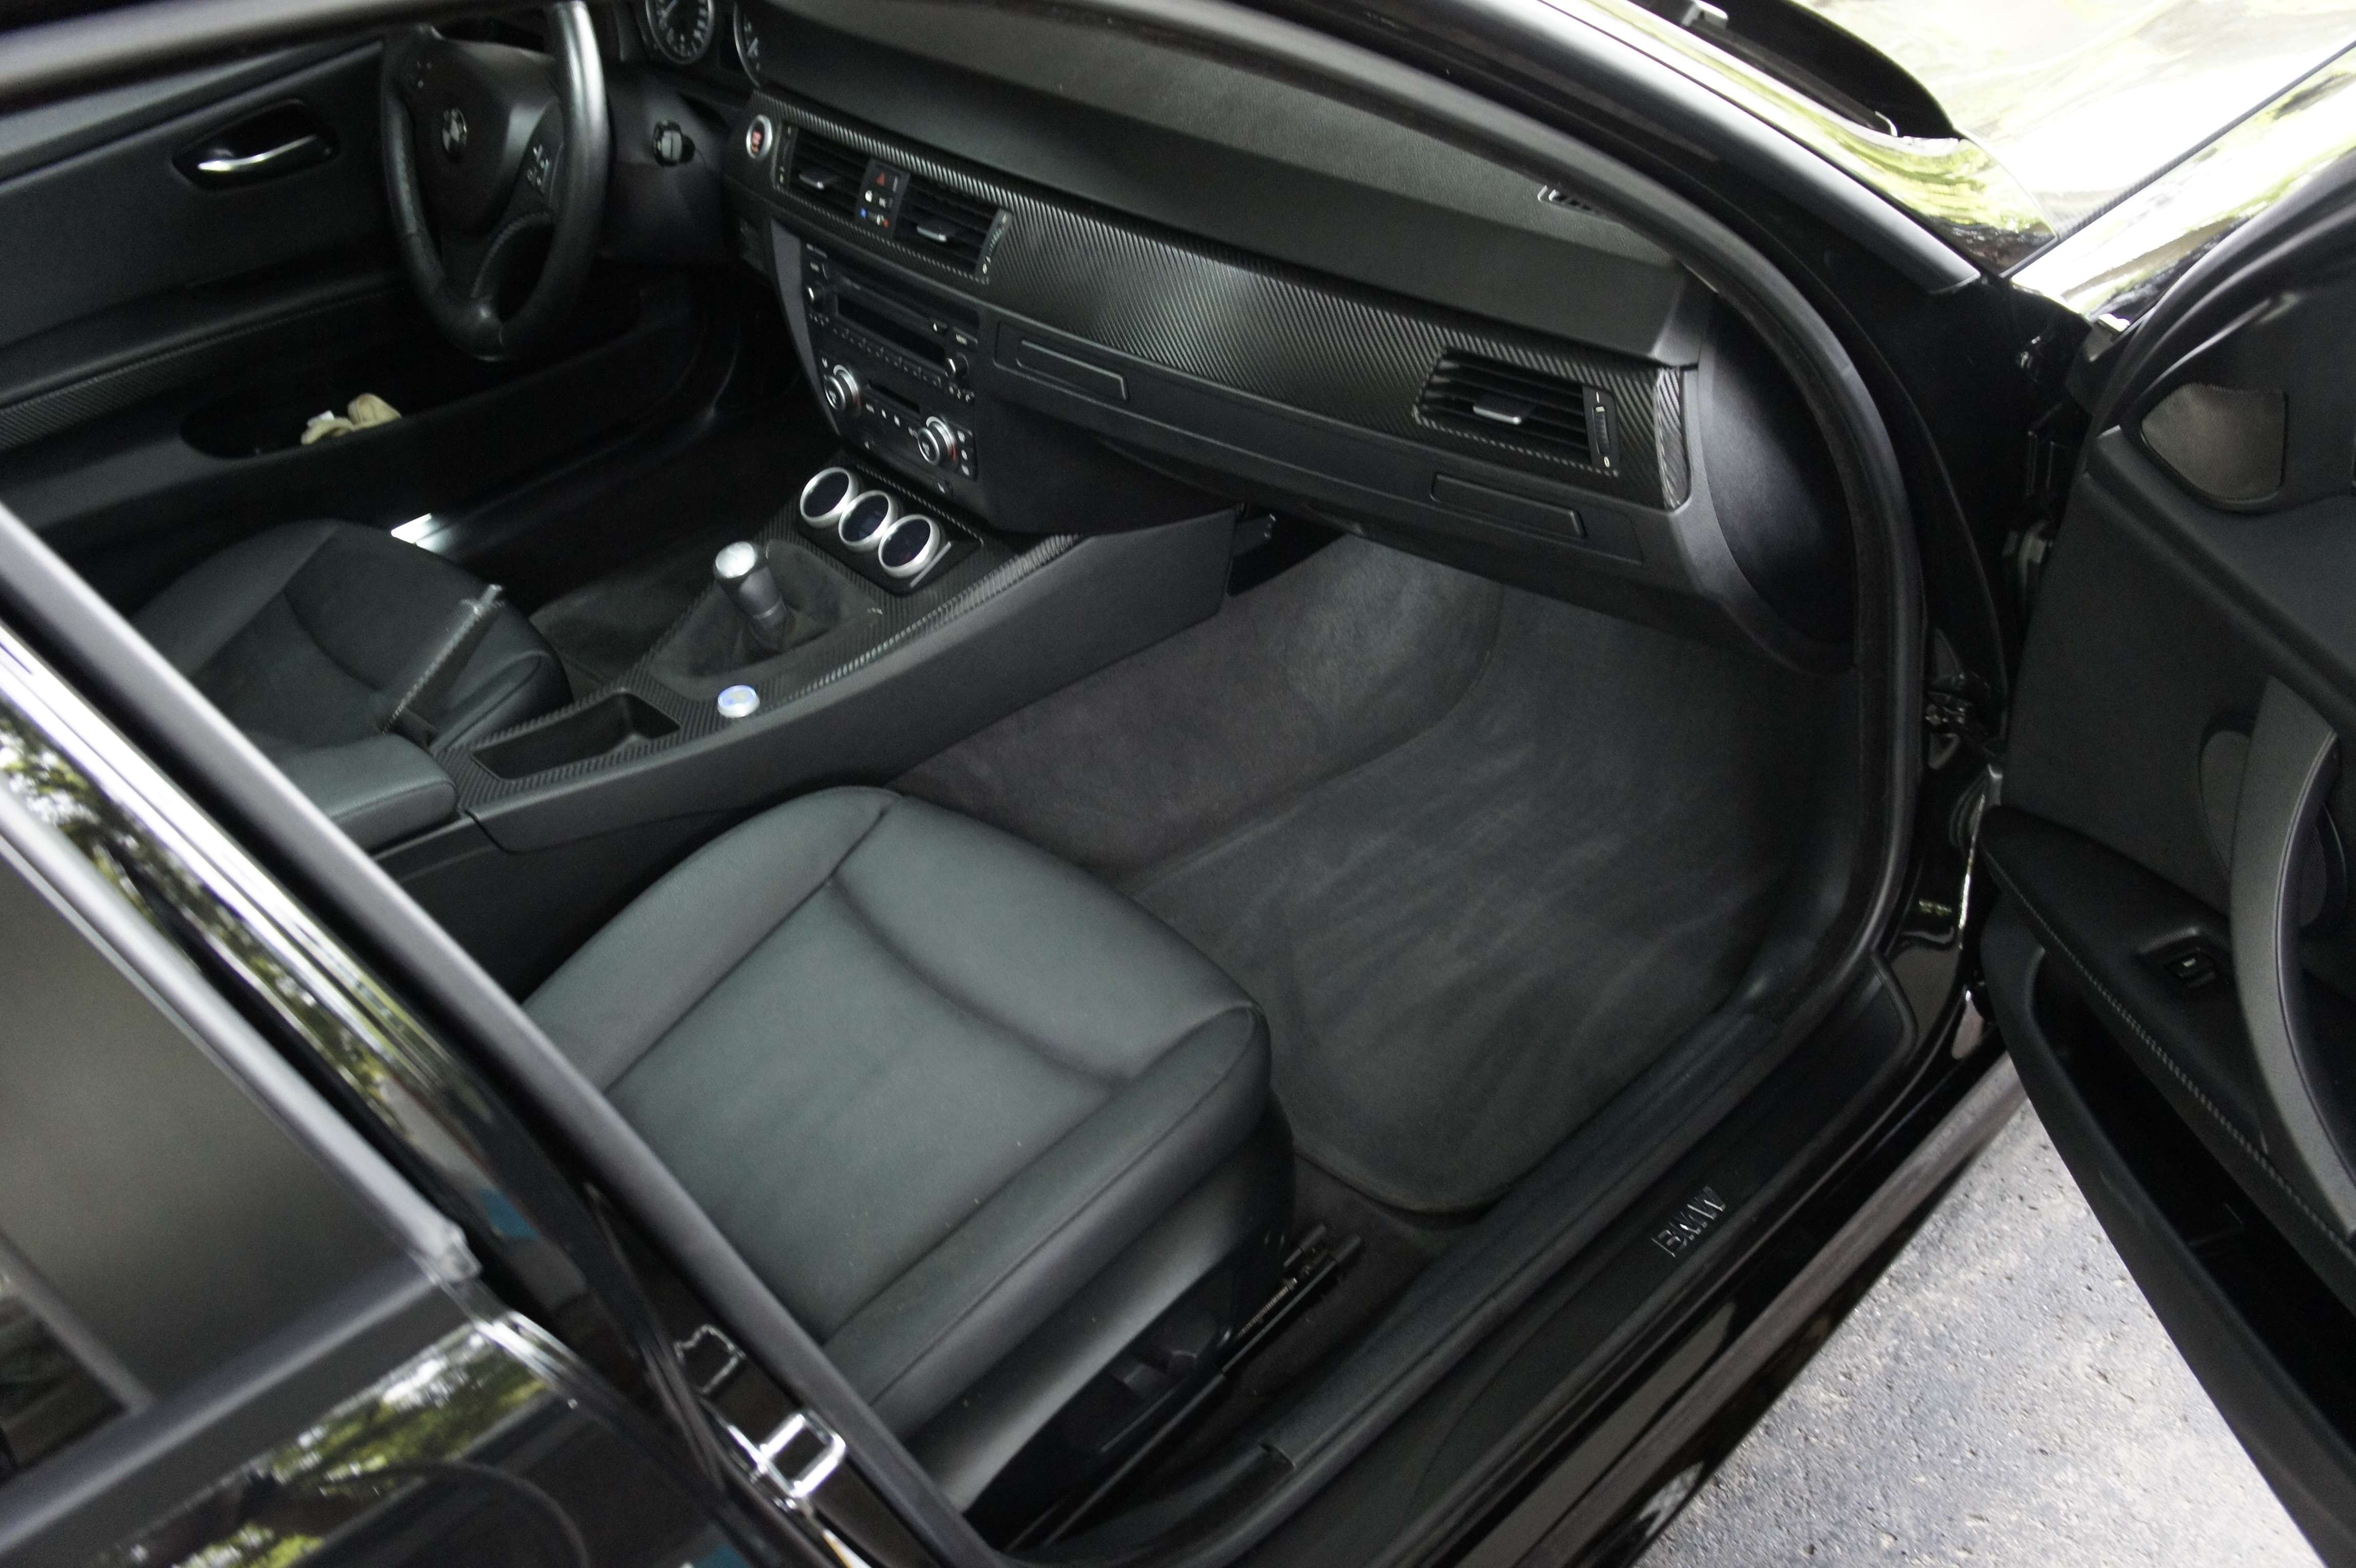
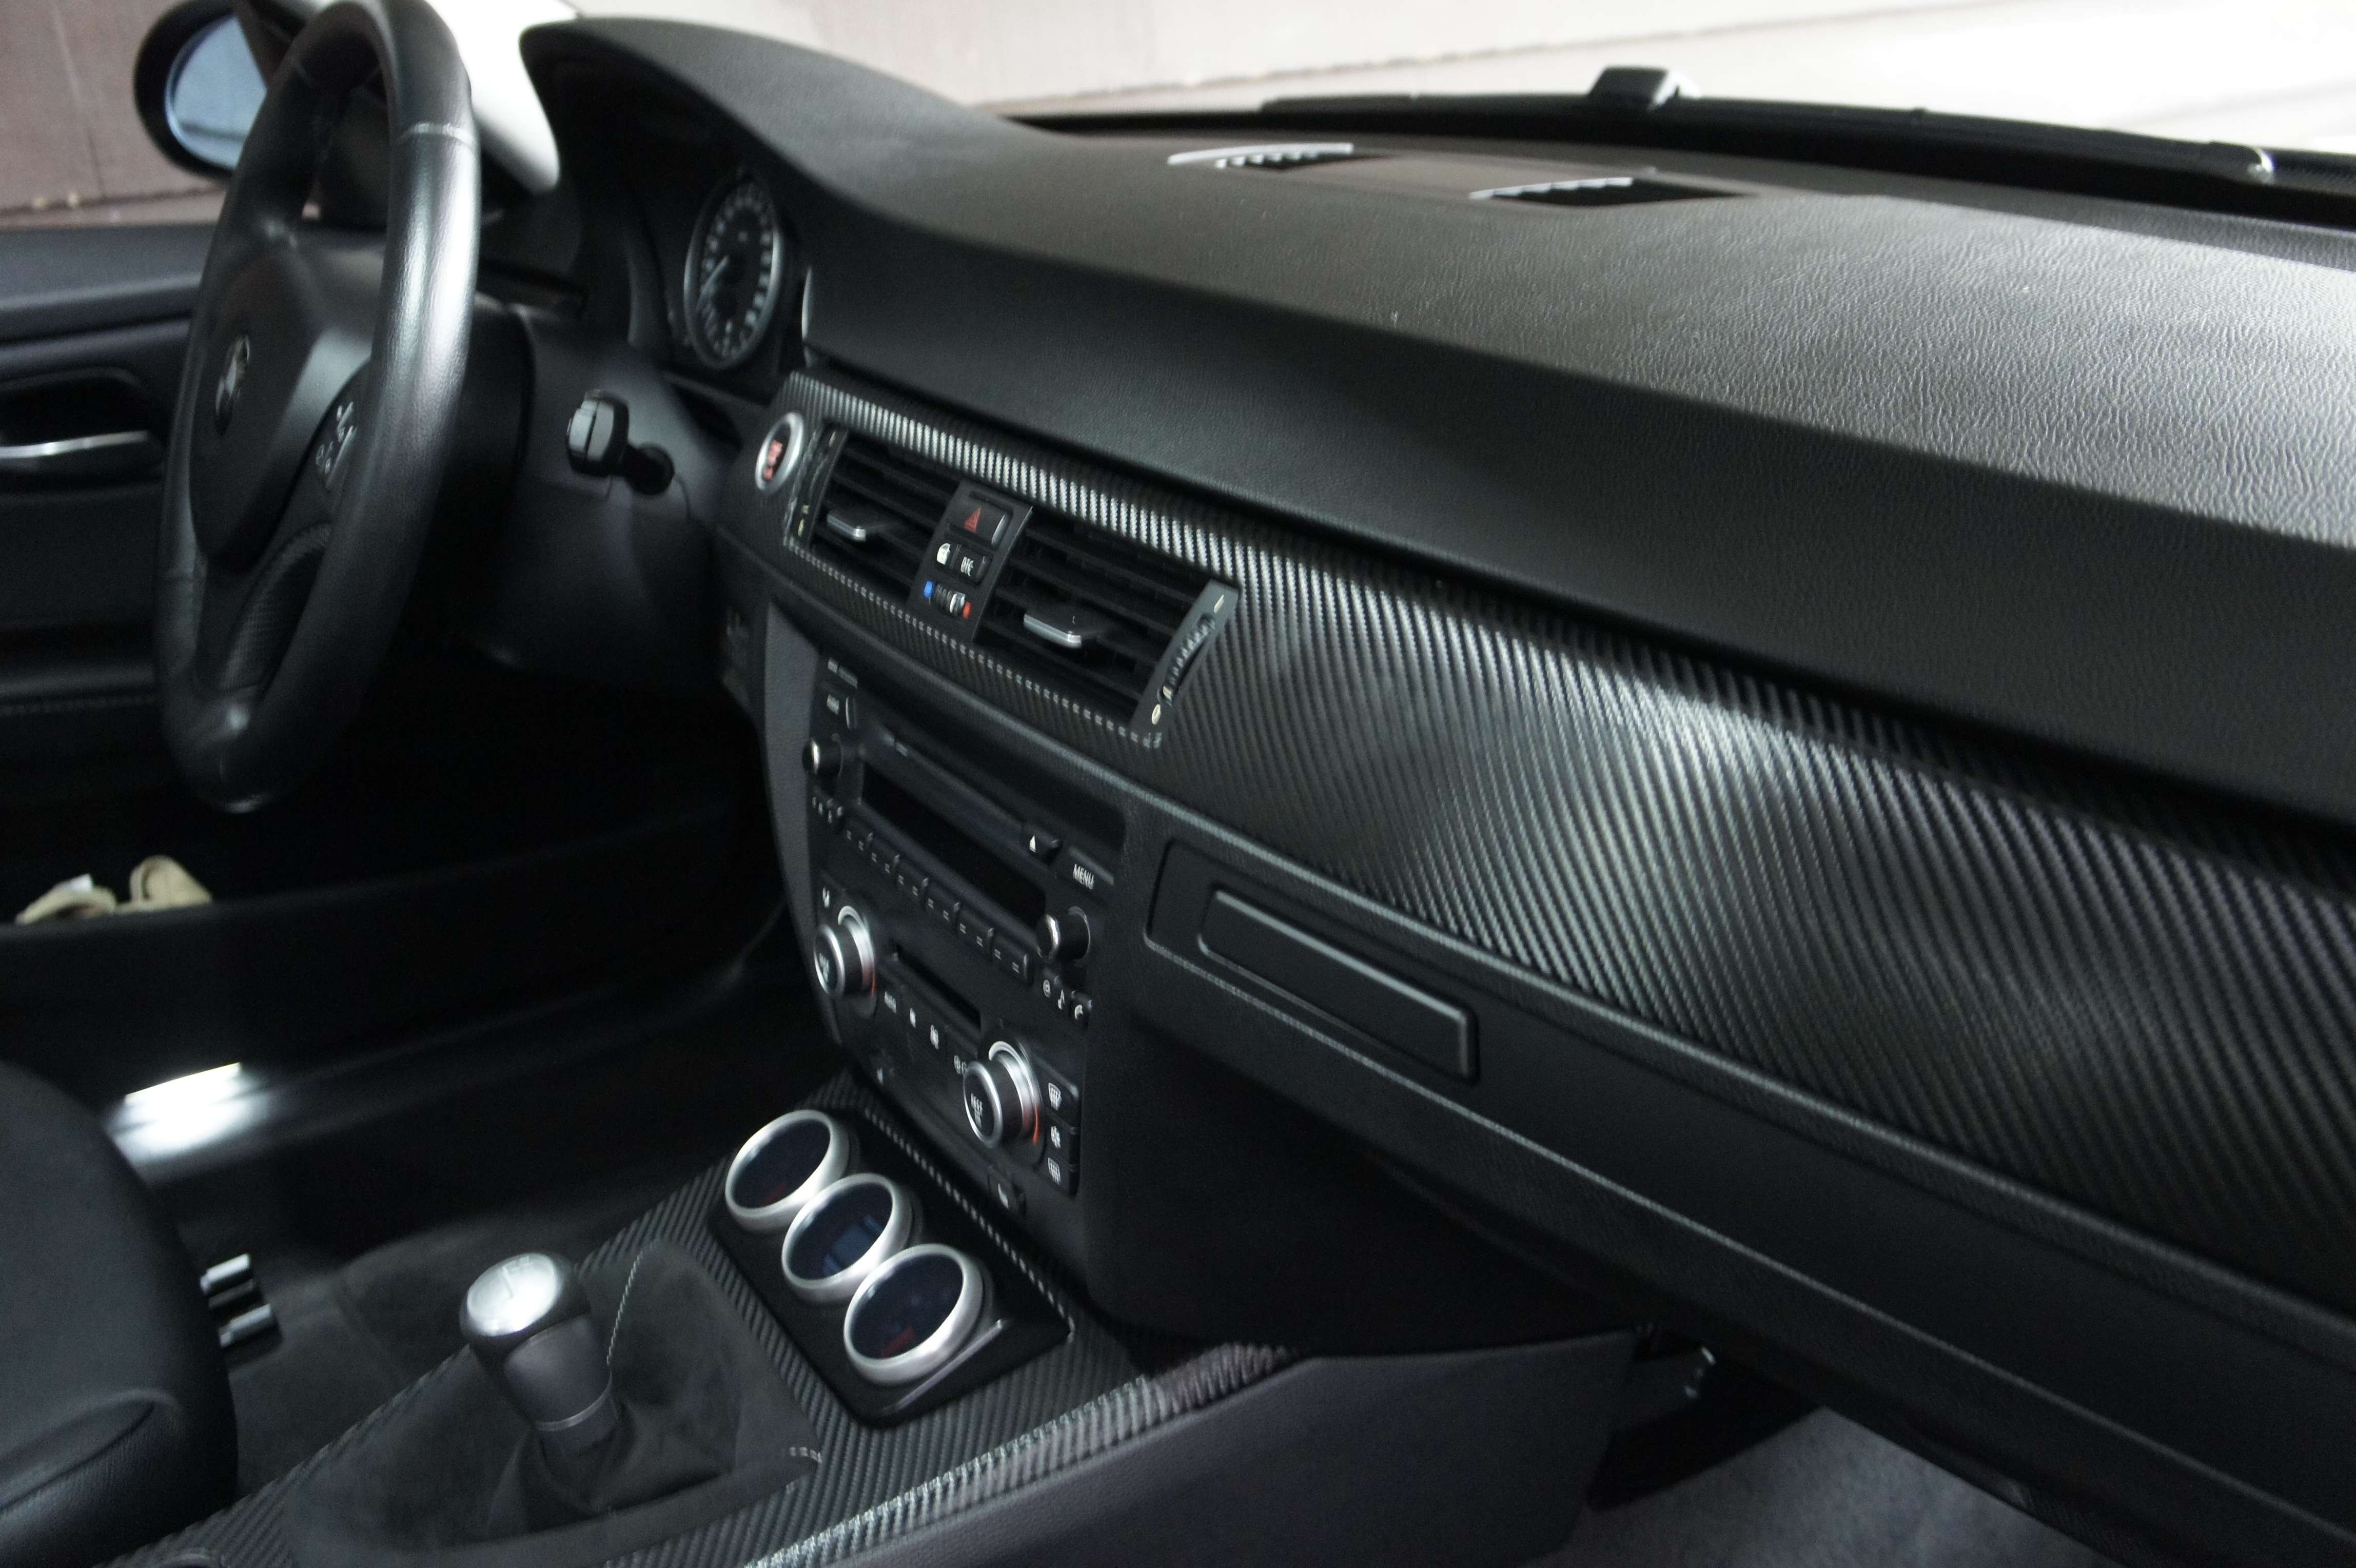
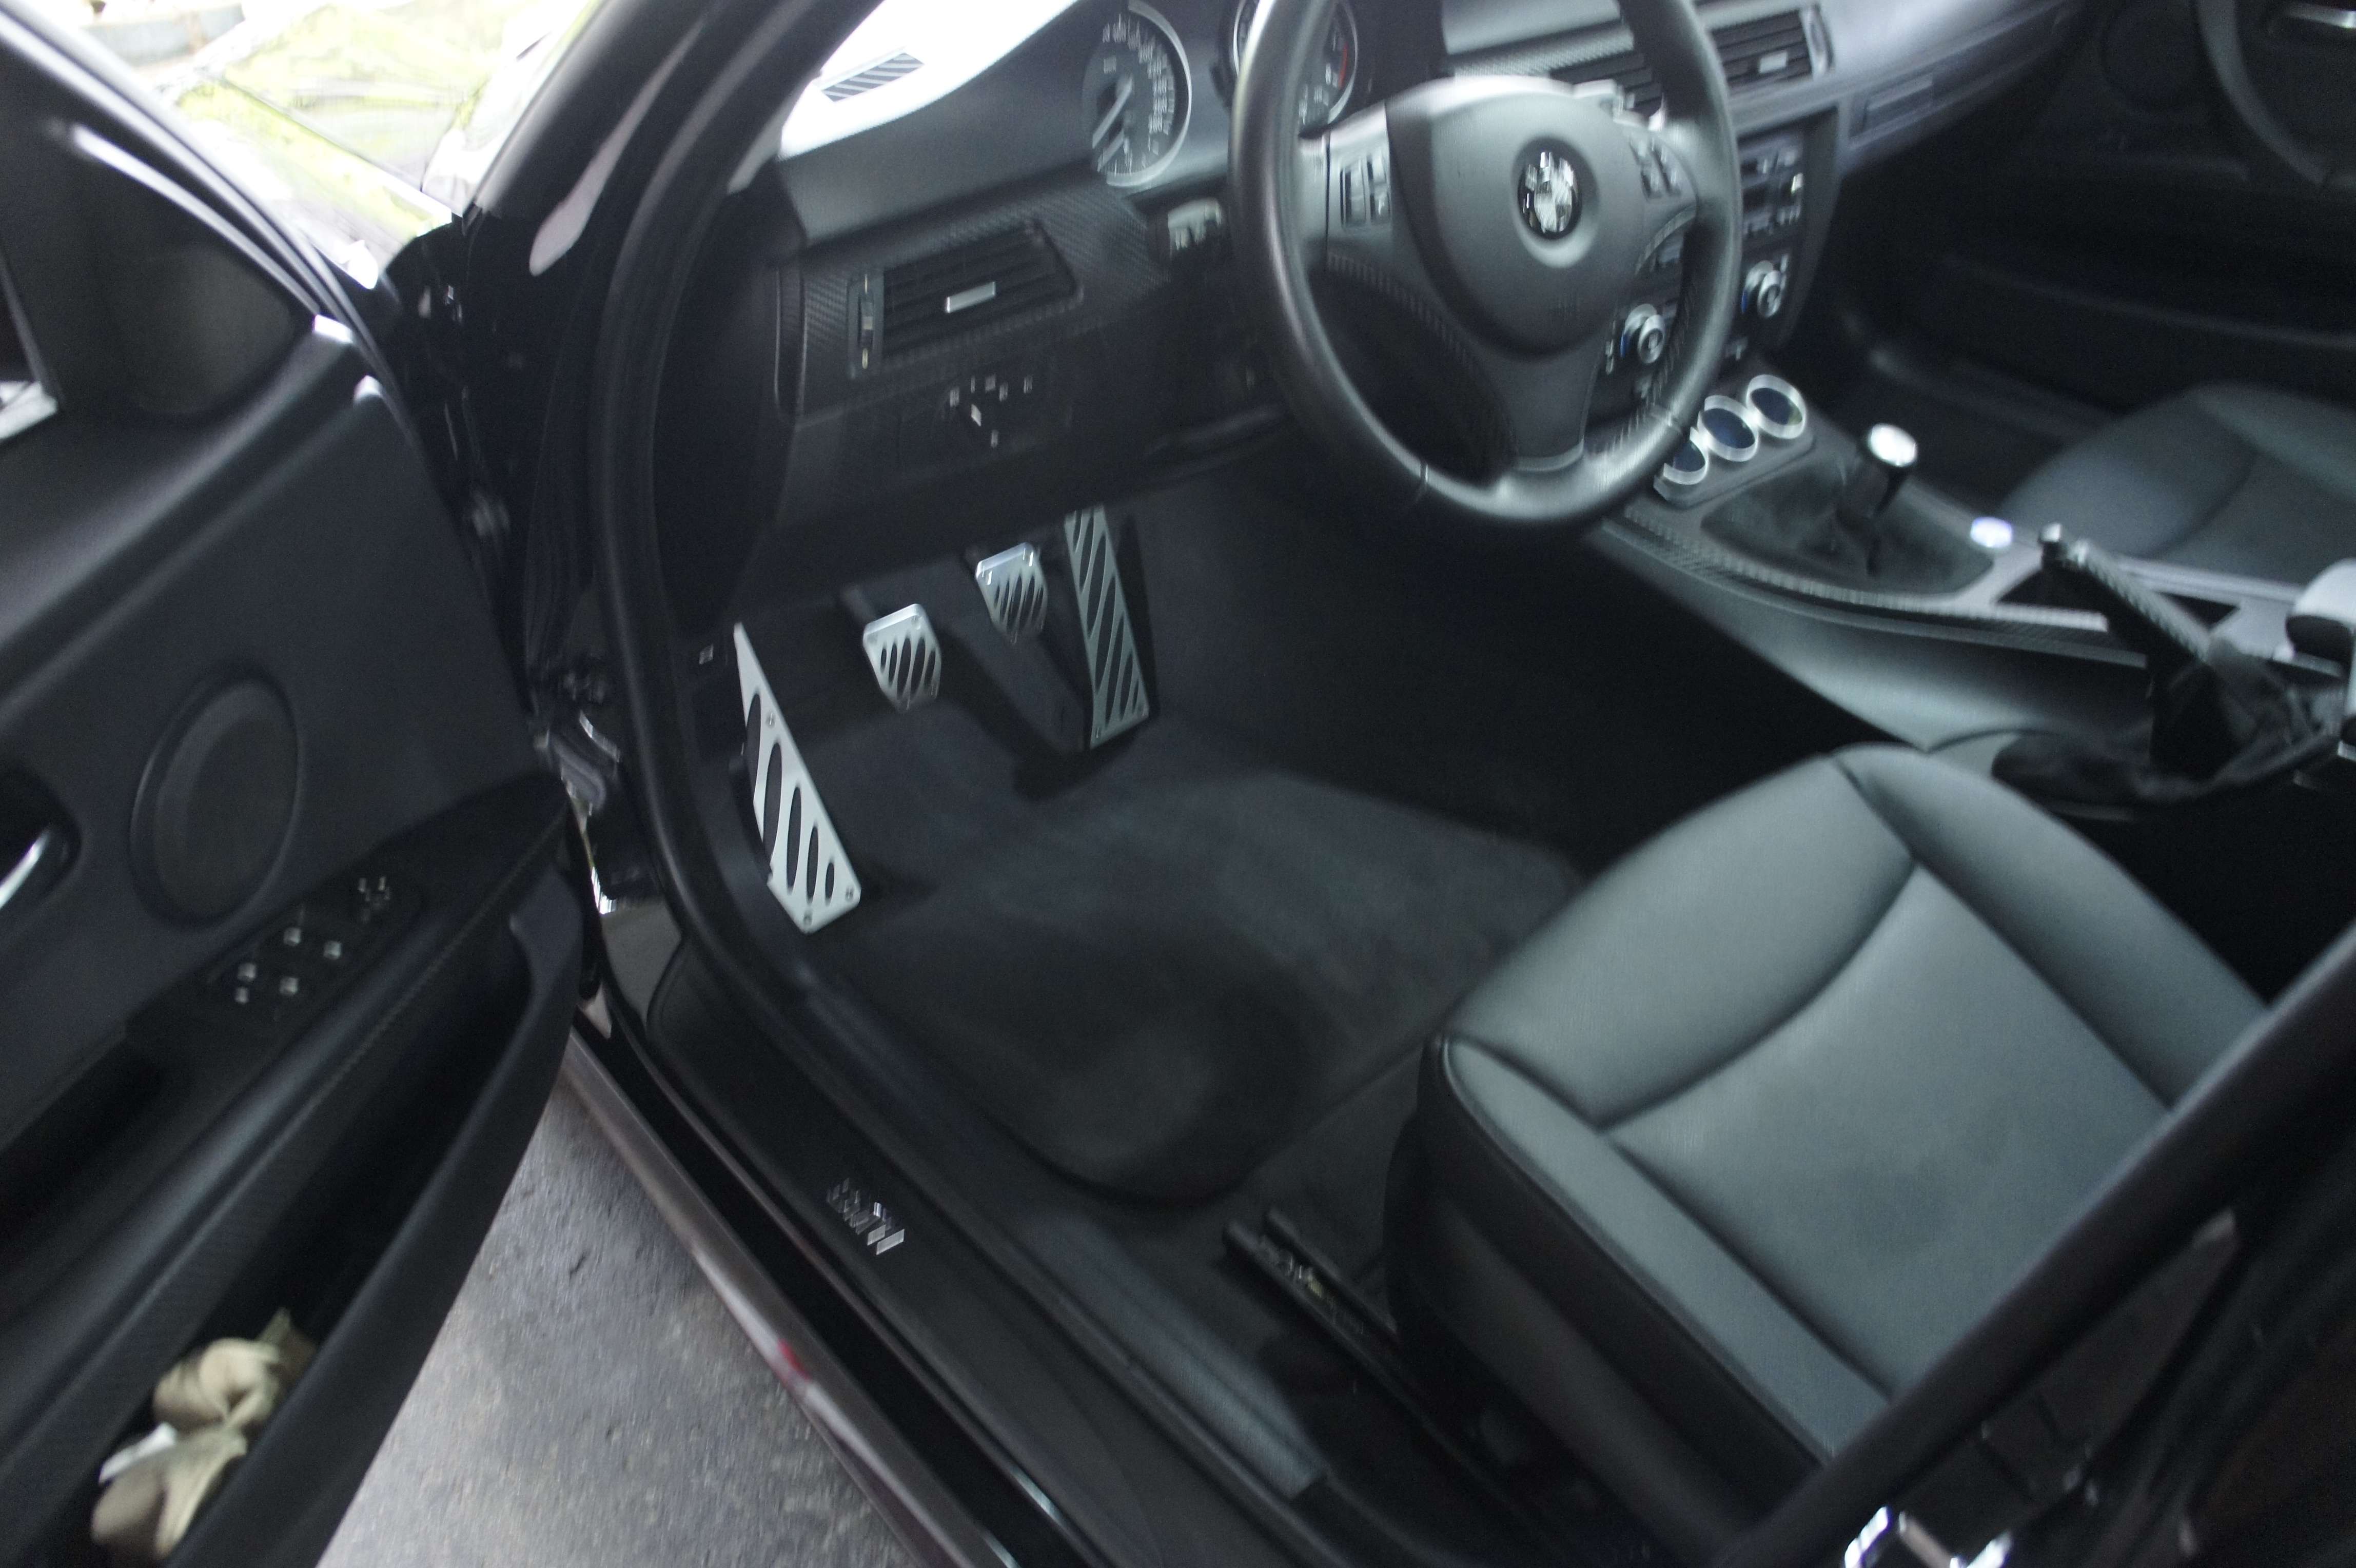
7) Interior:
I took the air compressor to really move all the dirt between crevasses:
Making sure all door jam was taken care and making sure no residue were left:
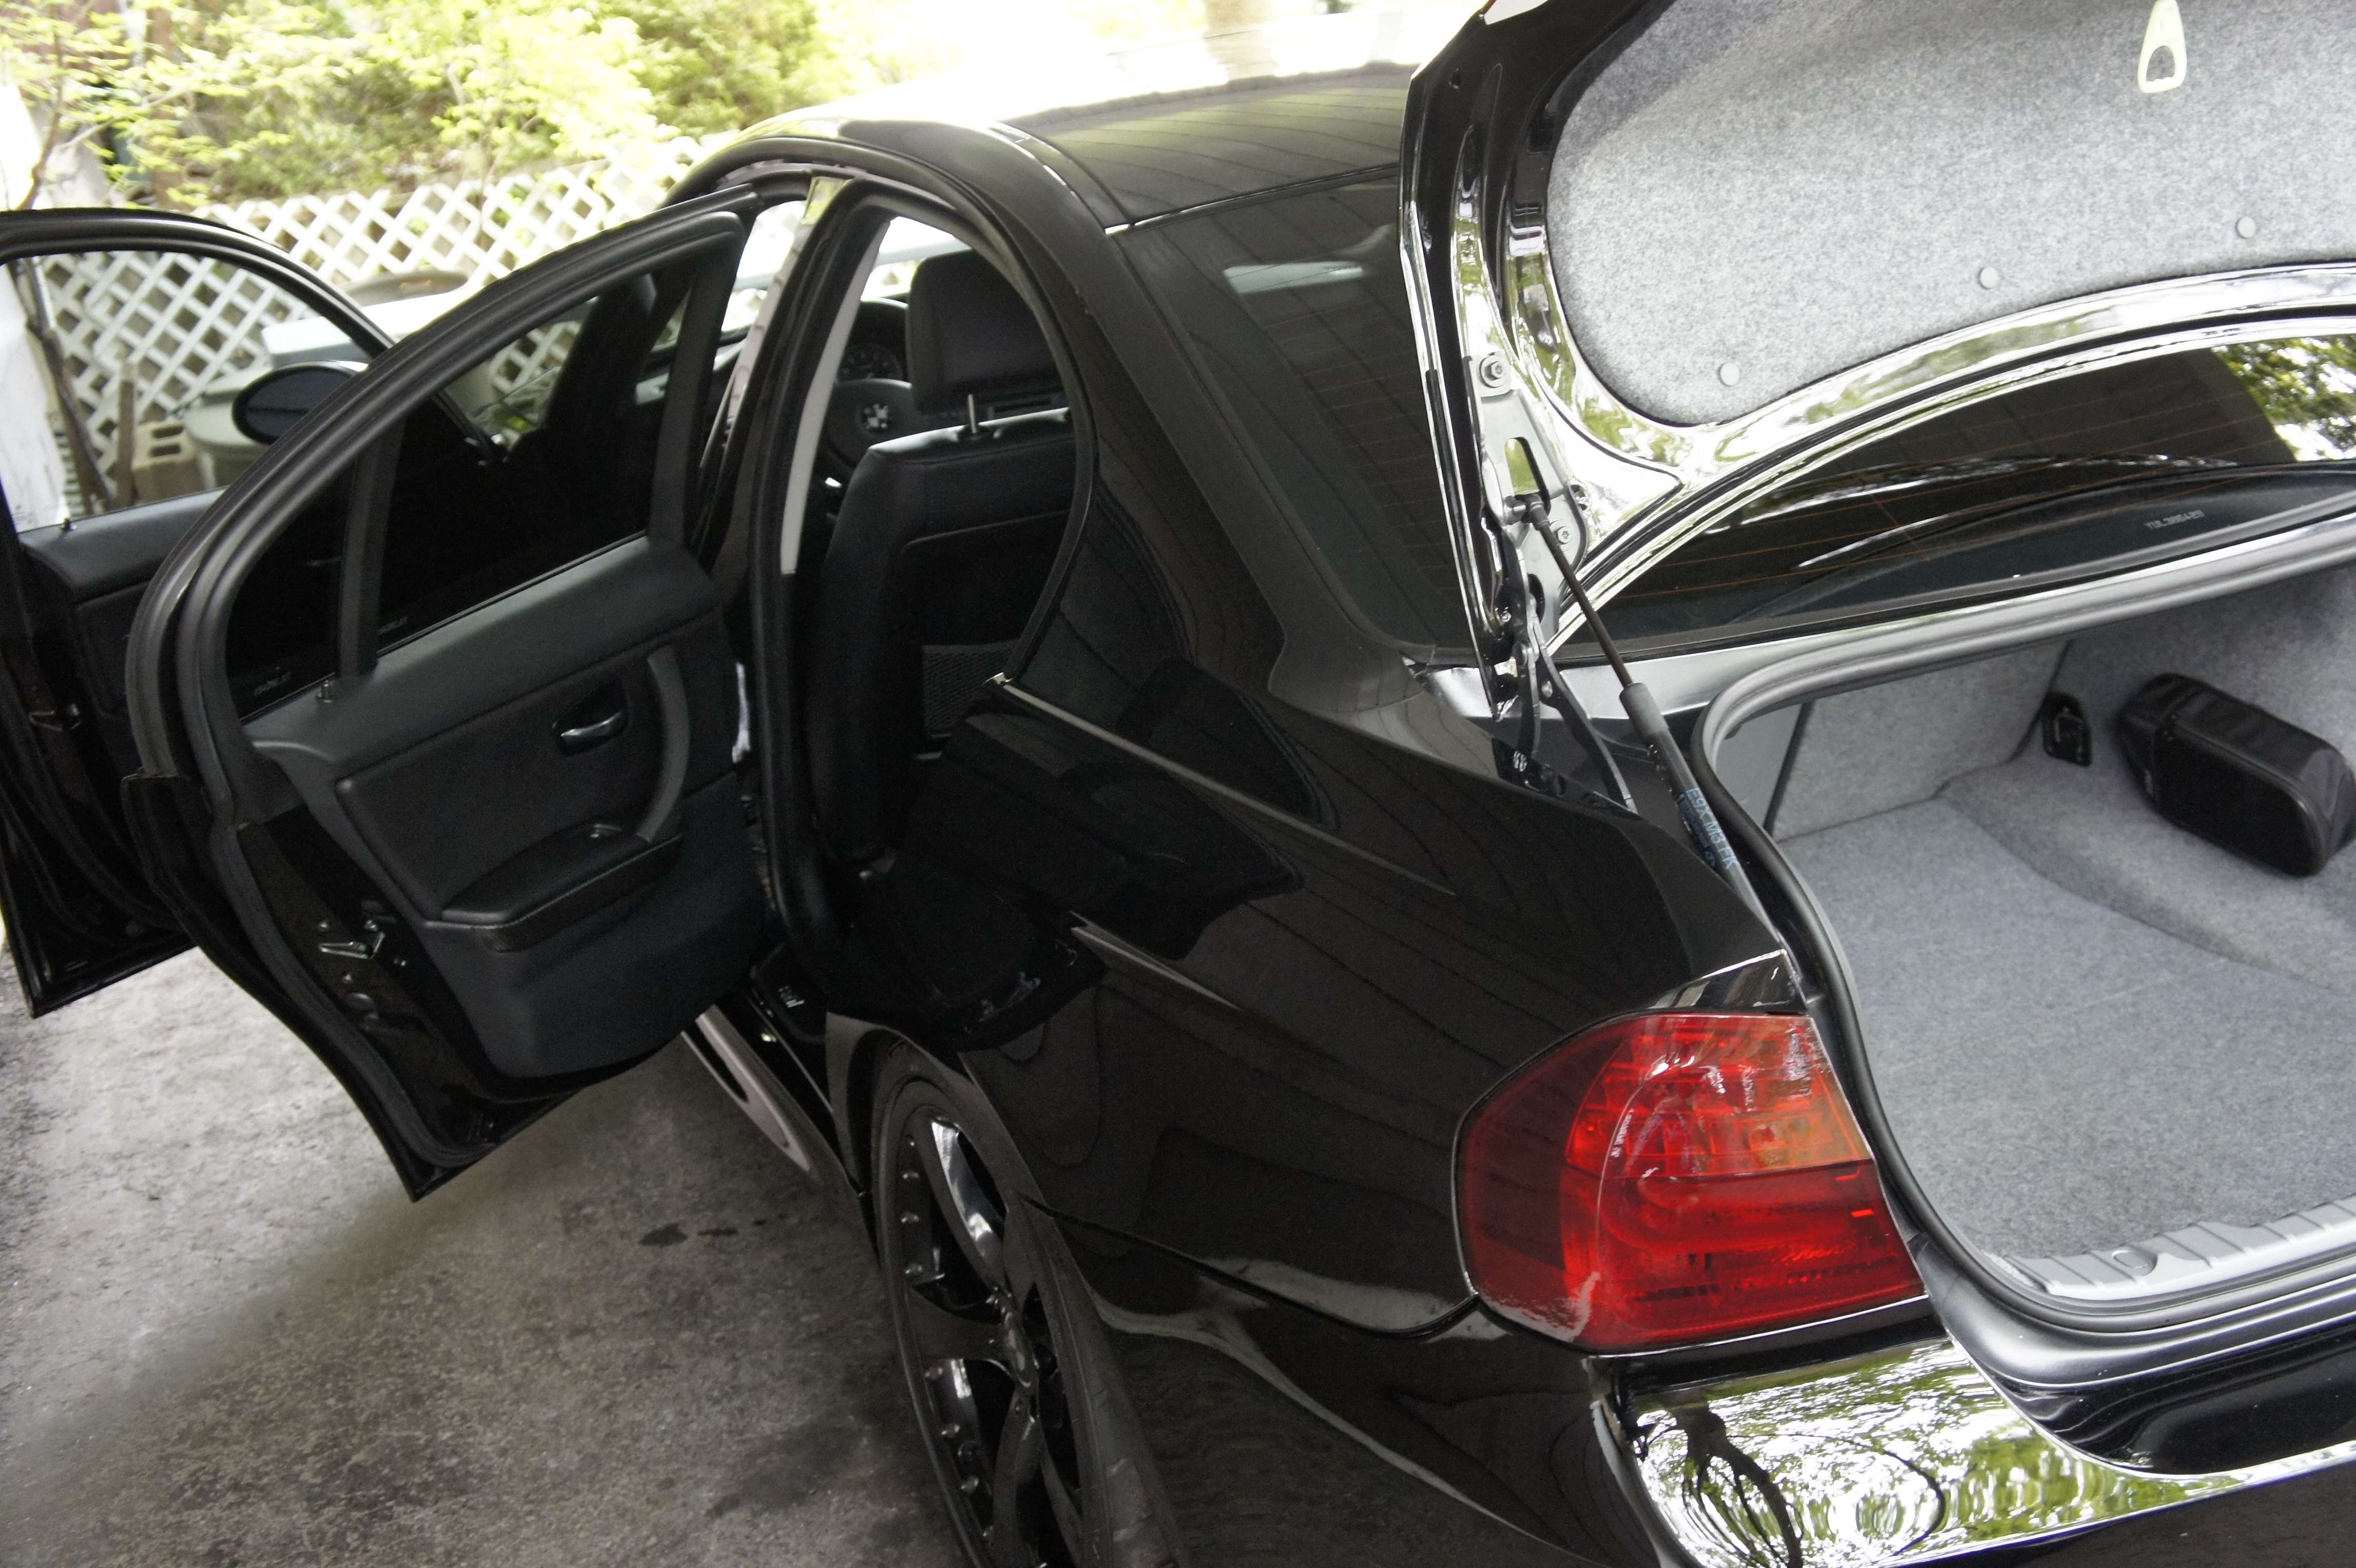
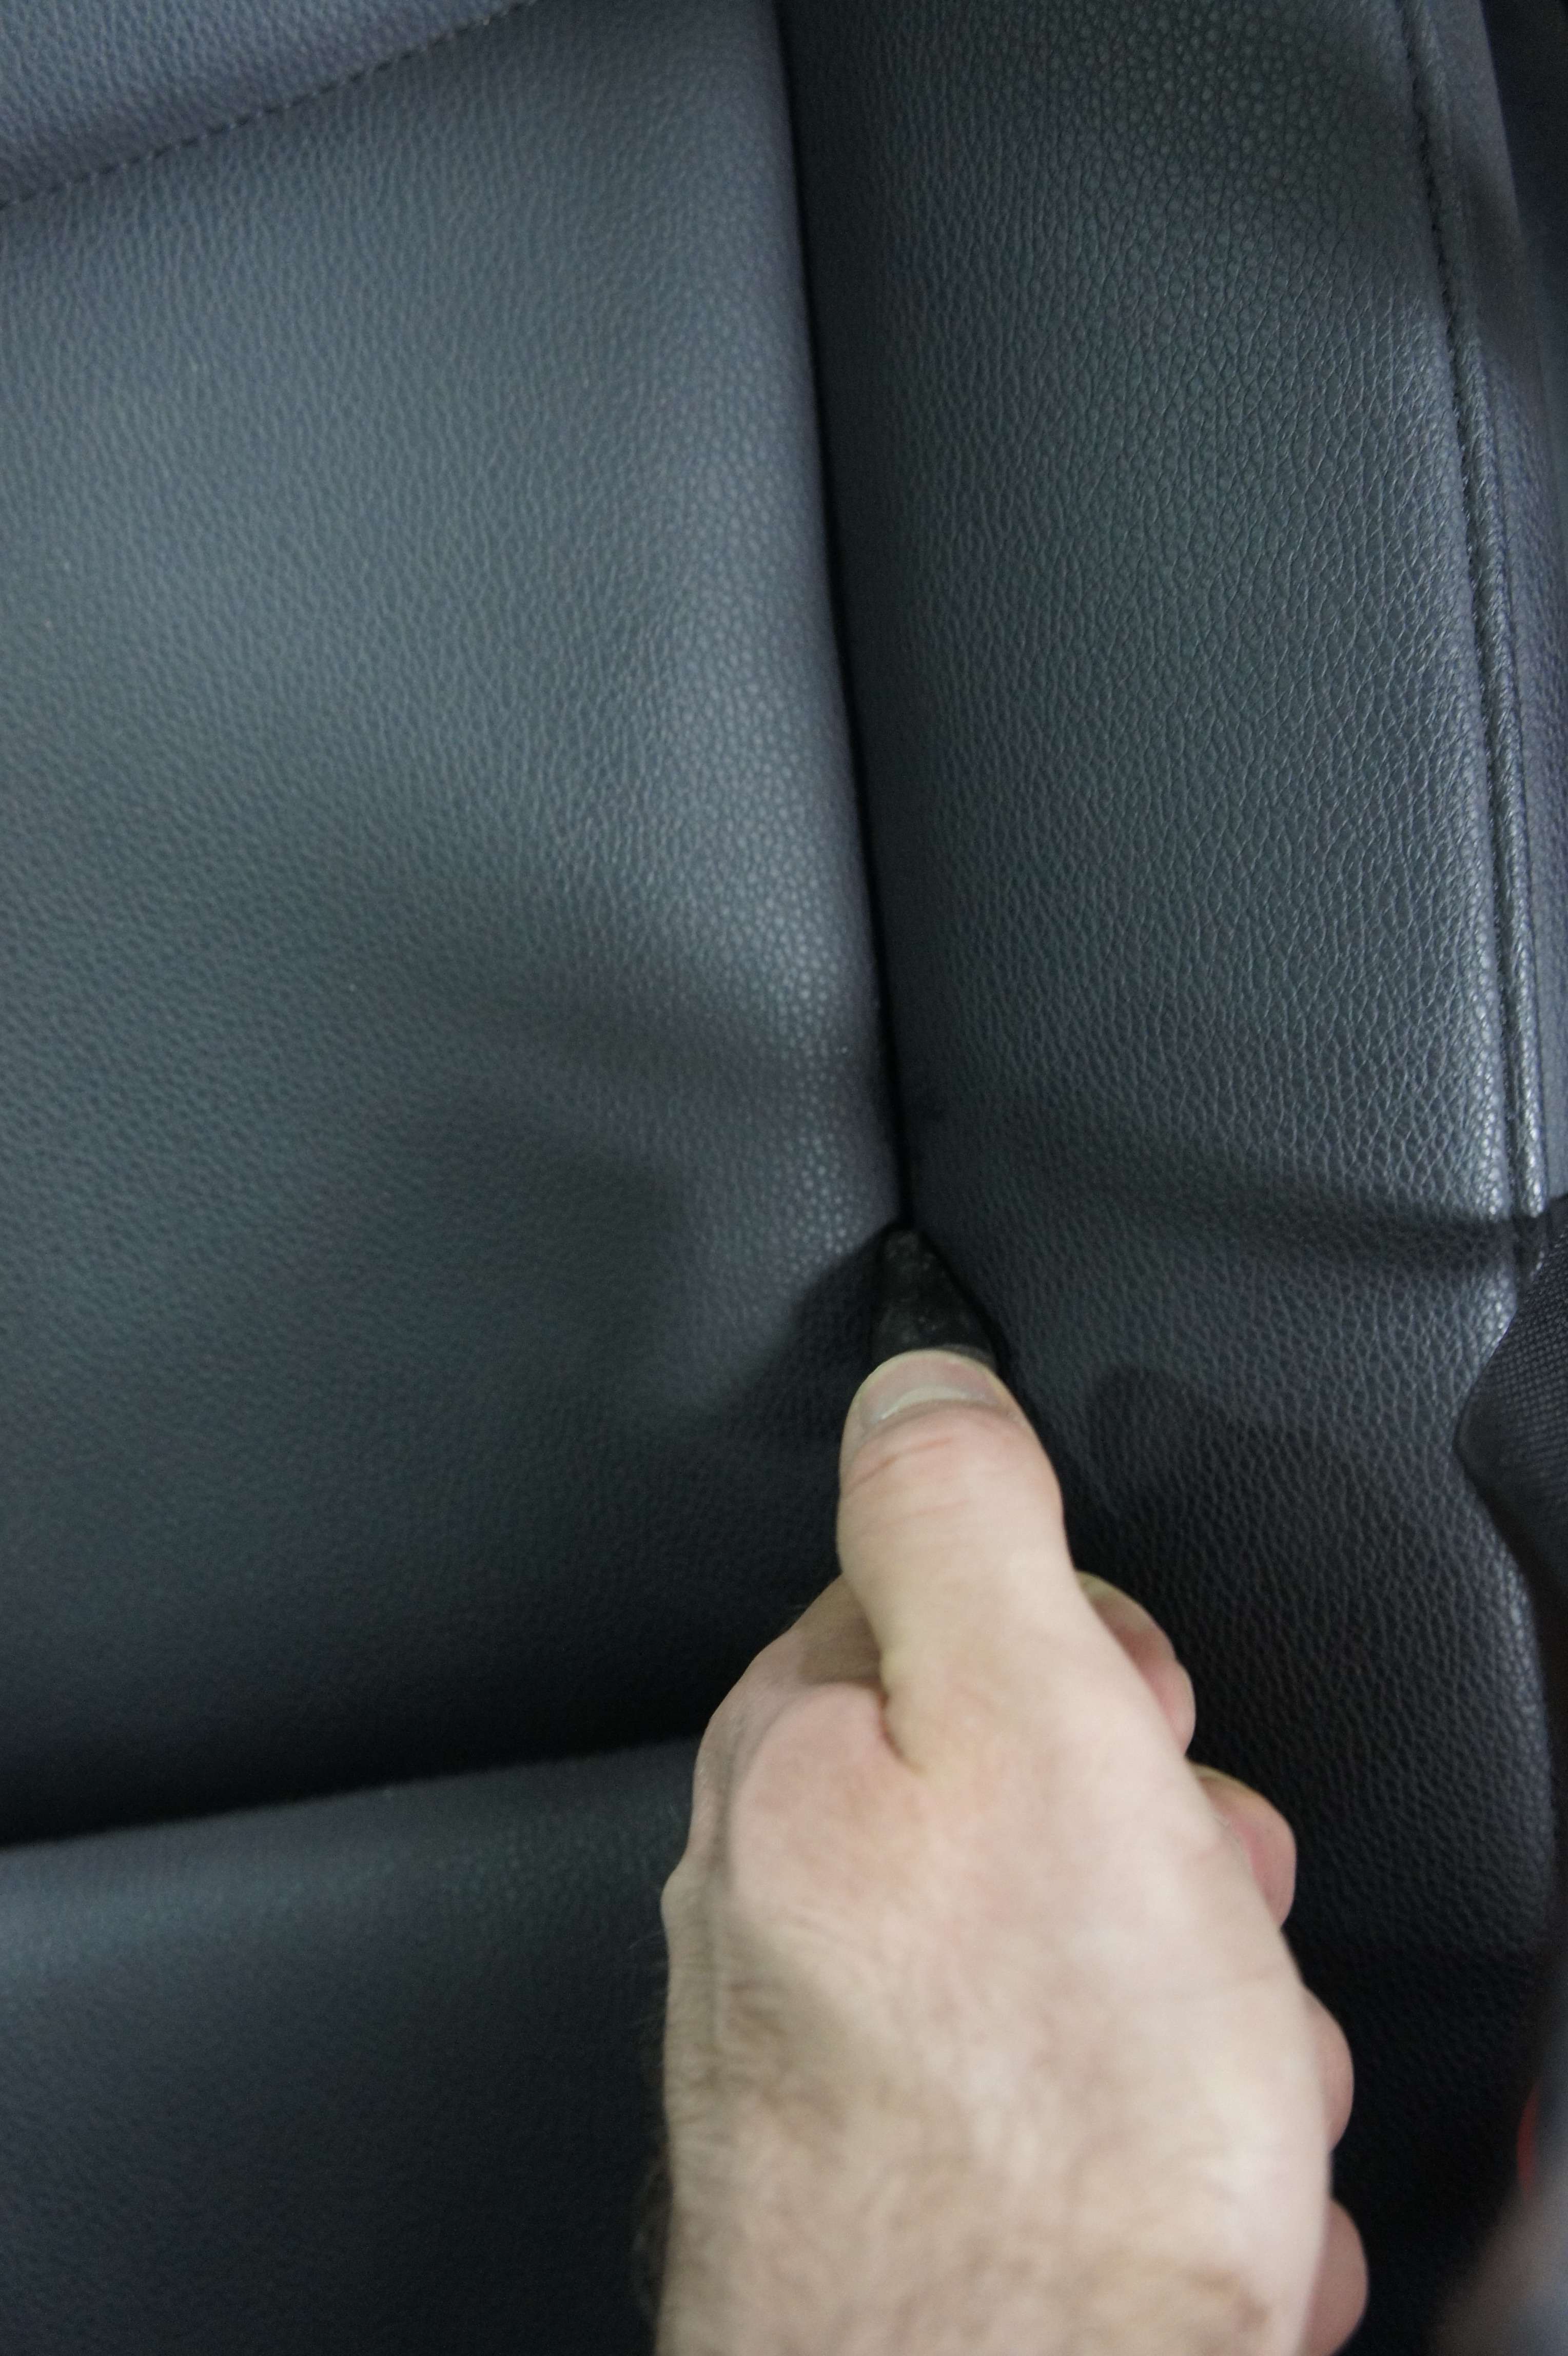
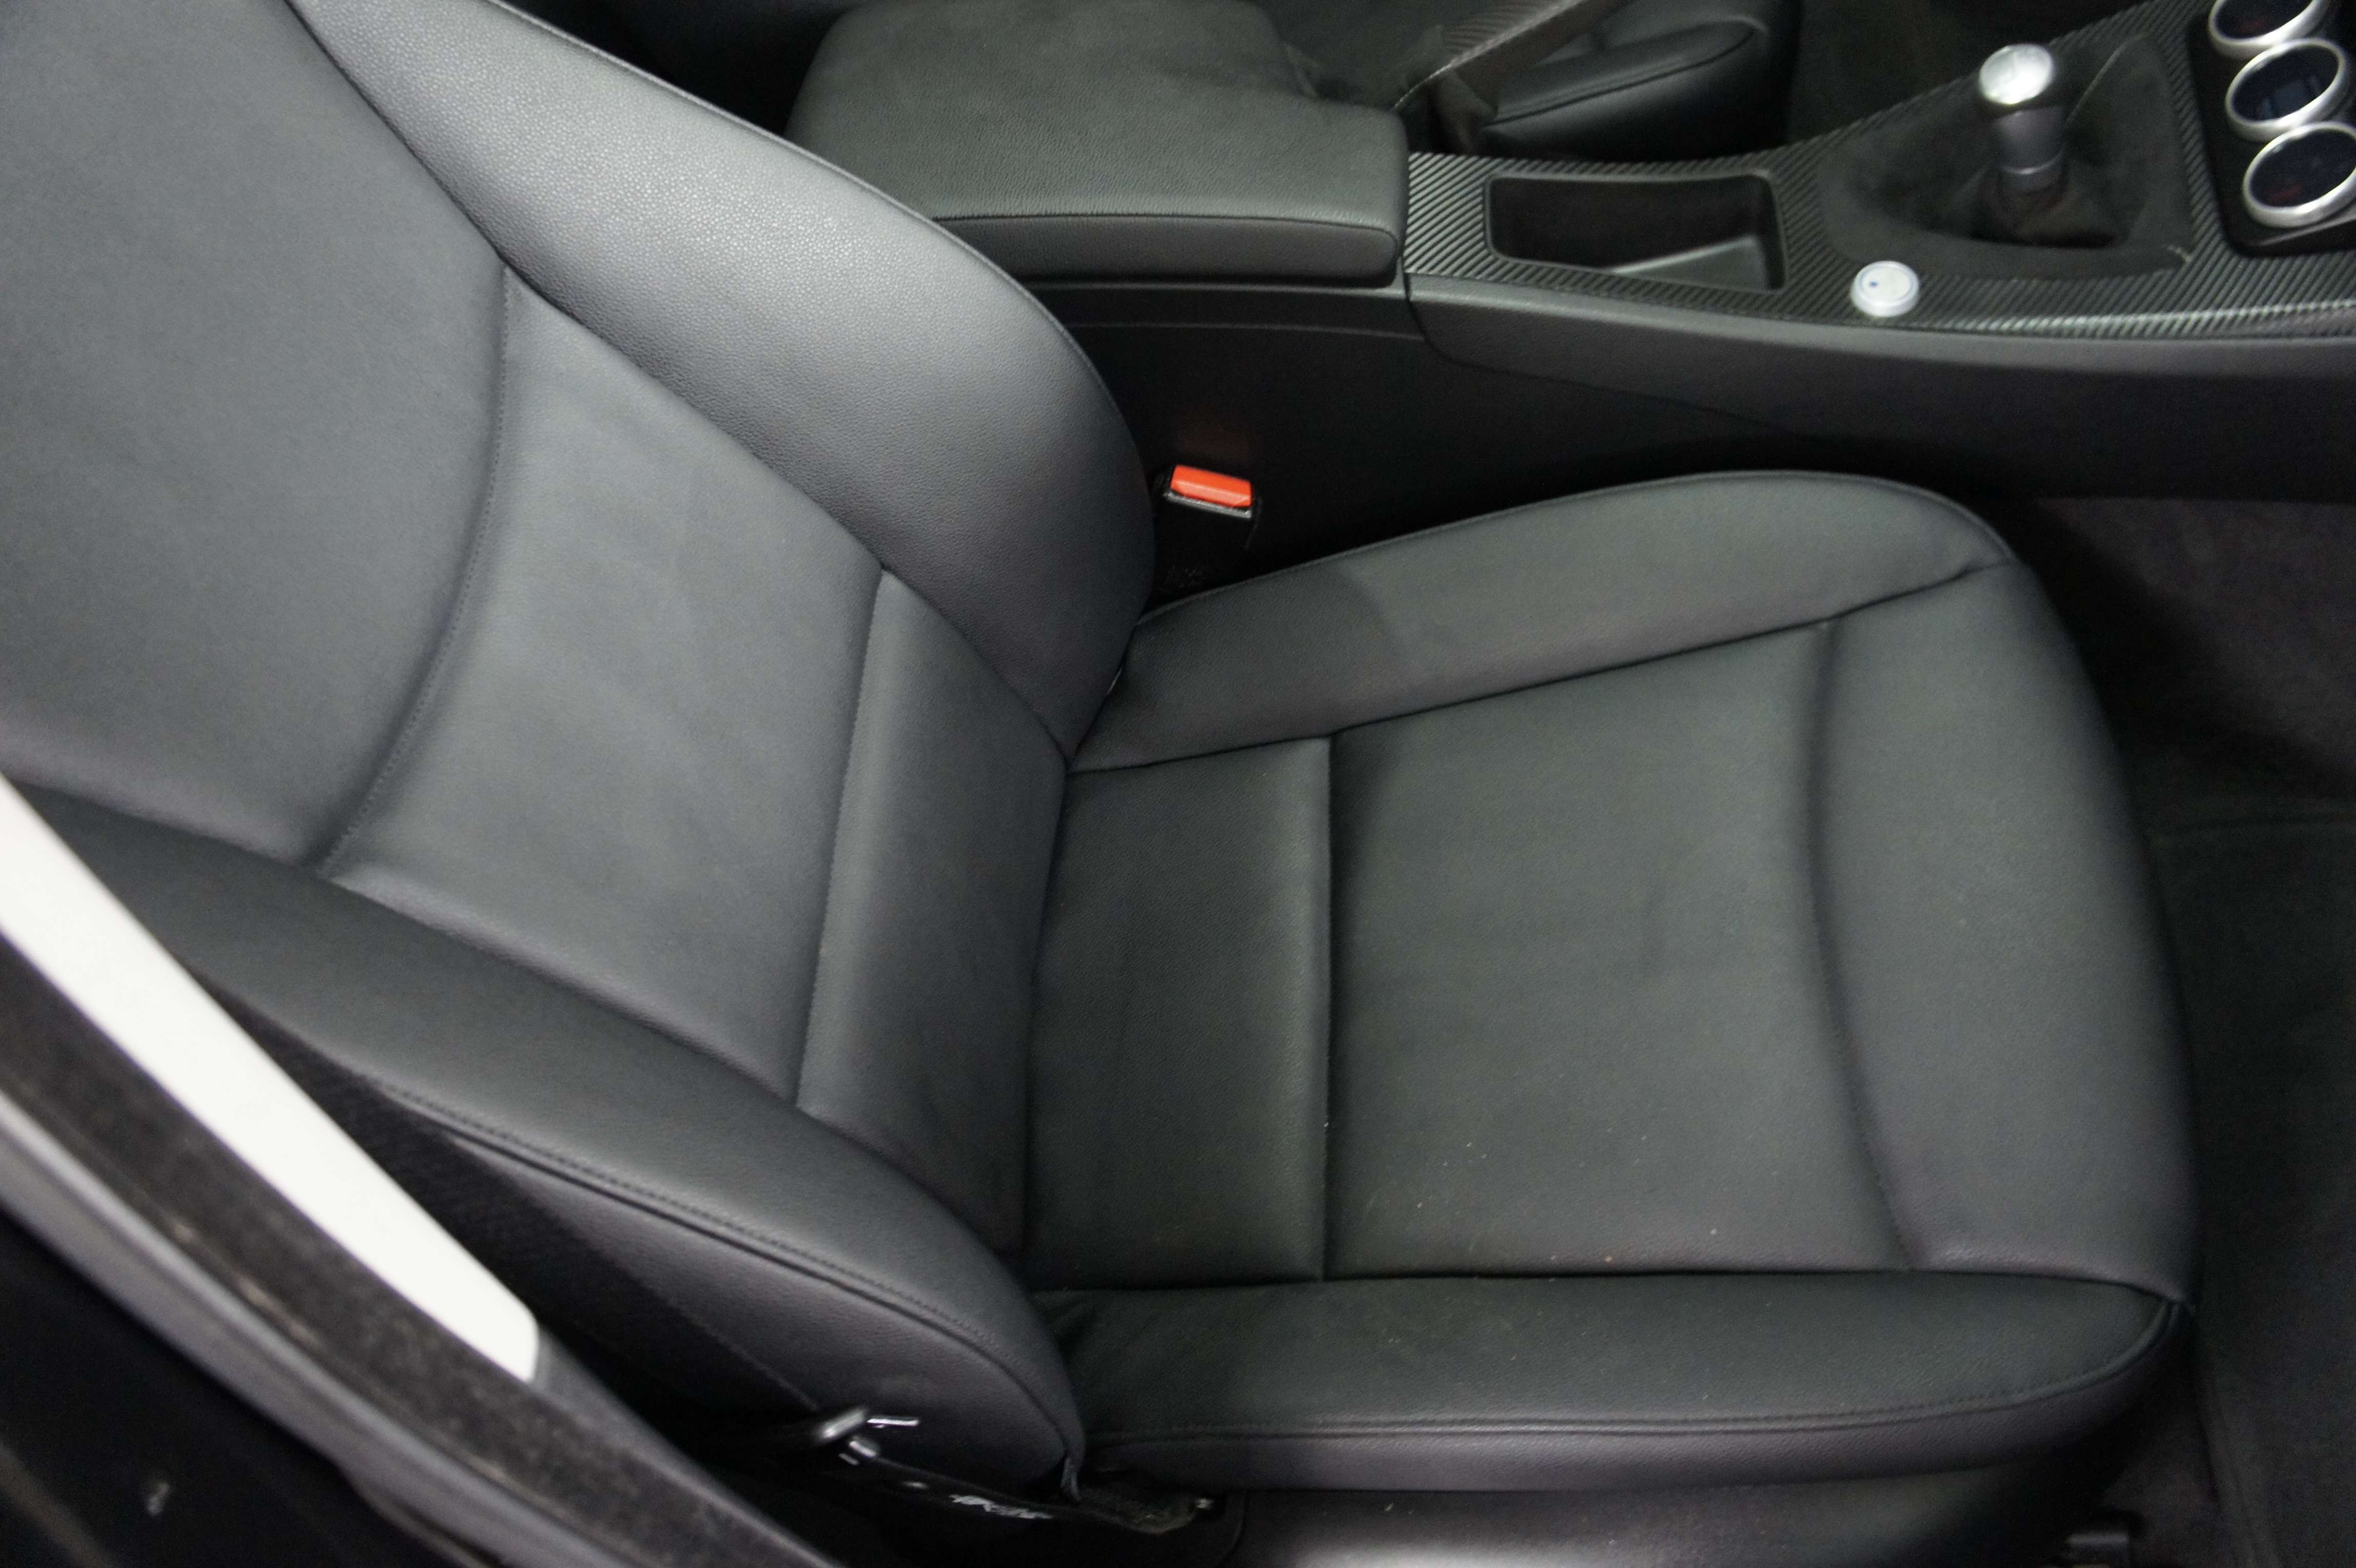
Interior was washed using my extractor and leather were treated using Leather cleaner + conditioner.
Anecdote: when the owner took his car back, he pulled down his windows once inside the car and almost yelled; HEY!! You did the interior also, what you did to the leather!?? It’s so nice! (I just love when the customer find by himself what I did. It shows even more the detailing going through the detail)

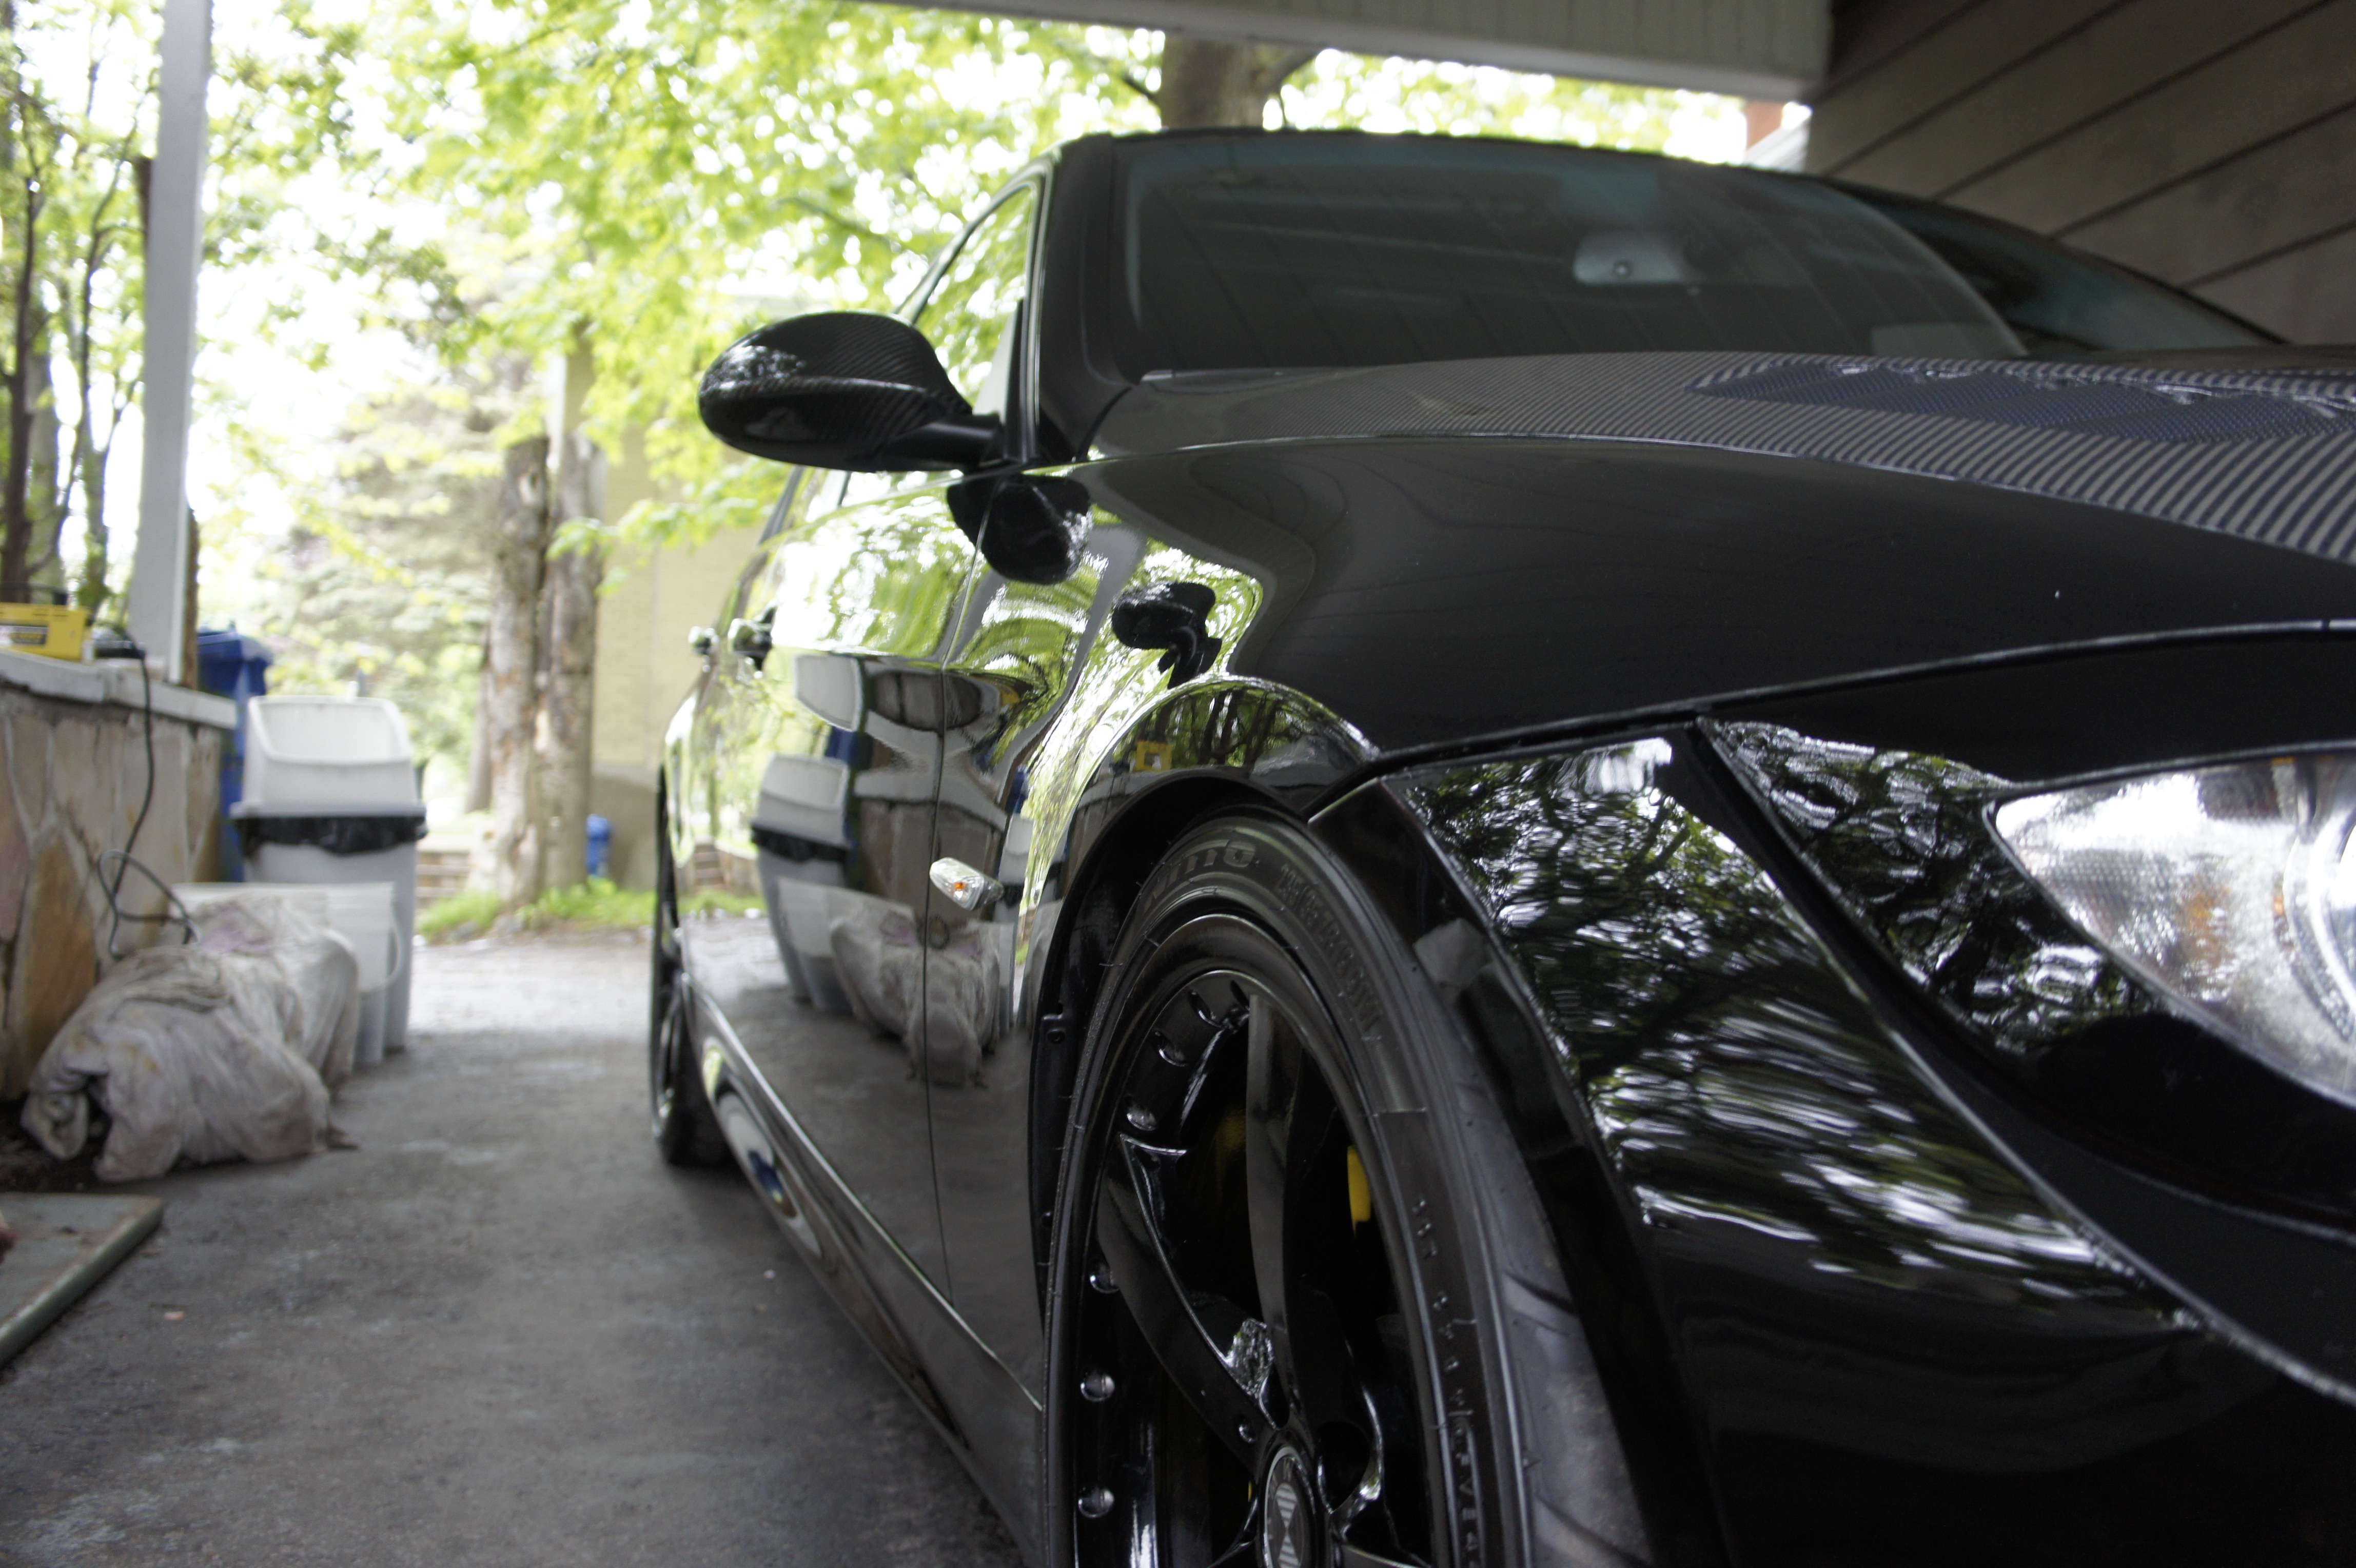
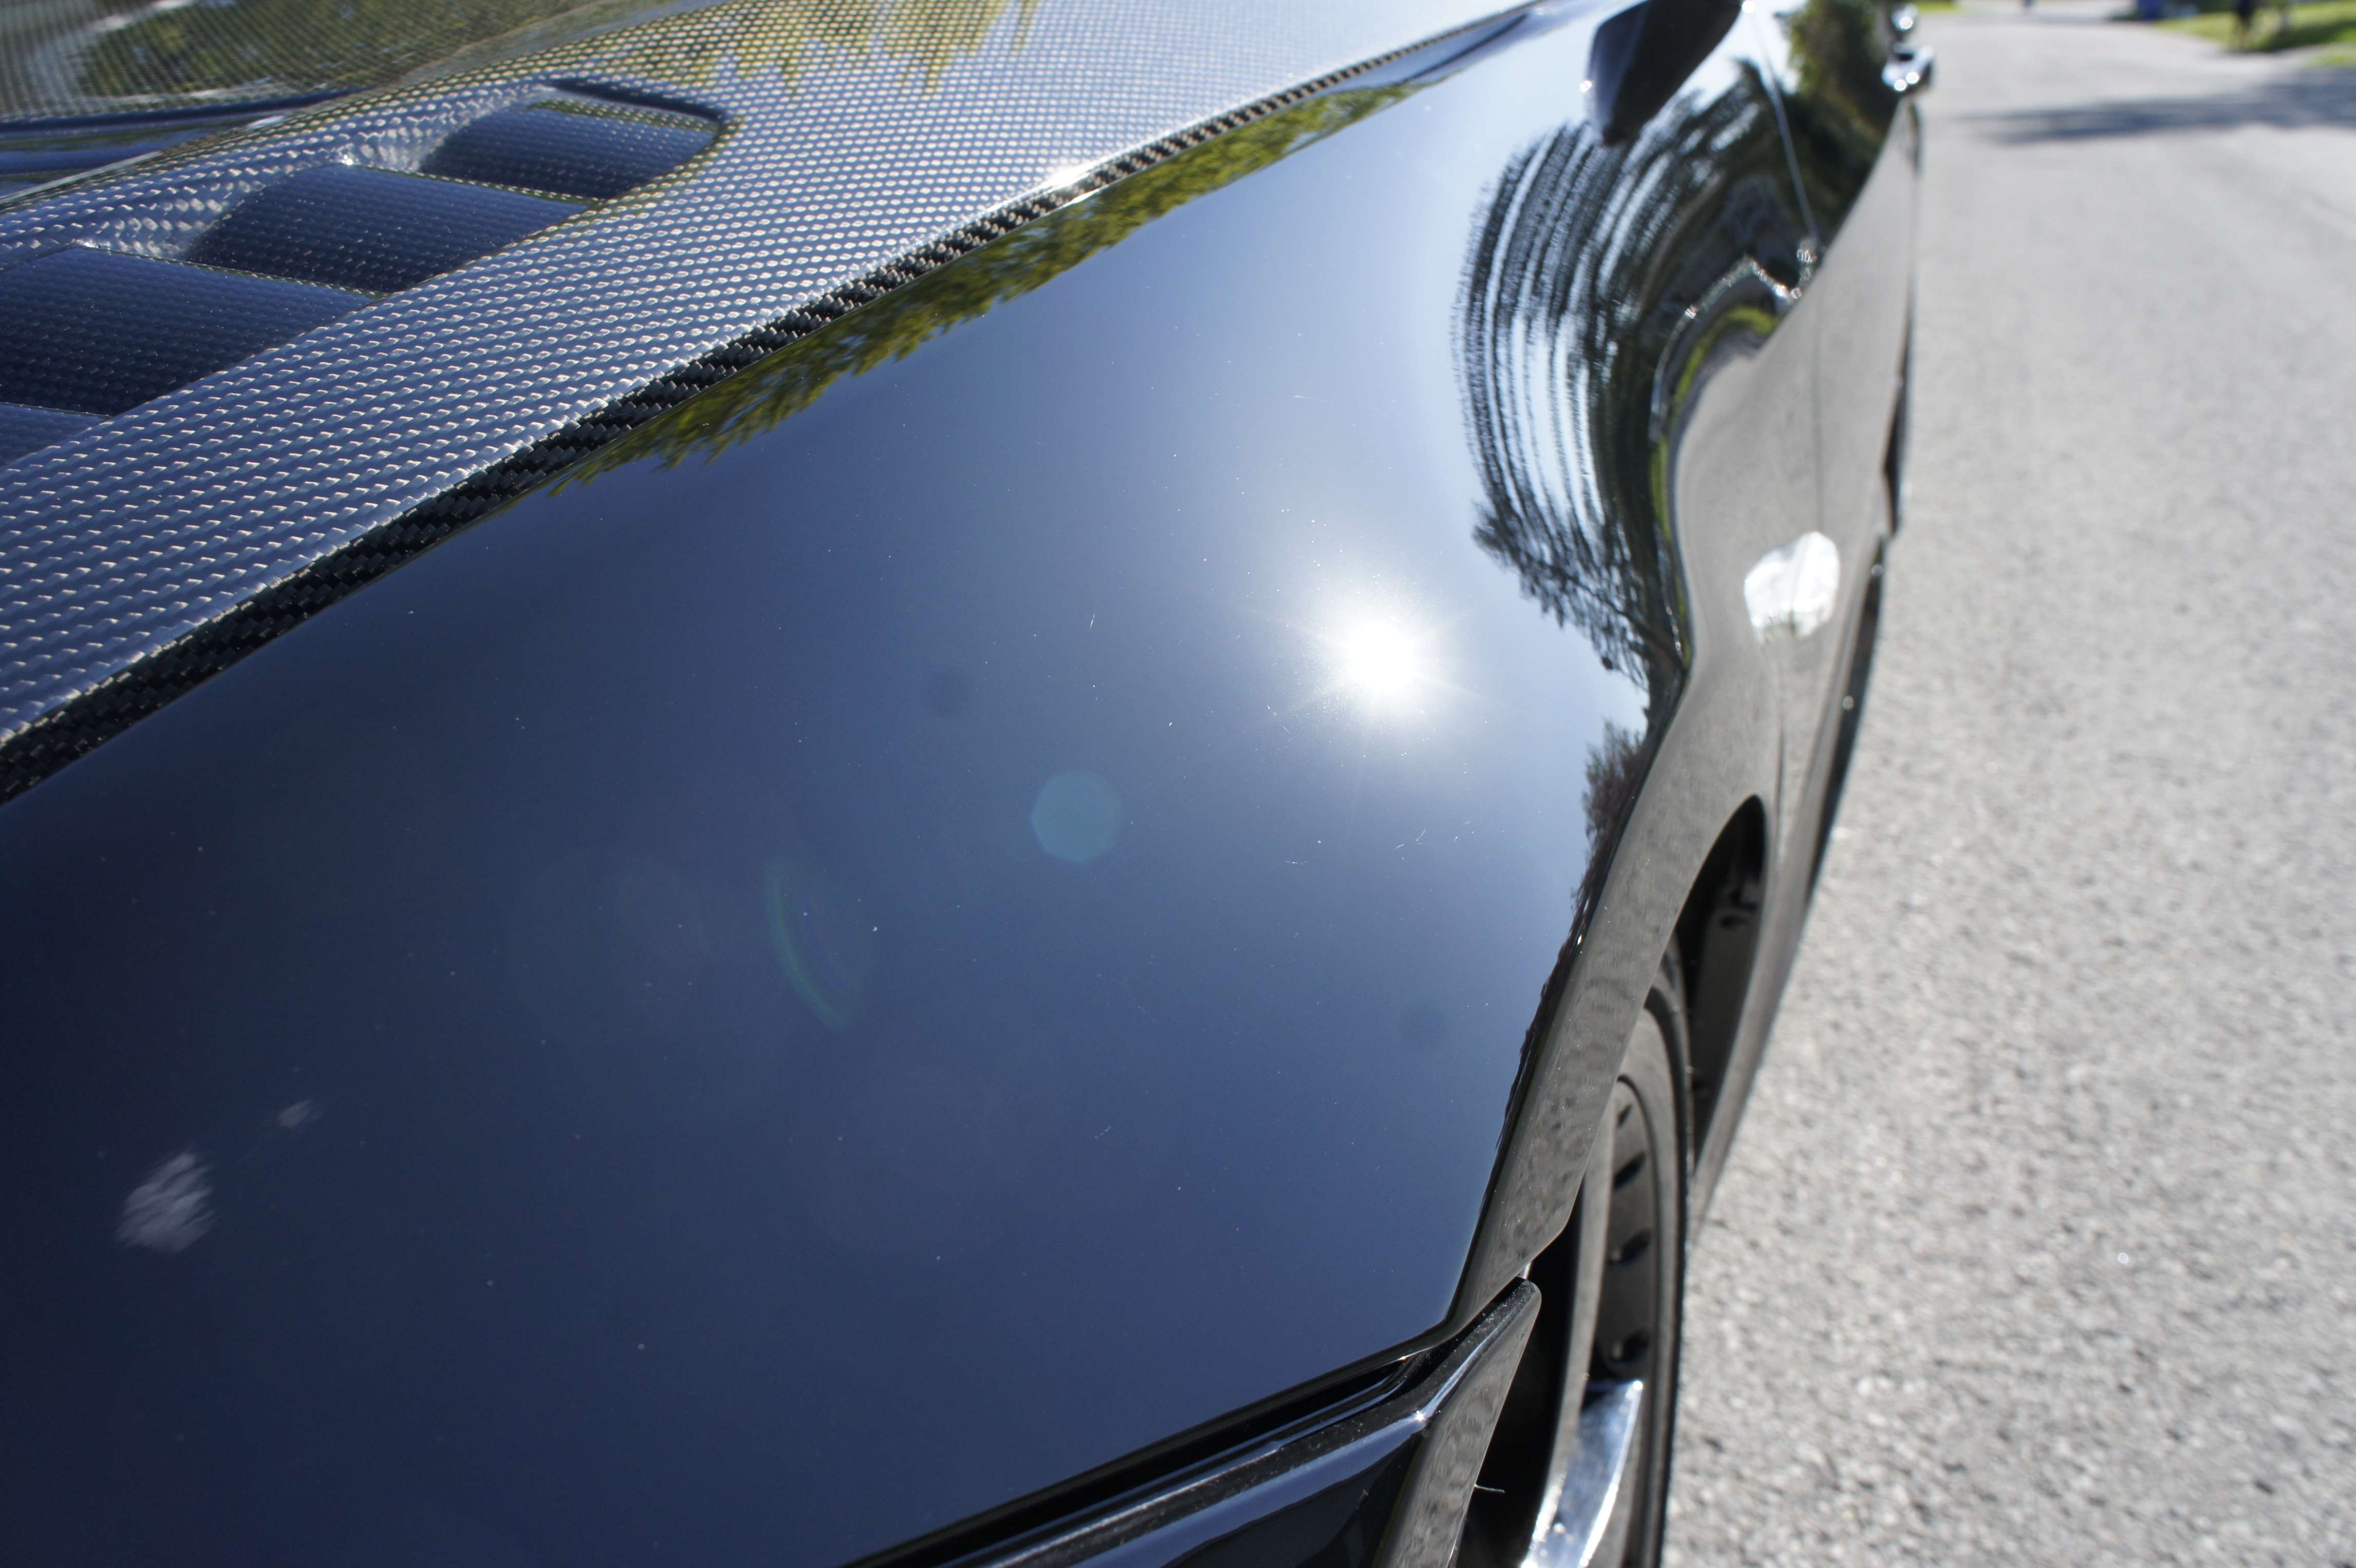
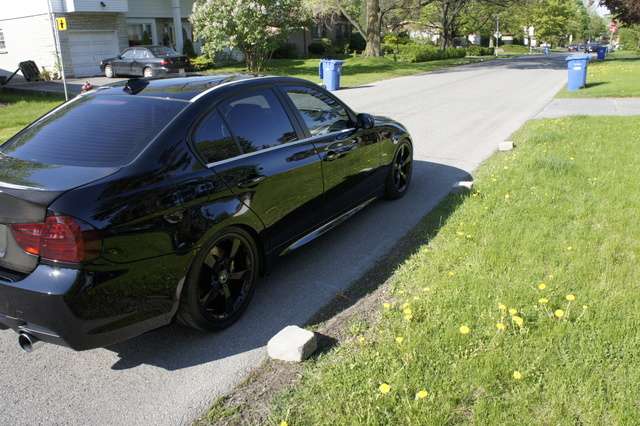
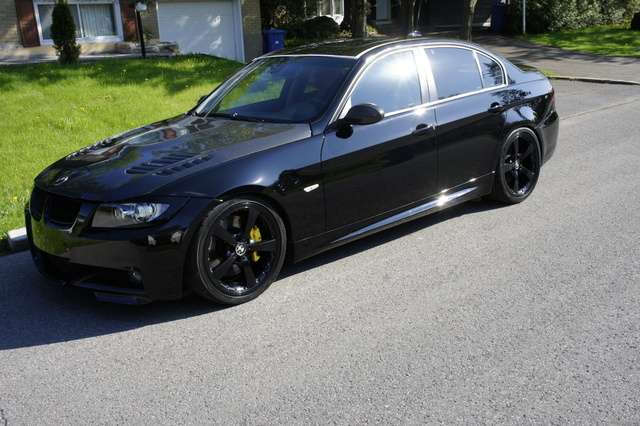
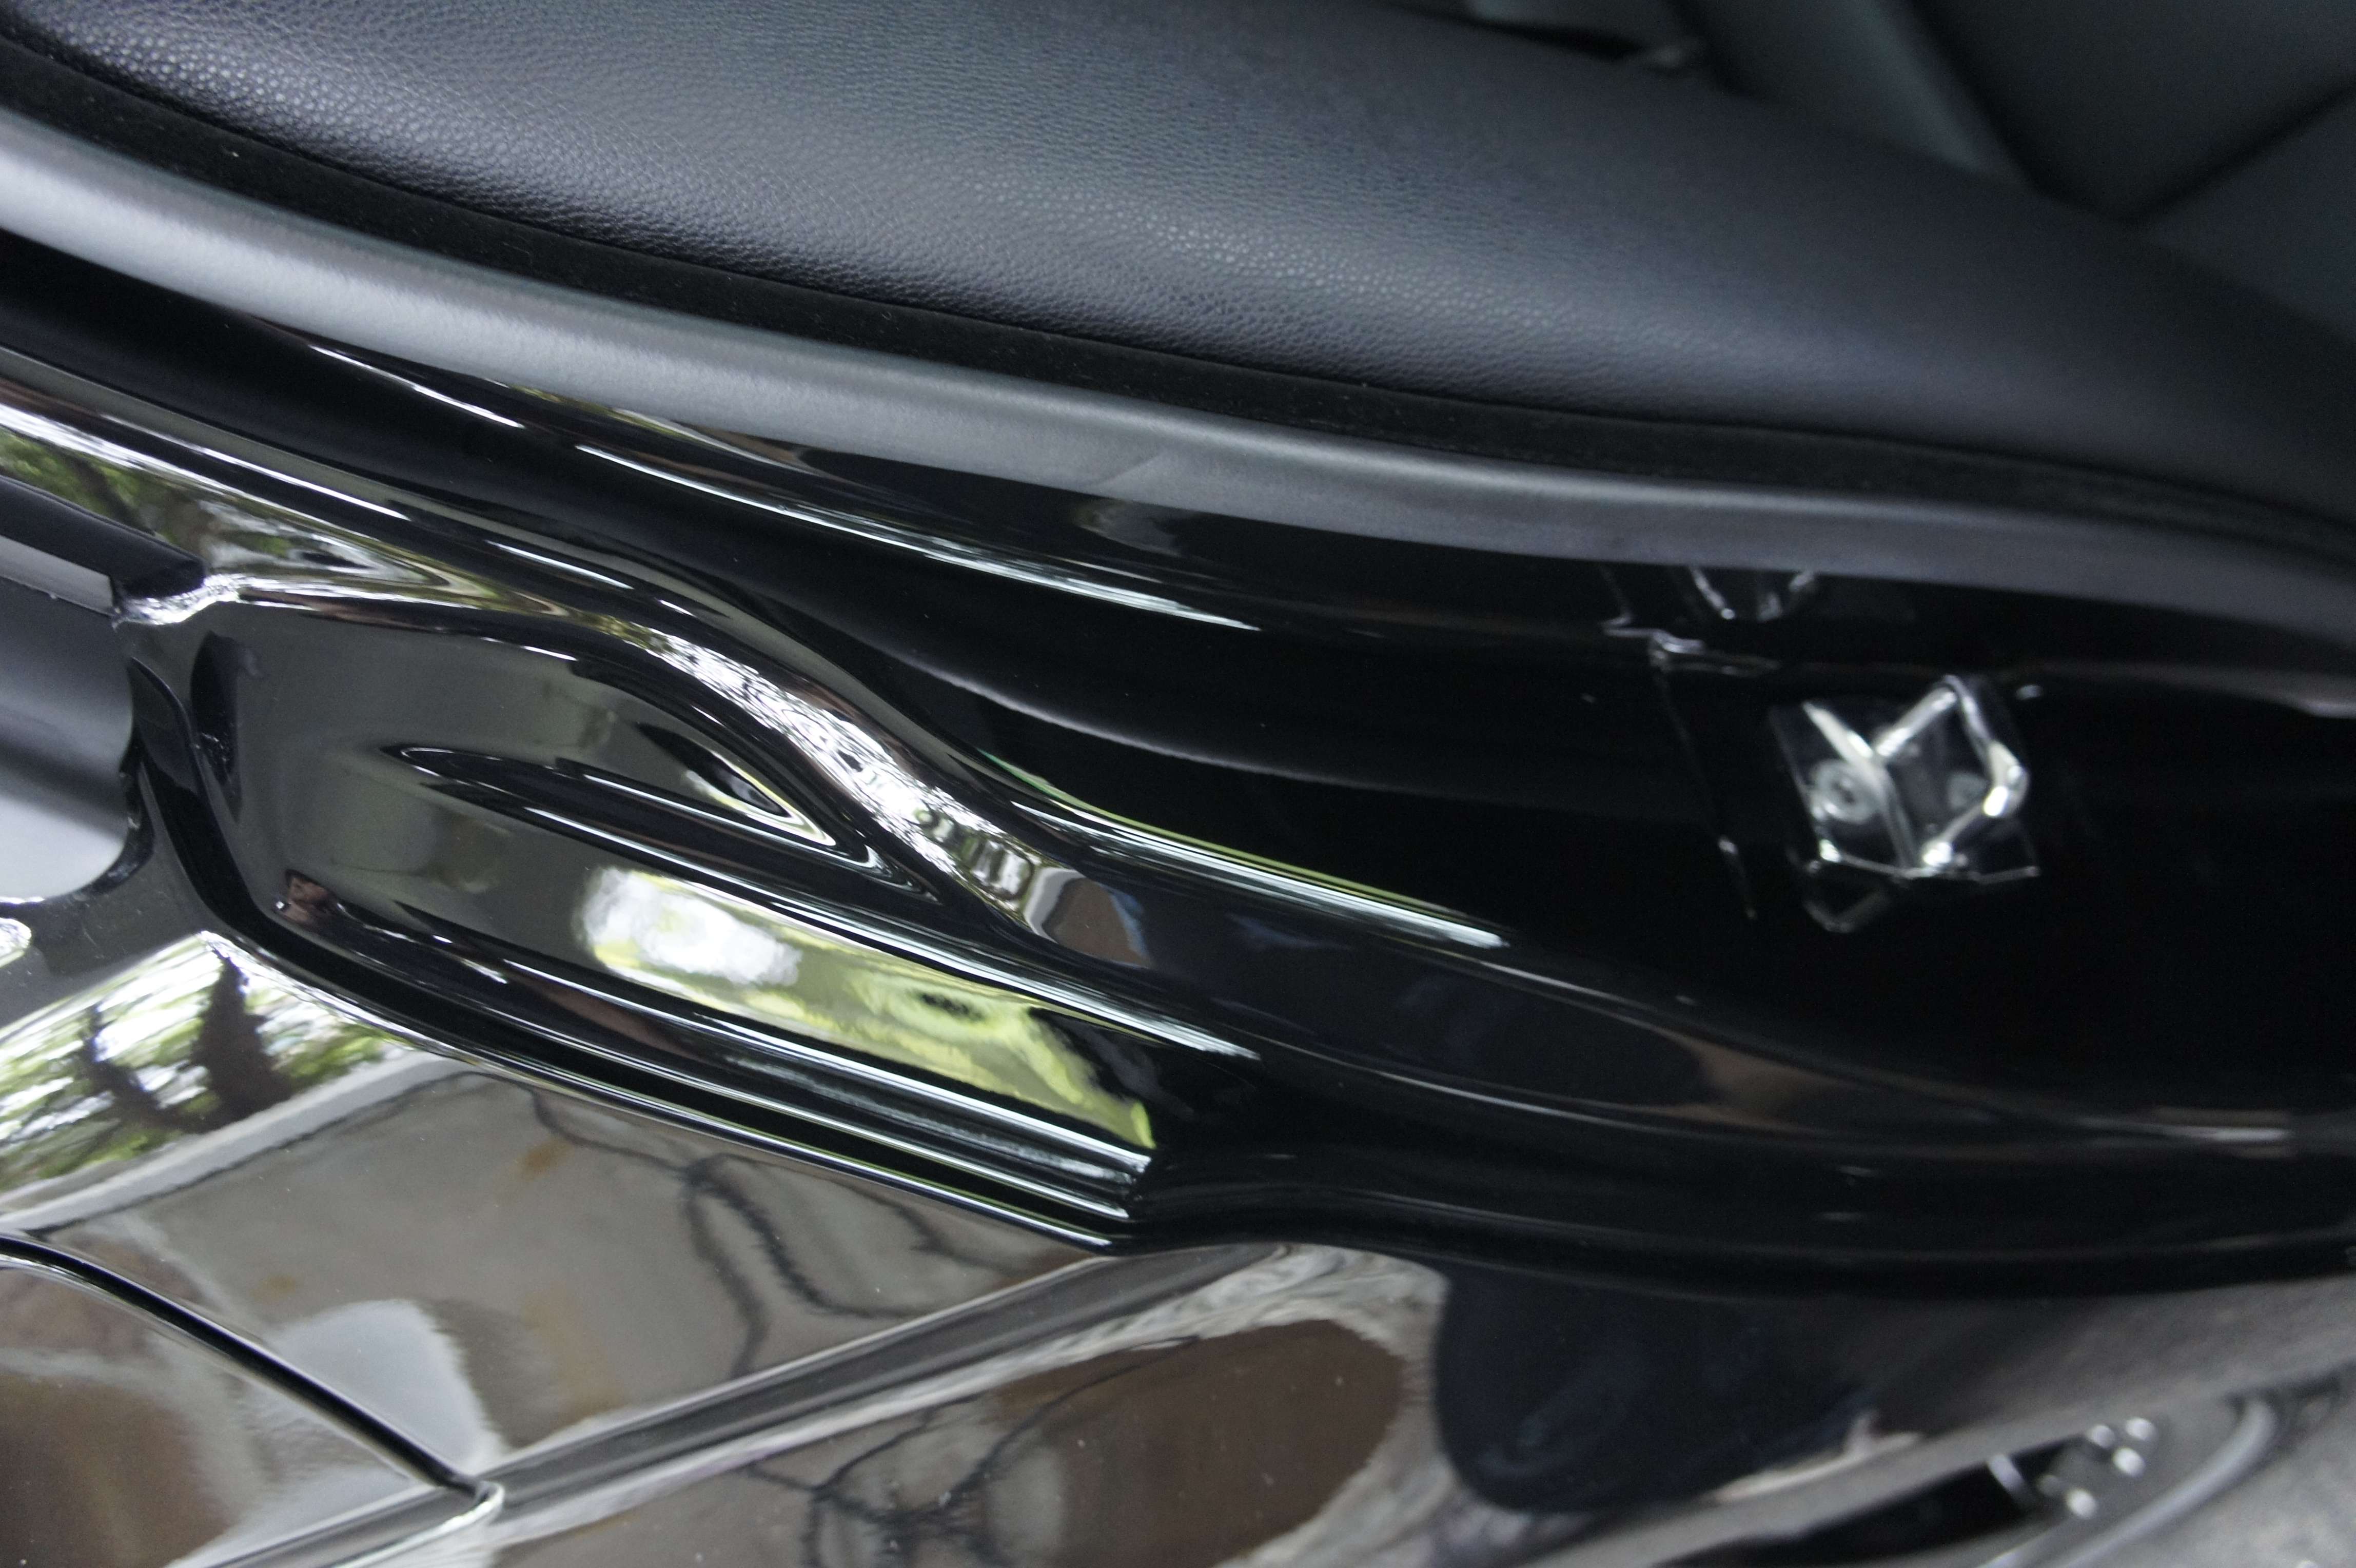
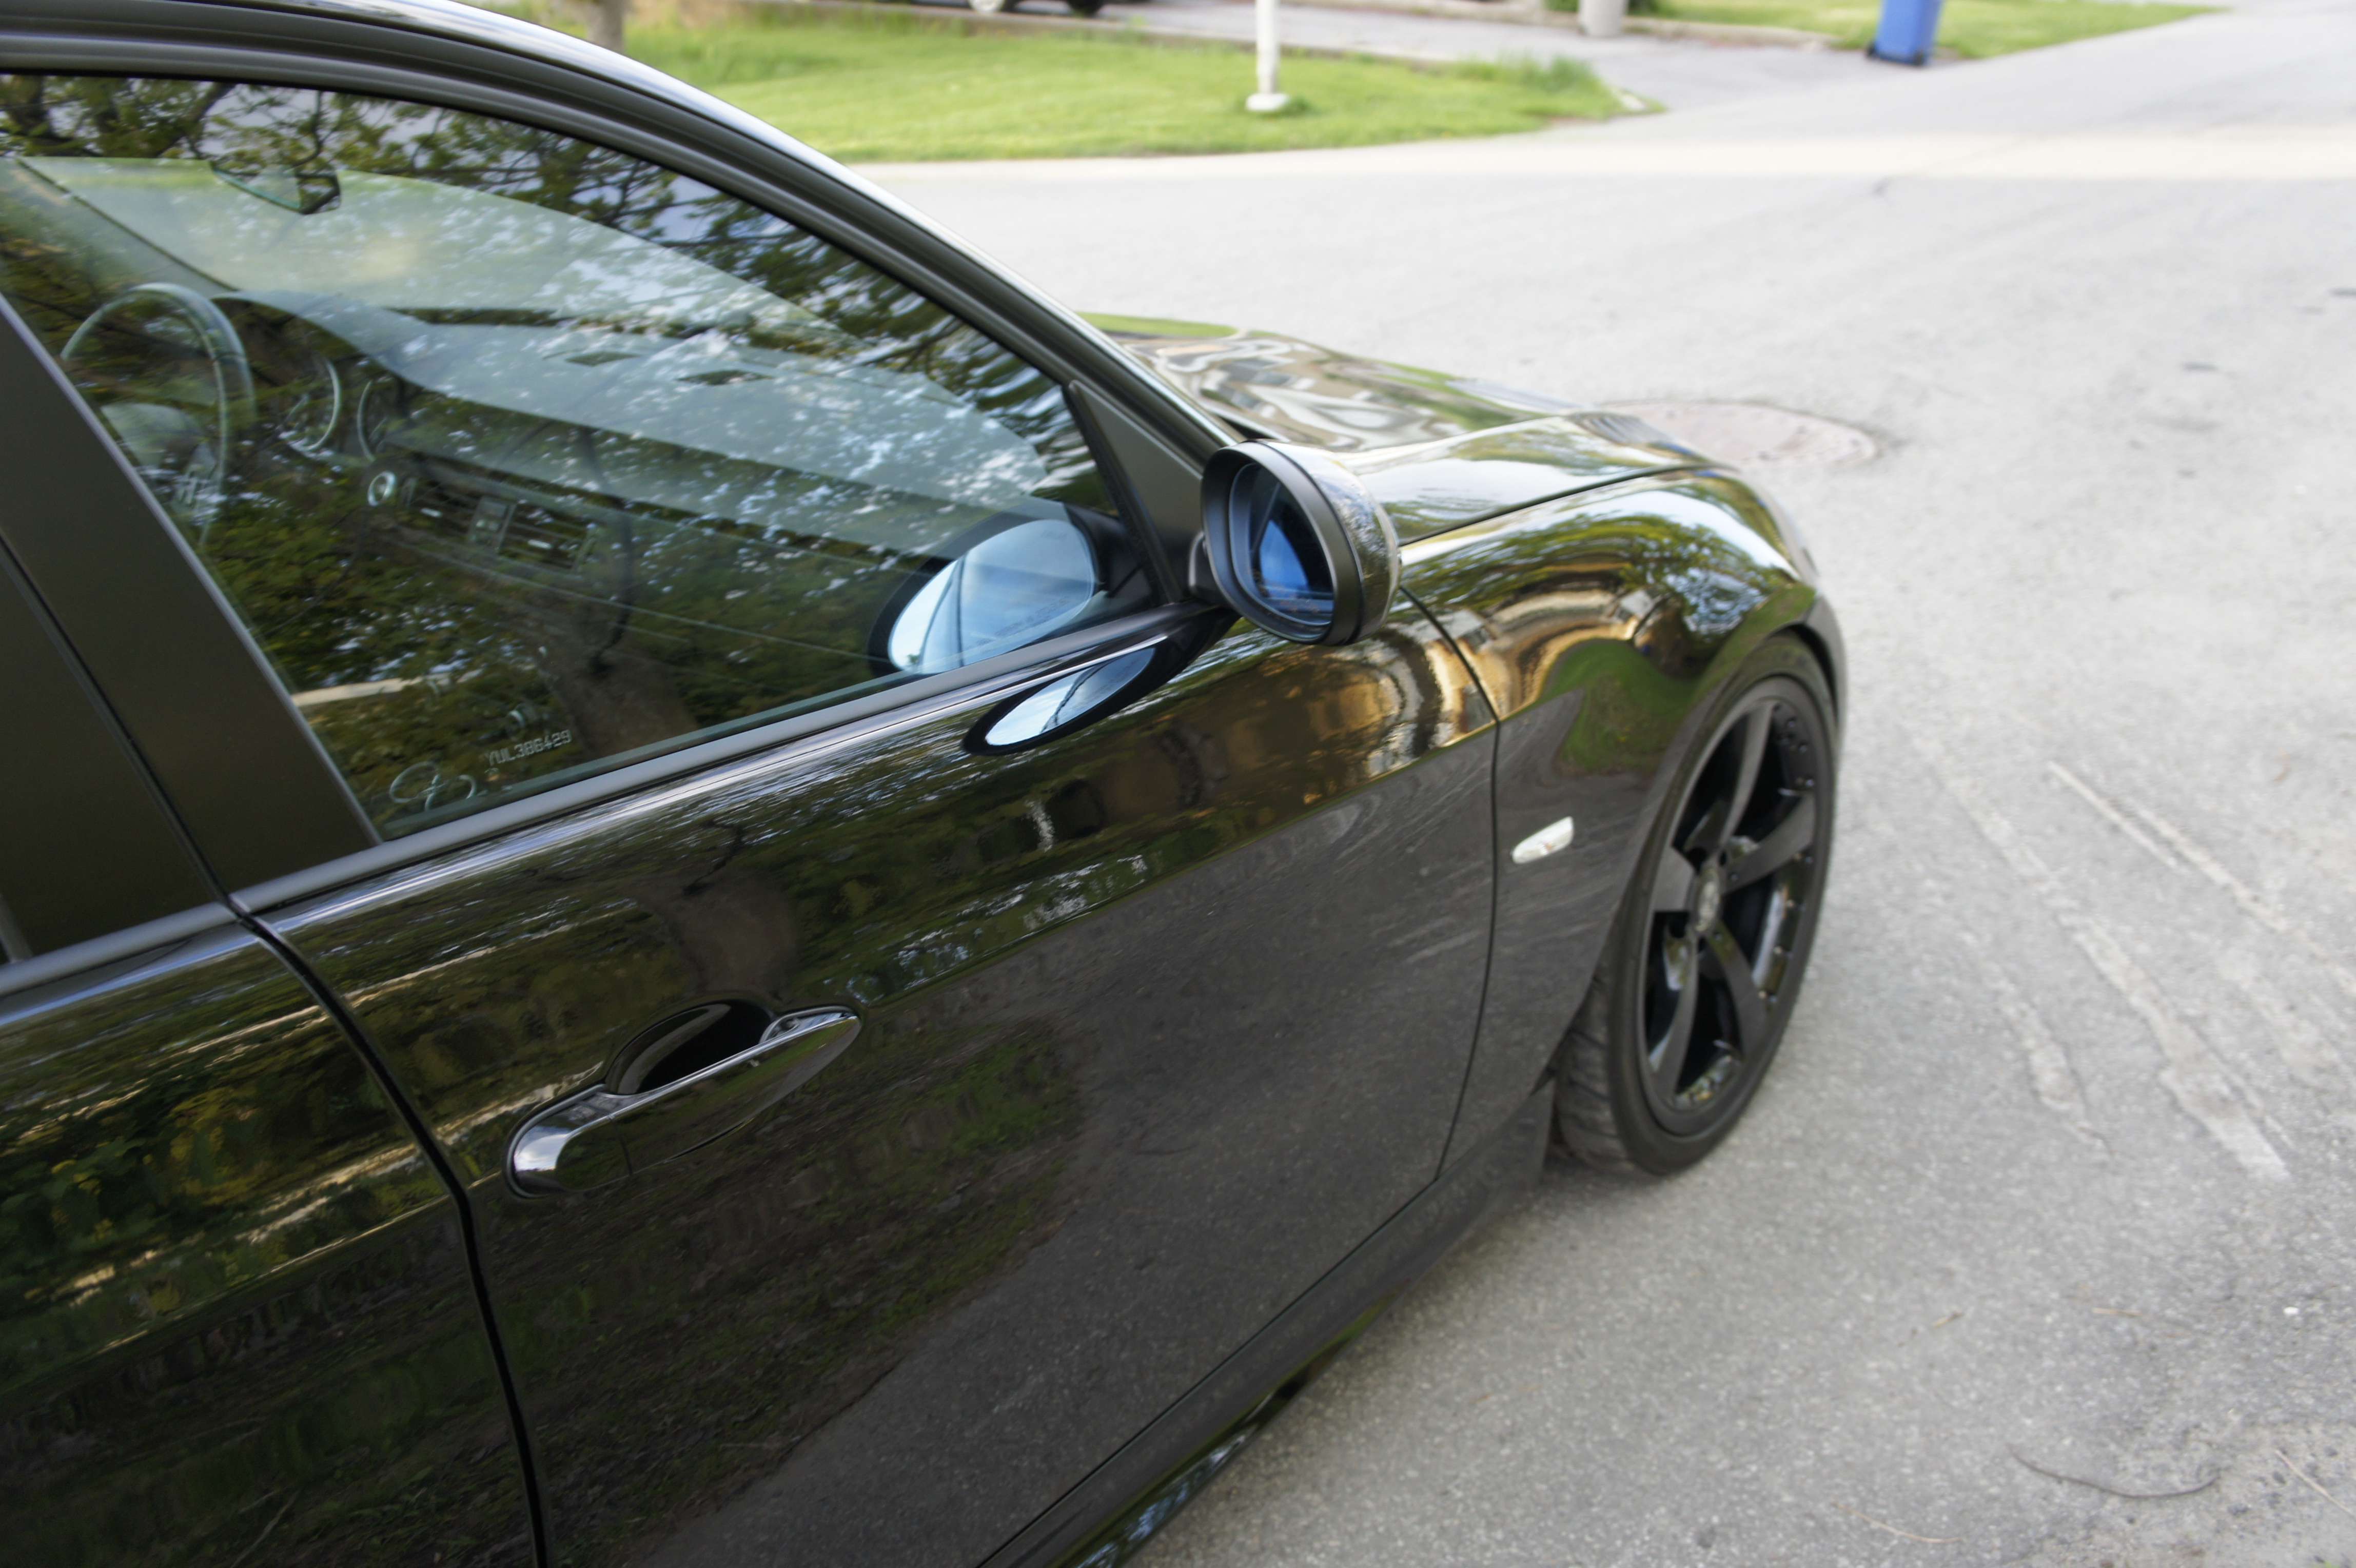
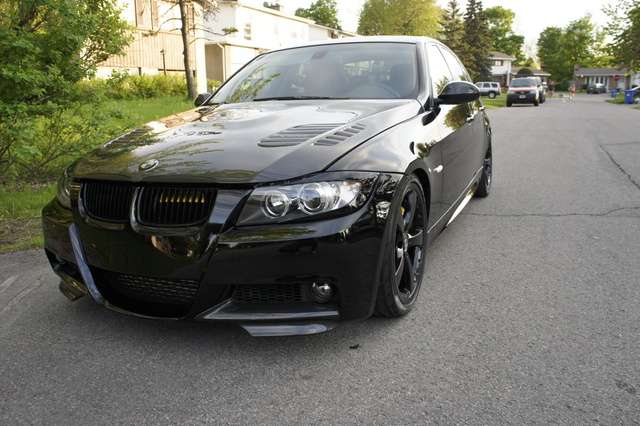
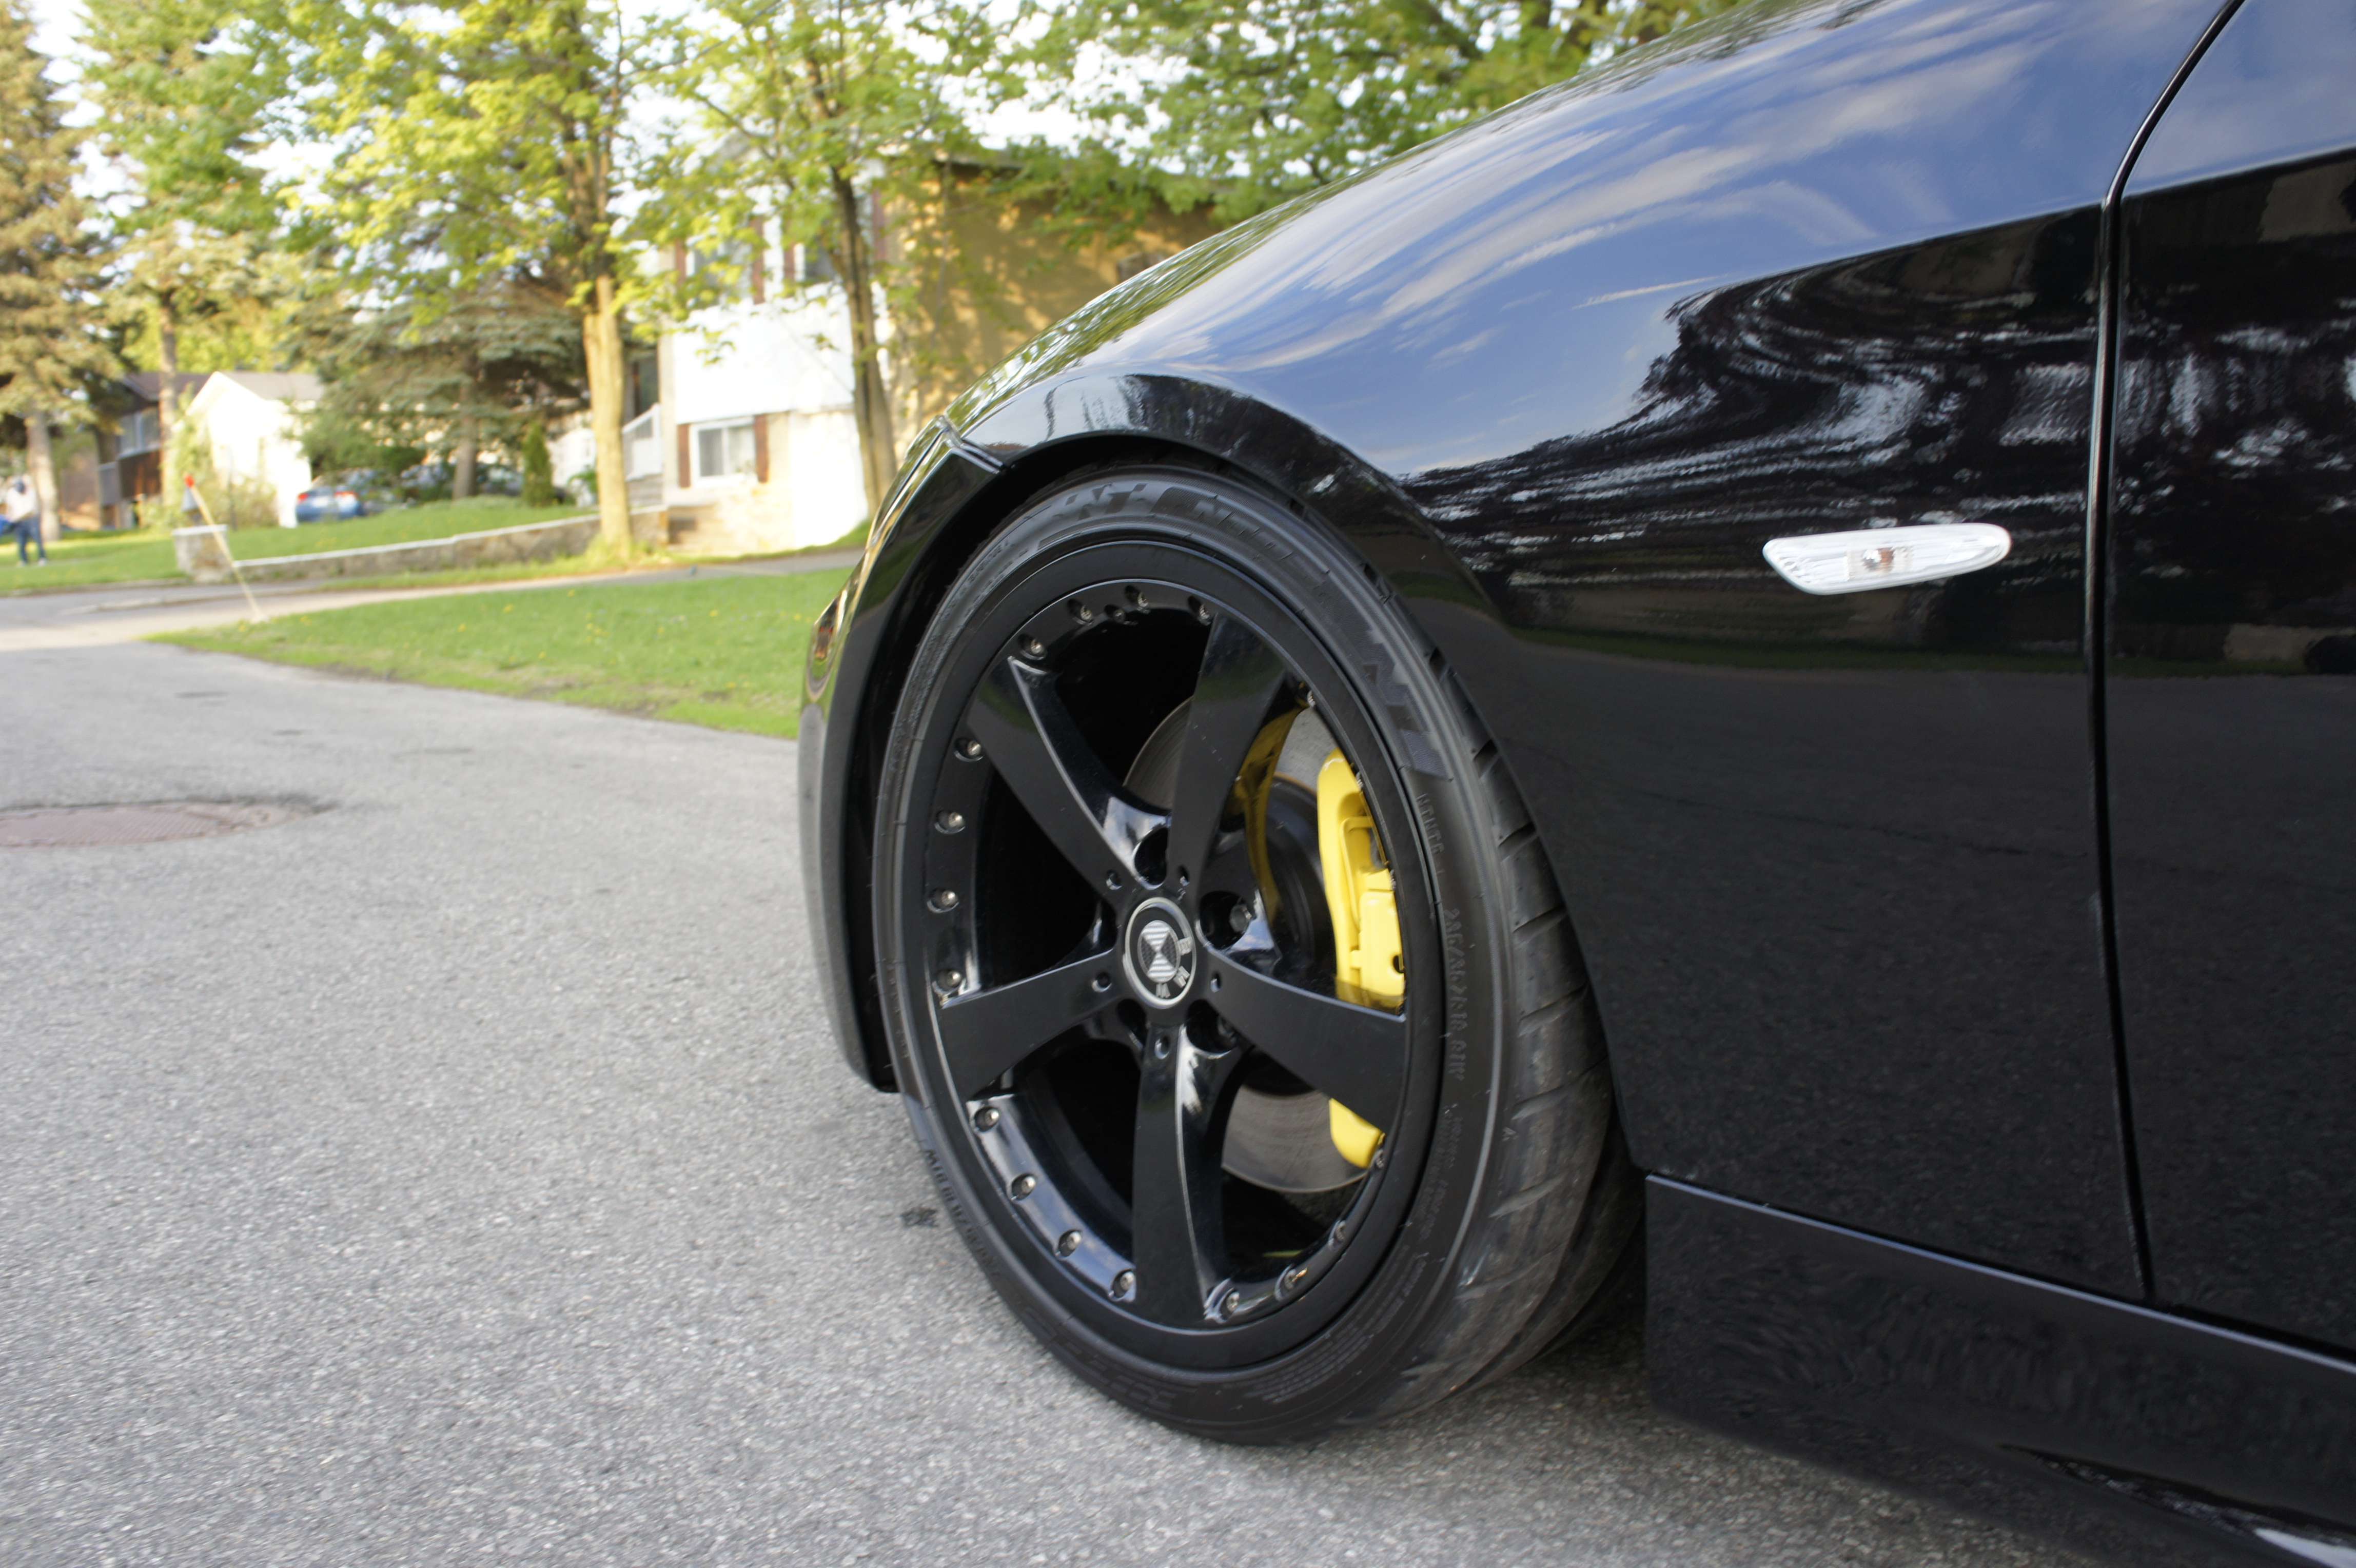
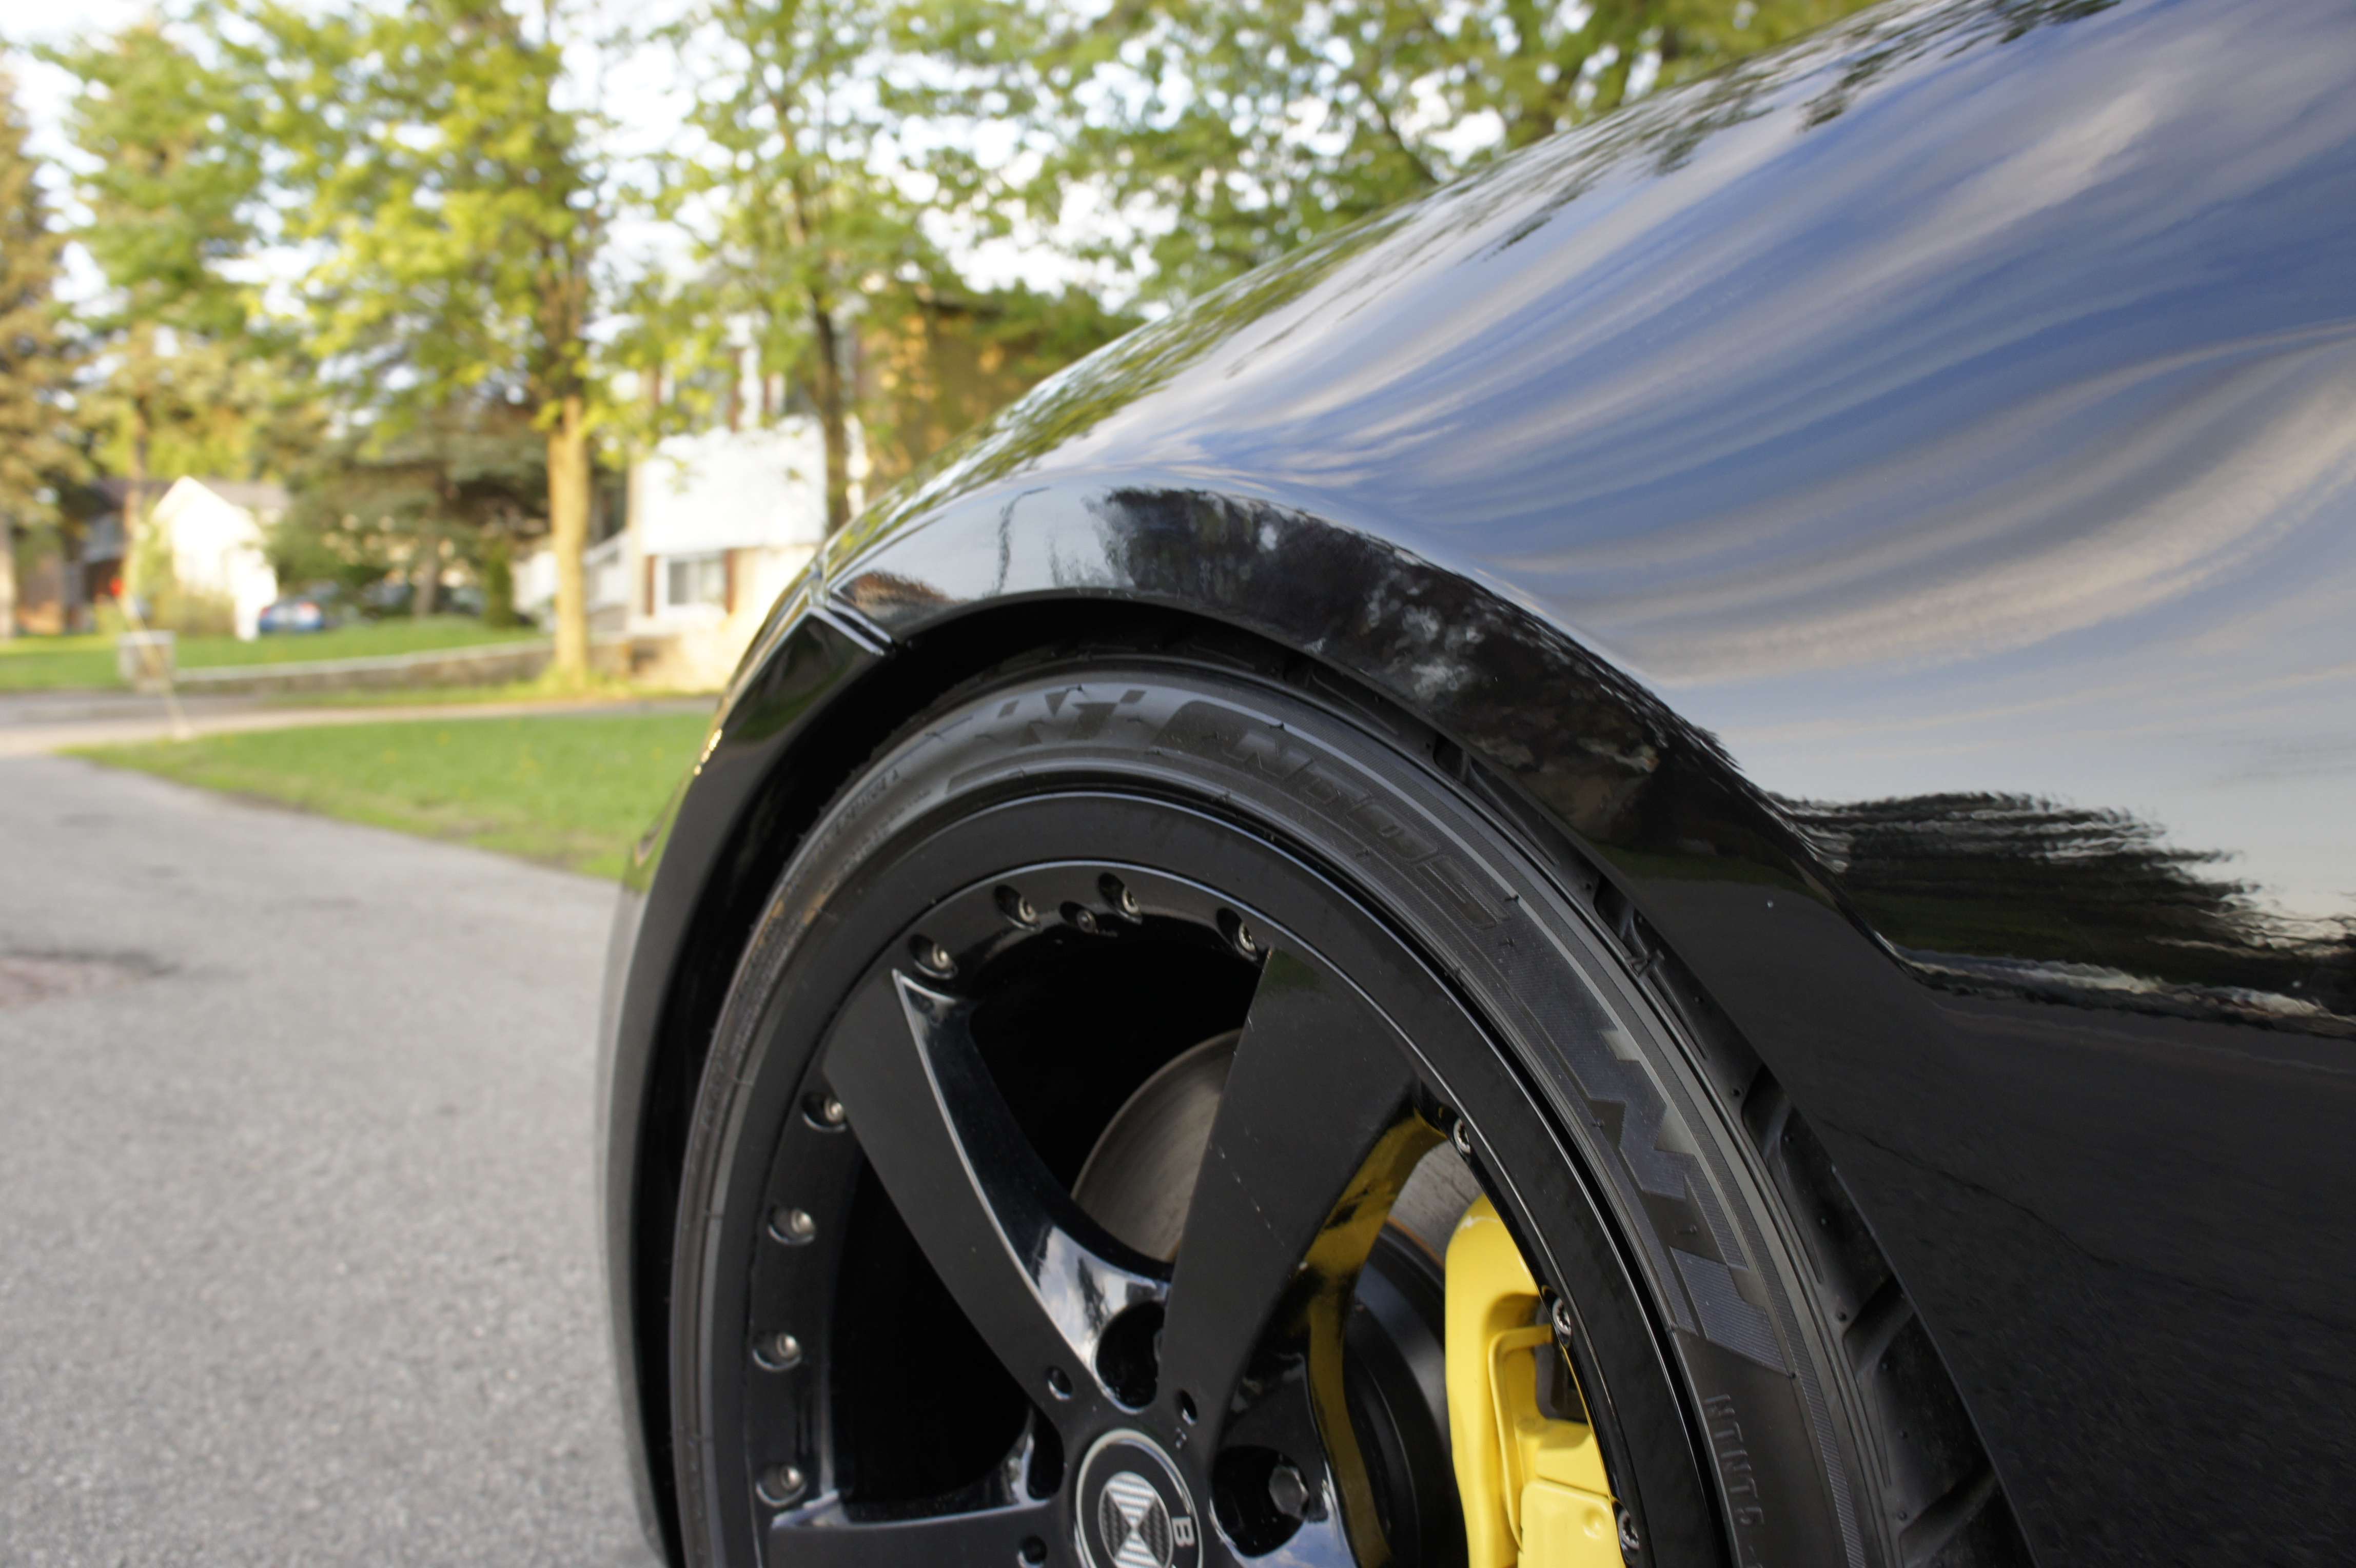
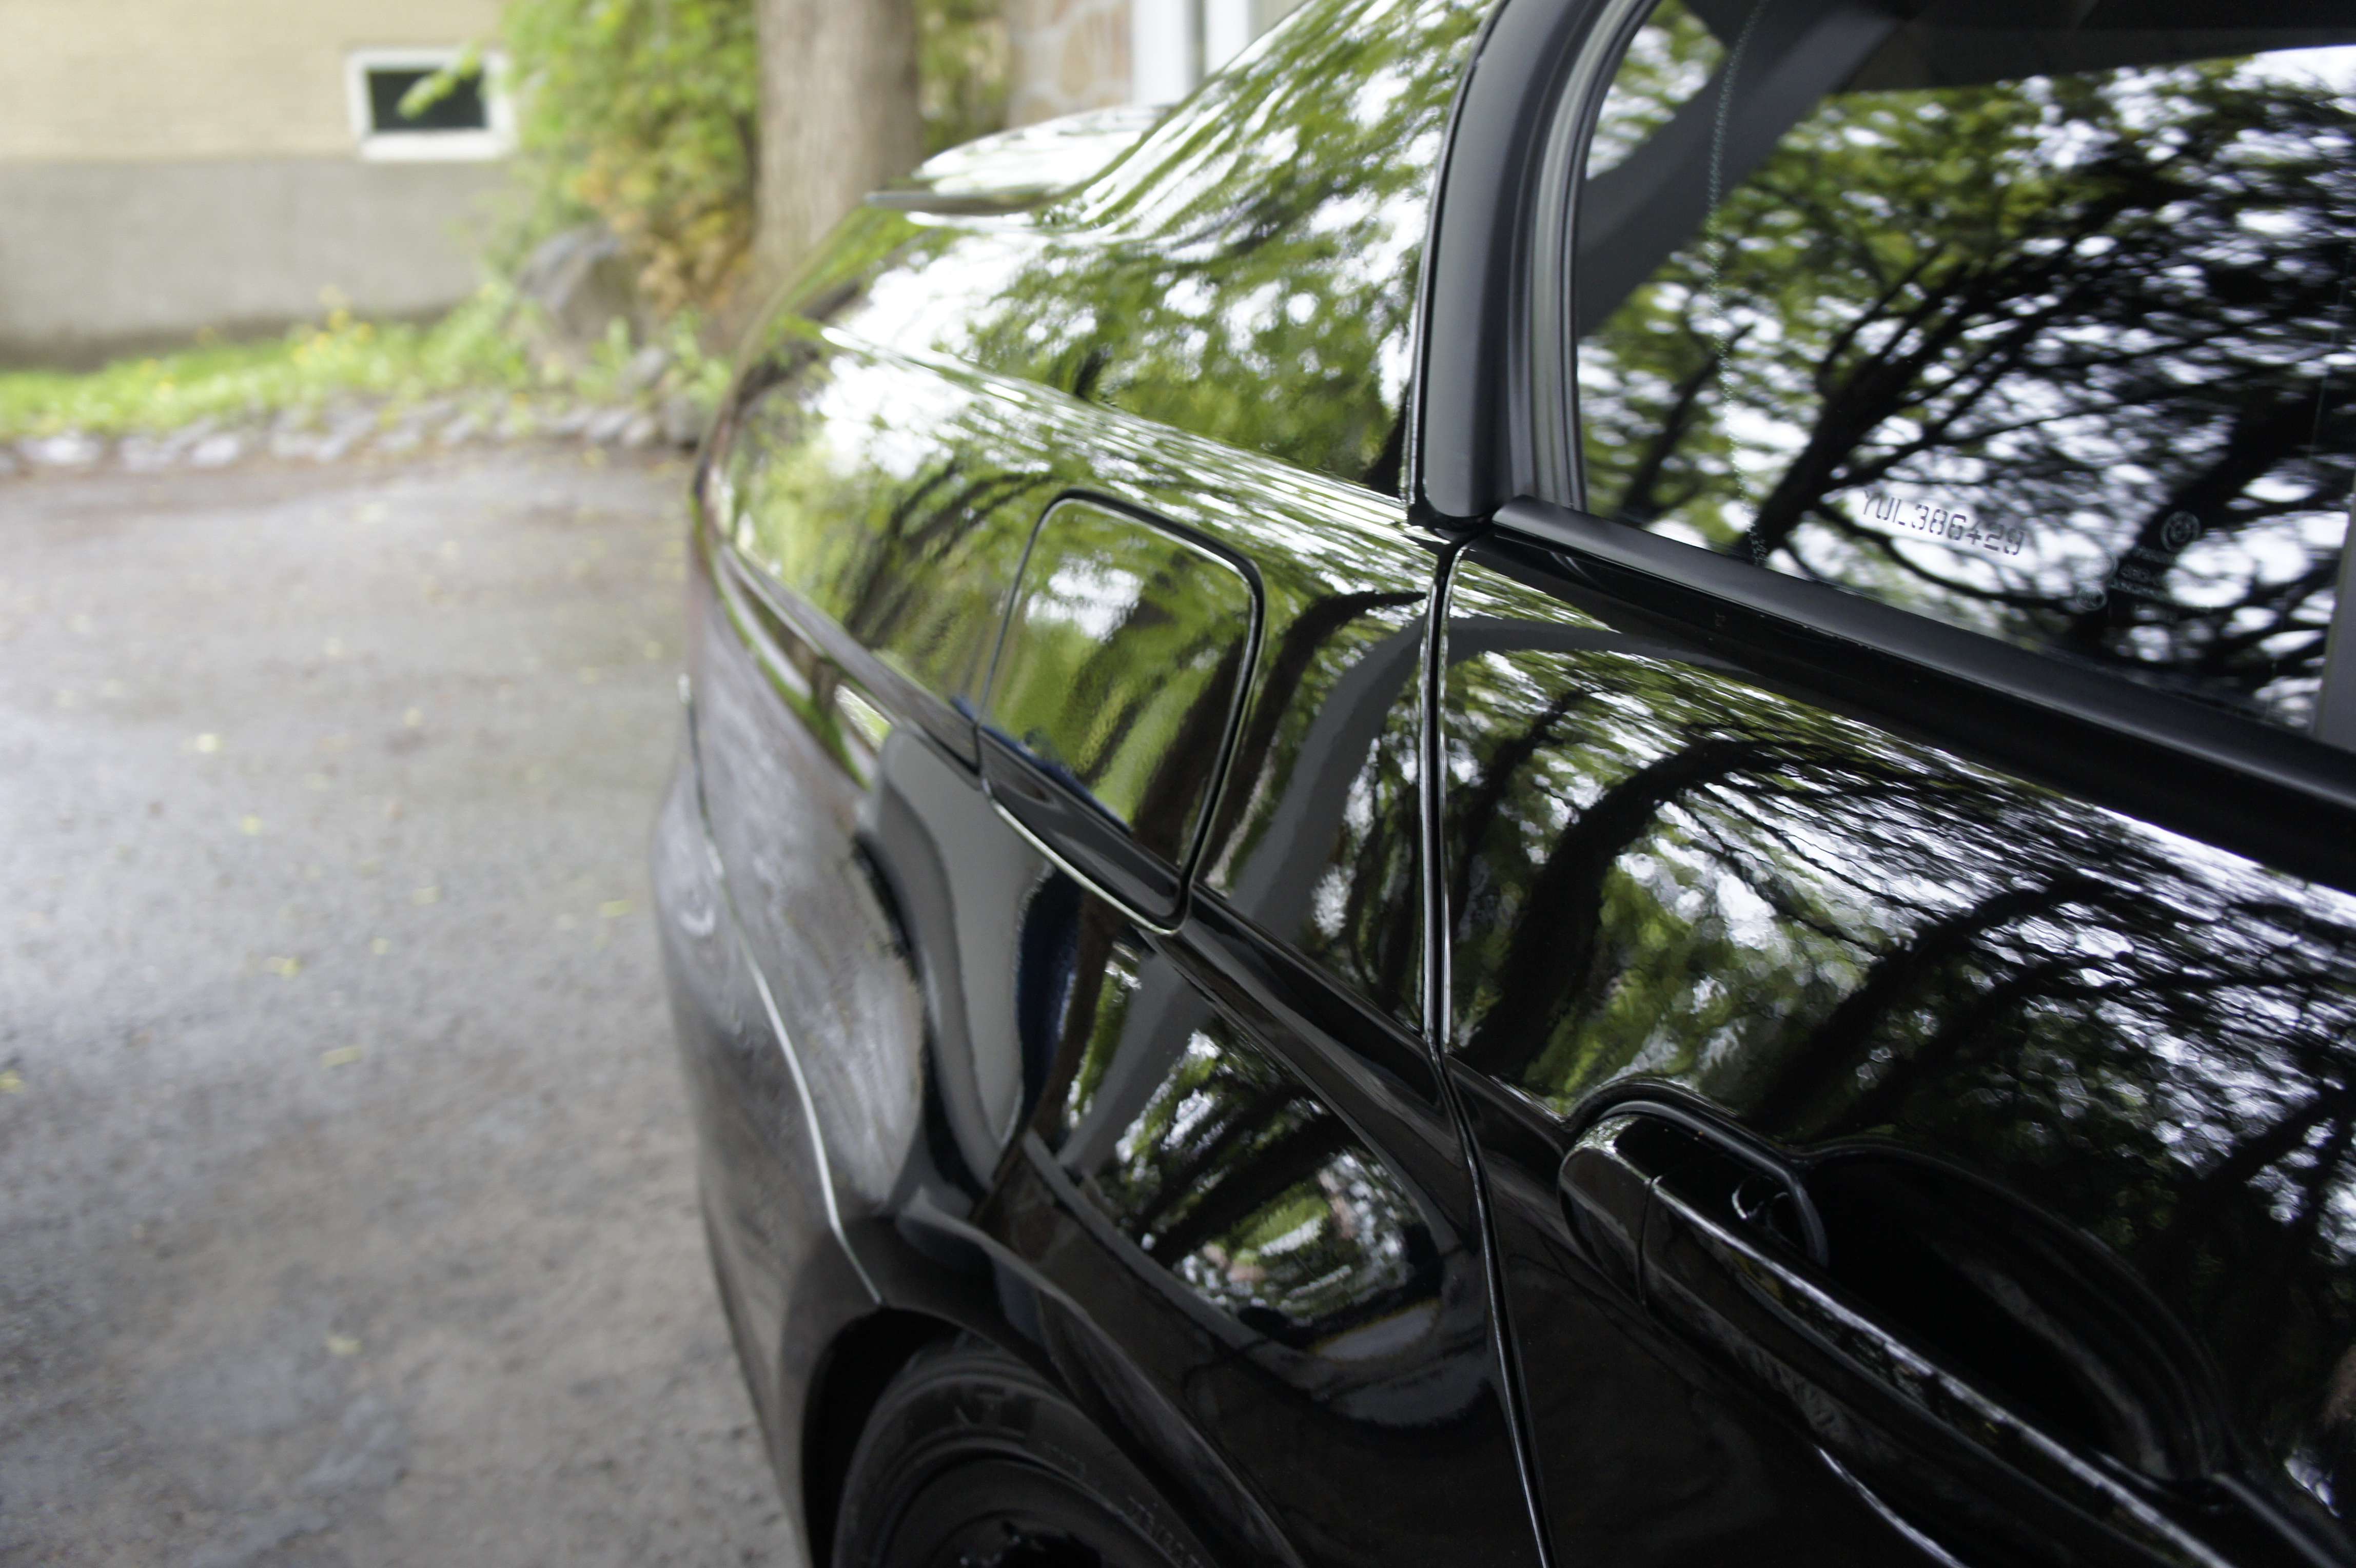
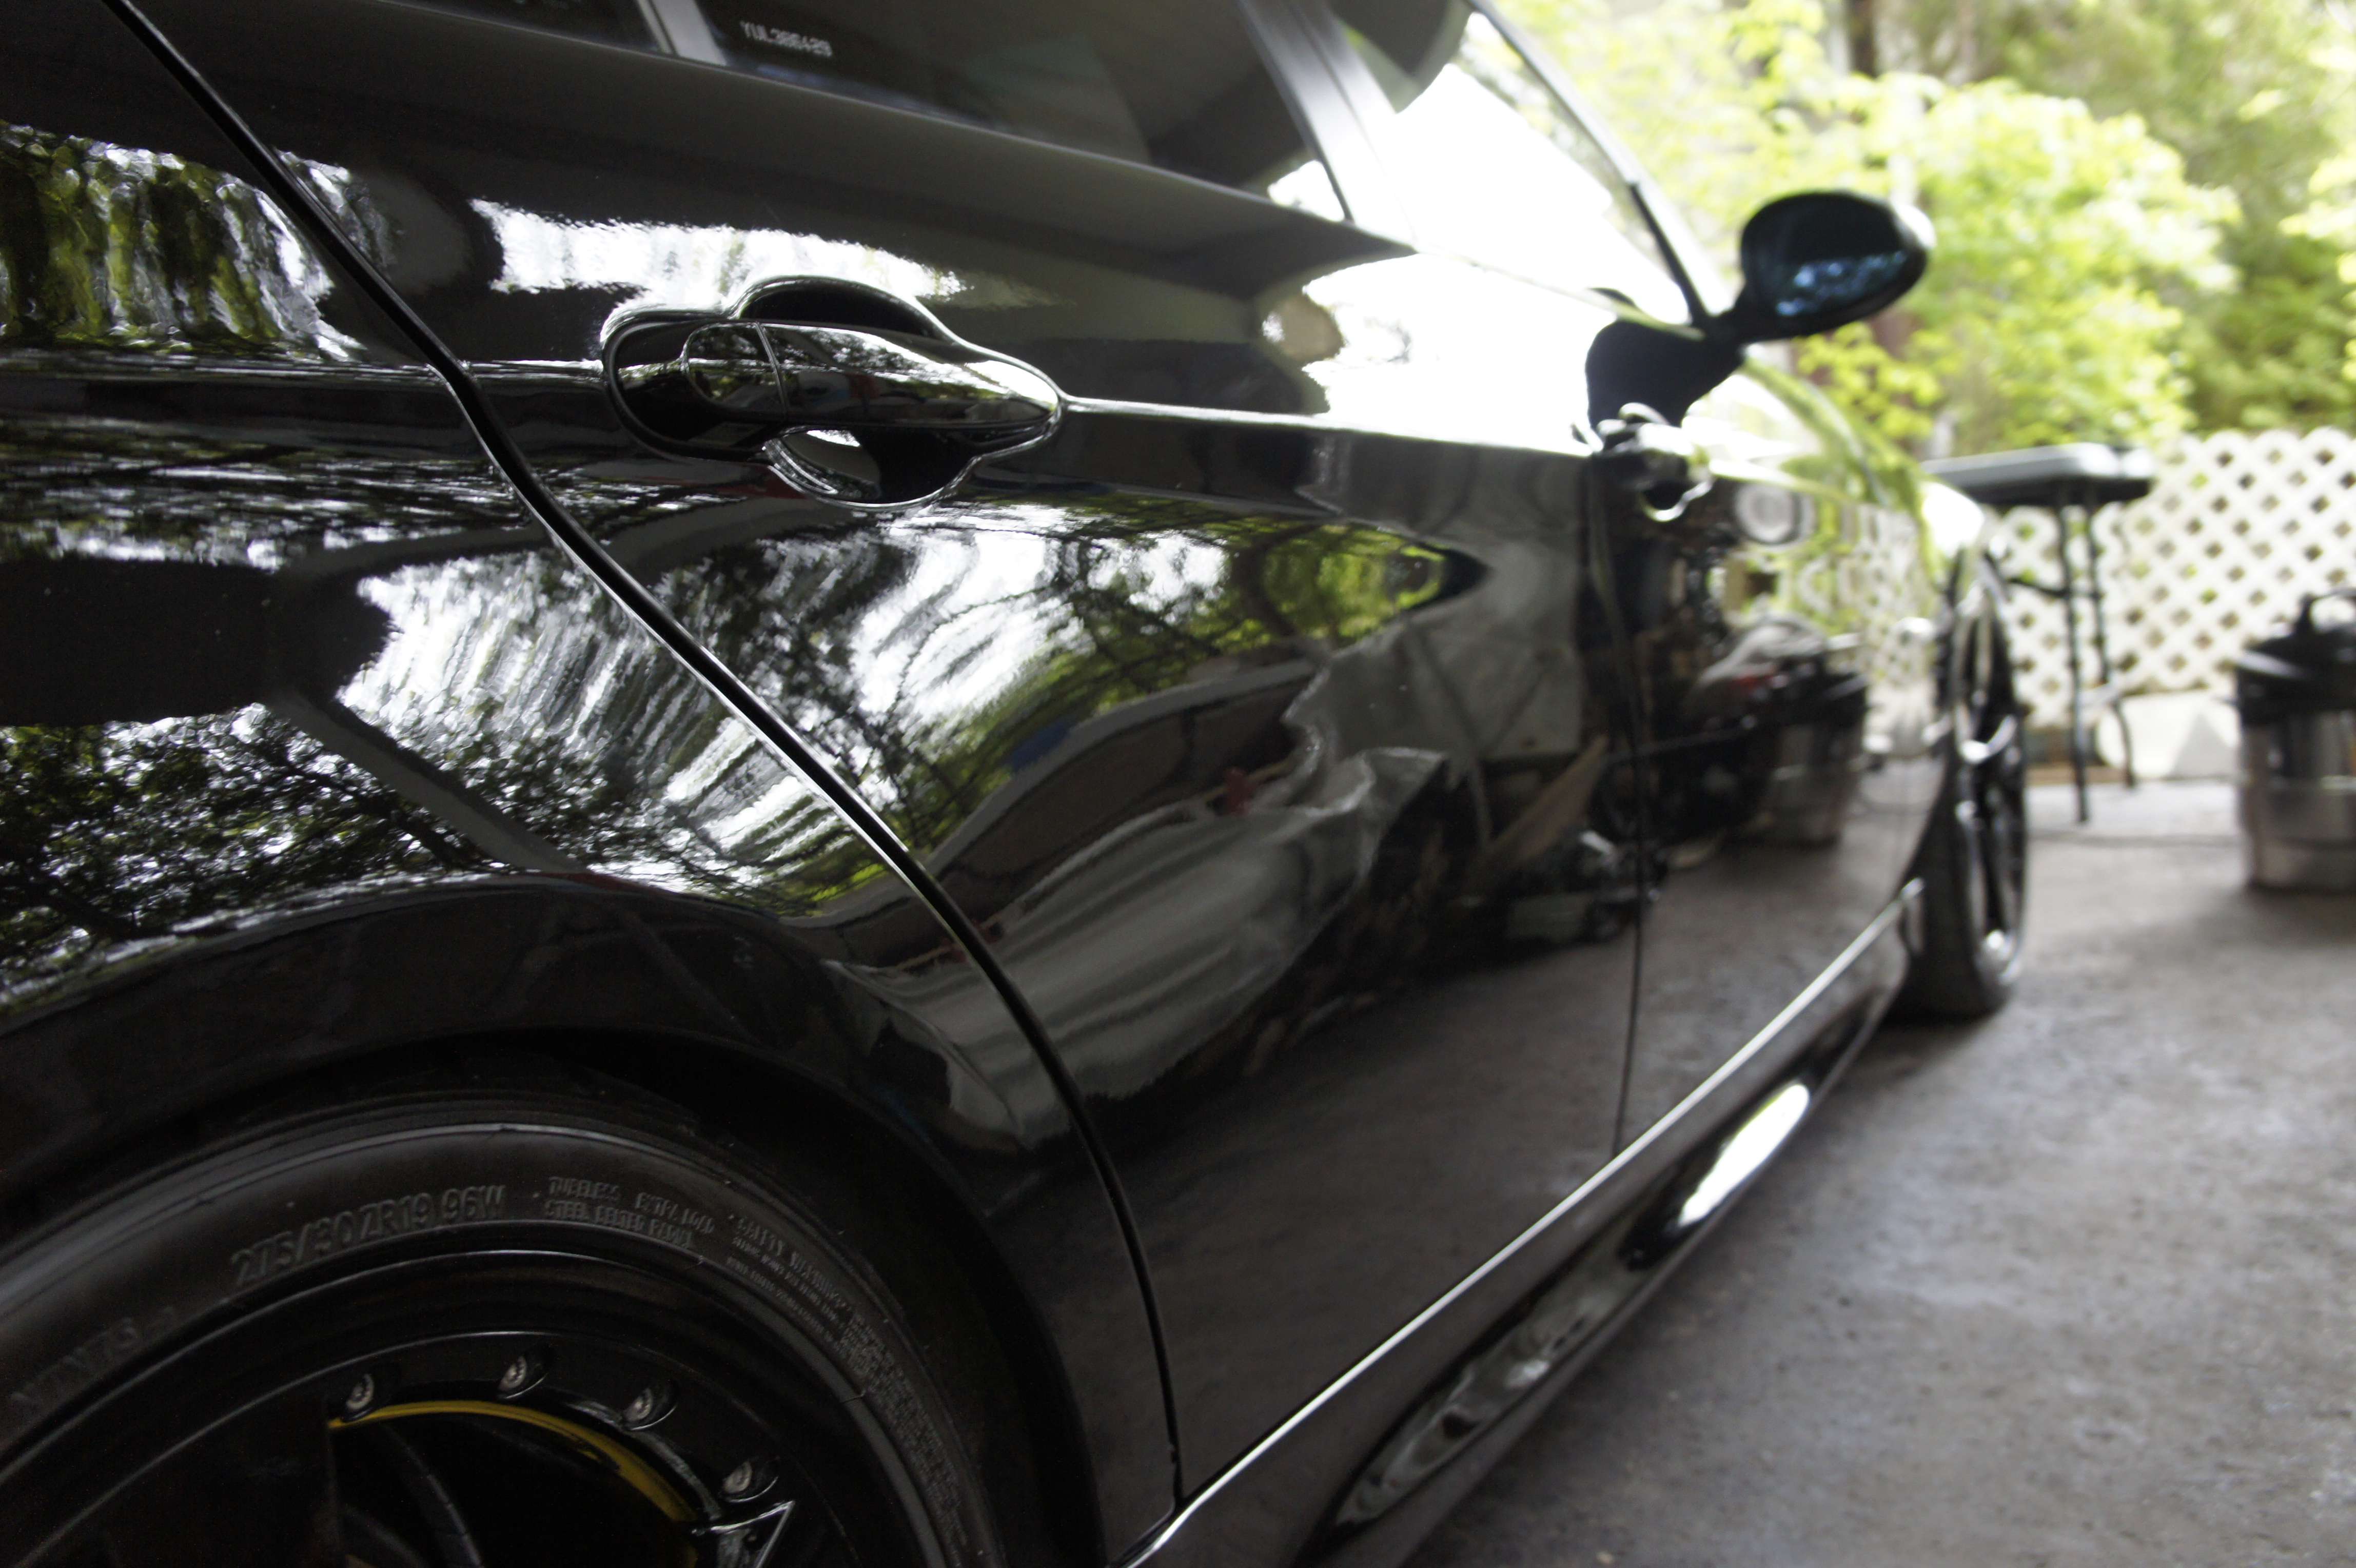
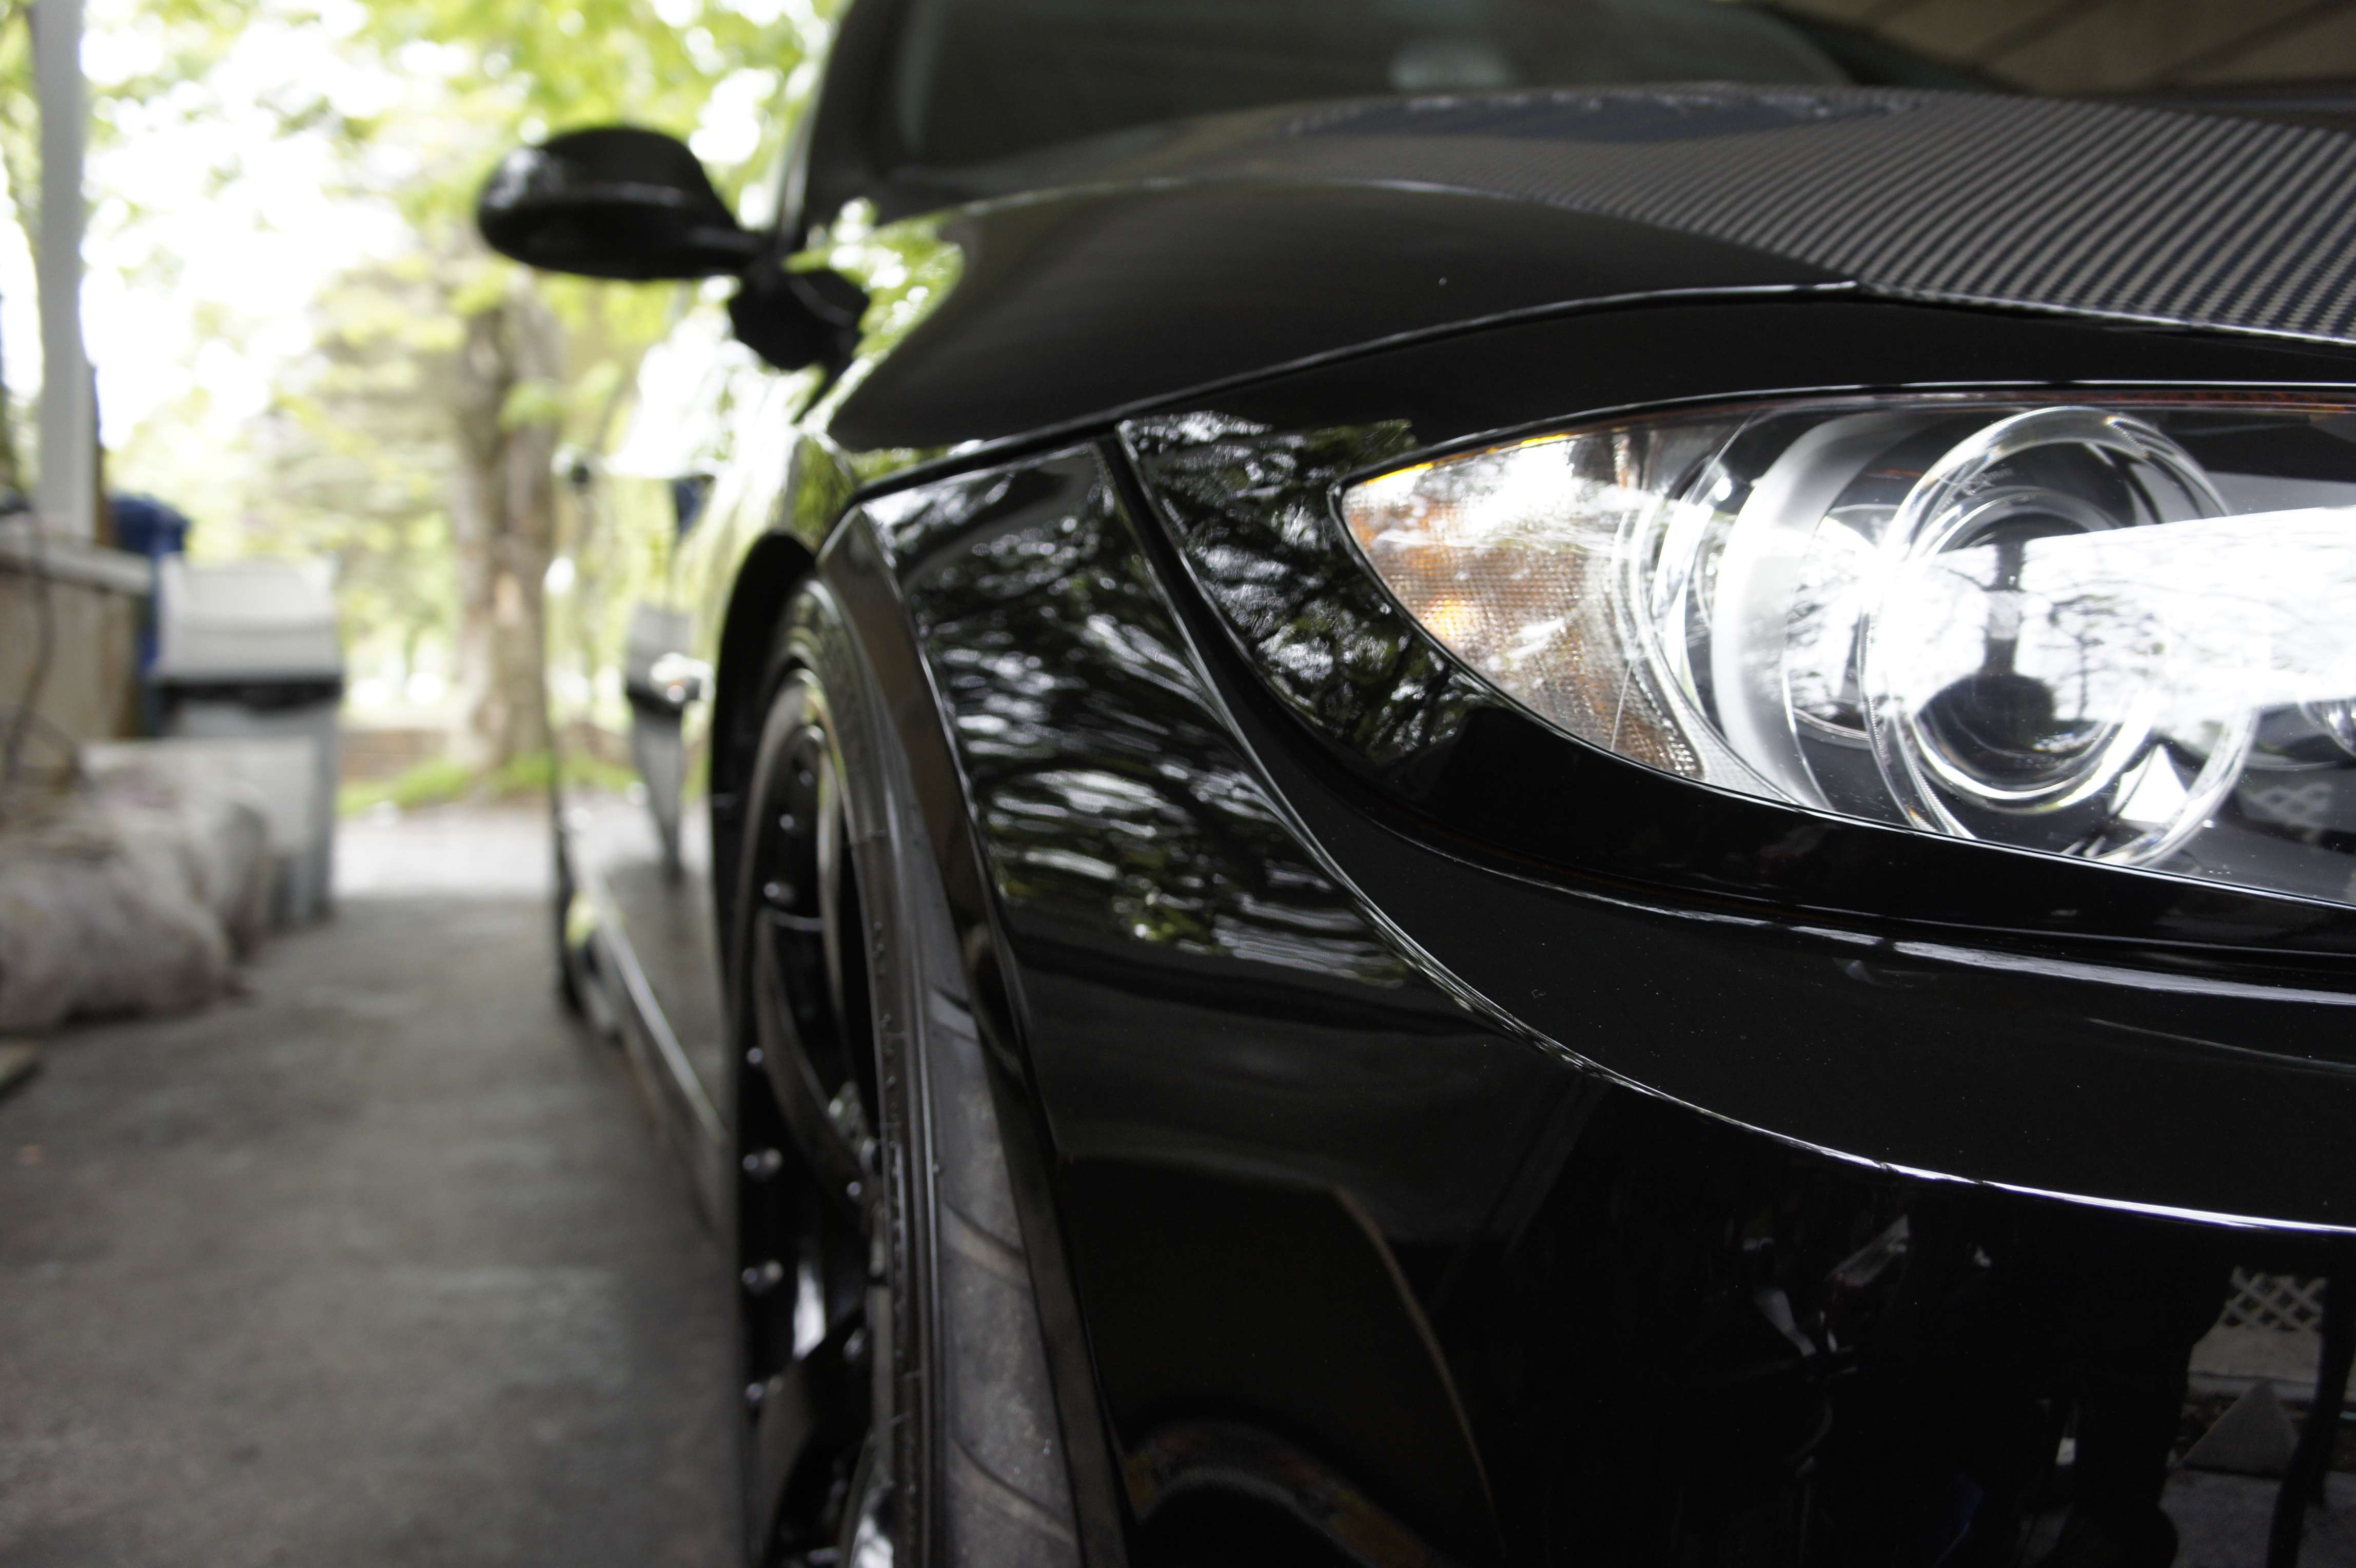
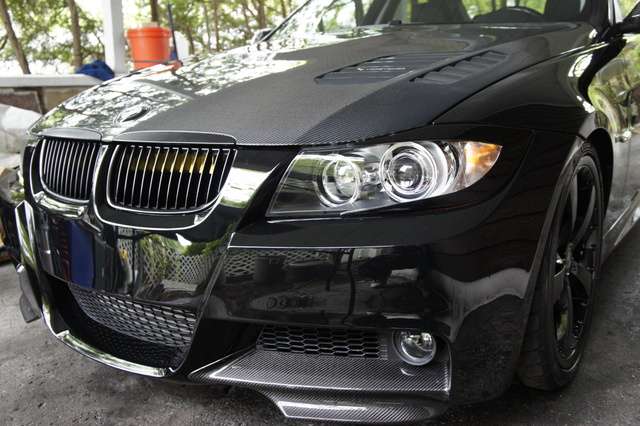
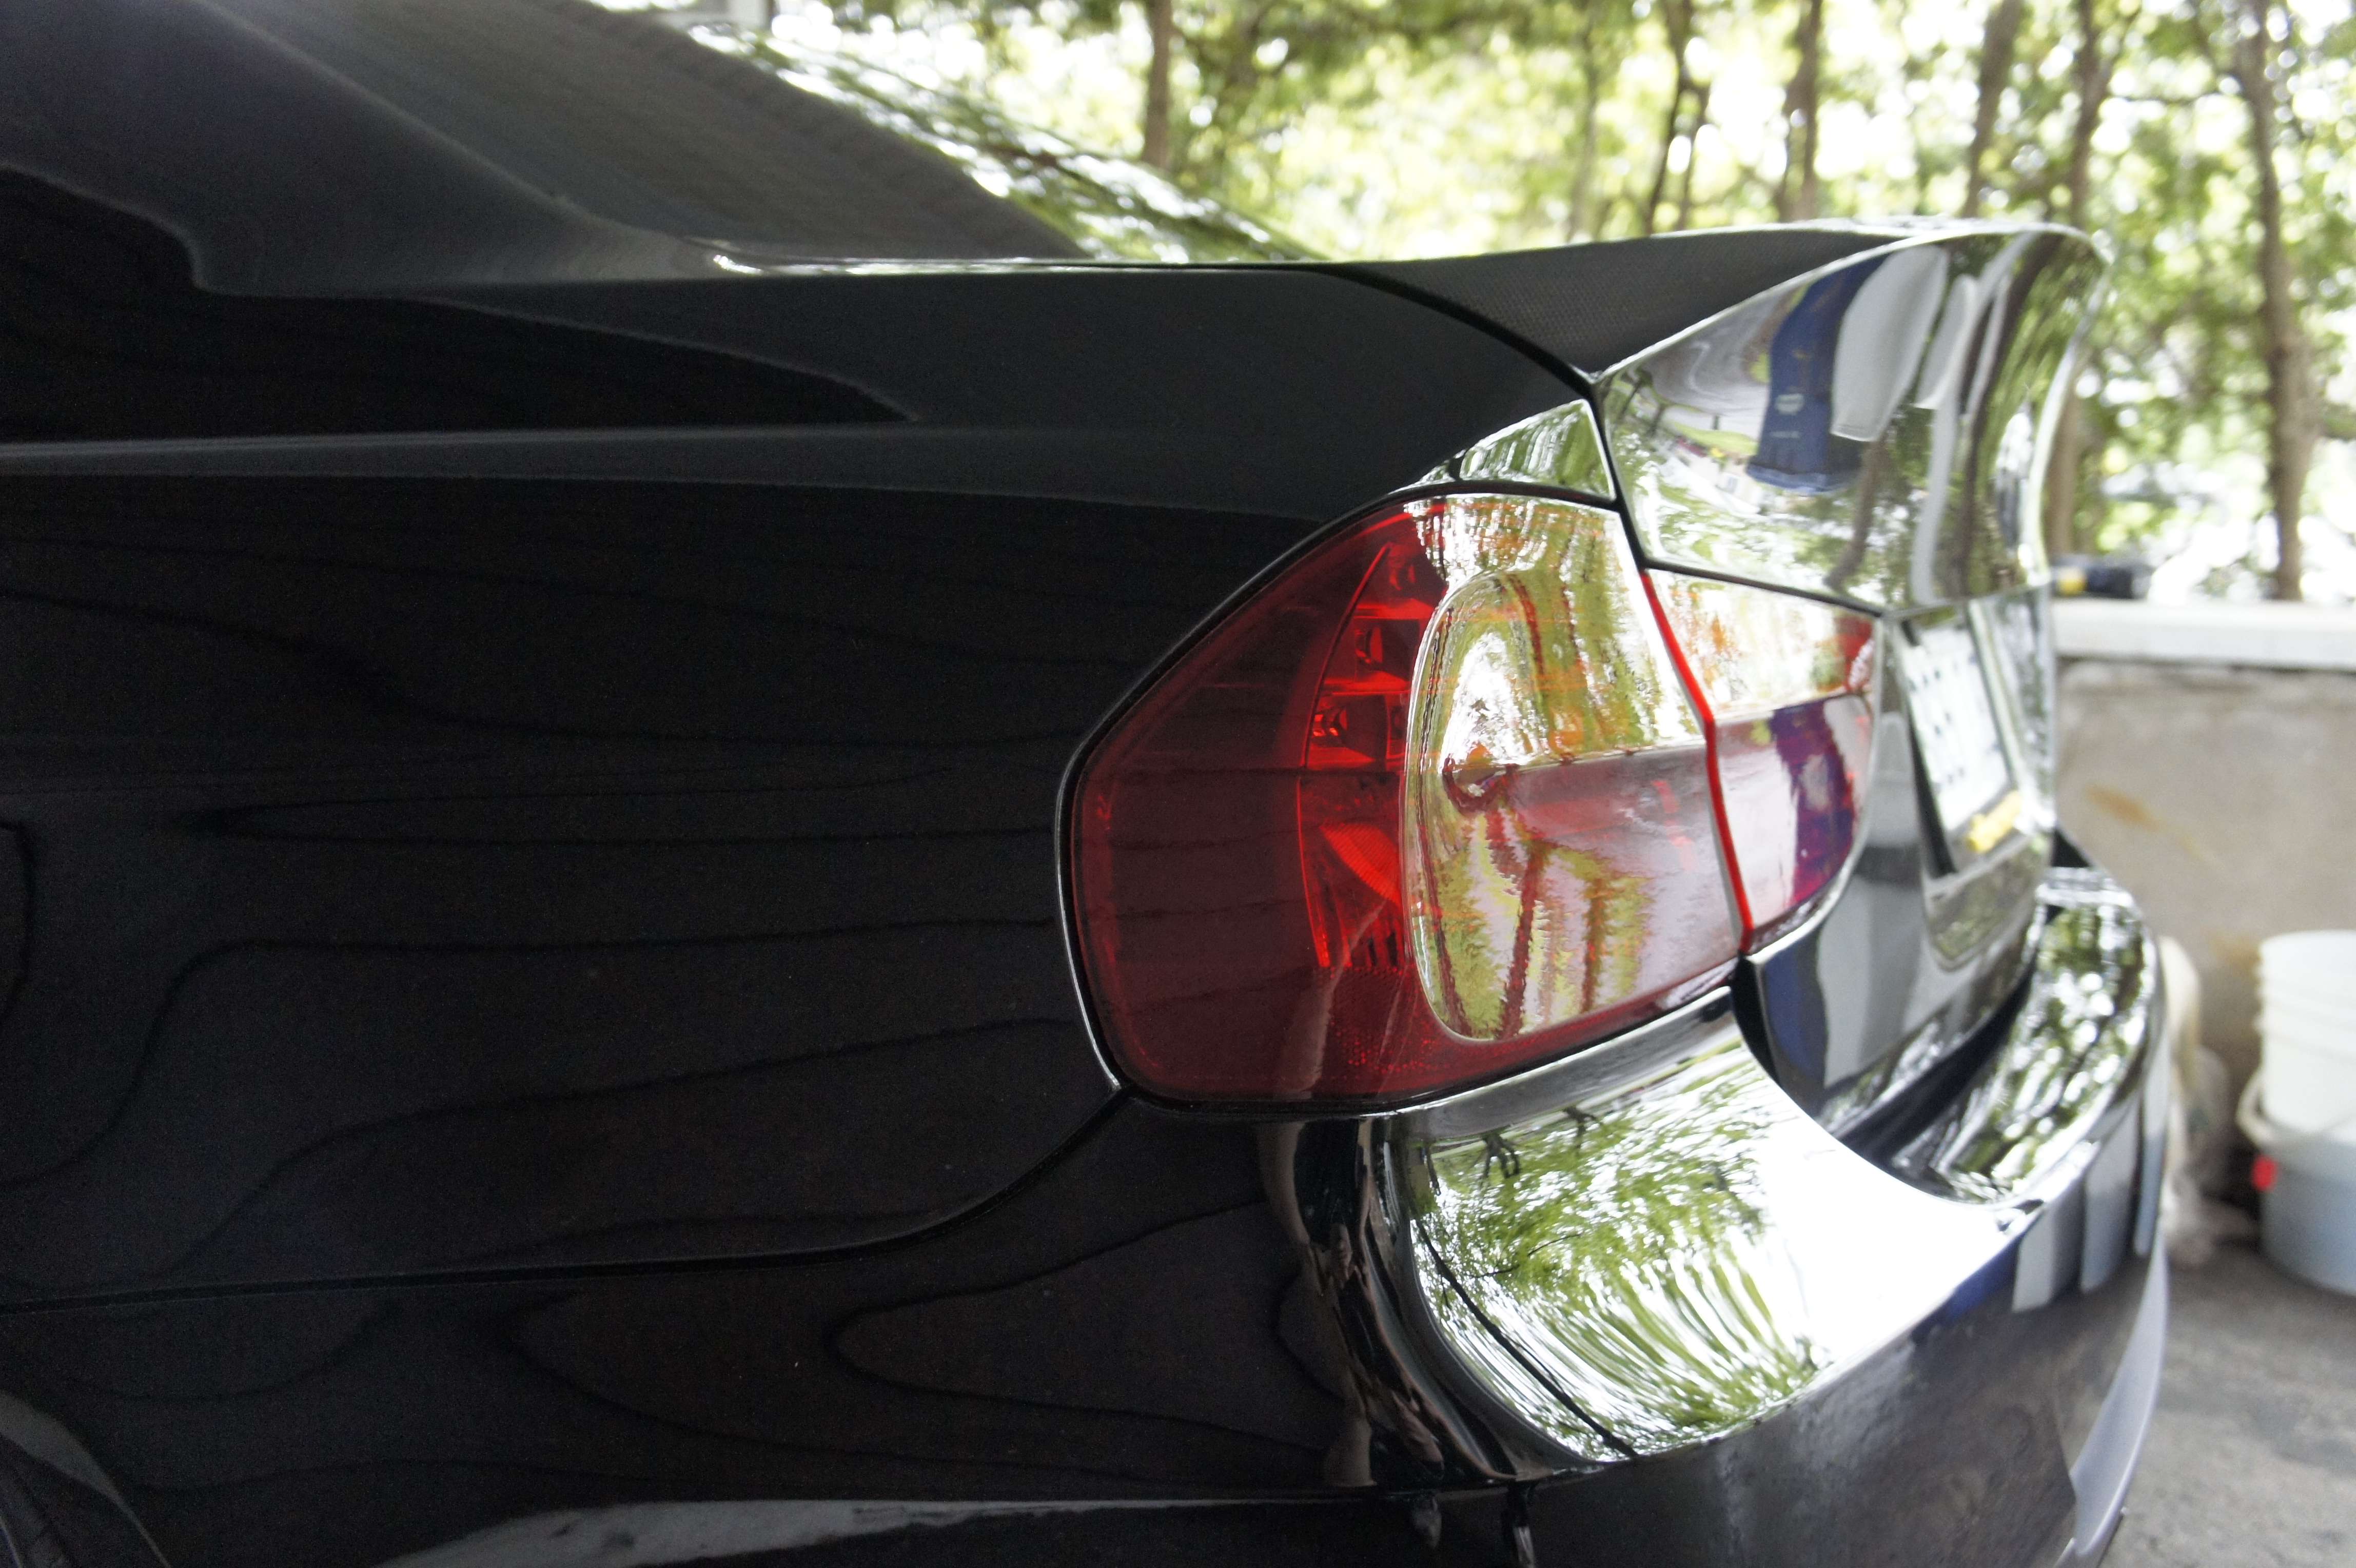
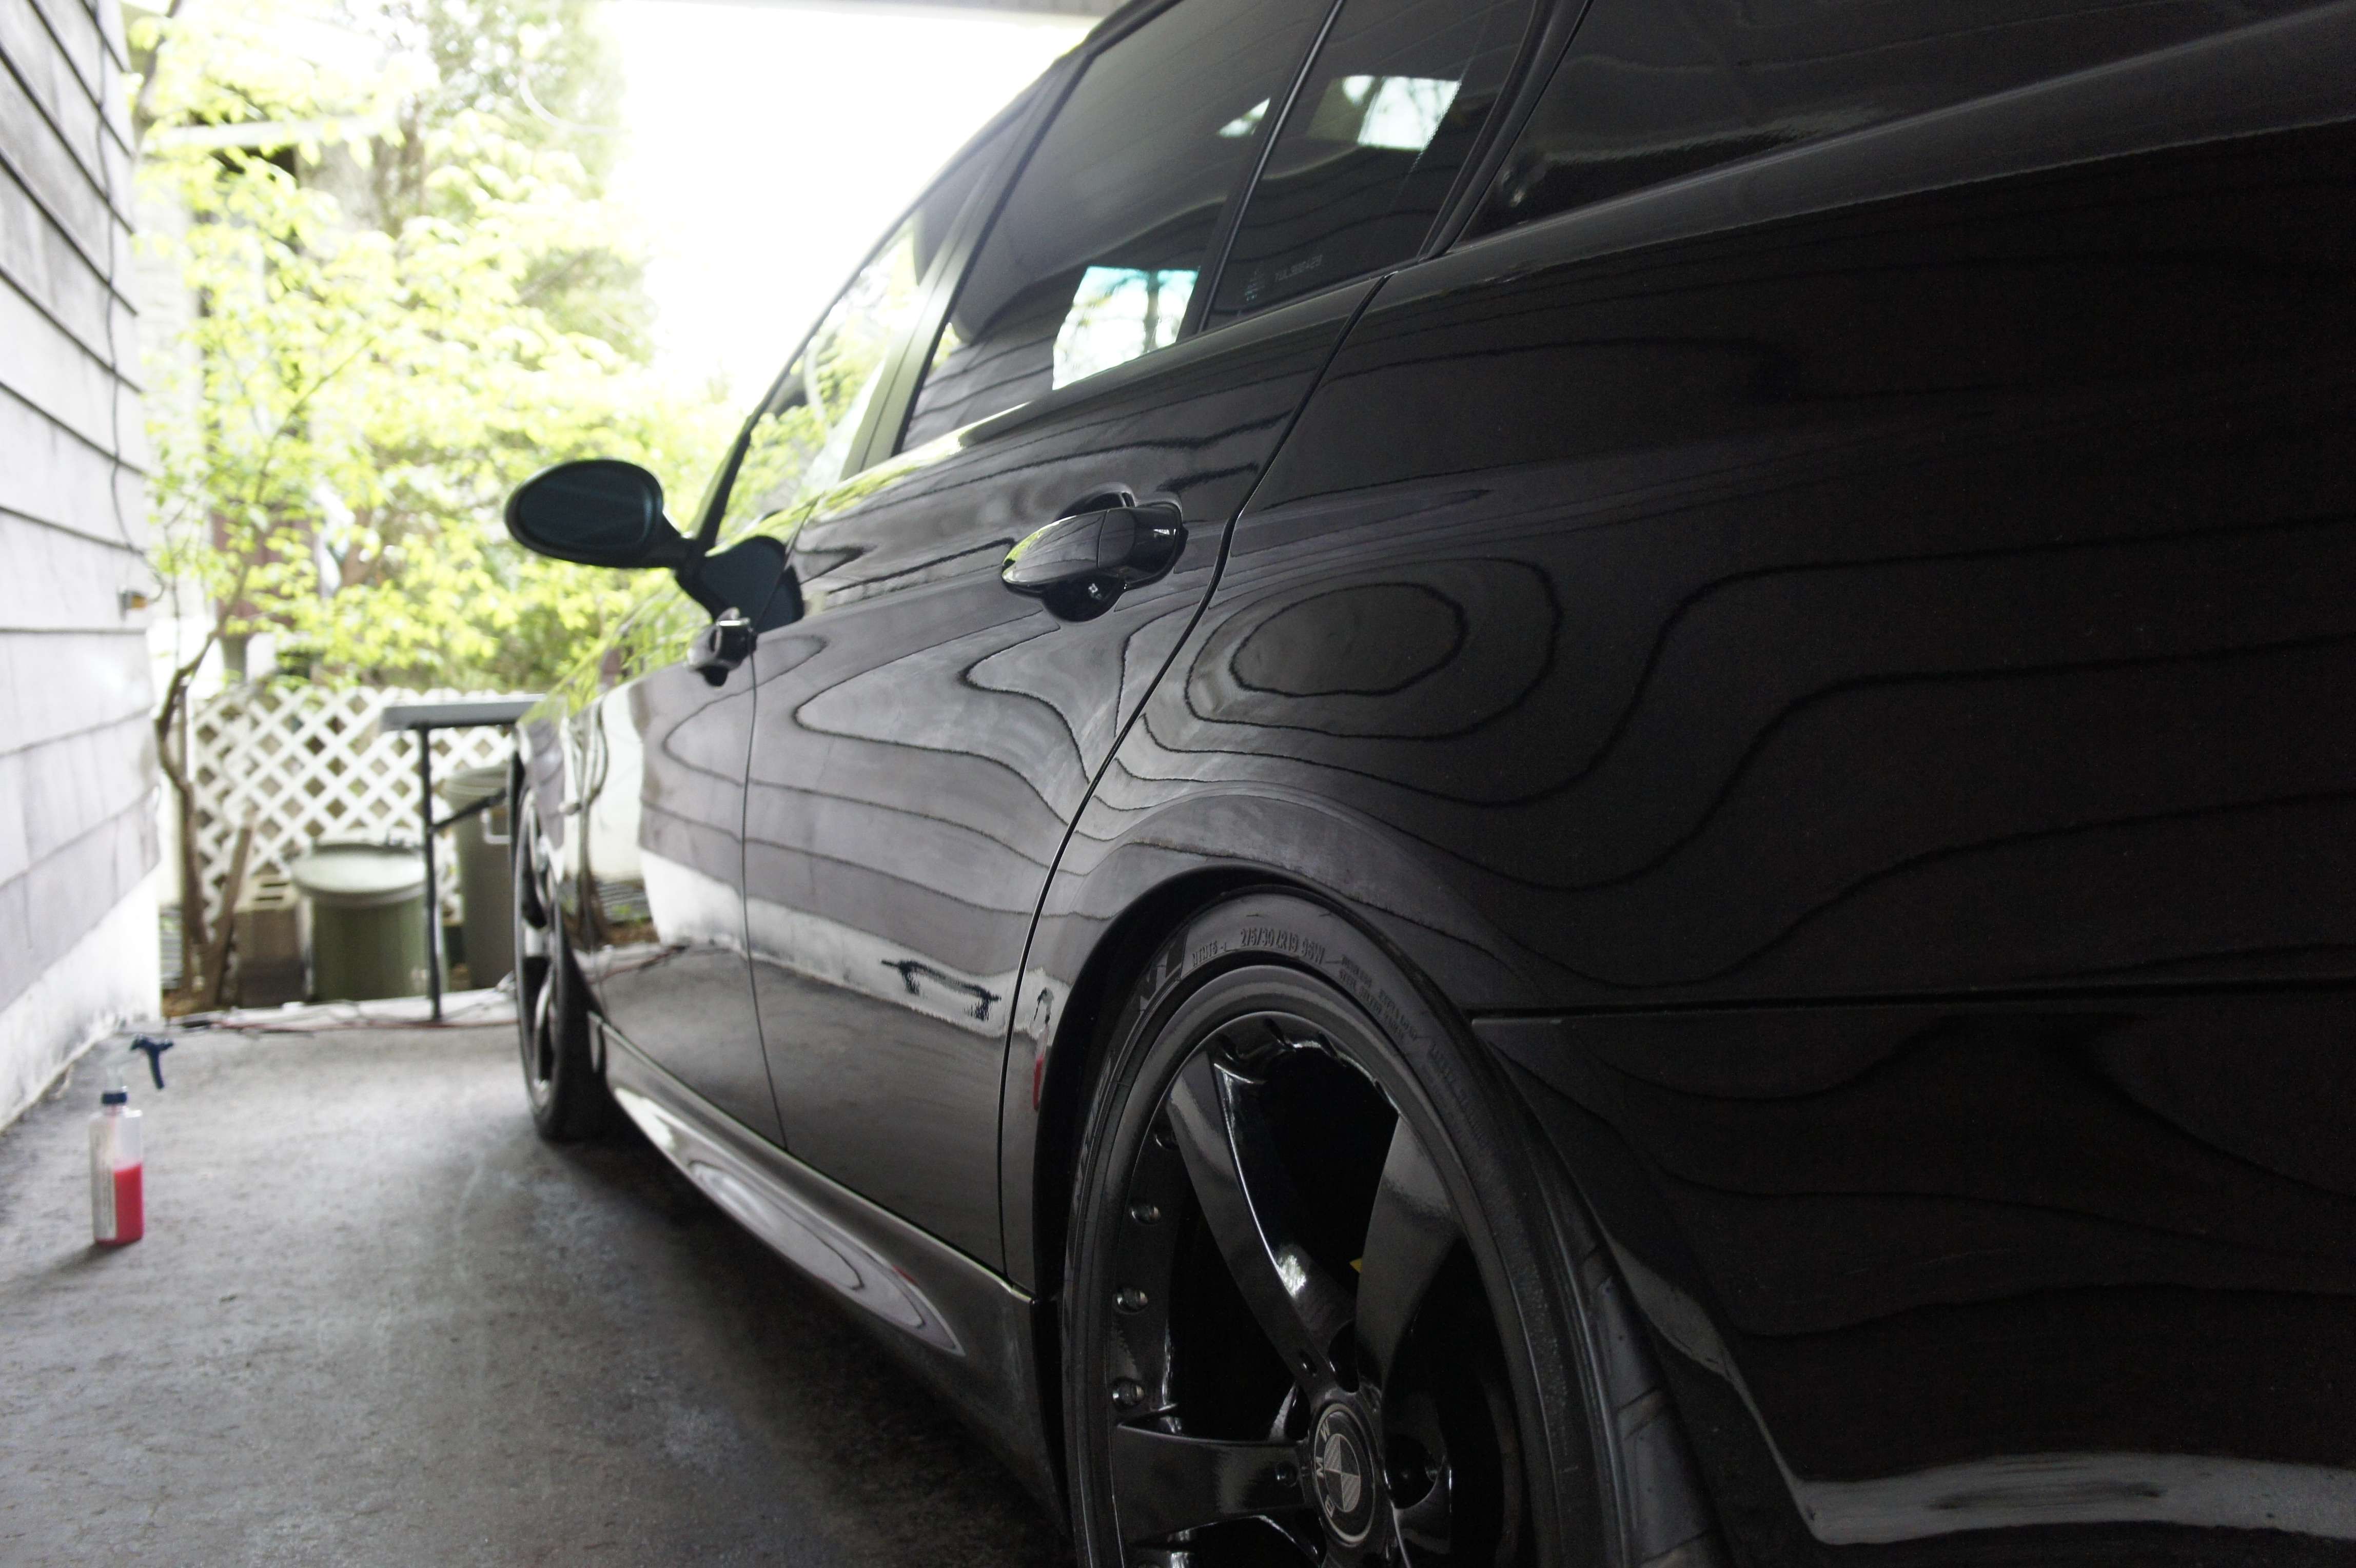
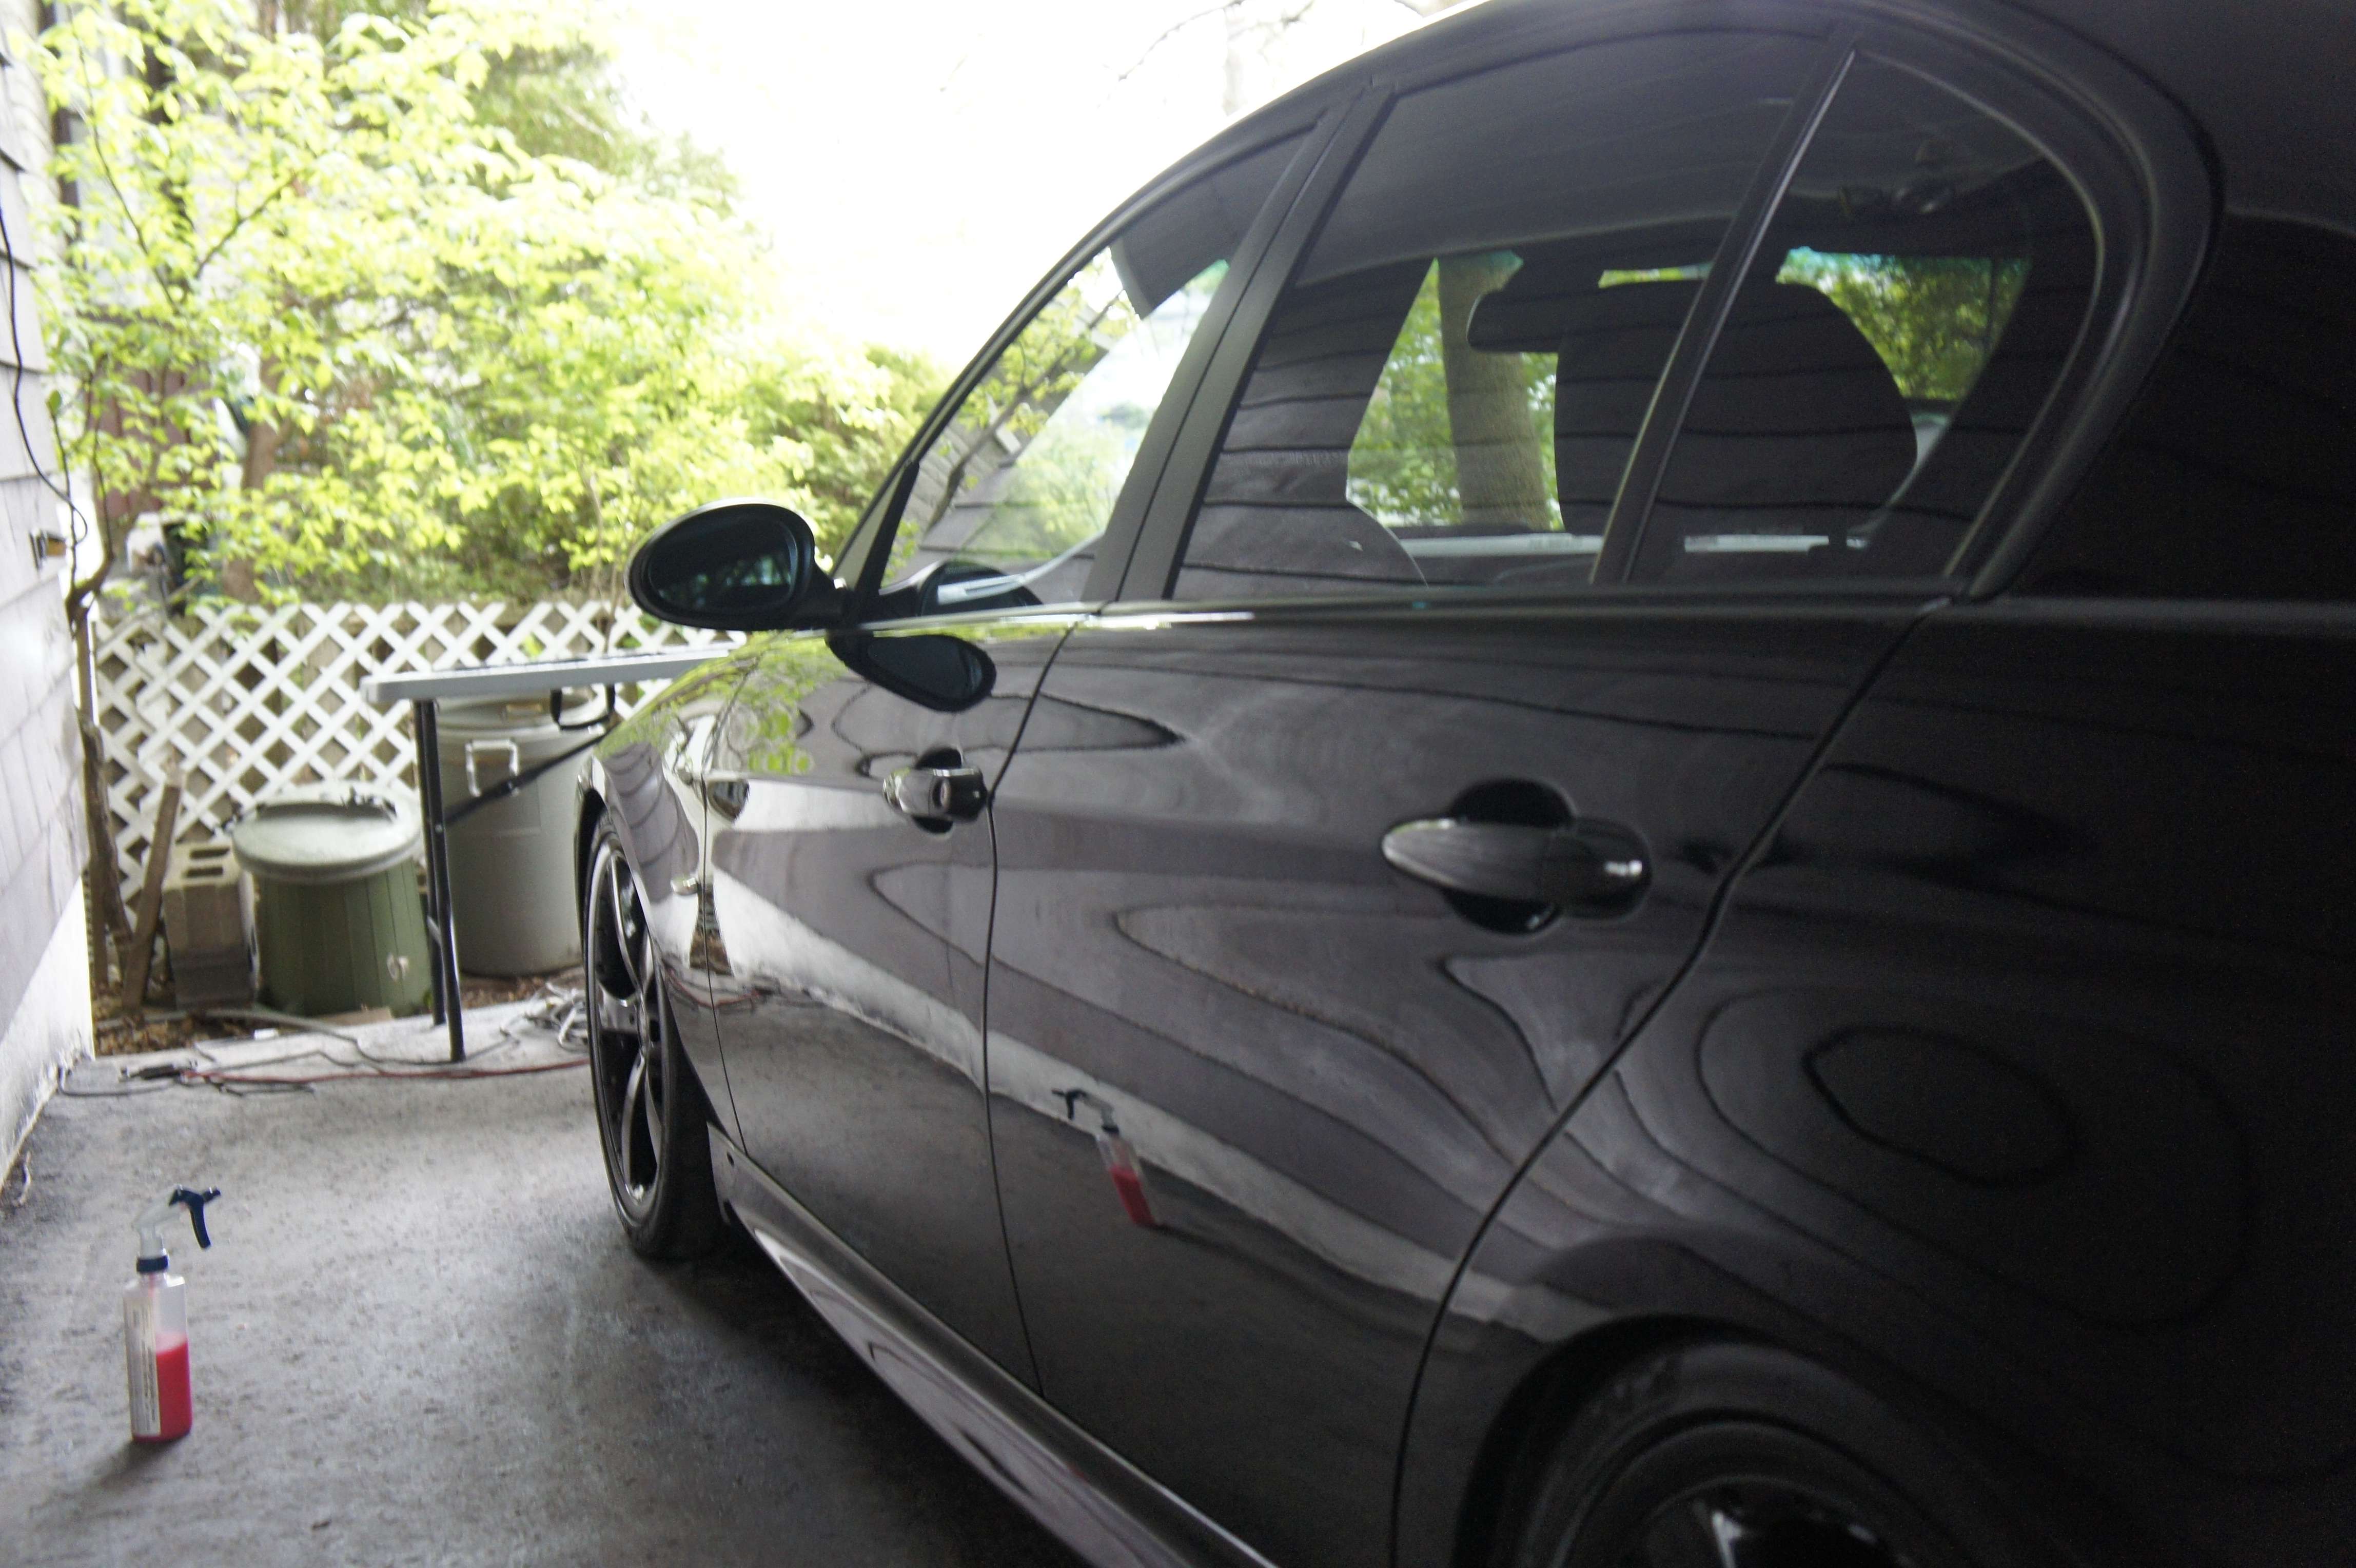
8) Final shot:
This was after 1 coat of Black Label and Swissvax Cleaner fluid:
Umm lovely, if you ask me")
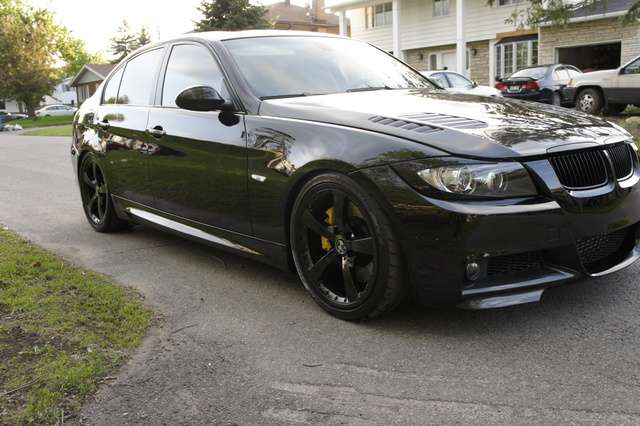
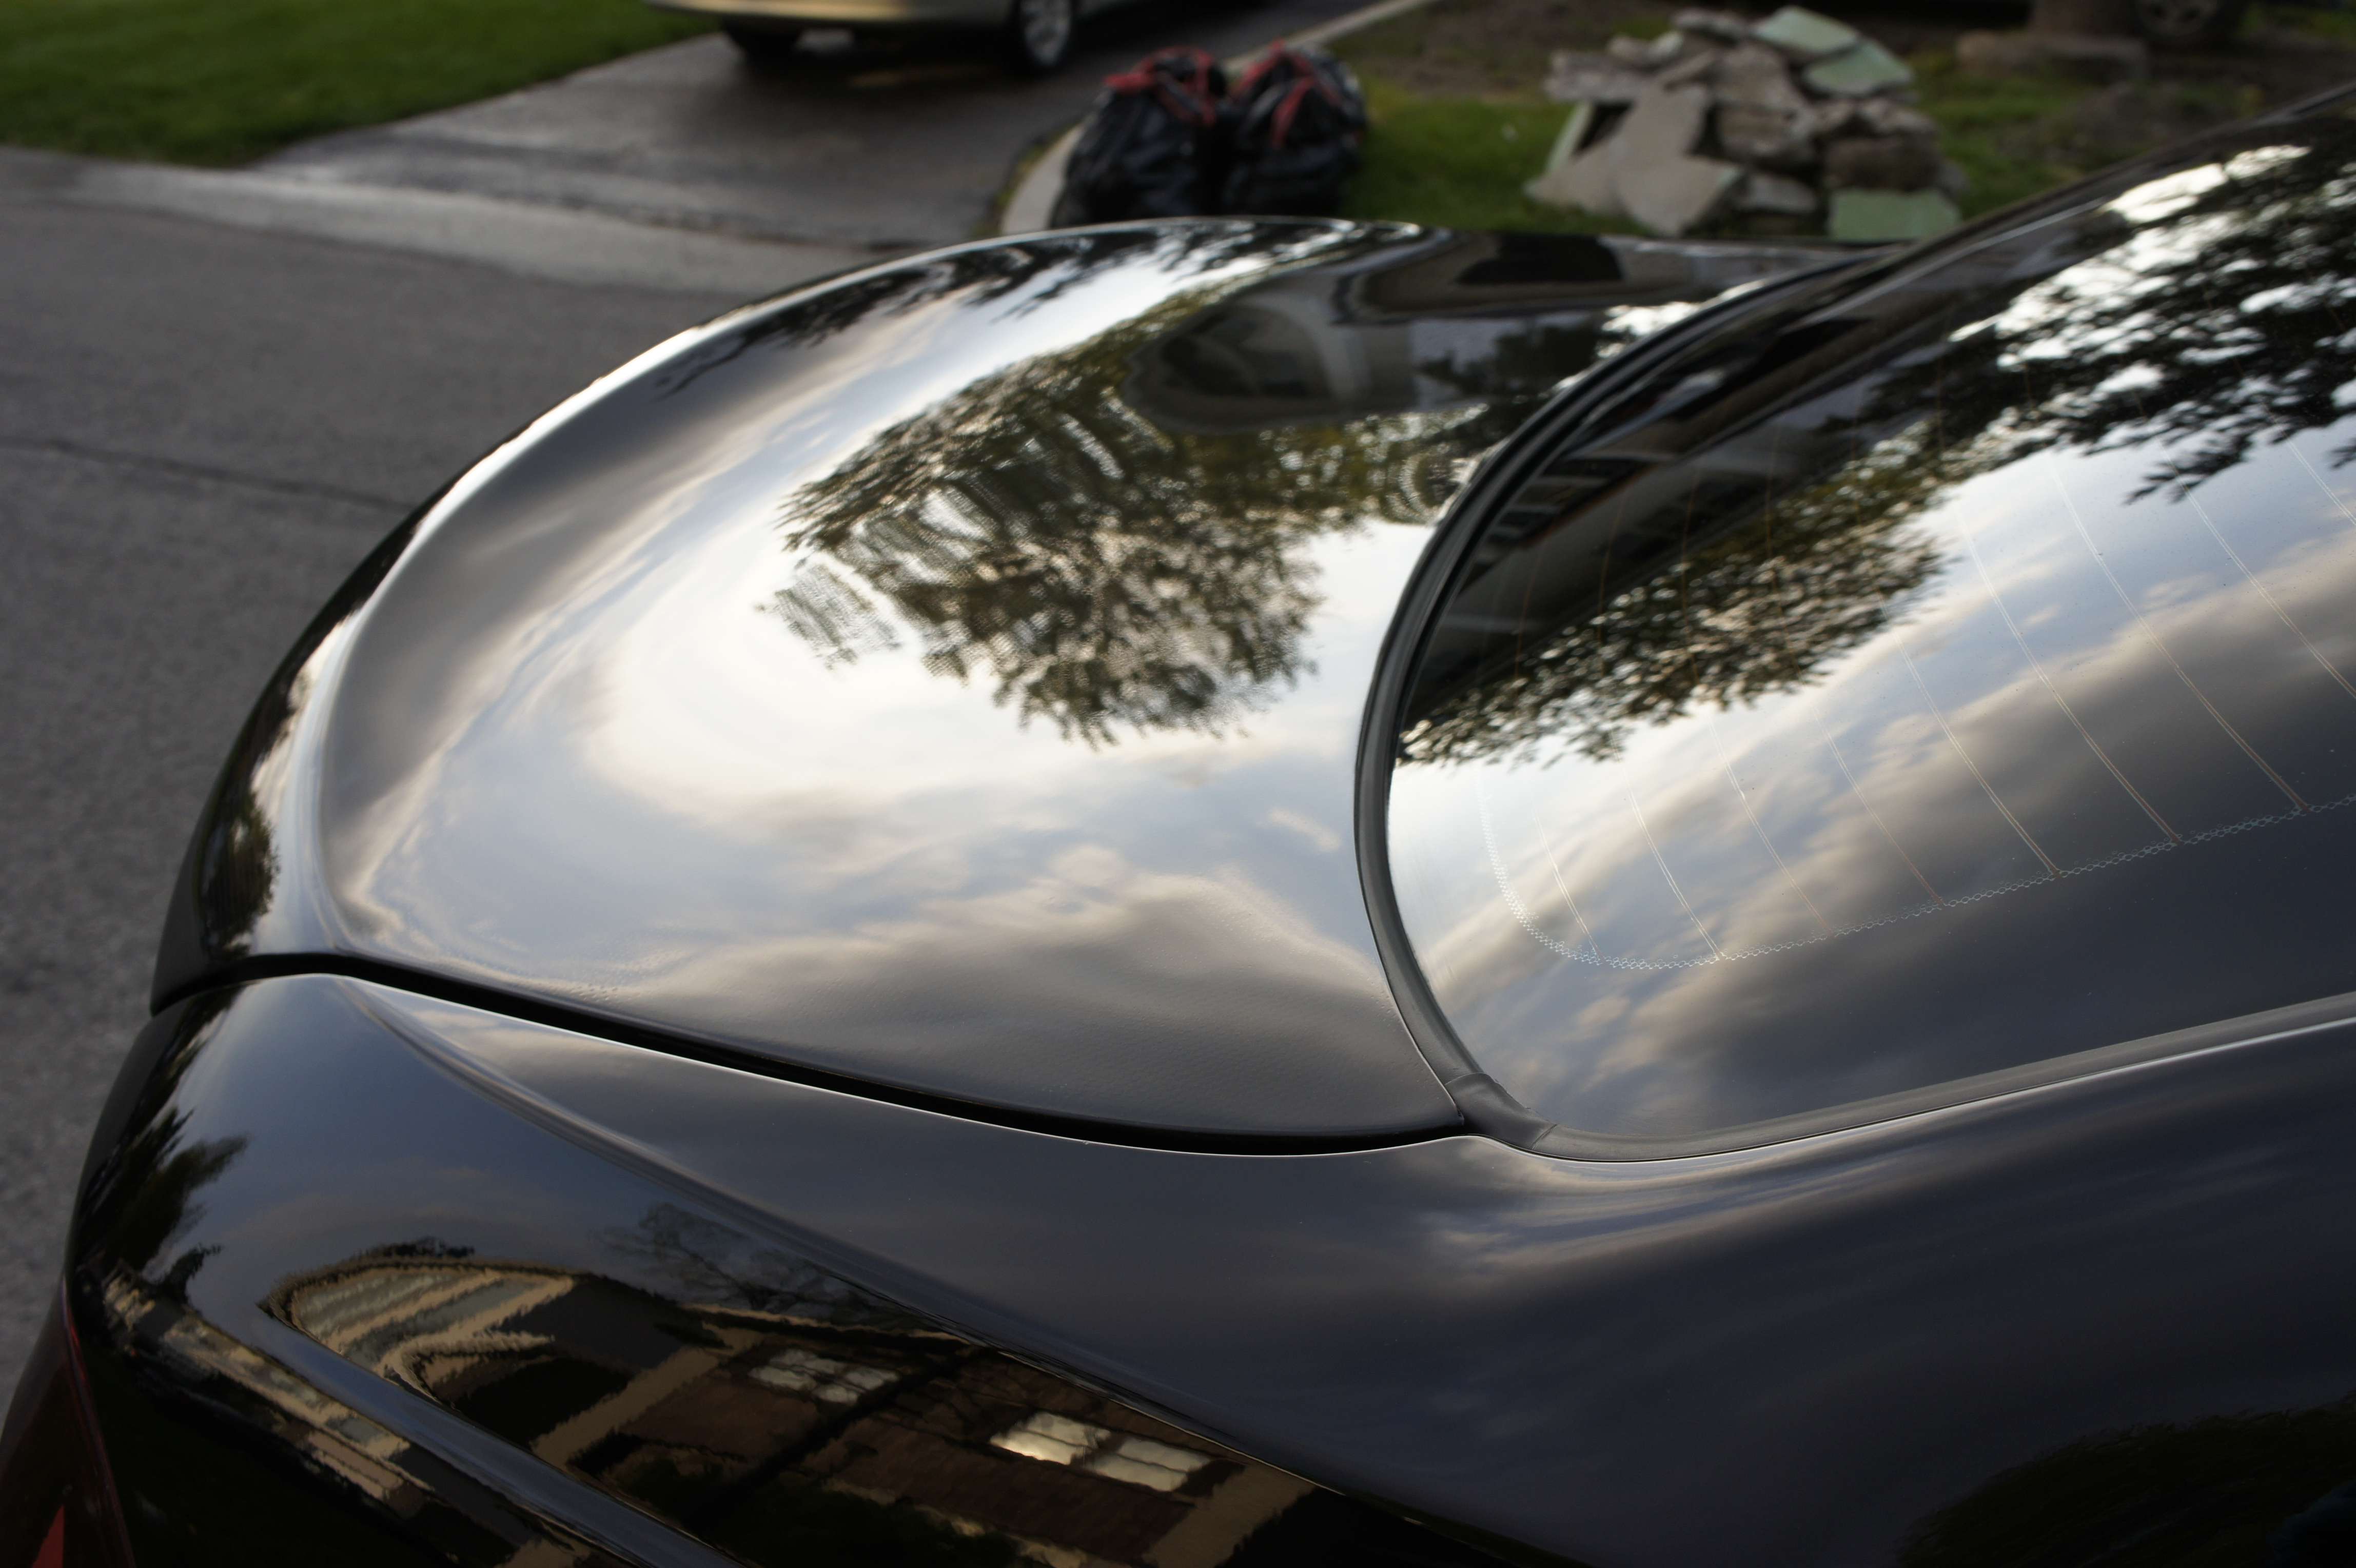

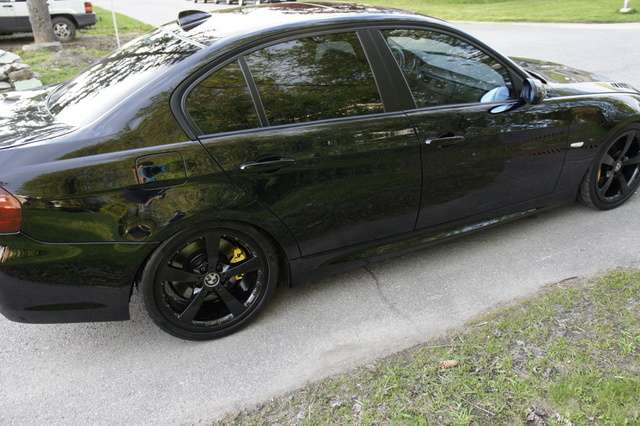
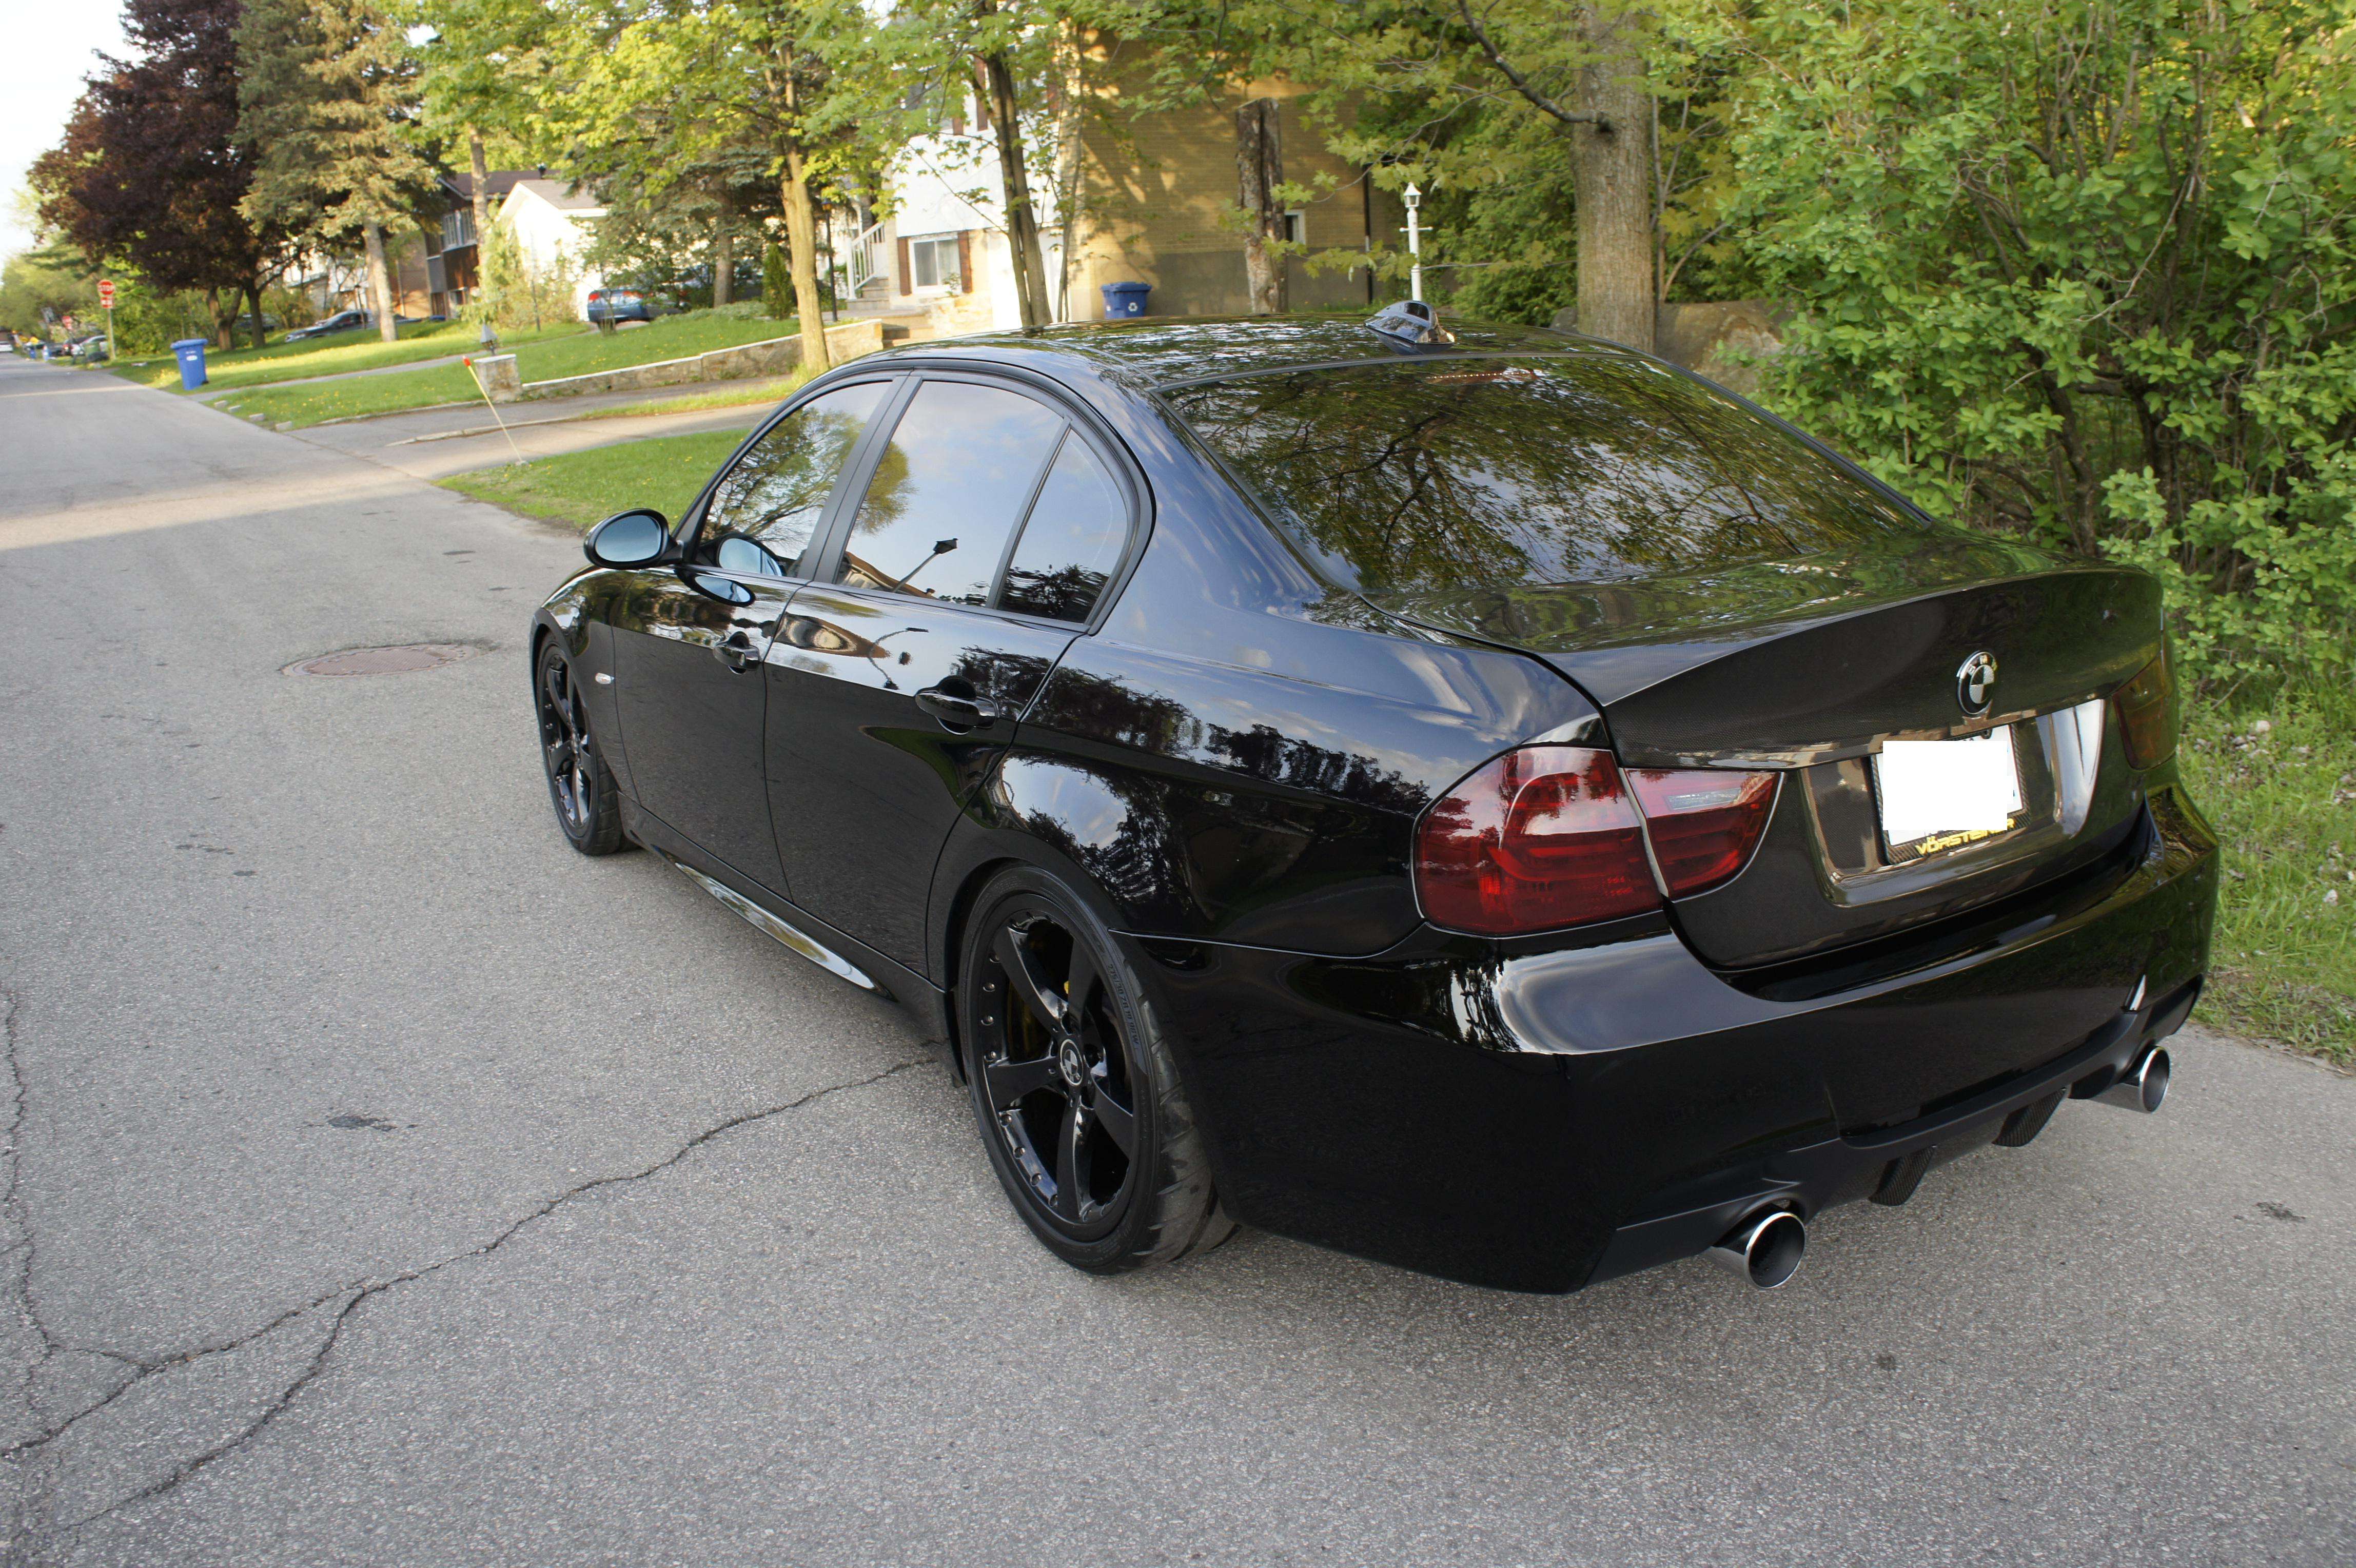

MEAN!
Rims didn’t had a treatment, just focus on the paint héhé
And these shot were 2 hours before he came to pick up his car:

2 videos :
obviously the camera wasnt able to pick up all the sound coming from the exhaust but you get an idea. very loud.
And a little wrap around of the vehicule:
Thanks for looking, hope you enjoyed it because it’s not everyday I write for that long!
P.S: Talentless,bullshit someone said ? yeah.. yeah.. I will leave it at that.
Pour une question de polissage réalisé à montreal.. alexandre.lemay @ hec . ca
For more info regarding this polishing job, detailing , done in the greater Montreal , please contact me at alexandre.lemay @ hec . ca
Car finally got detailed and bumper got painted twice because the job wasn’t nice at a body shop that I won’t name not to get into the bashing sh*t we saw lately. The owner said I was his last resort, if I can’t do it right, he’s repainting the whole car! So here I come.. to finally show him that a good detailer can actually give a second life to his 23k km bmw.
Process:
This is a showroom correction. This means that cost is not a factor, we simply do the best we can, no matter what times it takes and cost.
I started by doing a 5-step polishing (from compound to jewelling) and I put the car in the sun and…. Welllllll I wasn’t happy! Boys! So many RIDS! I had to redo a 3-step polishing but this time I tried the MF system and it did well to really remove another couples of microns to level these deep scratches to show a nice finish.
So basically, I did a 8-step polishing whatsoever. I also had to wet-sand the roof.
1 coat of Swissvax Cleaner fluid
And 4 coat of Raceglaze Special reserve made for me, Waxxon Spa automobile.
1) Engine bay:
These items are suppose to be brand new but for some reasons, I guess they were left on the floor without microfiber to protect the finish:
Polishing the scratch on both the strut bar, engine cover and under the hood:
Waxing with Hi-temp wax + black label
Trim were treated for a darker look:
Also waxed:
2) Some random pictures of me cleaning the car, see how important theses brushes are for a complete clean-up.
3) Paint before: here’s how the paint looked before
Paint reading was pretty uniform on all panels. Considering most bmw reads from 120 to 160 from factory, I’m wondering what the 3 other details looked like ? only a glaze or a light polish ? Because the reading looked like a factory paint reading without correction whatsoever. I mean if a car get detailed third, I could expect maybe 110 microns panels but I didn’t.
Taped the whole car:
So here I wanted to showcase what a compound is.. Unfortunately, most people use the term ‘’Compound’’ to say they want a polish or a wax applied to their car. I would like to be clear once for all, a compound is VERY abrasive and leave an ugly finish to the car! Every week I get asked, how much for a compound? 99% of the time, the person meant a polish or sometimes it was only a wash and wax.
So I took this car to demonstrate you what a compound really looked like: On the left, you have the actual condition of the car and on the right, you have the compound.
Sure there’s no scratch or swirls but that’s because the whole panel is hazed and ugly haha! So the ugly look is somewhat more uniform on the panel, but look closely, you will clearly look that the left side has way more gloss and definition to it.
So what happens is when the compounding step is done, we need to do more polishing step with lesser abrasive paste to get back the same level of gloss we had on the left side but WITHOUT the swirls and scratches.
After a couple of polish step, I came down to this:
Now, see the difference? A picture is worth 1000 words here.
And at this stage, I still wasn’t 100% happy with the result:
So I redid the step with another system and end up with that:
Now, we’re talking guys!
Here’s some after-after:
4) Wet-sanding:
So we say the least aggressive, the better? I tried compounding the roof in order to remove the water spot and it didn’t do anything. At that moment, I knew I had to wet-sand the whole roof.. Not something I really like but I had to do it.
Wait till the paper are fully soaken up and twisted:
It is now easier to see the etching that occurred in the clear coat here:
Obviously I took a lot of reading during the whole process:
5) Importance of cleaning your paint after, IPA, Citrus wash, Cleaner fluid, it has to be done.
Here you can see the water perfectly bead and sheet on the paint with the polish still on the paint. So a polish can act like a wax !? or is it only the fine oil from the fine polish that give this effect.
To clean the paint..
And now… the long awaited moment.. when you take out the car into the sun to make sure the correction is fine and then you can enjoy applying one of the most exclusive high-end wax on the market as we speak.
Fuuuu!!! Isn’t that nice!? No wax or cleaner fluid now.. just the bare paint. I know the owner would be thrilled when I saw that .
6) The D.E.T.A.I.L.I.N.G !
Now, it’s where the fun really starts, IMO. Well, this paint was a real challenge by itself, but usually the difference between a good detailing and a great detailing is how the detailer tackles the small detail. So here we go,
Applying Wolfgang ETS on all trim. This stuff works very well and has a durability of +4 months. On top it does have a matt look perfect for this matt black trim so it doesn’t alter the finish. This product isn’t cheap but heck when you only want the best right?
I’m now waxing this baby with 76% carnauba by volume. This is an upgraded version of the regular Black Label wax by Raceglaze made especially for myself. You get pure wetness with the durability of Swissvax Crystal Rock. I actually gave 4 coats in a time span of 24 hours. (About 6 hours between each) Oh yessss, I waked up at night to wax the car, devotion anyone?
Same goes for the carbon hood and trunk:
Swissvax cleaner fluid on the rims:
Then, I gave it 2 goof coat of wax to make it stand out and give it a slight darker look:
On door jam + wax:
Plastic polish on the lens of the gauge.
Cleaner fluid again:
little seal that got some polish and need to be cleaned with a QD:
After the wax and cleaner fluid:
7) Interior:
I took the air compressor to really move all the dirt between crevasses:
Making sure all door jam was taken care and making sure no residue were left:
Interior was washed using my extractor and leather were treated using Leather cleaner + conditioner.
Anecdote: when the owner took his car back, he pulled down his windows once inside the car and almost yelled; HEY!! You did the interior also, what you did to the leather!?? It’s so nice! (I just love when the customer find by himself what I did. It shows even more the detailing going through the detail)
8) Final shot:
This was after 1 coat of Black Label and Swissvax Cleaner fluid:
Umm lovely, if you ask me
MEAN!
Rims didn’t had a treatment, just focus on the paint héhé
And these shot were 2 hours before he came to pick up his car:
2 videos :
obviously the camera wasnt able to pick up all the sound coming from the exhaust but you get an idea. very loud.
And a little wrap around of the vehicule:
Thanks for looking, hope you enjoyed it because it’s not everyday I write for that long!
P.S: Talentless,bullshit someone said ? yeah.. yeah.. I will leave it at that.
Pour une question de polissage réalisé à montreal.. alexandre.lemay @ hec . ca
For more info regarding this polishing job, detailing , done in the greater Montreal , please contact me at alexandre.lemay @ hec . ca